Bench Layout, for a Diamond Setter!
Positioning of Tools!
_In this writing, I am not teaching or training any Diamond Setting procedures. But I was asked by another source to “Explain what your Setting Bench looks like”. Here it is!
One of the most important setting-bench features is the "easy allocation & access to all of your burs, files and the receptacle of oil. Remember, that this bench can be your ‘second home’. I still work at it as a Diamond Setter."
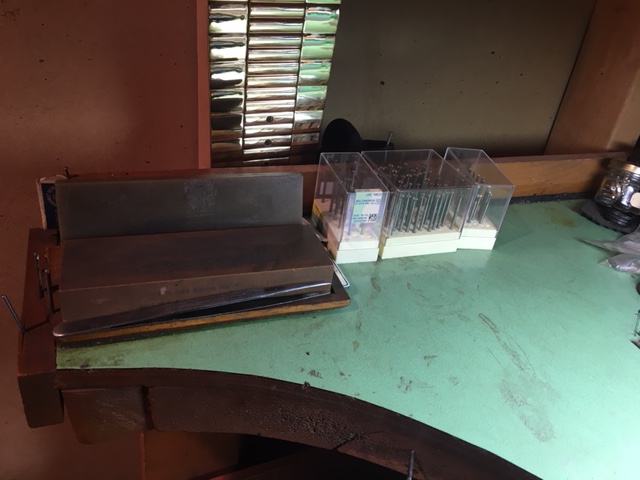
As I am “right-handed”, I will place my oil-stone on the left side of the desk-top.
Directly to my left and under my elbow is an extremely important ergonomic piece of “rolled-up, or layered piece of cloth”, why so?
The elbow MUST be securely positioned on this piece of fabric at all times, as to protect the nerve-endings running inside and along the elbow. If you have your elbow exposed to the metal, in your pan, you will have nerve damage in a couple of years! NOT NICE!!!
I have a little wooden box that I bought from the “Dollar Store" for only $2.00.

In it, are all of my 20 graver-blades of all descriptions. These are ‘my children’, as I care for them 100% of the time. Never should they be dropping into the metal pan, this one simple action of quick metal contact that can cause breakage to the point. I know this for a sad fact!
The next group of items are the placement of my carbide burs.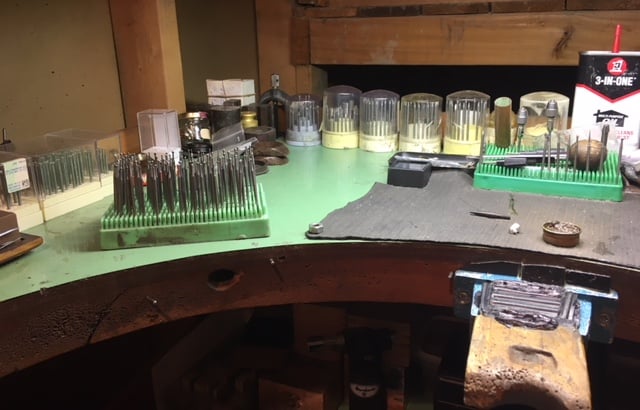 I always have them at 'left of center’, but never totally in front of me!! I demand that they stay in plastic mini-pallets, maybe having them in sequential order, (if time permitting). I have 7 full pallets of these easy to replace Carbide burs!
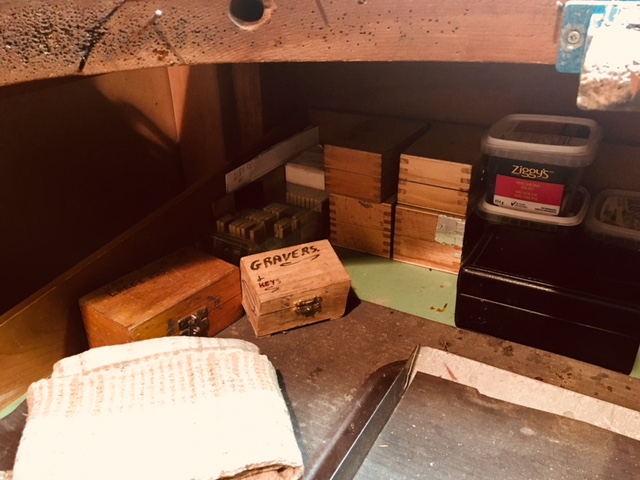
My 200 “High Speed Steel” setting burs
are placed in little wooden boxes ‘inside of my bench-drawer’.
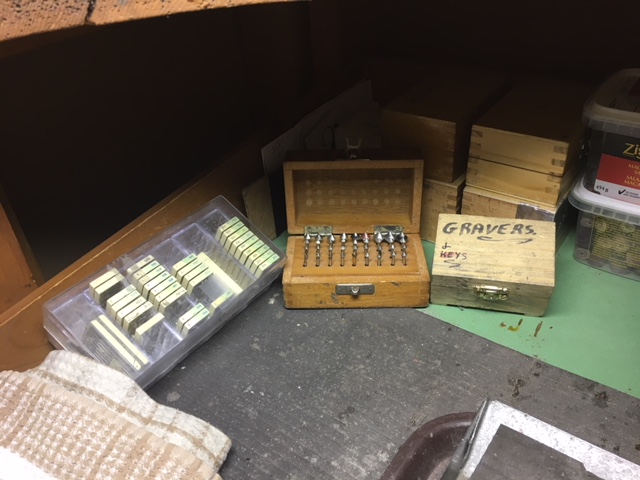
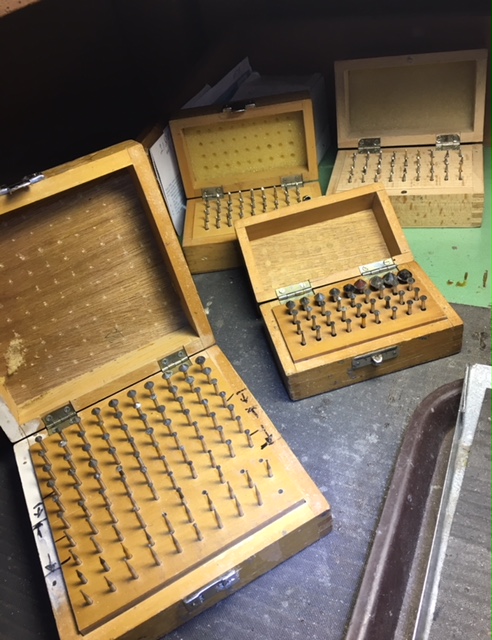
Each box contains different sizes, again for easy access & to prevent damage to these expensive items. One small box contains all of my extra-large sizes running from 3.0mm’s and up to 7.0mm’s, I make every effort to keep them all clean & well oiled.
On the center-front, right of my work area is my little receptacle of oil,
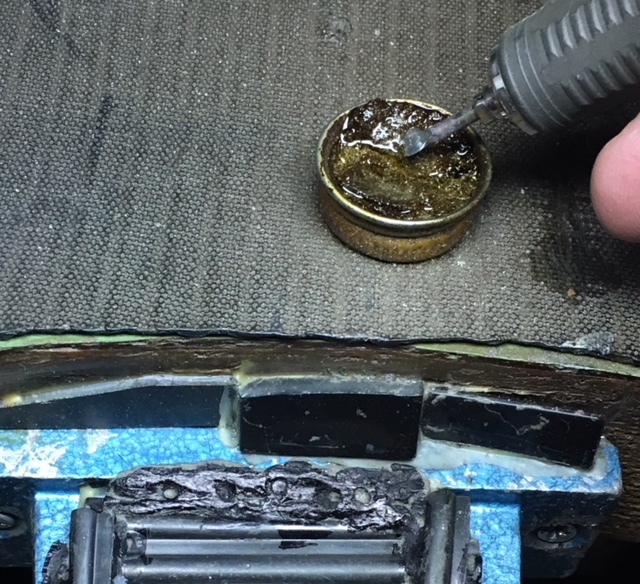
I maintain the oil-level with due diligence in using oil of a semi-liquid or a medium-viscosity at all times. Oil can be of a higher thickness (viscosity) then what is usually used, then the oil on the burs won’t evaporate suddenly!
At the far back of my desk-top is my collection of the Bead-Burnisher, Oil-can, just basically anything you don’t need to be cutting your fingers on.
These ‘HSS bur boxes’ are well covered at all times at the rear of my bench-pan.
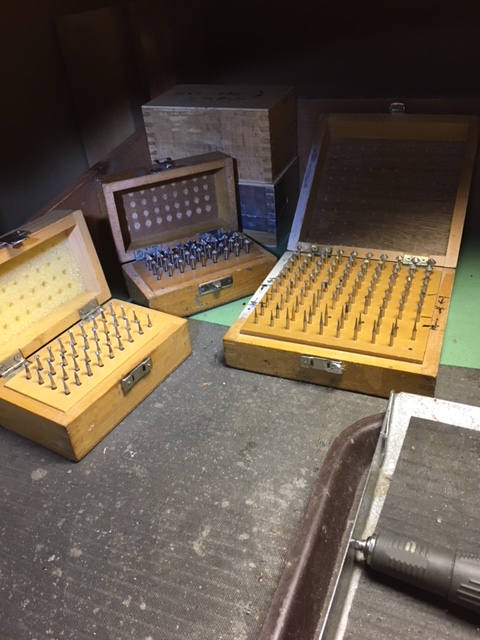
These are so important, when needed they are with in hands reach. I need to know just where they are at all times and must never be mixing in with my Carbide burs!
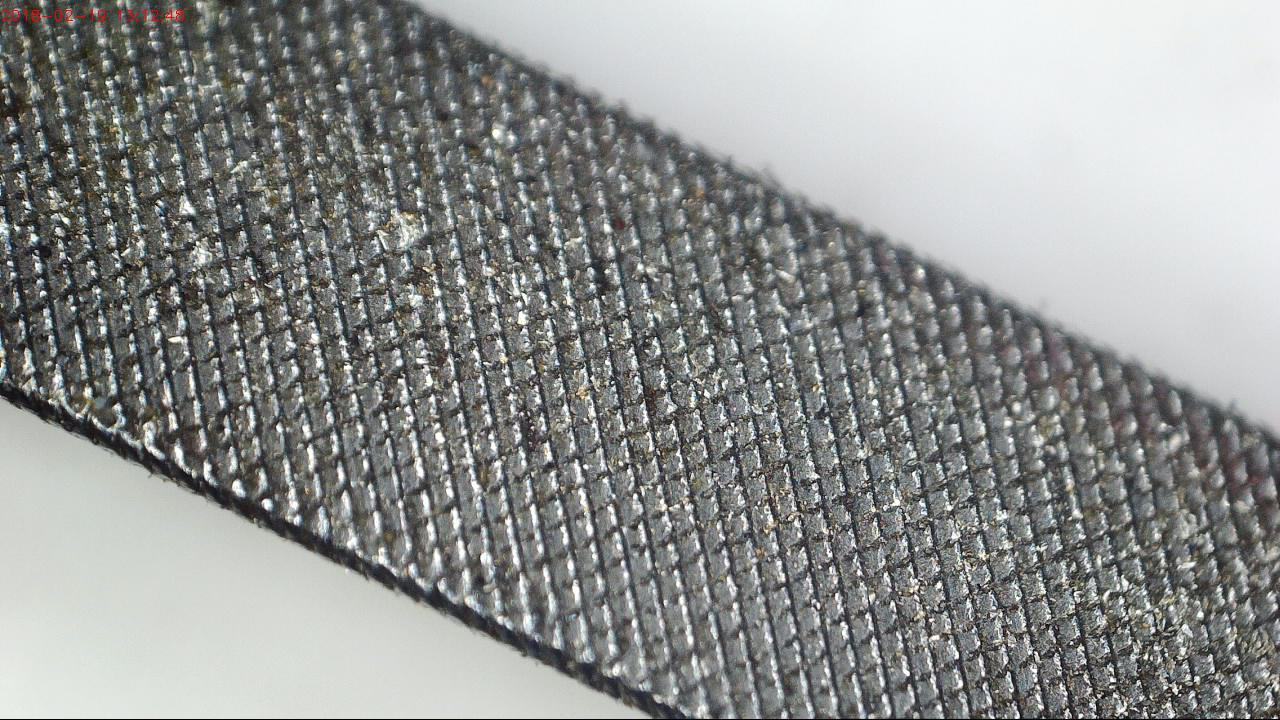
Files are positioned on the ‘right-side on my desktop, for easy access.

All of the files # grit are marked with black ink & for easy grit identification. Pillar files look the same but the difference is the grit, from a distance they all look the same. This is just why each of them are marked.
In the far ‘right-hand corner of my bench-pan are my long setting tools and ring-mandrels.
Why there and not on my table top? They have a tendency to literally roll off the table or interfere with my other tools. This group could be my ring-mandrel, hammer, digital gauge, extra-long files, bench-pan brush, or even my ‘Micro-Motor’ handle!
My ‘immediate bur inventory’, (in case of an emergency),
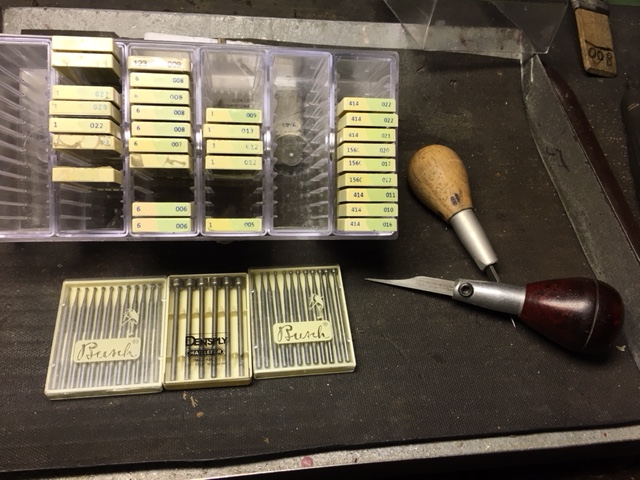
All of these are kept at easy access and can be placed anywhere in my bench-pan. But it has to be kept where no dropping stones might hit or bounce from.
The most important feature on a 'setter’s bench’ are my small, flat container for holding & securing any loose gem-stones.
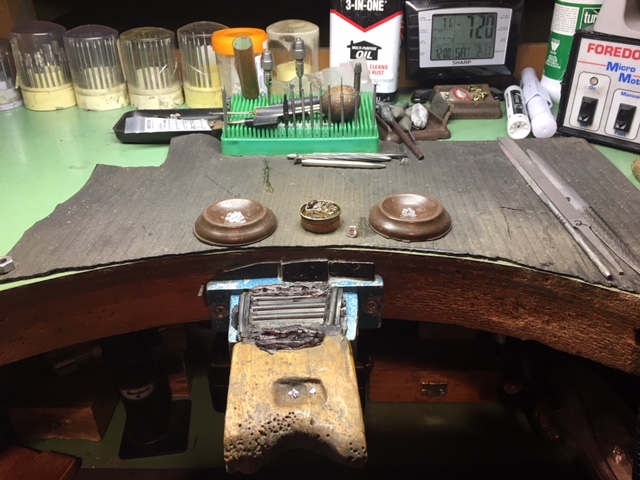
These may be bought at any hardware store, they are generally called “table leg pads” these are used for underneath the table legs! I place this just in front of the bench-peg. Again, just right, or left of-centre! At one time, in my office I even glued them stuck to my desk-top, why? As I don’t want anything to get moved or fall off my desktop. I’d get the strongest glue available and totally secure the rubberized bench-top pad!.
On my right side of my bench is my arm-rest.
I’ll use this while changing burs, examining gemstones, or just taking a few moments to relax! The right arm does get quite tired being dragged all over the bench, it also needs a little rest or for a few moments holiday! … :>)
As I have my micro-motor on the top right of my bench-top,
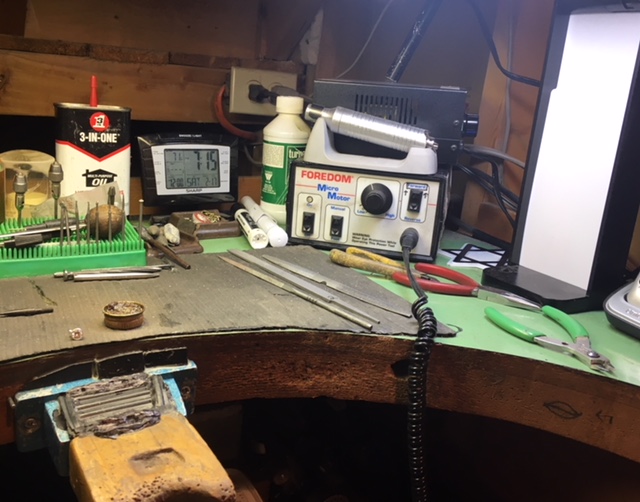
It also must be located at arm’s reach, the controlling rheostat should be located at the “far right hand corner”. The motor-handle can be left in your bench-pan anywhere near your working area!
The saw-frame is quite large and needing a space just for itself, but where?
At a place where it won’t hit into your hand, or be interfering with your other tools! Keep the saw blade in pristine condition, at all times, as you just never know when you’ll be needing it. In somewhere not in my working area are my little plastic box of Burs. These are always made available if and when one or two burs get used, I always have a “backup” in case of an emergency
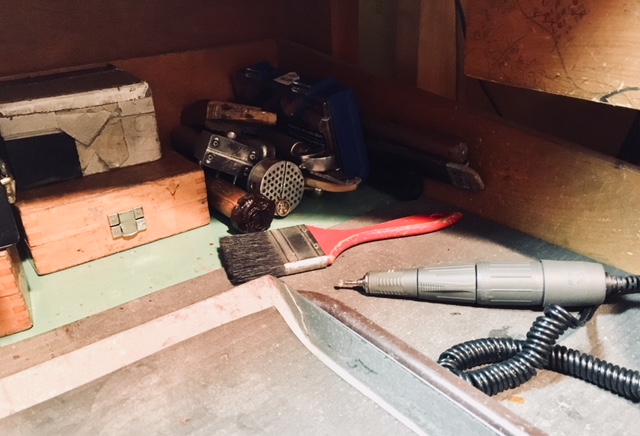
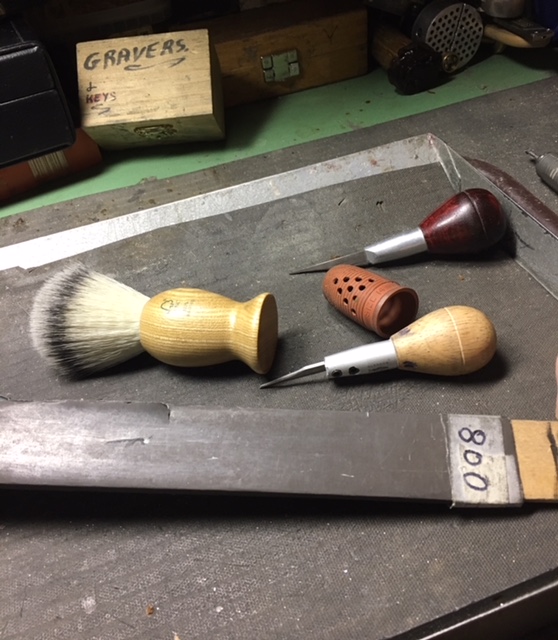
In a separate cloth zippered bag are all of my gravers, handles, pliers, and other assorted mini-tools.
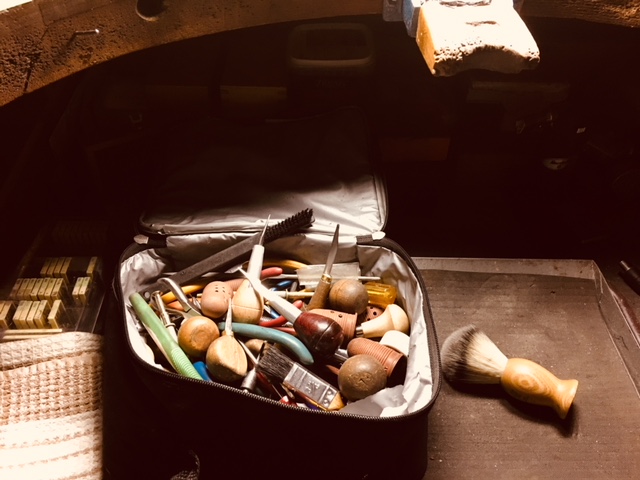
These can get misplaced or giving you ‘acupuncture’ in being able to cut into your finger-tips at every moment during the day! To the right of this bag is an old soft shaving-brush my neighbour gave me. Already I’m using it to clean the ring tips while setting.
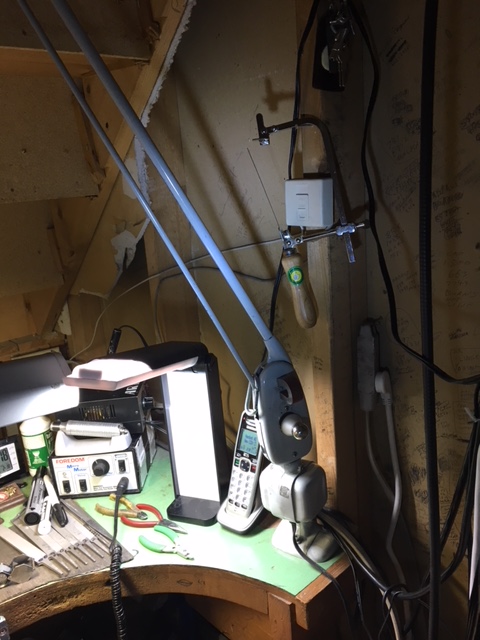
Your telephone can be located anywhere you wish, but within your setting or working areas? Radio or IPhone are just not a part of my setting bench, why so? These are the “unnecessary fixtures that cause me great distraction” during my intense labour and thinking of how things should be done!
Visual & Audible distractions can be so much of a nuisance, what are these? Strong light from windows, even the ‘ticking’ of a wall clock! Here I need complete concentration on many items. I make sure that nothing will ruin my “train of intense thought”! Even when I’m writing these multiple essays for everyone, there must be no phone calls & sometimes I’d even close my computer room door. I demand full and complete ‘quiet’ at all times!!!.
The “Bench-Pin” must be used in for Diamond Setting with the FLAT SIDE UP! Why So?
In the event of having one or two stones in the bench-pin, they won’t keep rolling around or dropping off. Why would they ‘drop off’? It’s because you had your bench-pin angled side up! Your time is too valuable to keep searching for those dropped stones! In the “Upside-Down” bench-pin, I have a ‘carved out’ a little recess where I can store little stones prior to the final stone-setting. But when I’m doing some hammering, no stones are left in this recess.
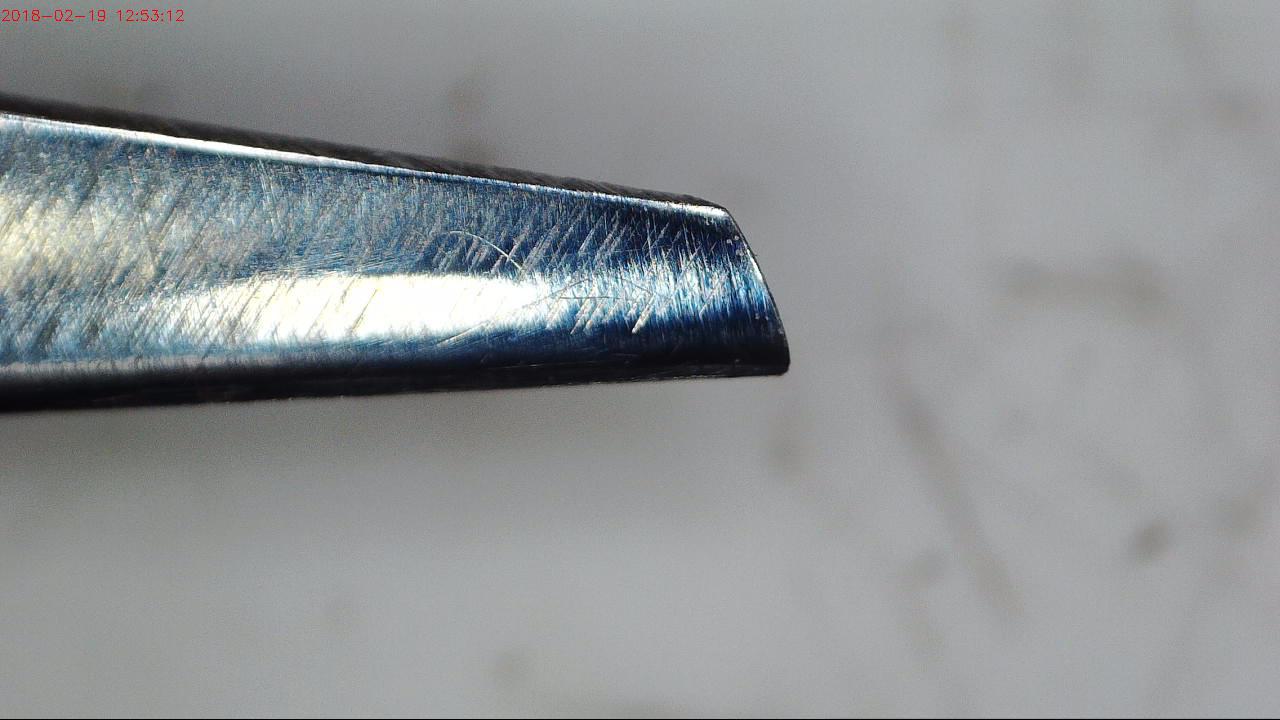
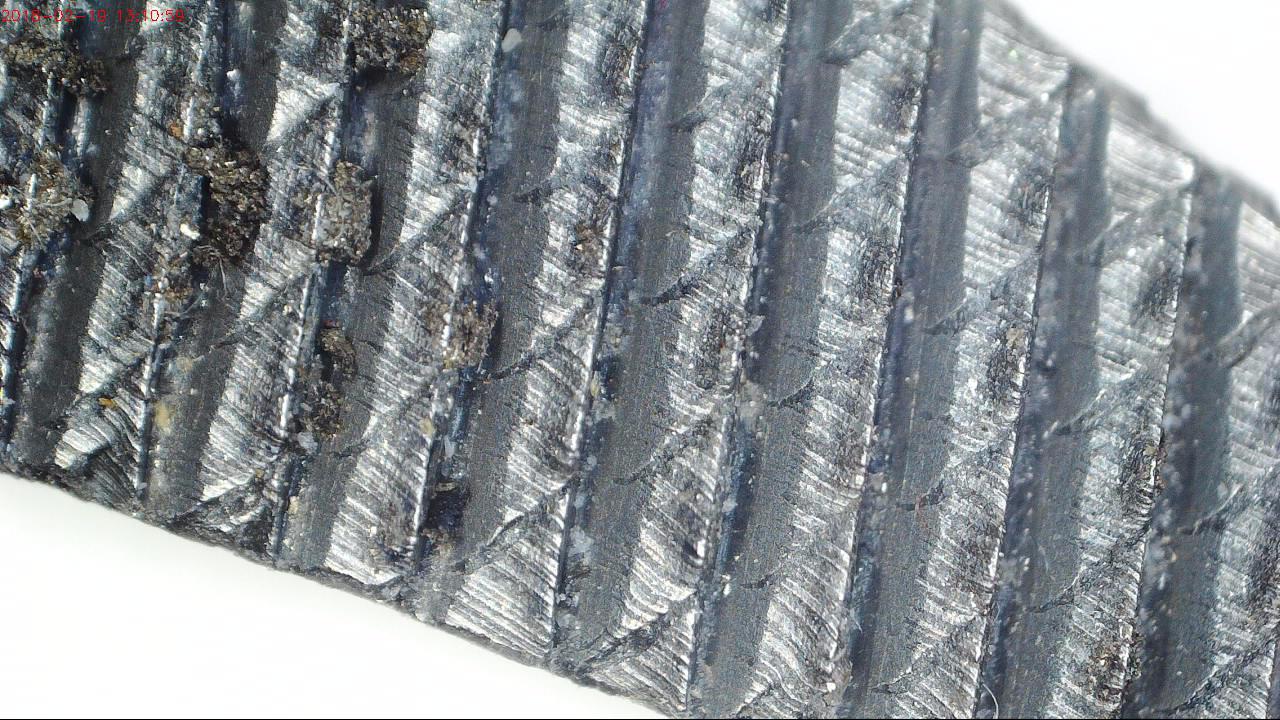
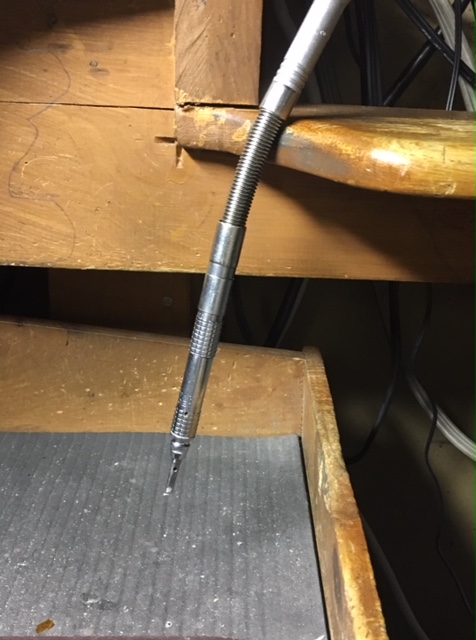
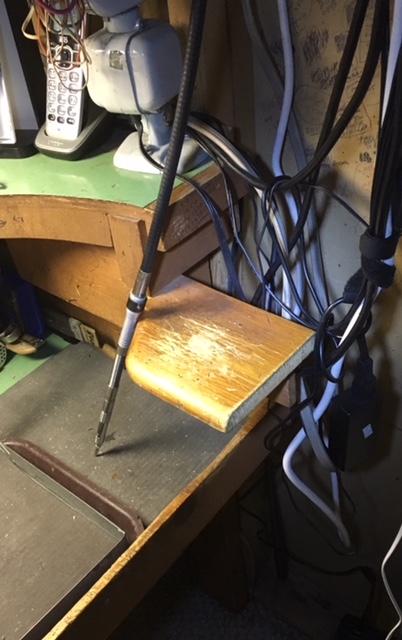
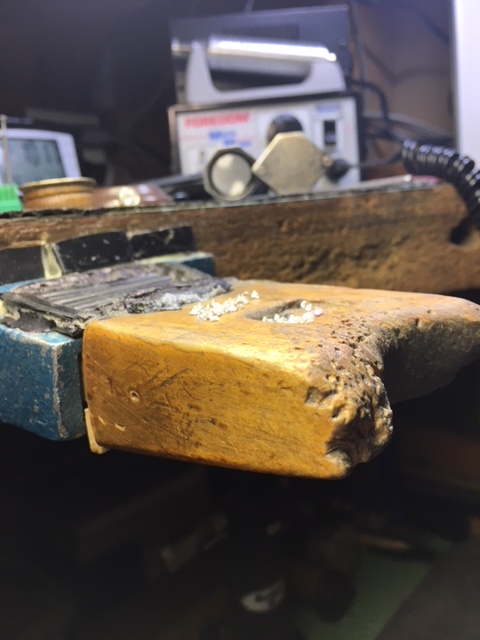
On the right-side of my bench are a ‘group of little holes’, have you ever wondered how they get there?
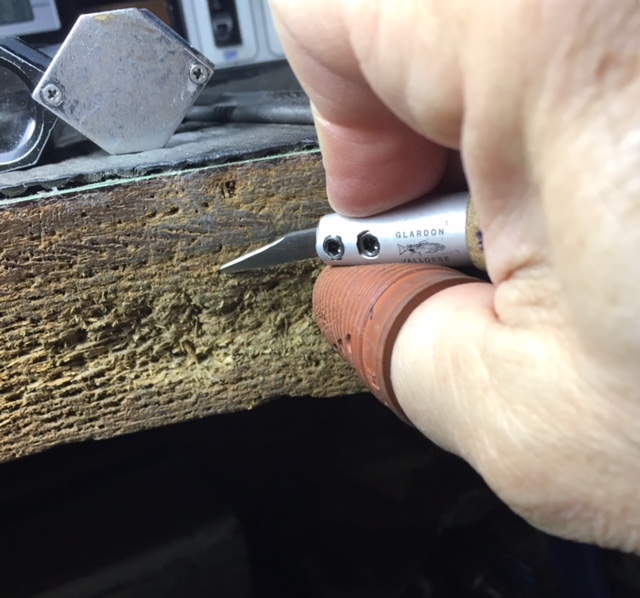
The answer is a little strange but here is how I got mine. When you are grinding the tip of your graver on the oil-stone, there lays the problem, a little miniscule amount of metal is frayed at the edge of the graver. The ‘hitting into the wood’ removes the little excess of metal from around the graver point. Sounds crazy, but most of ‘us’ do this. During some of the Bright-Cutting procedures I’d just hit the wood and do a ’little touch-up’ on the graver blade via to the #800 polishing paper.
This sub-topic is also for the jewelers and with your sharp pointed tools. Just try the “pointed-tool jamming” a few times. I think you could do & use this ‘spur of the moment’, cleaning any of your soldering tools, it gets all of the old borax compounds off of your tools. Trust me, this ‘graver-jamming’ method DOES work, I’ve been doing this for only 56 years!!
If you still use the pole to support your heavy Flex-Motor & shaft,
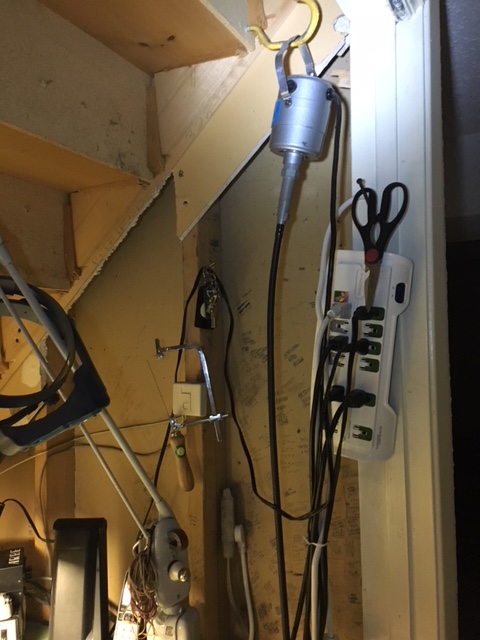
I suggest to keep this equipment away from your arms and hands. You MUST keep your hands free from being bumped around during some intricate setting procedures. I am forever trying to keep the many cords wrapped together & into a bundle!
As I am ‘right-handed’ I keep all of the electrical cords and plugs
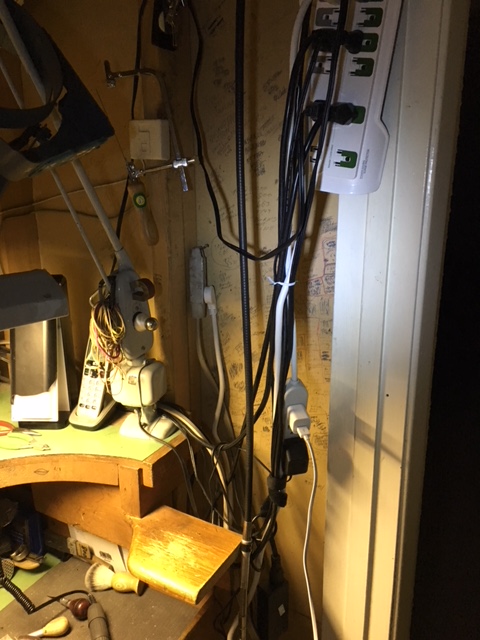
at the far right-hand area and away from my working area and my bench. No need to have any long cords dangling around my hands & arms.
The very basic of tools are left in the bench-pan, why?
I feel that a moment’s notice even for the slightest reason …my tools are there ready to be used. The other items are always kept in their cloth bag.
Cleaning items such as pumice wheels & emery wheels.
(upload://oM7cJxLwGK3GCbWuFwN6fhvZv7A.JPG)
These are kept in little containers I once used for salad and other nice foods on my travels. (heck even I get hungry on my teaching travels). Both of them have their own tight lids and kept in the back of my bench-pan all the time!
On the front of my bench is more “rubber-padding” why so?
All day I’d be looking at the bench & see bright colours of my laminated, wooden bench-top. This alone can cause you eye-strain. Not to mention diamonds rolling around the desktop! Just do the same as your bench-pan, put some rubber padding on the top. I even went so far as to use the strongest glue to keep this padding on the bench-top from not moving around!
In my bench-pan are one layer of rubber and an old ‘food serving tray’, what are these for?
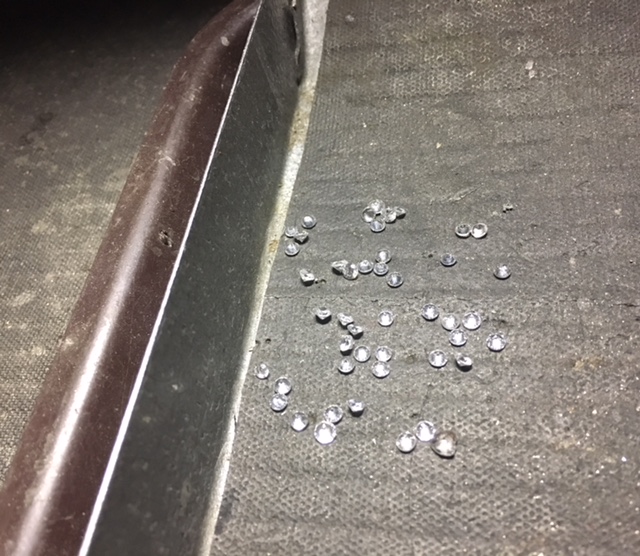
The rubber tray keeps the stones from continuing to bounce after the first ‘hit’ after falling off the bench-pin. The ‘food tray’ has raised edges, this literally stops any metal from being bouncing, again everything just collects in that secured area! At the end of the day, it’s amazing how much you think you might have dropped and then lost. Can you say $$$’s.
I once dropped many little .0035mm little diamonds and NEVER LOST ONE! They all got collected and this setter was so happy in locating each of them!
The very next & lastly is your chair,
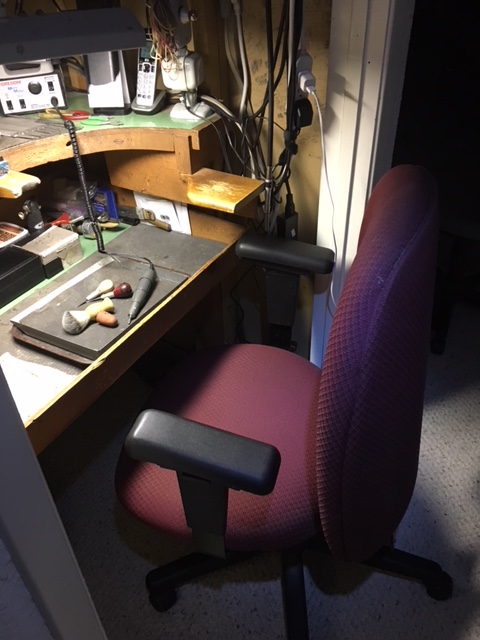
I prefer to have the back support of that chair, to be from your shoulders to the lowest area of your torso and your lower back. If they even come with an armrest, buy it! If you need to stretch your shoulder muscles, you can still! My chair is beyond great!! No matter the cost, but after a few days, you will become so happy that you spent a few extra dollars. Your long-term sitting will become less of a chore. I even have a similar chair at my writing-station with my computer, both have arm-rests!
I sincerely hope that this “bench & setting tool location” serves you well in the many years to come. BTW, when I started my apprenticeship in early 1961 this was then “MY TOOL LAYOUT” and still is, even to this day!