Everytime i post a question you lovely people come back with a solution that helps, so here i am again.
I am learning to cast rings using delft clay and gravity, i dont have a vacuum set up.
After a lot of trial and error i can now cast a complete ring with air vents BUT i lose the middle of the ring each time. Every time i remove the former (wax) from the sand the centre comes adrift so when the cast is made there silver bleeds into the ring so instead of a hollow cylinder i get a solid block. What am i doing wrong. I thought it might be because im not packing sand hard enough in the centre so im about to e periment with using metal formers instead of wax.
Any ideas folks?
I do a lot of Delft Clay and Petrobond casting, but never a ring. Can you post a picture of your model and tell us how it is oriented to the parting line in your mold when you pack around it?..Rob
I have no expertise in delft clay, but I wonder if something like this might not be better done in steam casting or cuttlefish bone. For steam casting, the burnout could be in a foil lined clay pot upside down on a hot plate. Details are available on the internet. The cuttlefish would not be subject to parts moving during gravity casting… -royjohn
Delft clay can do it just fine. But if I reD the O.P.s post right. She is using a wax core for the finger hole. That won’t work because when you pour in molten silver the wax melts.
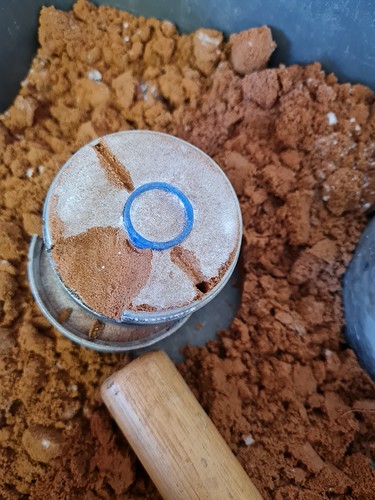
But if I misread it, here in any case, is how its done. The model can be wax, or whatever, since it is removed before casting. The finger hole in the model must be filled with a solid cylinder that fits snuggly in the model’s finger hole, but which projects out on each side of the model, perhaps an 1/8 to 1/4 inch. This core can be wax. But for casting, that core must be replaced with a similar core made of sand. To do this you need a piece of tubing of some sort into which you can tightly pack the sand (delft clay), and which you then gently push out of the tube with a dowel that is roughly the same diameter. This core then needs to be either the same length as the one used to make the mold, or slightly shorter. The sand core is then placed in the two notchs/cradles,whatever you call them that were formed when you packed the main mold with a core wider than the model. When you then close the mold for casting, that core is securely held in place. If it, and the main mold, are both tightly packed, the core will not move during casting.
Post a picture, and I will help you. Sand casting is a very simple process, but there are a few things you need to consider for it to work. Impossible to help without seeing how you are doing it.
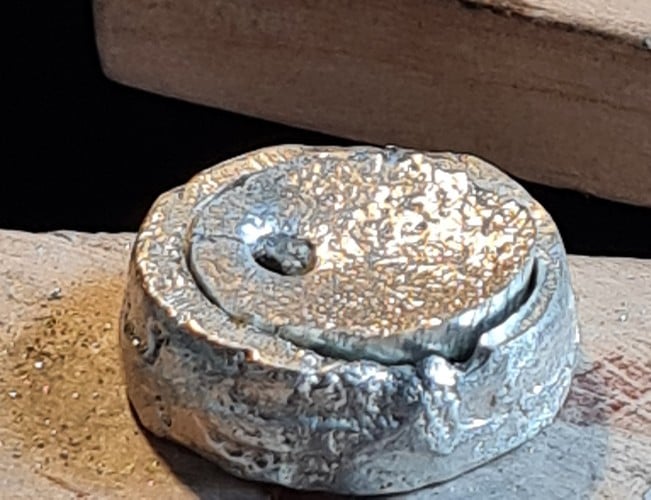
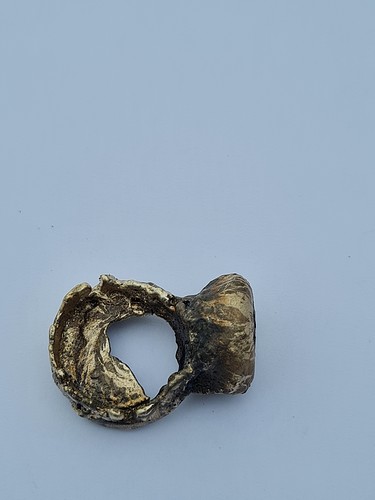
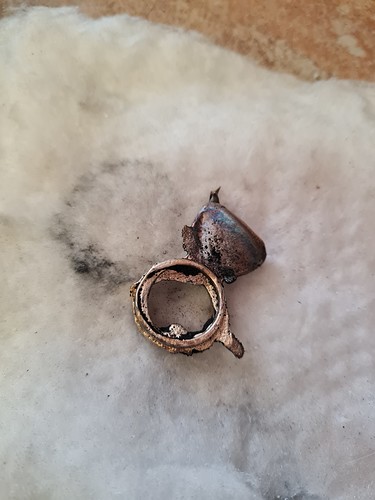
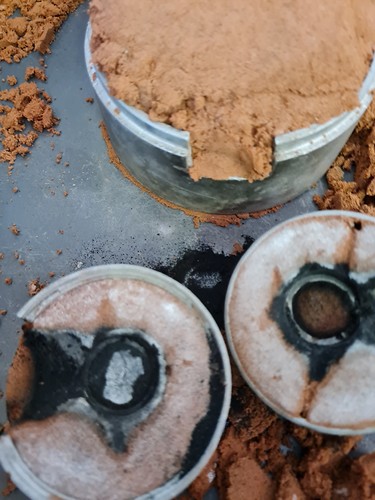
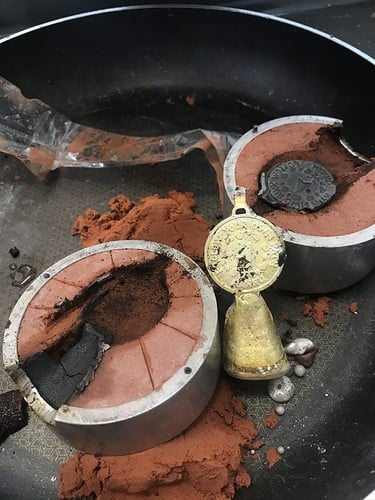
Thank you. I’ve added some pictures already. Here are some castings i made, some more successful than others. I had to cut out the centres. They became ring eventually but not before a lot or work.Your help is mu h apprecoayef.
Patsy
Wow, your castings are really not even near successful… You will definitely be able to get better results.
Pack tighter. Use a small hammer or similar. Flatten surface by scraping with a ruler or scraper. Brush with talcon powder. Press object half way down into sand and flatten the sand edge around it. (Keep in mind, that the thickest part of the pattern object needs to be in the separation line. Negative shapes can’t be sandcast in a two part mold.) Lightly add talcon if needed. Put on the other part of the mold frame. Fill with sand, packing it as you go with the hammer. Even surface with ruler. Carefully take apart the mold. Wiggle the object a little if stuck to make it loose. Carefully fix edges if needed. Make the sprue by carefully cutting away sand, direct the cuts away from the impression not to brake the edges. Smoothen sprue channel with the handle of a spoon or something similar. Draw a couple of thin air vents (yours are unnecessary big) to the edge of the mold with the tip of a knife (usually not necessary, the mold is not airtight anyway). Put the mold together and fix it with a piece of packing tape to stay together. Heat the metal until thoroughly melted. You should use a minimun of about double the ammount needed for the object, so that the button has enough weight to fill the mold. Pour in one quick, steady pour. Let cool.
Try following these instructions. If you still have problems I can make you some tutorial pictures.
Thankyou very much. I’ll have another try later.
Patsy
The youtube machinist Lyle Peterson (channel mrpete222) has a number of videos showing the processes of sand casting: making a proper model, packing the mold, making cores for pieces with through holes (like rings), etc. Have a browse.
Lots of great advice and I will give you my two cents. I have found Craig Dabler’s videos and instruction on sand casting rings on Youtube and his website. I have had the same issue as you and what I have found helps is that I have a short, wide dowel, about 1 inch wide, that I use to pound the sand tight before and after placing the mold. I assume you use lots of talc on your wax mold to prevent the sand from sticking to your model. Maybe take a small hammer or stamp to reinforce the sand in the middle before you remove the model. It is not an easy process but we persevere.
