I have been experimenting with engraving a design into 1/2" cast acrylic and then transferring that design to a 24 gauge piece of well annealed copper and silver. It all works well, but I took the press up to 6,000 lbs and the die cracked. This was not unexpected, but I am curious what the maximum amount of force I can apply is and still keep the die from cracking. Tables tell me that the compressive strength is 18,000 psi, but my physics knowledge is having a hard time converting this to plain force. Maybe that isn’t possible. The area over which I applied that force was about a square inch, so that tells me I was applying a pressure of 6,000 lbs/square inch. Can anyone help with this calculation. In the end, I will just make another die and slowly experiment with increasing the force until I get good results and don’t crack the die. Thanks…Rob
You have to calculate the area that is subjected to the pressure.
Is it a positive (rised) or a negative (depressed) form?
If it is a positive the actual area might be quite small.
The actual area of the metal that is moved with a small piece of urethane is very small. Let’s say .25 square inch. The force of the press is exerted over the area of the piece of urethane, maybe .75 square inch. The die cracked in places removed from the area that was covered by the urethane. As a physic teacher who hasn’t taught in years, the math eludes me. Thanks for any help. In the end, I will solve the problem by trial and error, I have a lot of cast acrylic…Rob
I wonder if your engraving process might leave micro defects that could grow under pressure. Perhaps consider a quick flame-polish prior to applying pressure? Also, your engraving ensures that some of your compressive force becomes tensile.
Can’t help with calculations, though. The dust layer is too thick. ![]()
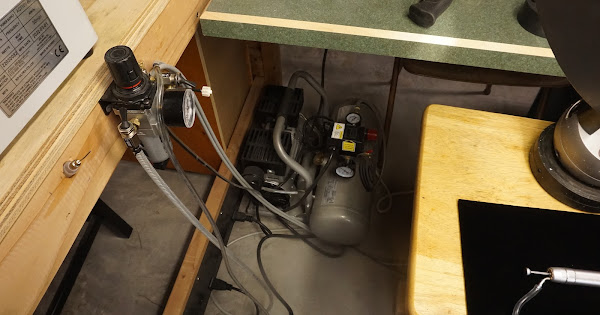
I failed to mention earlier that once the engraved lines are laid down, I deepen them with 1/16" dental ball bur using my air turbine. It spins at up to 50,000 rpm without a load, so it goes through the acrylic fairly easily and with a lot of precision. There are still little ridges and valleys, but they smooth out when I press the metal. I have several designs that I normally chase or raise with traditional chasing and repousee tools. I am just looking for a way to get the same design done quicker and with repeatability. In other words, I have gotten lazy. Thanks…Rob
Hi Tob,
what does your air turbine tool look like?
curious!
julie
Mine is from Steve Lindsay, but if you look at Nakamura non-lubricated air turbines, you will get a pretty good idea what it is…Rob
Hi,
oh, is it your Lindsay Airgraver? or something different?
Julie
Mine is a lubricated Lindsay Air Turbine. It is very similar to the Nakamura, which is available in both lubricated and non-lubricated versions, or it was prior to Covid…Rob
I have an air turbine that works with my gravermax. Judy H
A better choice for carving designs is delrin. Judy H.
Judy…I have never worked with delrin, but will give it a try. Thanks…Rob
We use acrylic at school with the student to make dies. We never go over 6000 but their cutouts are often large the acrylic should not crack we use quarter inch.
6000 lbs at a quarter inch is 24000 psi, plus what ever has been removed as part of the design.
I have finally figured out how to carve an image into a piece of 1/2" cast acrylic using my air turbine and a 1/16" dental bur. I was then able to transfer that image to a thin piece of sheet silver using my 20 ton press and a small piece of urethane without cracking the acrylic. Attached is a link to a series of pictures that show the tools used in this process and the final piece. In this case a simple pair of earrings. In the past I have always created these earrings one at a time using traditional chasing tools and a pitch bowl. While that is fun, now that I am doing shows again, I need a faster way to get to the same end. I also want the earrings, and others like them, to be somewhere in the $20 - $30 range depending on the size and amount of metal that goes into them. In the case of these earrings, there are 2.5 grams of silver. The other way that I have been able to both reduce the amount of metal and create a design element that I like is to solder the 20 gauge half hard piece of sterling wire directly to the back of the earring. This gives me something to hang on to while polishing and then I form the ear wire shape when I am done with any finishing. This particular pair of earrings have been oxidized, I found a new jar of gel that I had forgotten about, hence my post earlier about using LOS crystals. I will still buy some crystals as this bottle of gel is over a year old. Thanks for looking…Rob
