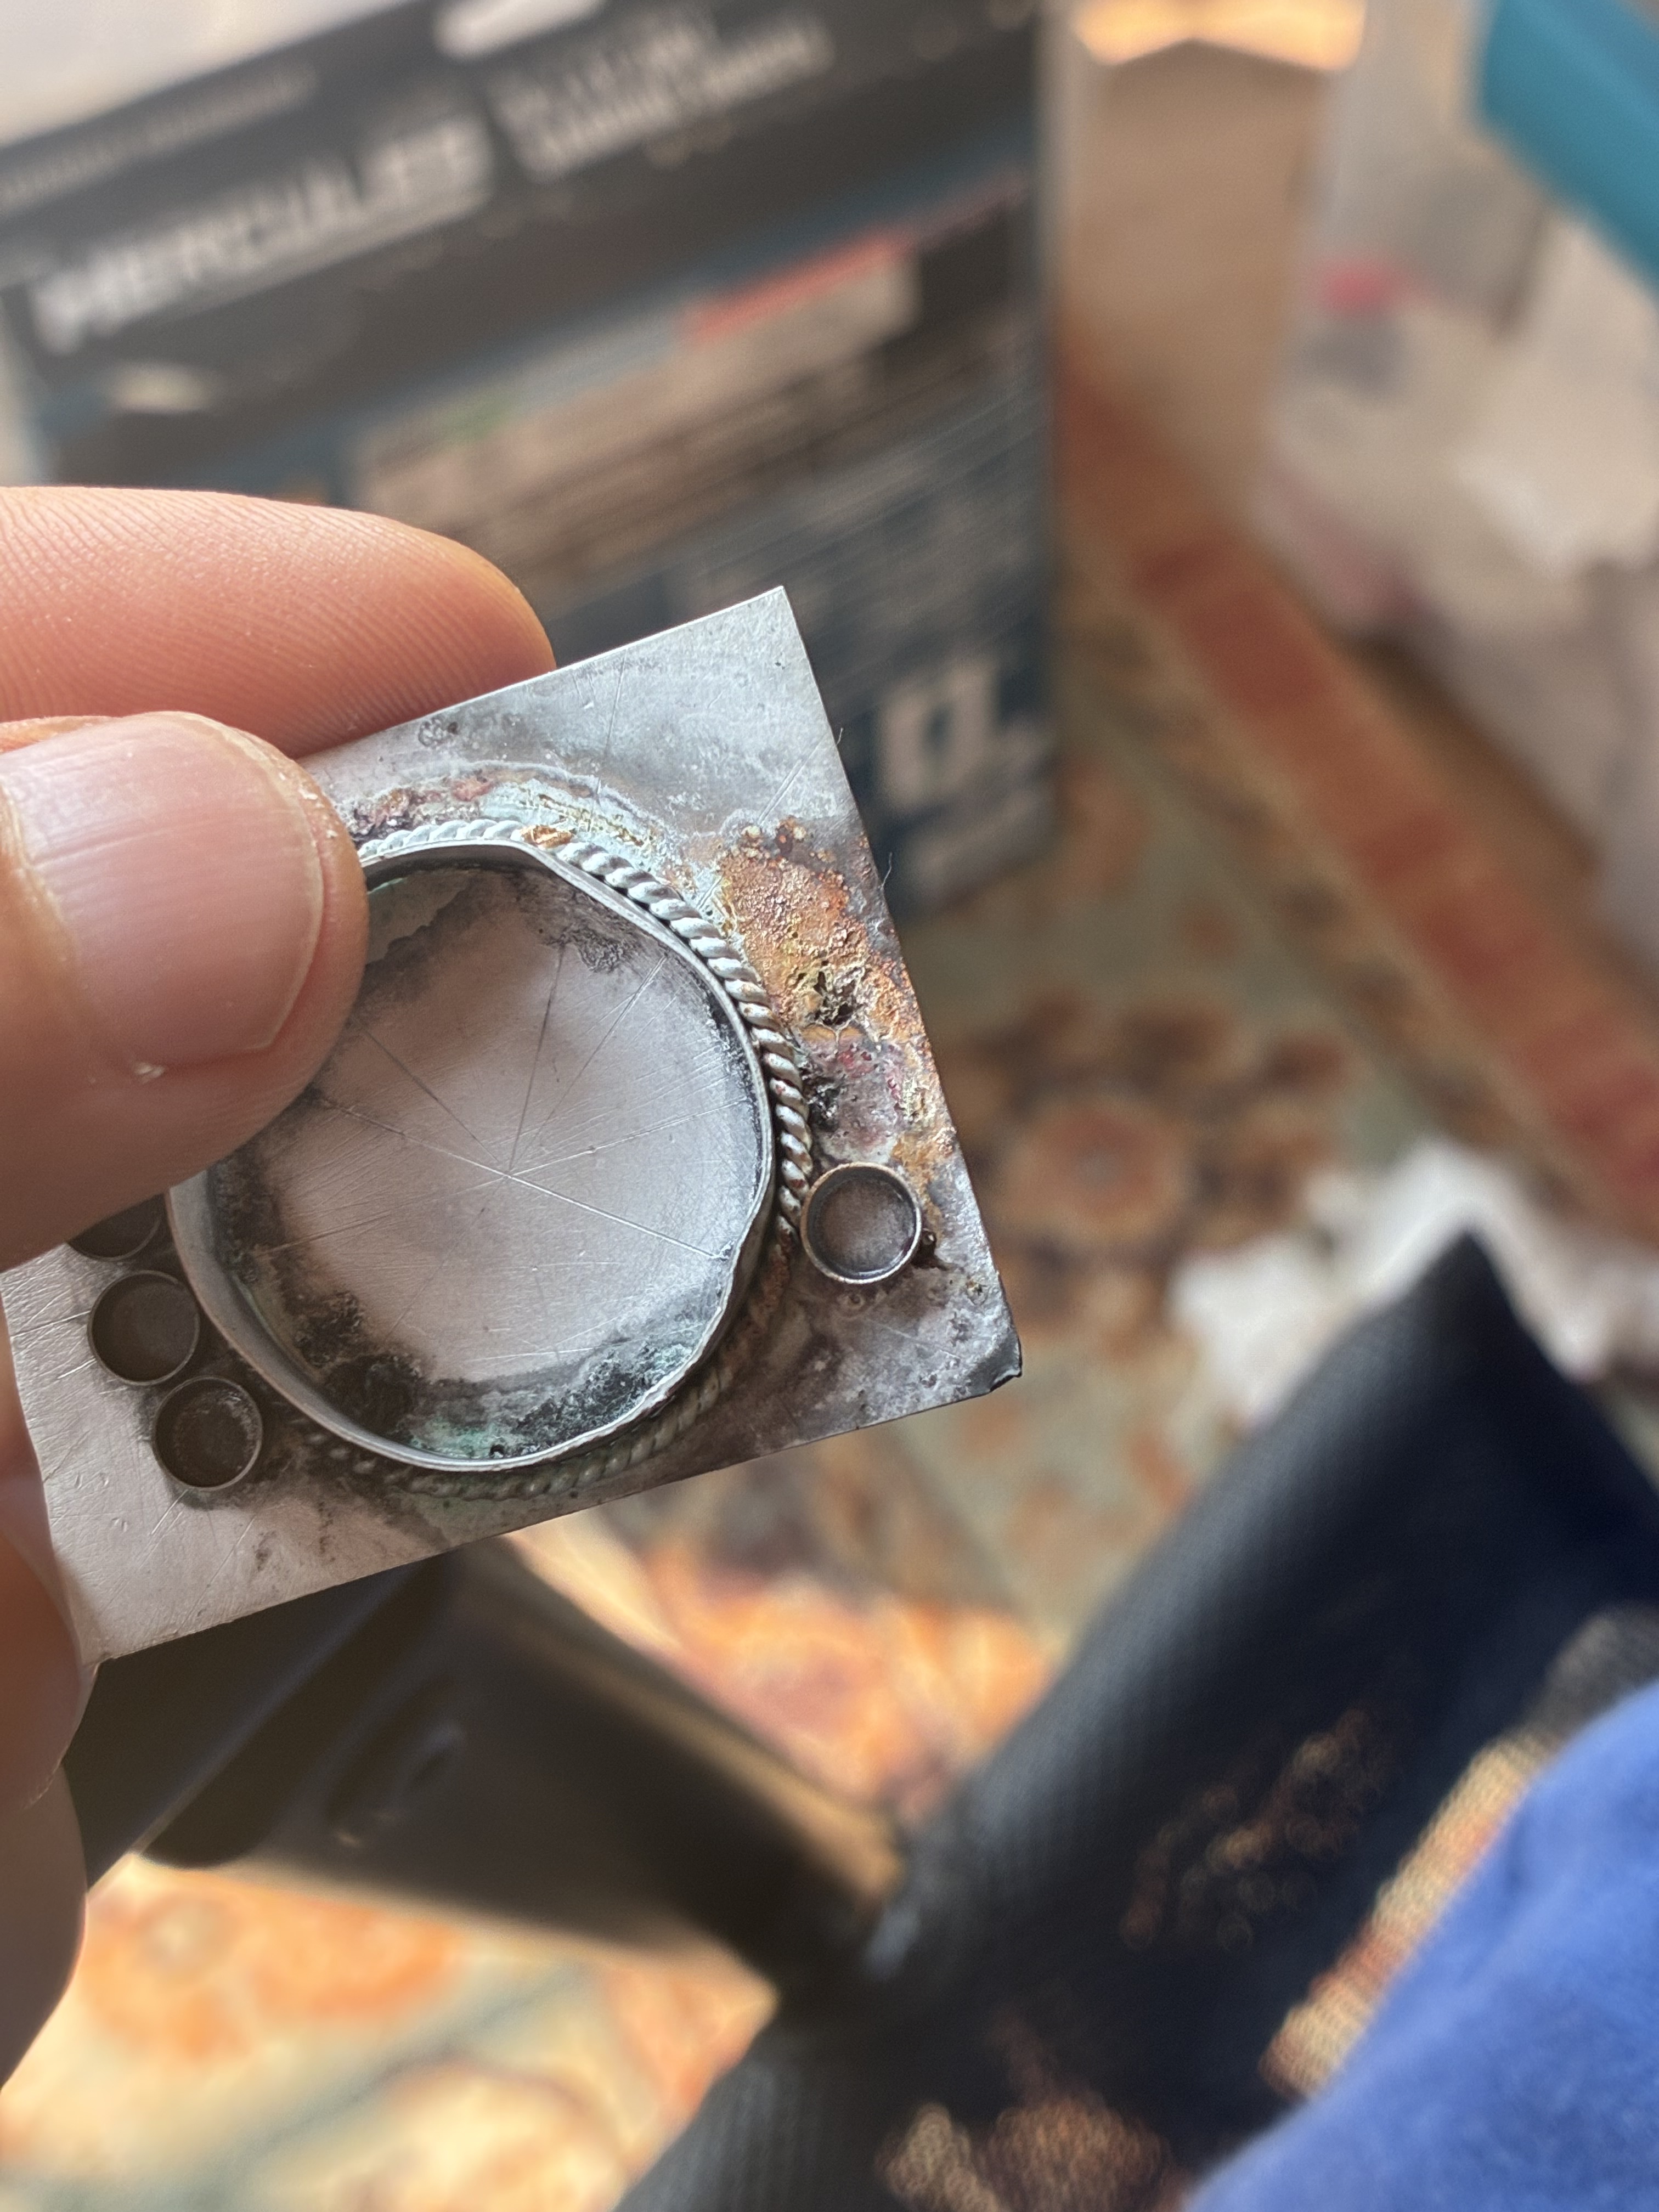
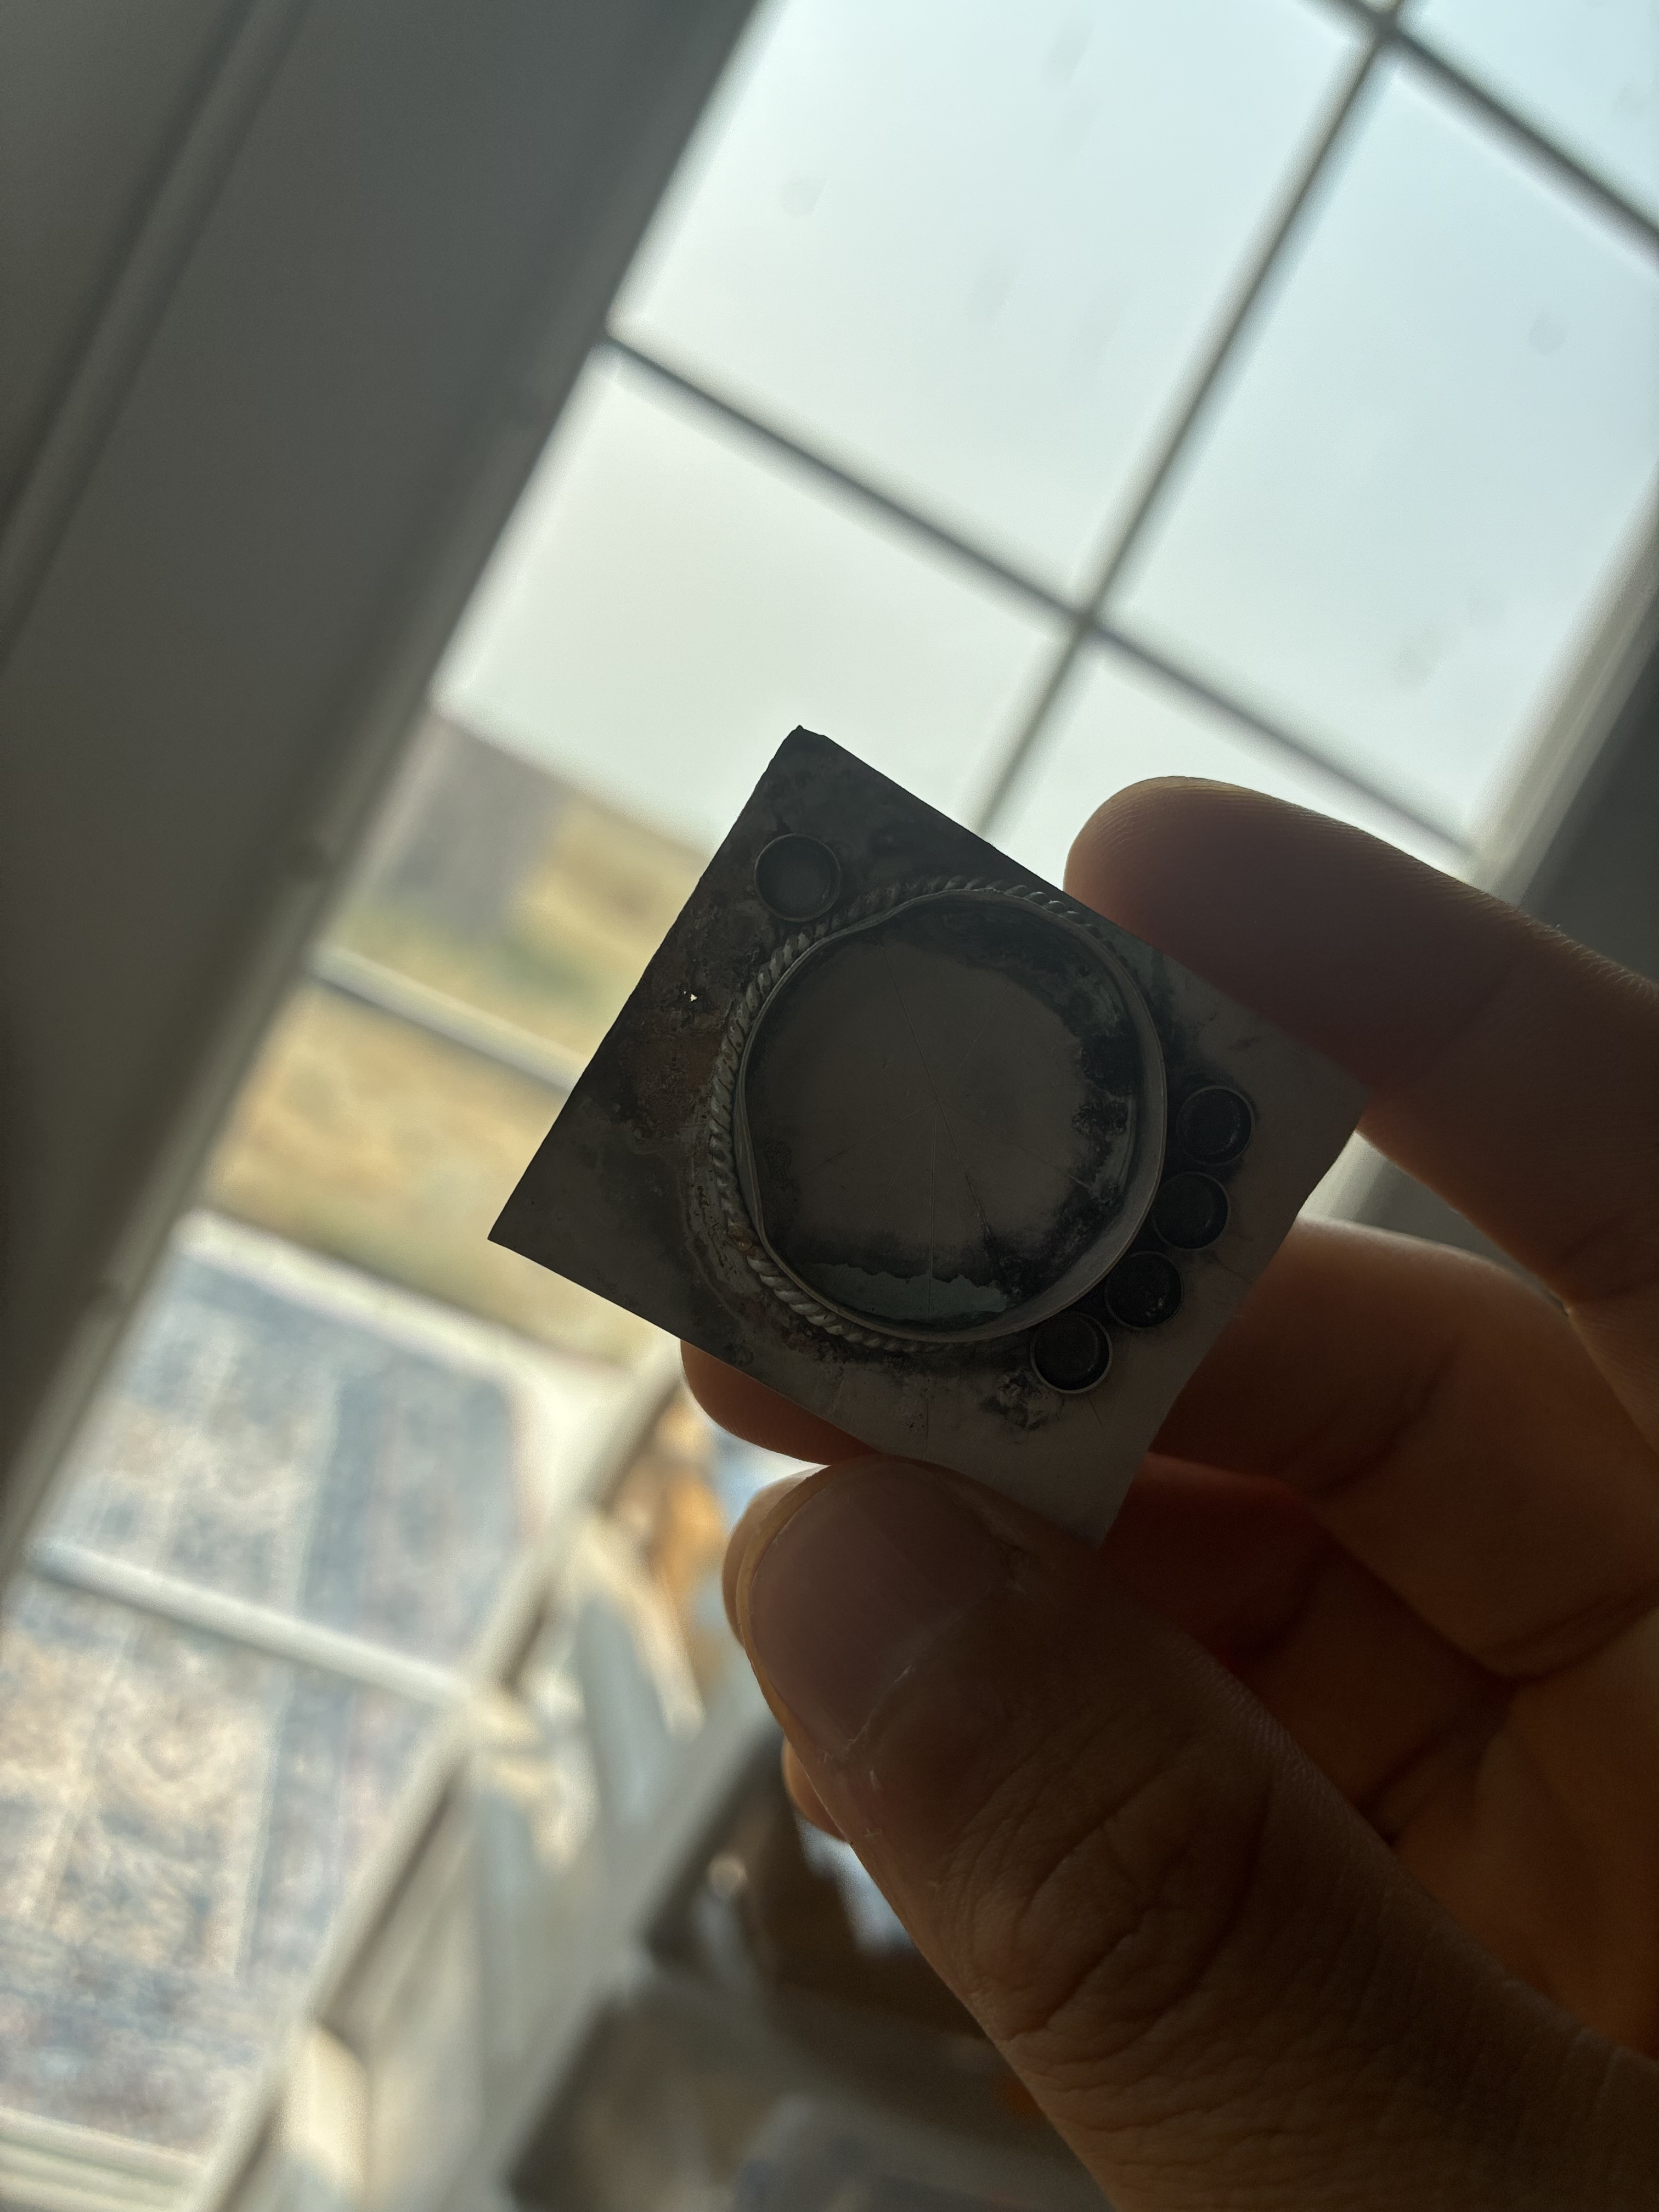
hello I really need help. Been at this for two days. So I’m soldering 4 bezel Sterling cups on the side of a bezel wall. The plate is cleaned with dawn and pickled. When it get on my bench it is shiny and clean. I am using self pickling flux and propane gas. I am new to the flux and was using paste flux before with no issues. I’ve heard mixed reviews about the rio grande selfpickle flux. So the process goes like this
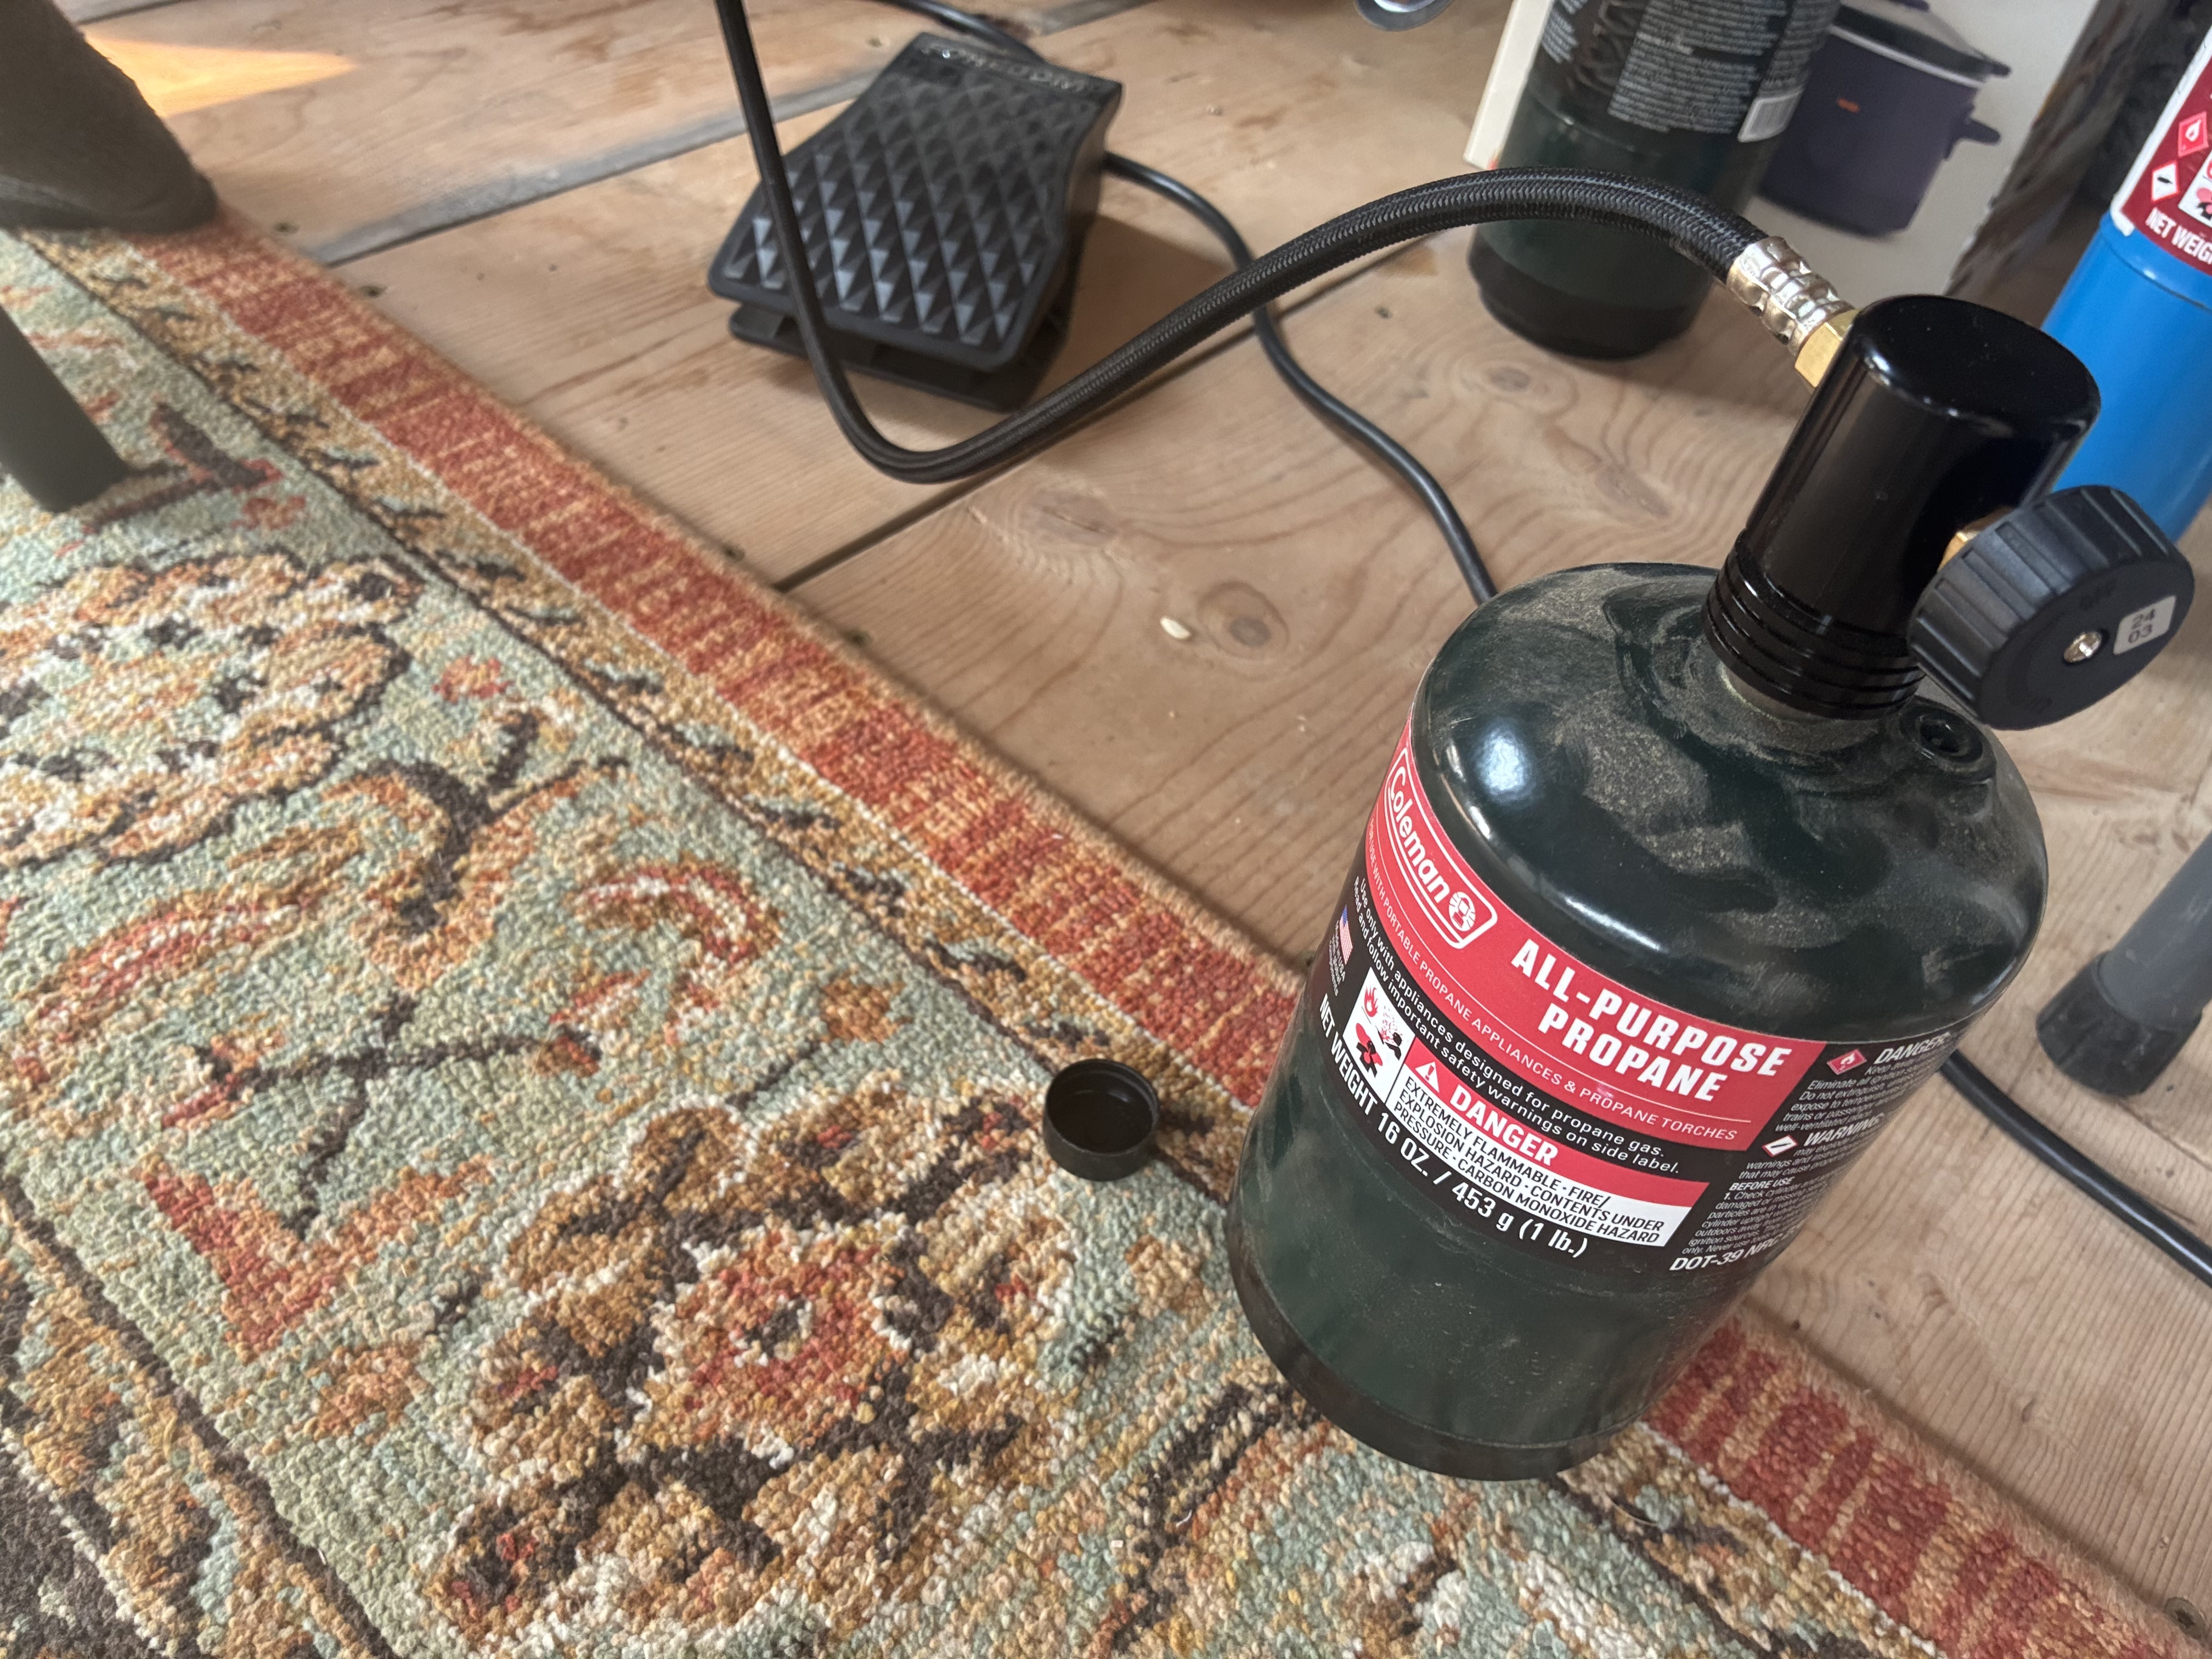
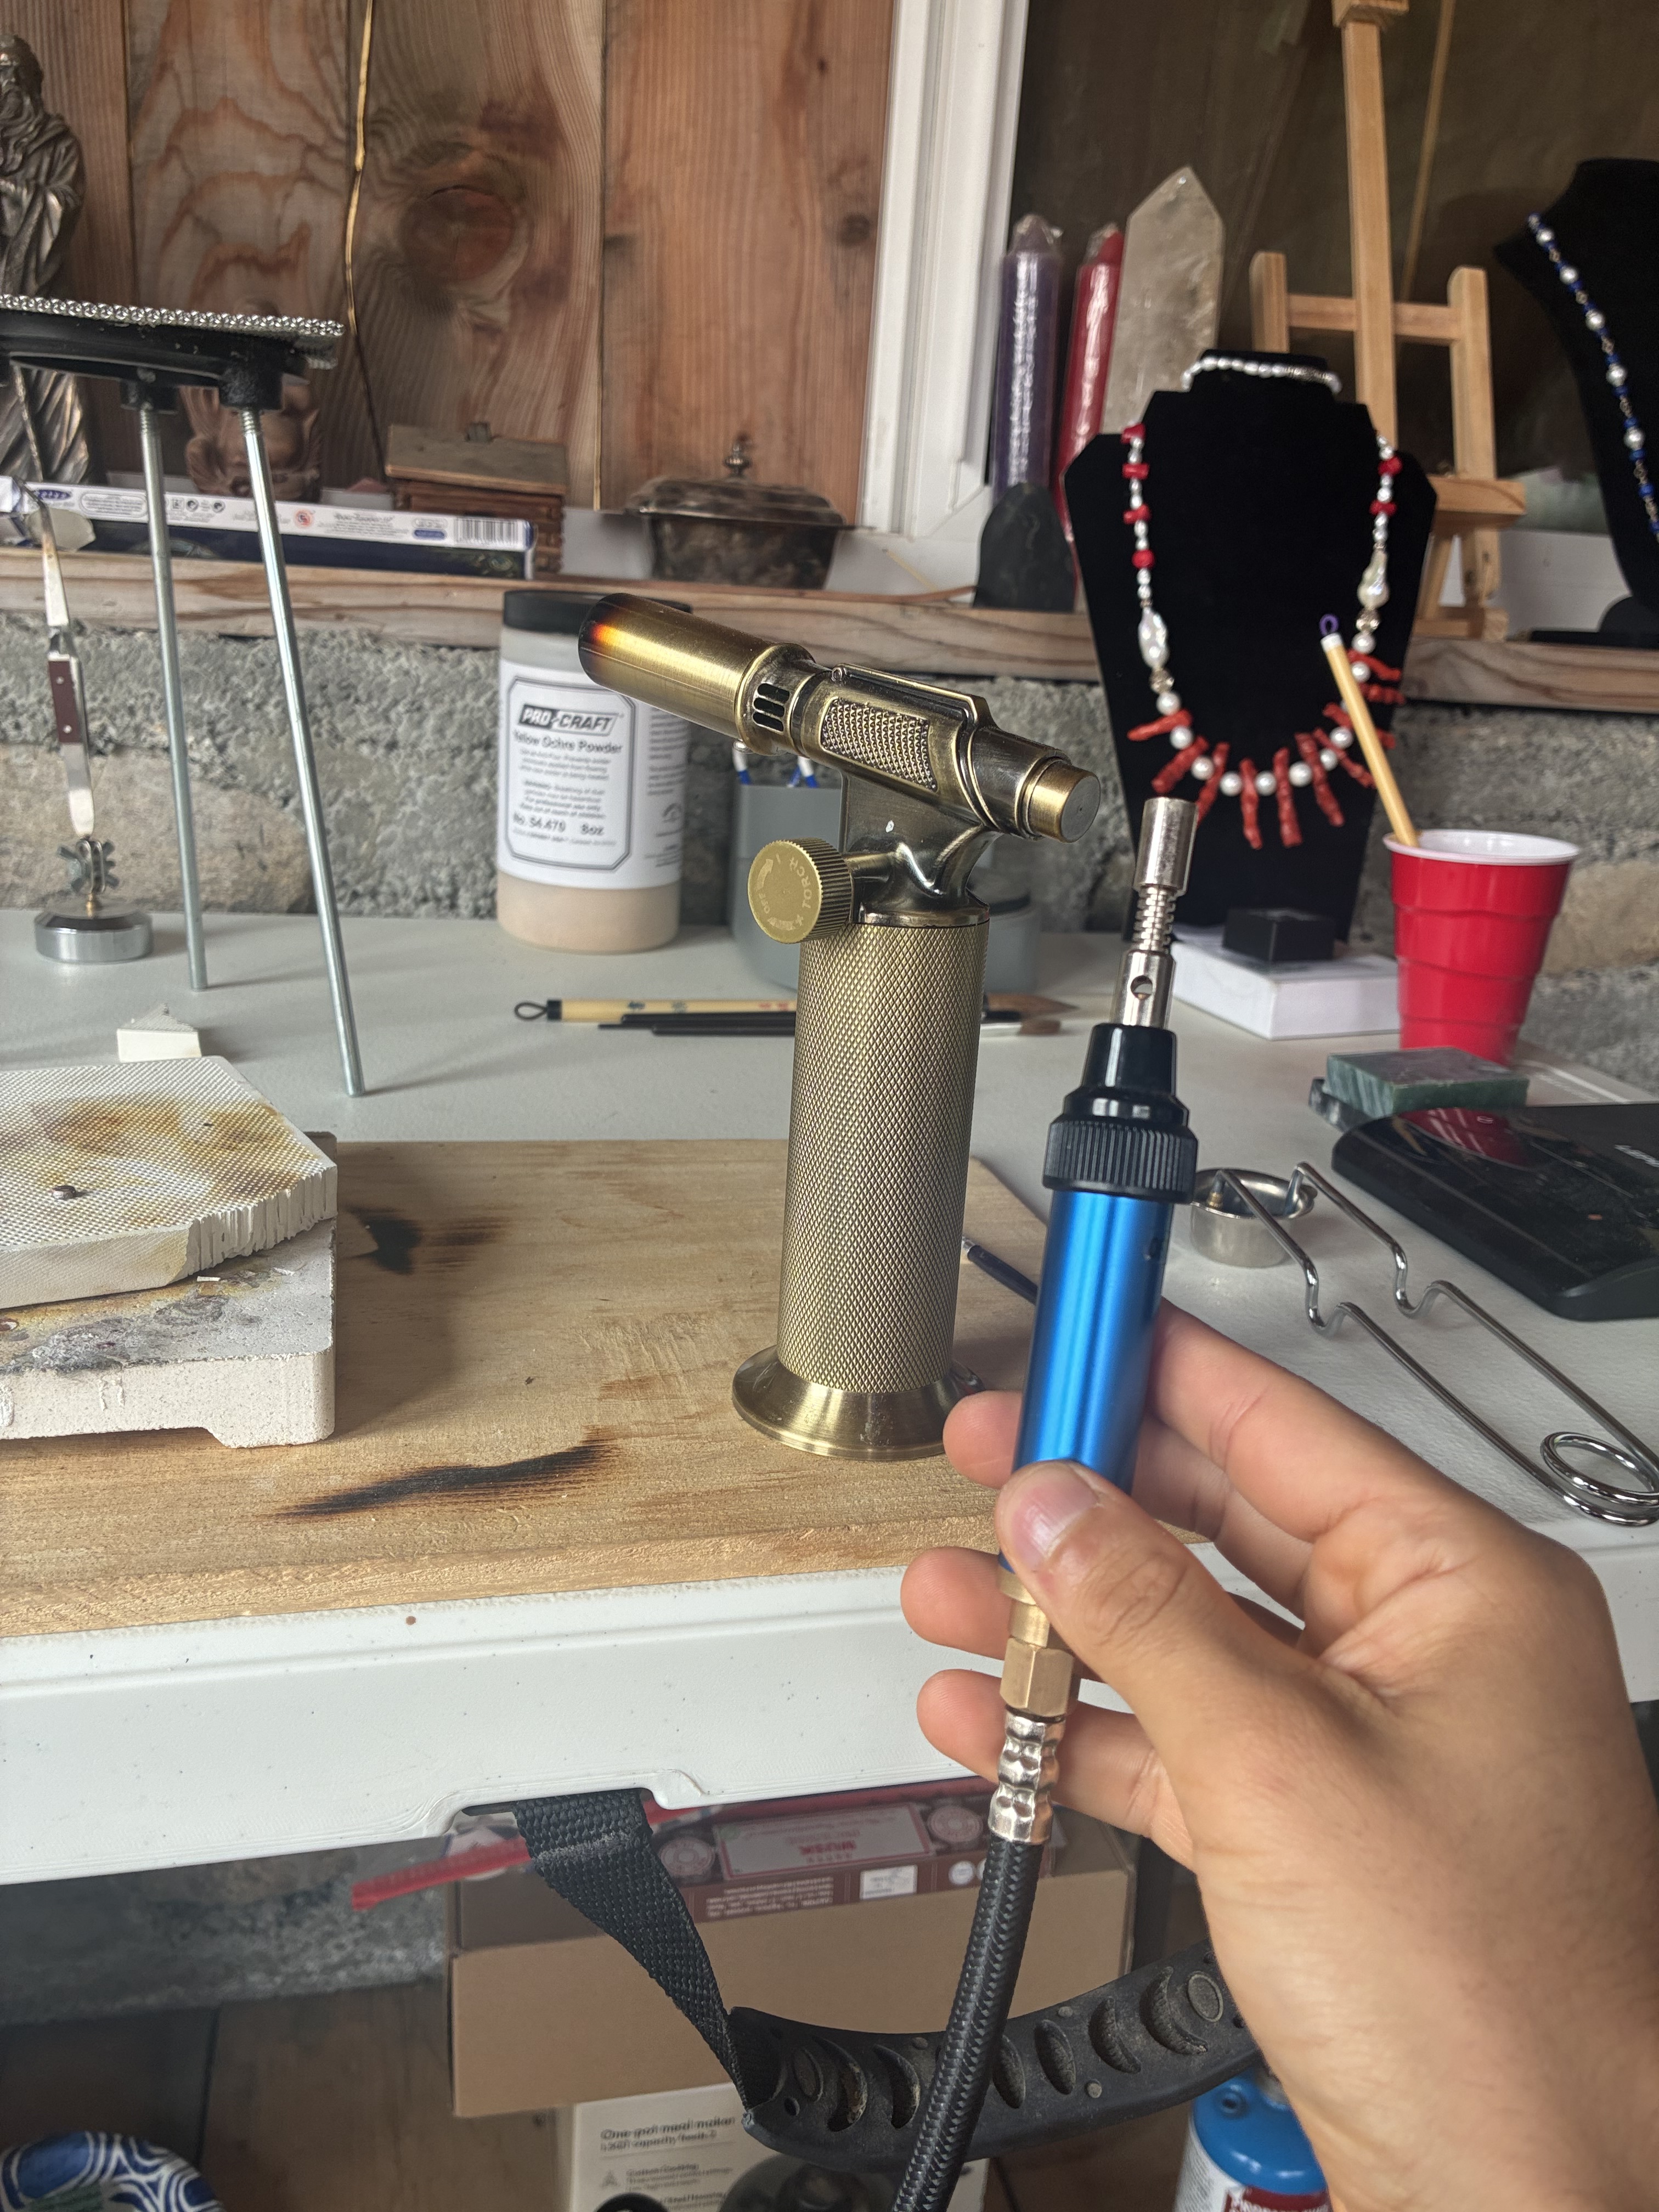
-when I heat the piece the flux turns black or on other tempted it becomes like a patina flame coppery color. The solder is not flowing. Sometimes it does which is how I got the 4 cups on the left side on. But it’s not very good flowing and I’ve done better. This is also the largest piece ived worked on. I heard the gas and torch could be the issue on larger pieces. I am using a stand to heat the plate but it does not come to temperature at all I think the stand could be taking the heat away. Lastly I burnt a hole in my plate and I am wondering if you guys think the project is ruined or could be turned around. I am including a pic of the piece and the torch and gas and the stand and the flux. In one of the pics I held the piece against the light and u can see the stupid hole
I’ve seen this before. Two simple answers are, one, not enough heat. Two, moving the torch from underside to above too slowly. All the pieces need to be very close to the same temperatures. The base being larger will take a lot longer to heat. Holes can come from many things. In this case it looks like something with a lower melting point got over heated. It can be repaired or you can add more holes as part of the design. Accidents can be frustrating, or they can be creative moments.
i would use paste flux on a piece this large. and yes- the stand is probably a heat sink. prop it up a little on a charcoal block, so you can bounce the flame up to the bottom.
There is a lot going on there.
Getting that surface cleaned up to a workable condition is probably possible but it would be time consuming. I think I’d start over. Bezel cups can save time and give a certain look to your project. But cups are very thin walled and would melt with the wrong application of the heat. The thicker back wall of your project would take more time to heat up to a working temp than would a vessel cup. I personally have had good luck with tining thin walled structures before hand, placing them on location, and then heating from below until the solder flows.
I have had good success with the liquid fluxes as well. But lately, the last few years, I have been using Boric Acid and Alcohol flux or I have used Handy Flux. They form barriers coats to fire scale as well as aid in the flow of solder. How much to use can be a learning curve.
Much of what we do becomes a technique that works well for the individual and it may not be as successful for someone else. The equipment we have to use can have as much as anything to do with how our work develops. Smith Little Torches are great for some work in my shop but I don’t use them for every thing. I like to use EZ Torches for some jobs that require heating a larger area to a working temperature. The Little Torch concentrates heat in smaller areas. Using Little Torches for a project like yours is a skill I haven’t mastered. I had been building jewelry for 30+ years before I set a stone. I am still learning.
I am sure I mentioned things you all ready know and probably do very well. I’d be interested in knowing what torches and solders you are using.
Just to throw in my two cents here. It looks like you overheated it and burned away all of the flux.
As others are saying paste flux is more forgiving and generally lasts longer than liquid flux. From what I’m reading in your post, you didn’t have problems with paste flux. Your problems started when you switched to liquid flux. Why don’t you go back to paste flux?
The other thing is that with the metals that we primarily use, (brass, copper, silver, gold - platinum is different) they will turn to a light red before they turn to full on red and melt. There is often just a second or two before they melt. This means as soon as you see the barest hint of red heat color, pull the torch away and let it cool down a little. It can be helpful to solder in a shaded area so you can see the heat colors as soon as they happen.
Let us know how it works out. Fingers crossed for you!!
Lots of good advice so far. My two cents are as follows. I have never had a lot of luck using a screen to heat a piece from below. You might look into different soldering pads material. Some are more of a heat sink than others. I work on a solderite board most of the time, with charcoal blocks and perforated ceramic blocks when I need to hold a lot of pieces in alignment while solder them using little titanium pins in the perforations. I use paste solder almost exclusively and, with the amount of metal that you are heating, you may burn off liquid flux before you get done soldering. This is when your solder starts going where you don’t want it to go. The standard little torch is just not hot enough to get the entire piece up to temperature using standard tips. At the same time, the smaller tips might get a small area up to melting temperature and blow a hole in the piece as appears to have been the case in your pictures. If you have a casting tip, try it out as it will be a softer bushier flame. Don suggested an EZ torch as it has a bushier flame, but it is gas and air only and produces less heat than a gas and O2 torch, but will do the job eventually. Practice on srap silver with paste flux in it and small snippets of solder just to see how the paste flux changes color and texture just as the solder starts to flow. I know that you don’t want to hear it, but you might as well start over as you have really damaged the silver in several places. You could also change your design with fewer cups. Purchased cups are made from very thin material and can melt before you know it. You could roll wire to the proper thickness and height and then make rings the size that you need and solder them directly to the backing. Keep us posted and know that we have all screwed things up like this, so don’t feel alone…Rob
Silver is such a challenge to master in terms of soldering. I’ve been doing it for 15 years and I still will have big challenges trying to solder some thin things like this, etc. Like others are saying, try to solder it from underneath or at least heat it up there. A great tool for this trick is to get heavy steel mesh piece of square. It Looks like a piece of chain link fence? I forget what it’s really called. But if you can secure corner of that to bench, then you can put piece on there, then heat the baby up slowly from underneath to start it. The challenging of soldering silver (and how hard it is to clean it up, pickle) is why many jewelers refuse to work with silver once they are established and just work in gold. It’s so easy to solder gold and to clean it, etc. Like night and day. Like some say, the heavy gauge screen trick may just be a heat sink and make it worse. You may want to invest in those really nice soldering stations that has two holders on each side and a soldering block square in middle. Worth it!