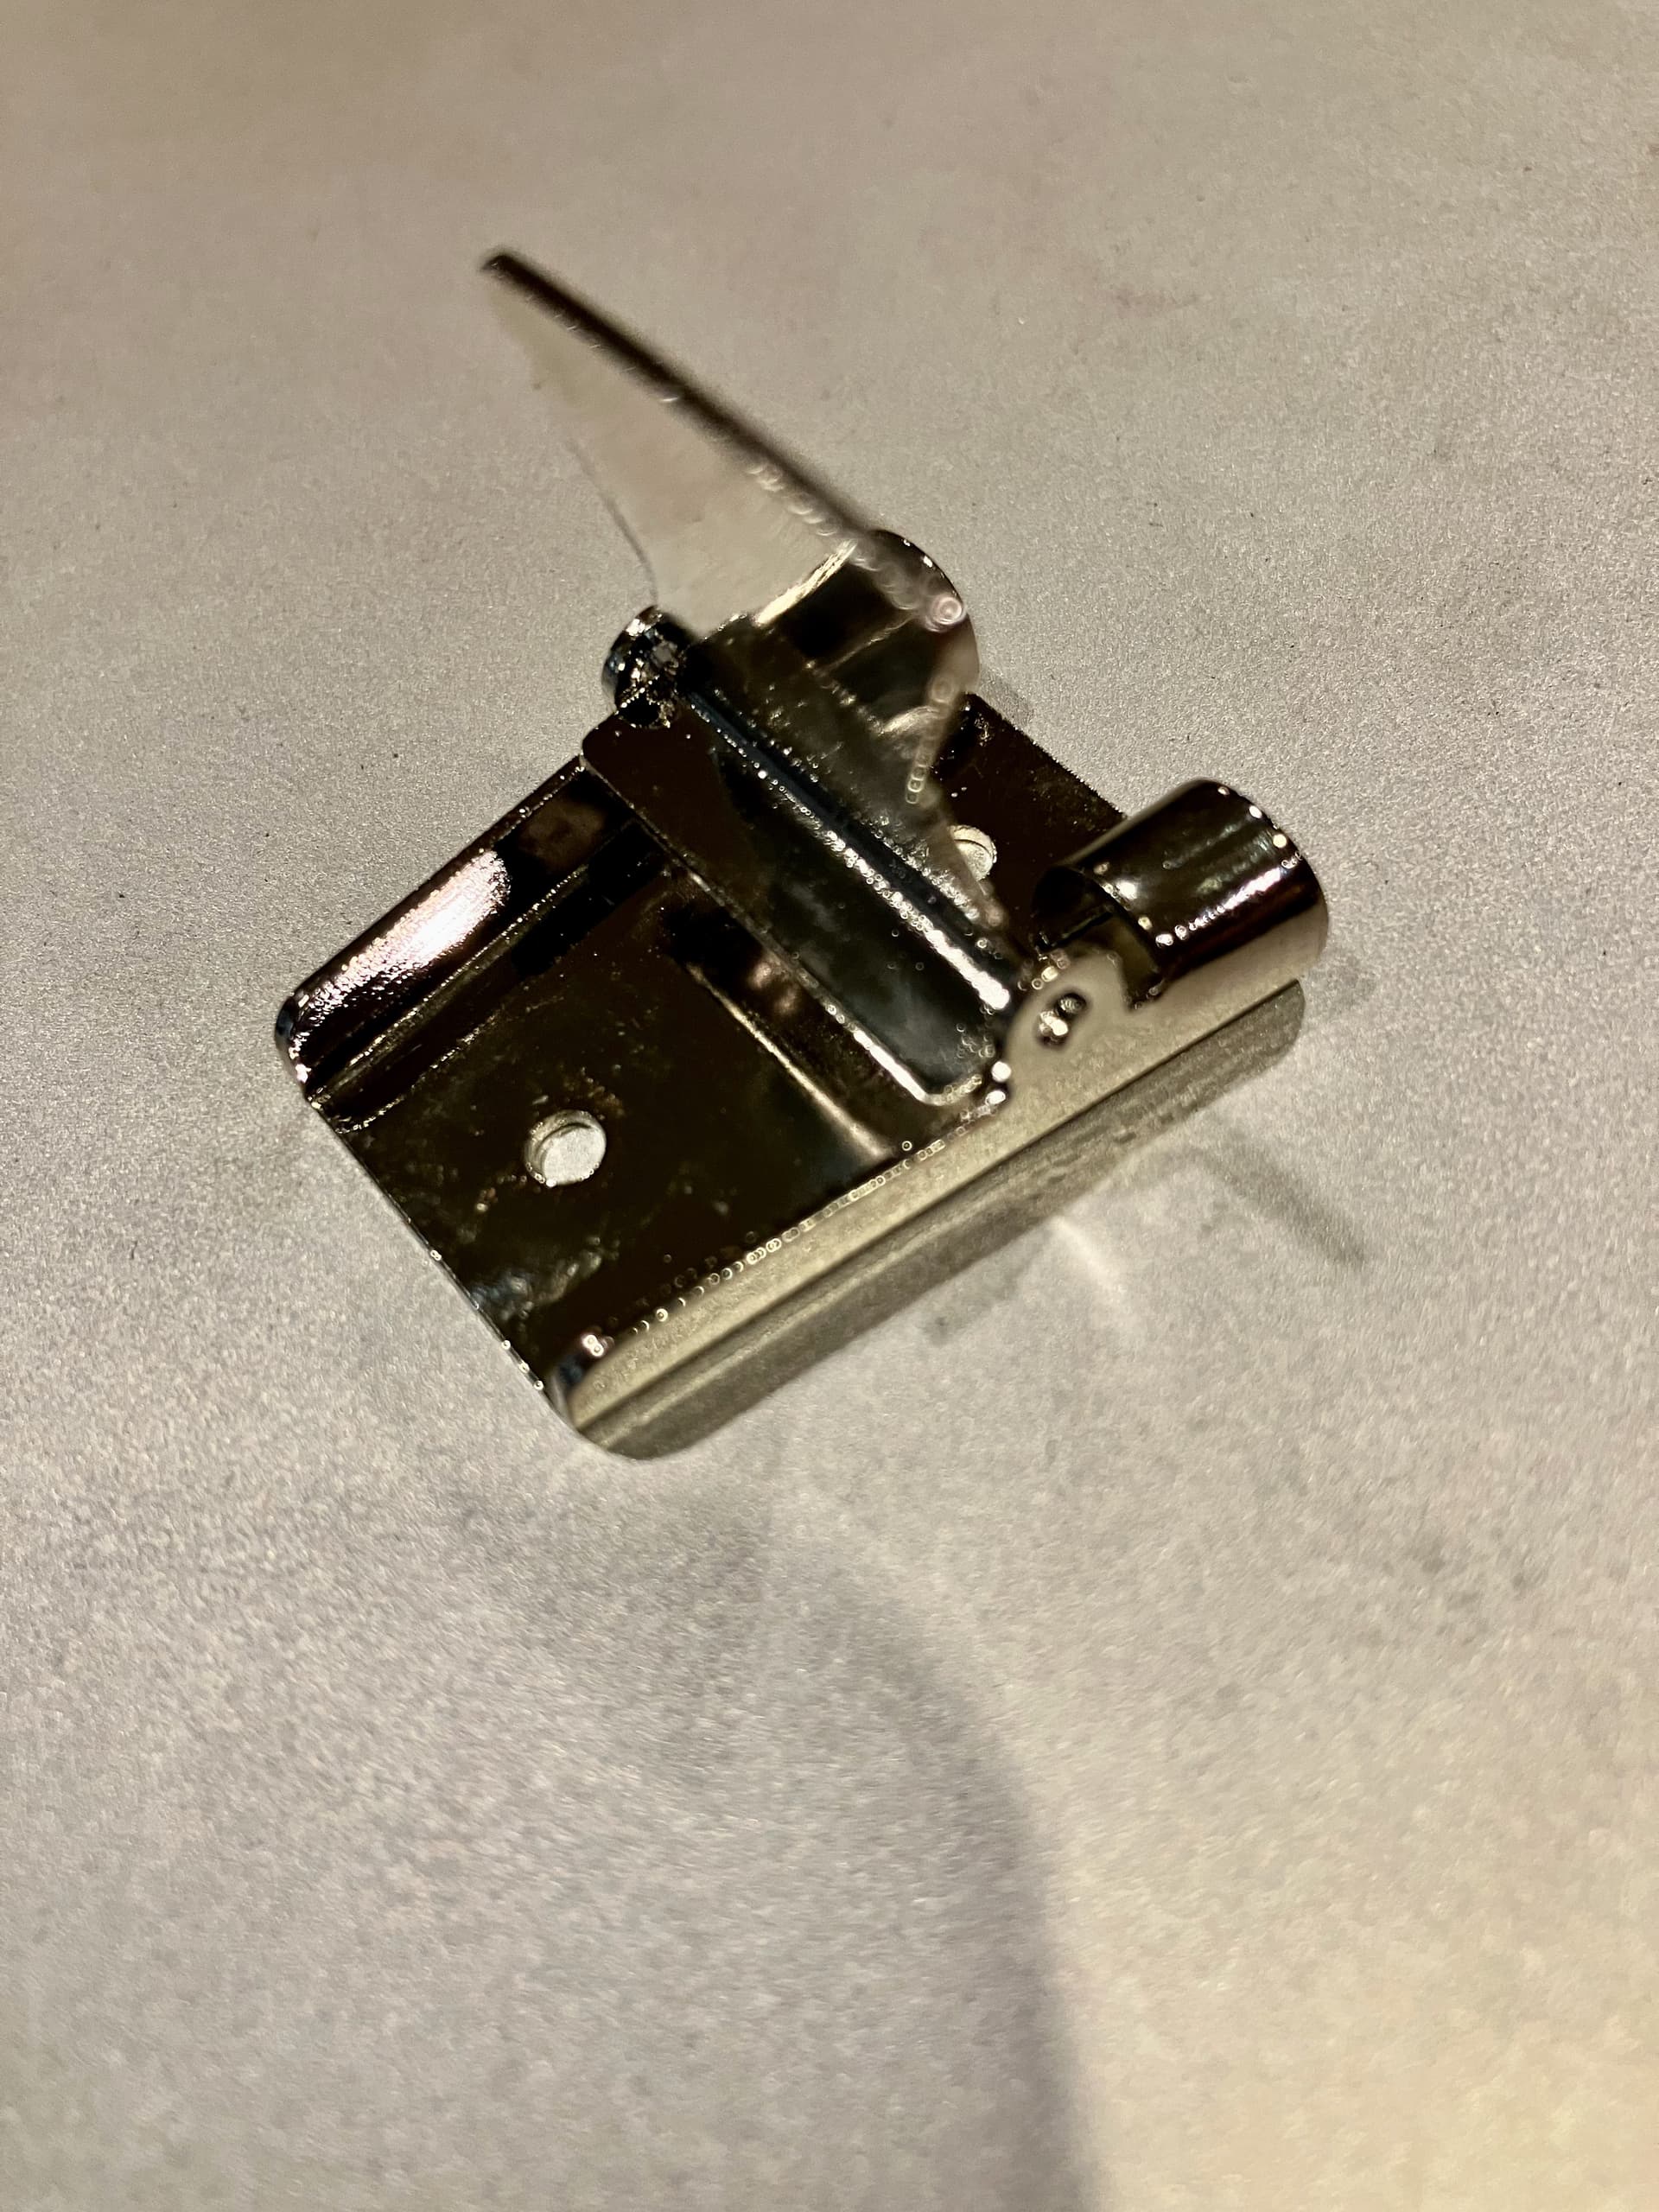
I made a bola tie that I plan on keeping for myself. In my pre-sterling silver days I made quite a few out of nickel silver and always used those stainless or nickel spring tension do-hickeys epoxied on to the back. Now having gone all sterling I’d like to make more heirloom pieces and that includes the clasp. I read a lot of old posts on the subject and some seem to have had the experience that the old sterling figure eight led to slippage of the bola and wear on the cord. I do like the look of the bennett and see a lot of the original C-31’s on vintage pieces; however, I really don’t like the look of the current stamped ones available. I ordered a few and they’re rough, ugly, and really bite into the cord. Two questions:
Does anyone know where to buy quality bennett clasps?
Has anyone ever attempted to make a bennett out of silver by taking a stamped piece and flattening it out to make a template?
My only concern with making one is those little pivot ears are really small, and I’m concerned they’d wear off in short order. Maybe solder a piece of heavier nickel silver wire to the flap to make the pivot ears?
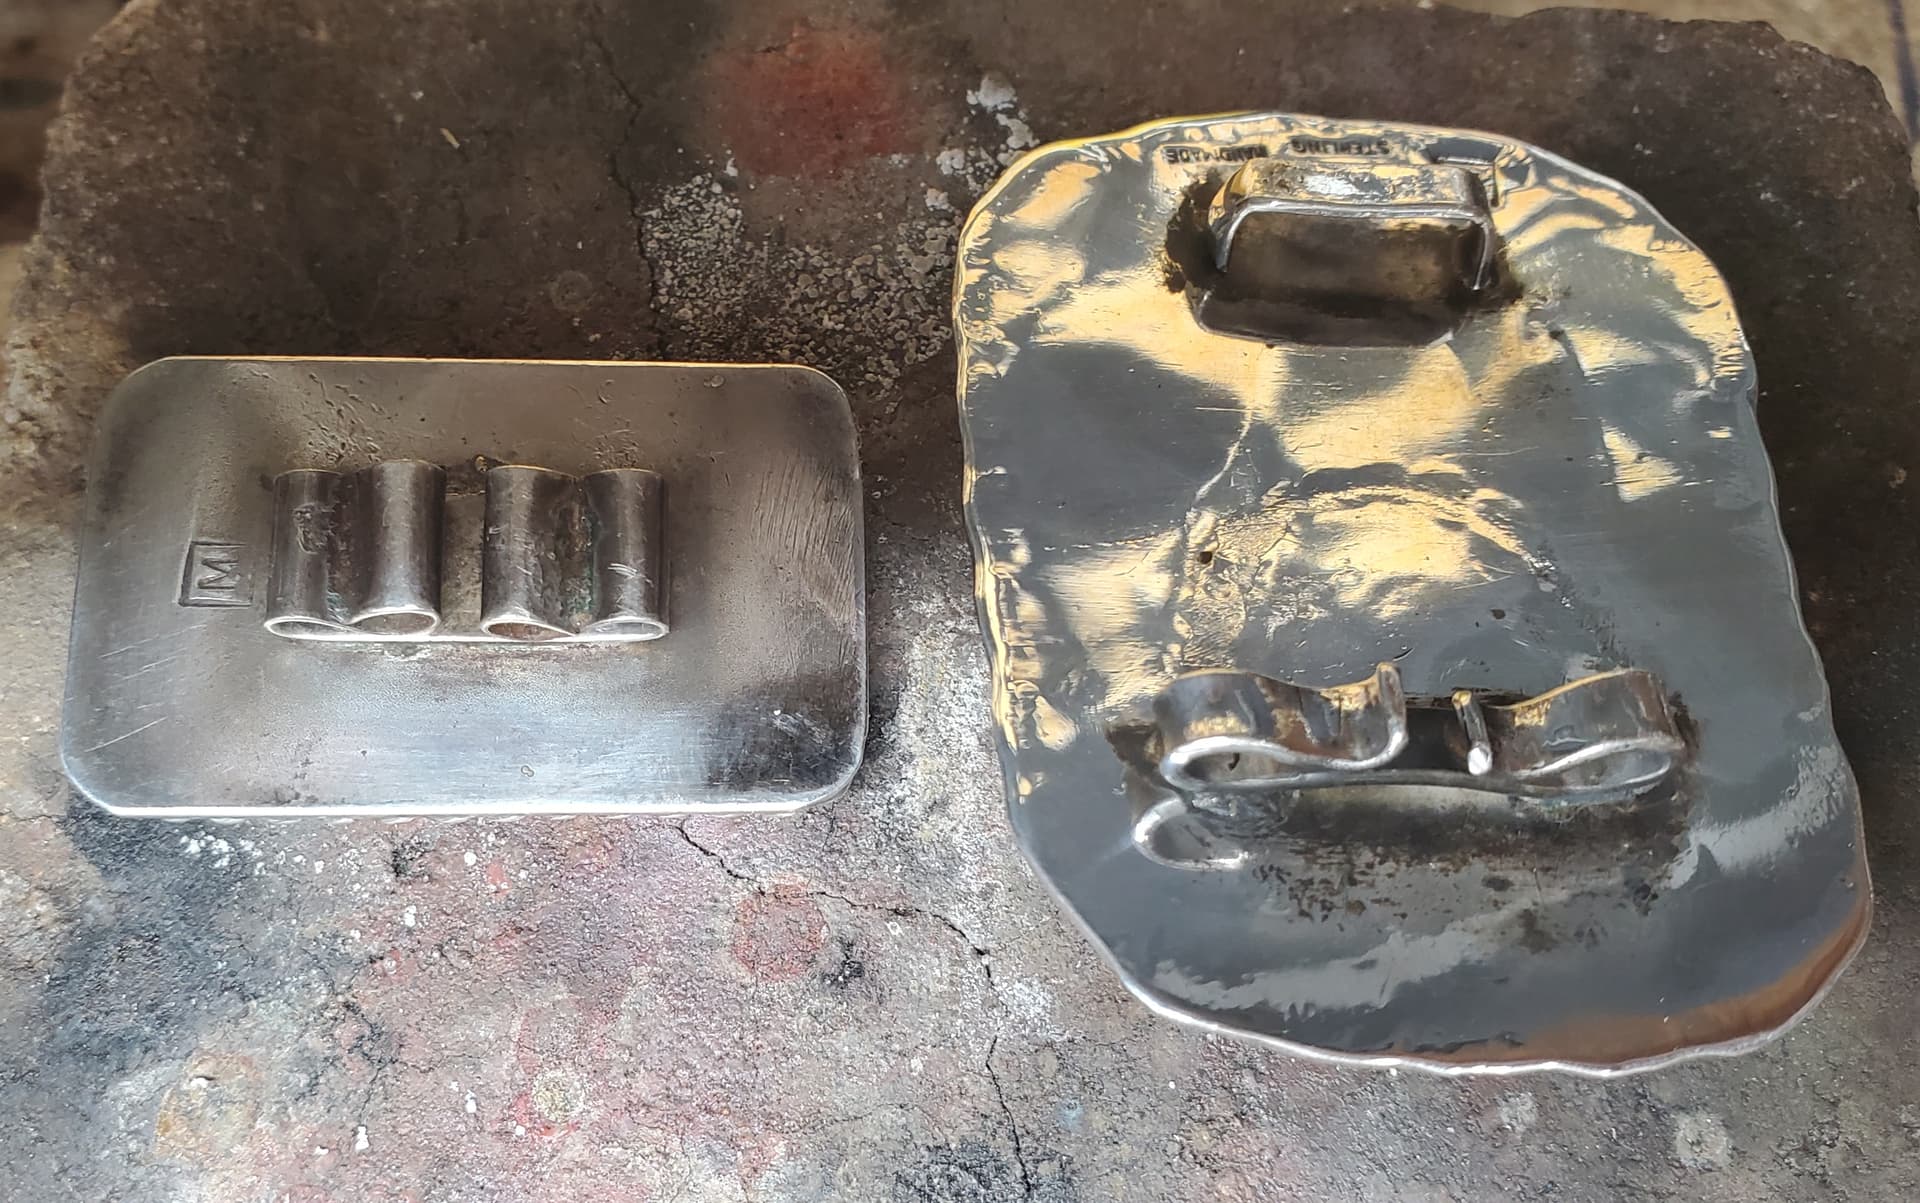
I have made a few Bolo Ties over the years. I even wear one from time to time. I am not sure if Rob ever does but our father made many and while I inherited many of the lever clasps shown in the picture I never knew Dad to ever use one. I would suggest this option to buying commercial clasps.
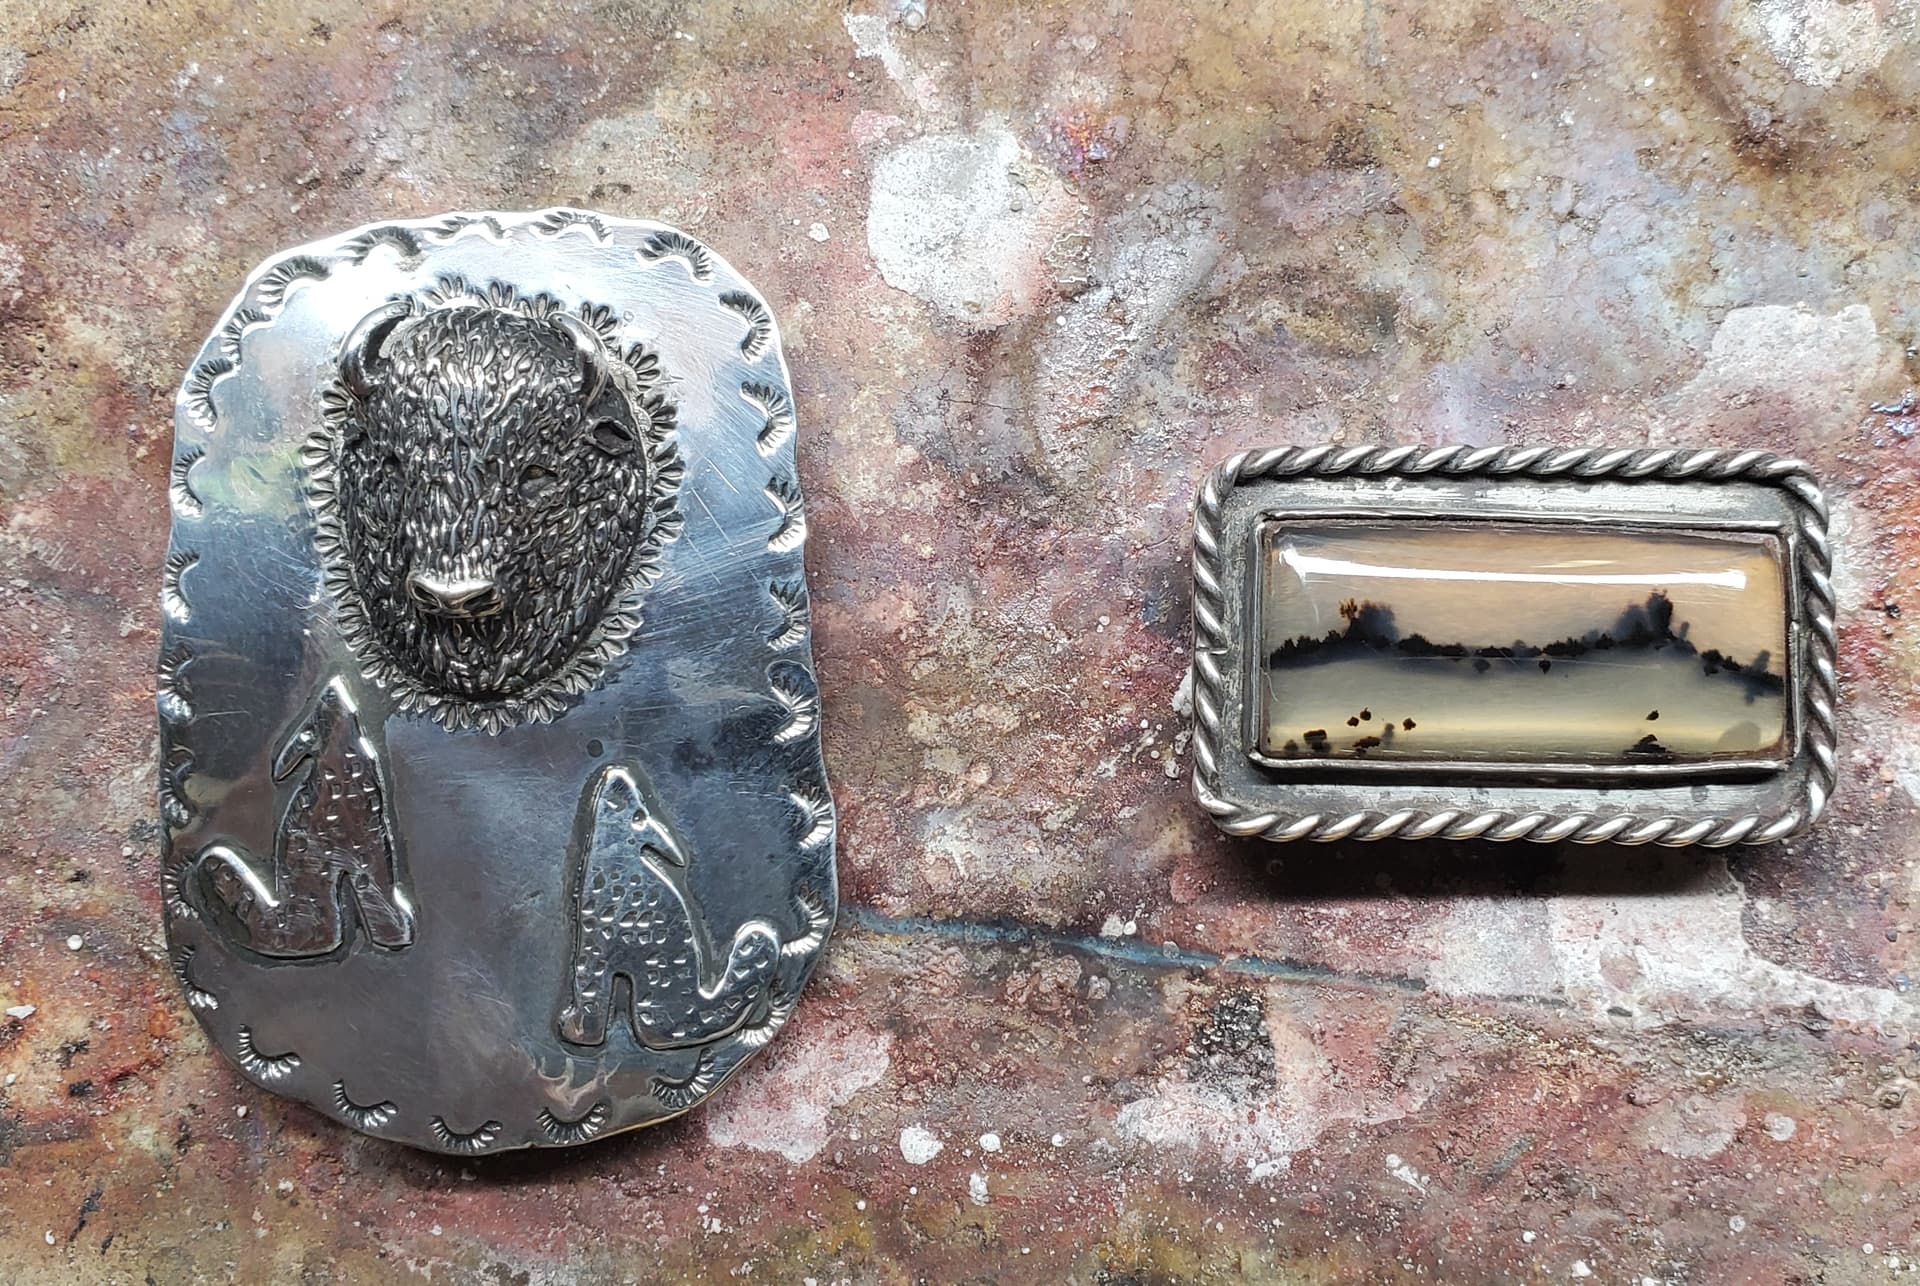
These are two of the ties he made (from my collection) the one on the right is Hallmarked but not dated. I believe this came from very early in his time at the bench. The Buffalo Head was made in 1994.
As you can see they are a simple friction fit. My Bolos have always been a bit of craziness and I would put odd things together and wear them in one of the Bands I was in over the years.
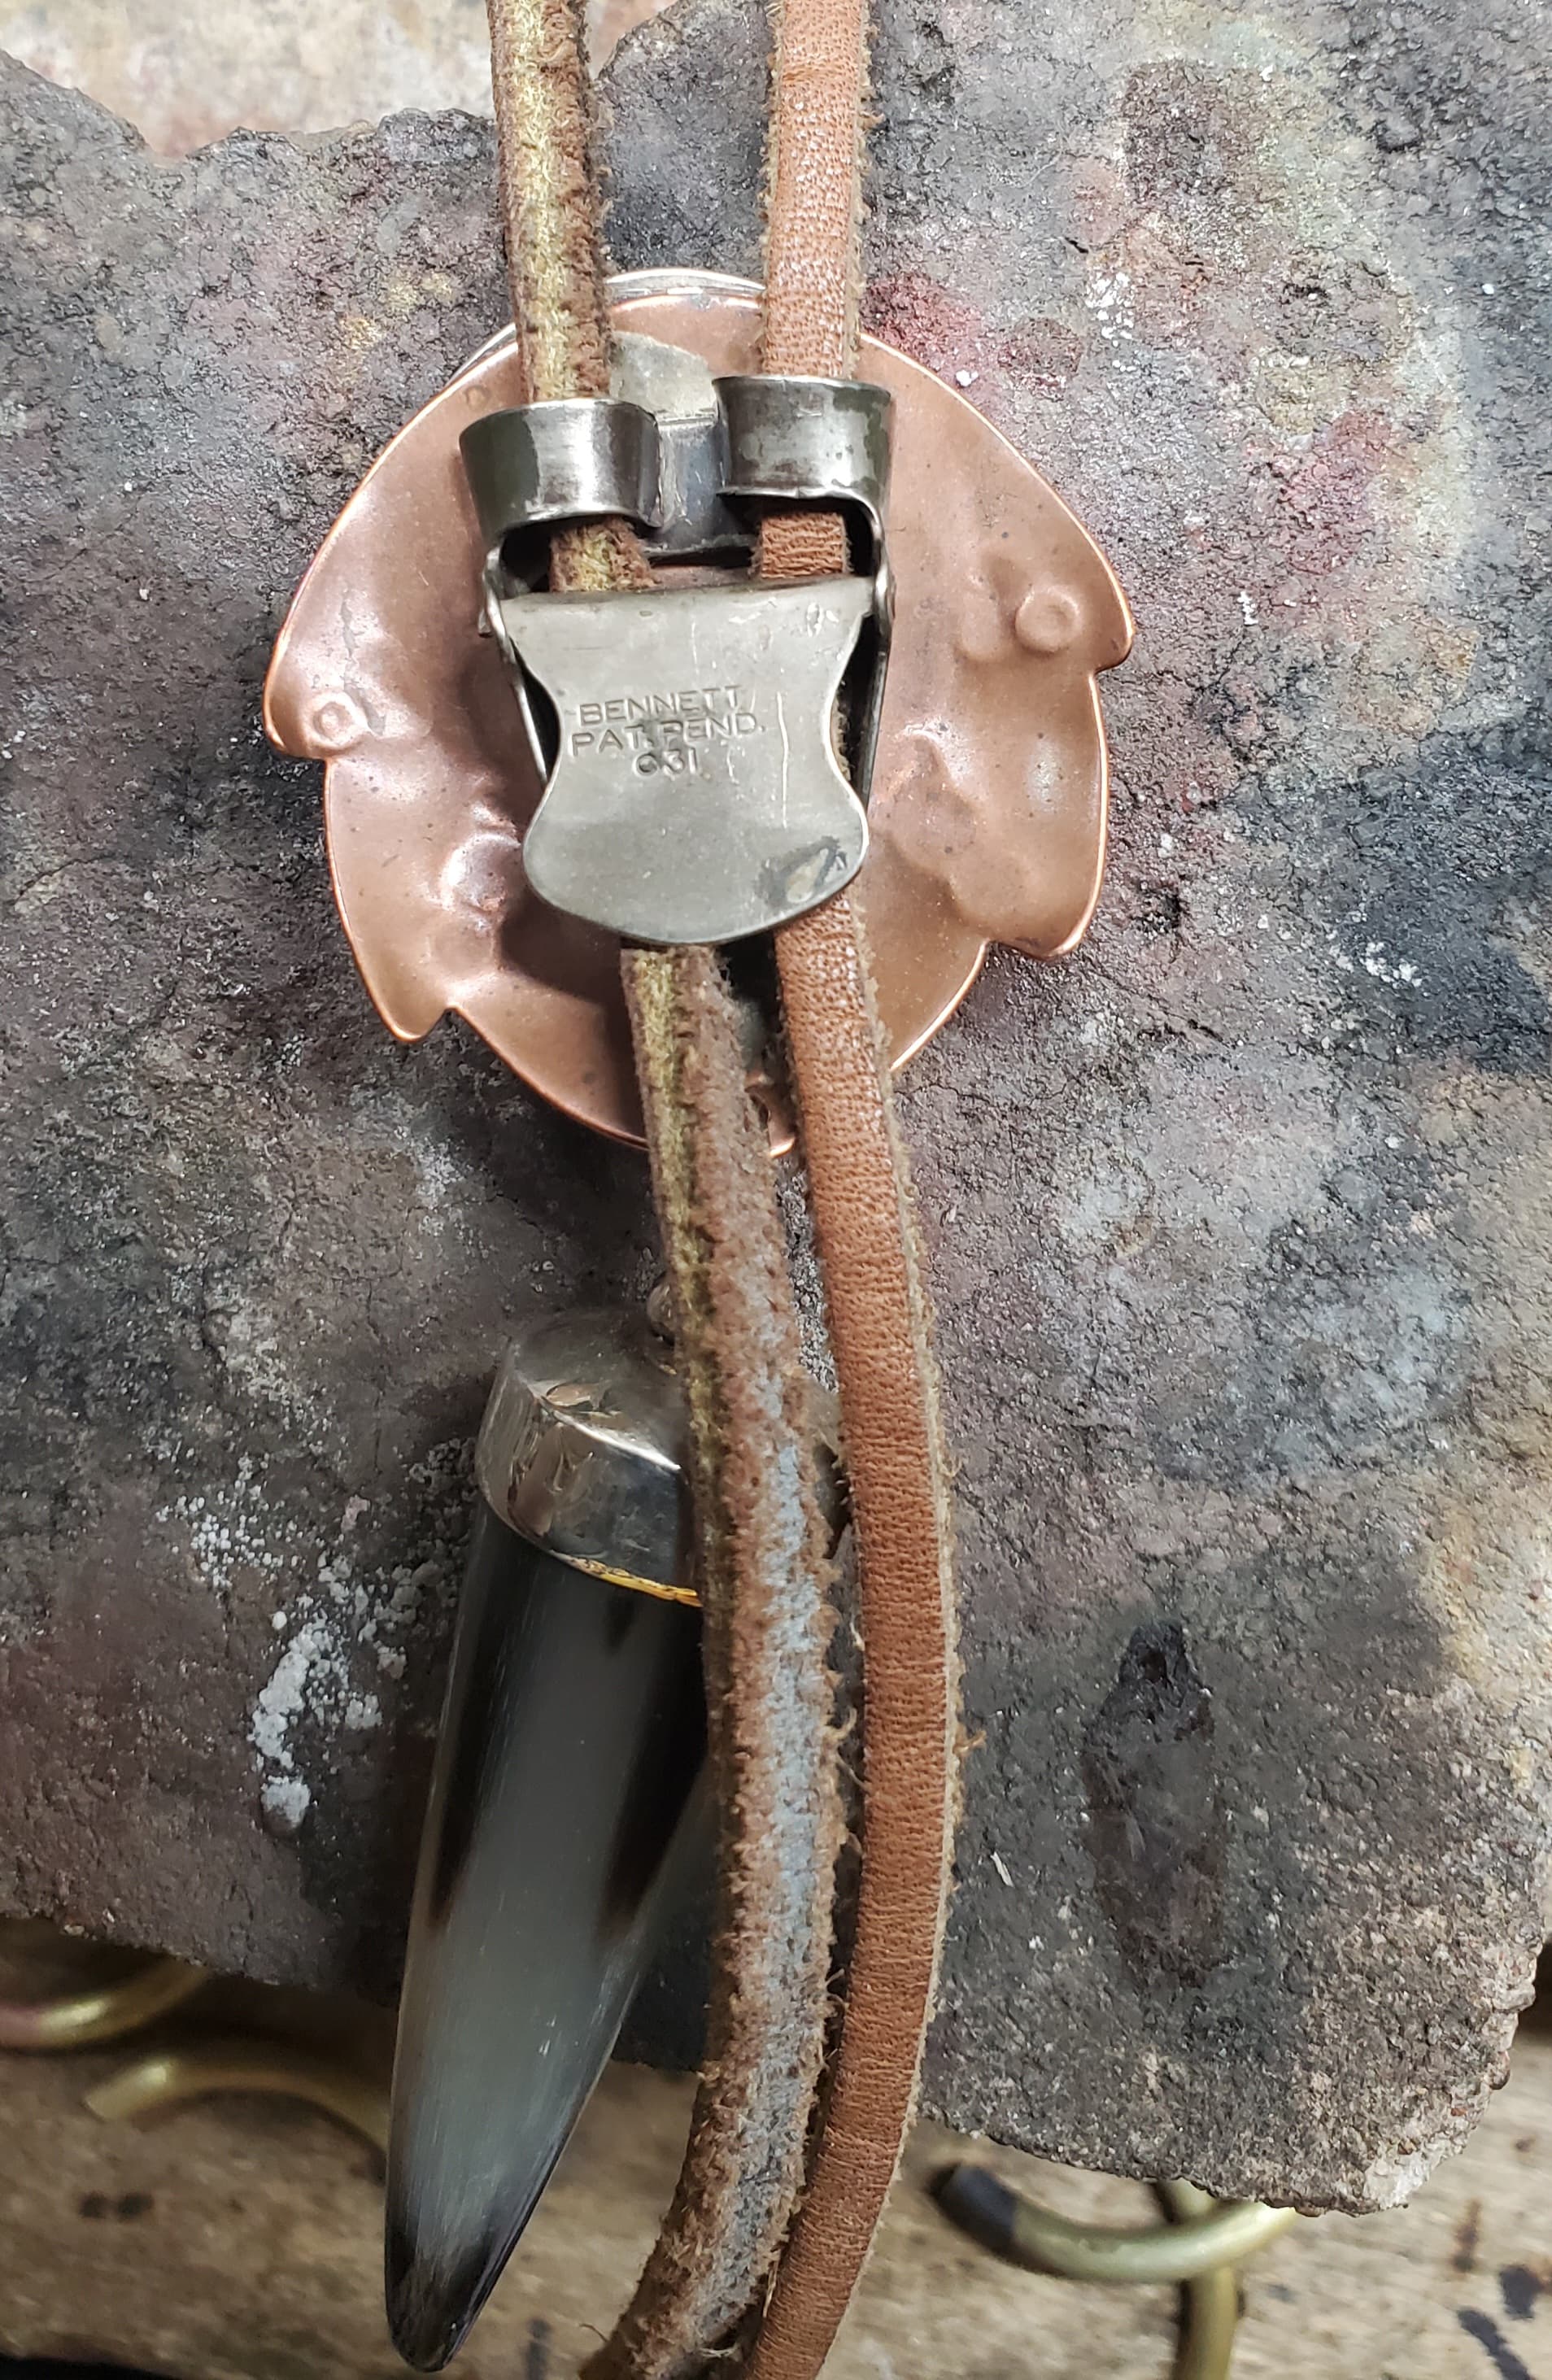
As you can see that piece of polished horn is pretty big and I thought the commercial clasp would need to be stronger. But it was un-necessary. And the tie itself is a simple latigo thong. This is the only one I ever made with a commercial clasp. The others were just like Dad’s. I made them out of 20 ga. I did try to saw out a clasp like this commercial clasp. Easier than it seems it would be. I would use 18 ga. sterling plate if I were to do it again.
The nice thing about the clasps that Dad used is they are easier to fit to smaller Bolos.
Good luck with your project. Maybe I’ll put a Bolo out at I show I am doing next week end.
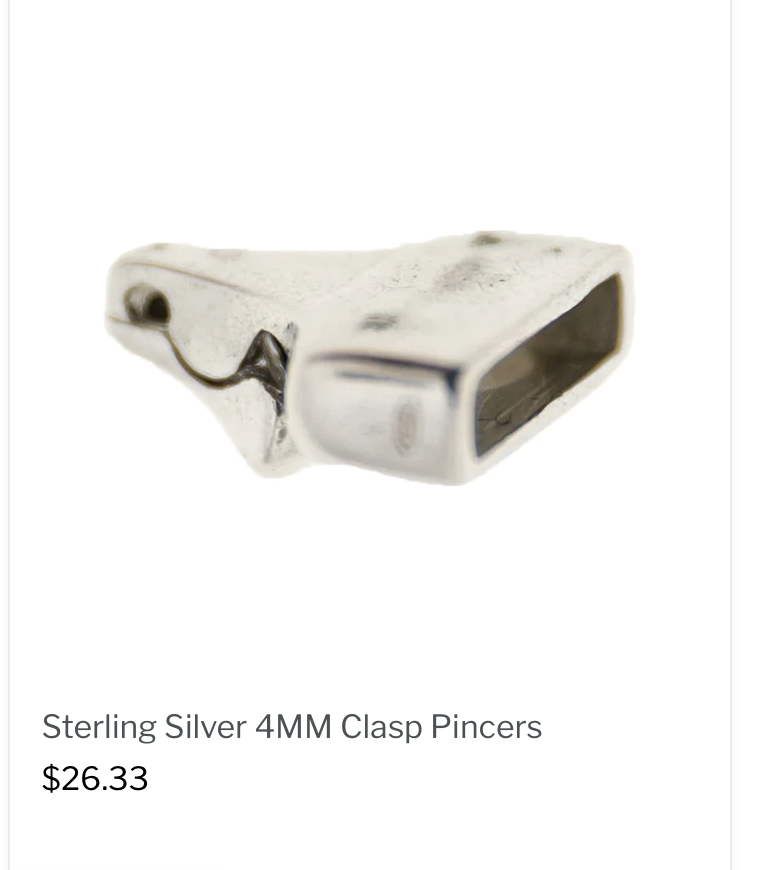
Thanks Don! I remember seeing a couple of your dad’s bola’s on old Bola discussions. The one I believe was from the forties and looks like picture jasper, and the other started out as a piece from bagpipes? Anyway, one of the old posts (97’)from a gal named “Nina” mentioned a placed called Myron Toback in NY where she purchased sterling silver “clips”. I took a chance and went internet surfing and look what I found!. The only problem I have is interpreting if this can be used as a bola clasp; it has no description whatsoever. I did hammer out flat one of the commercial bennetts today to create a template and it’s made of 20g stainless. I believe you are right, I would need at least 18g to make a sterling bennett. I let you know how things progress…thanks for the feedback!
Firstly I would think that Rio Grande would be a good source. Did you try there? But I did search around the web and found this site. They show Bennett clasps in their catalog.
If Rio doesn’t have them try Rocky Mountain Western.
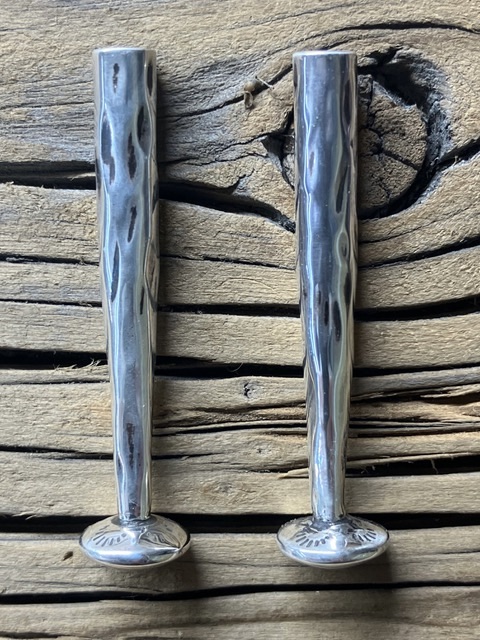
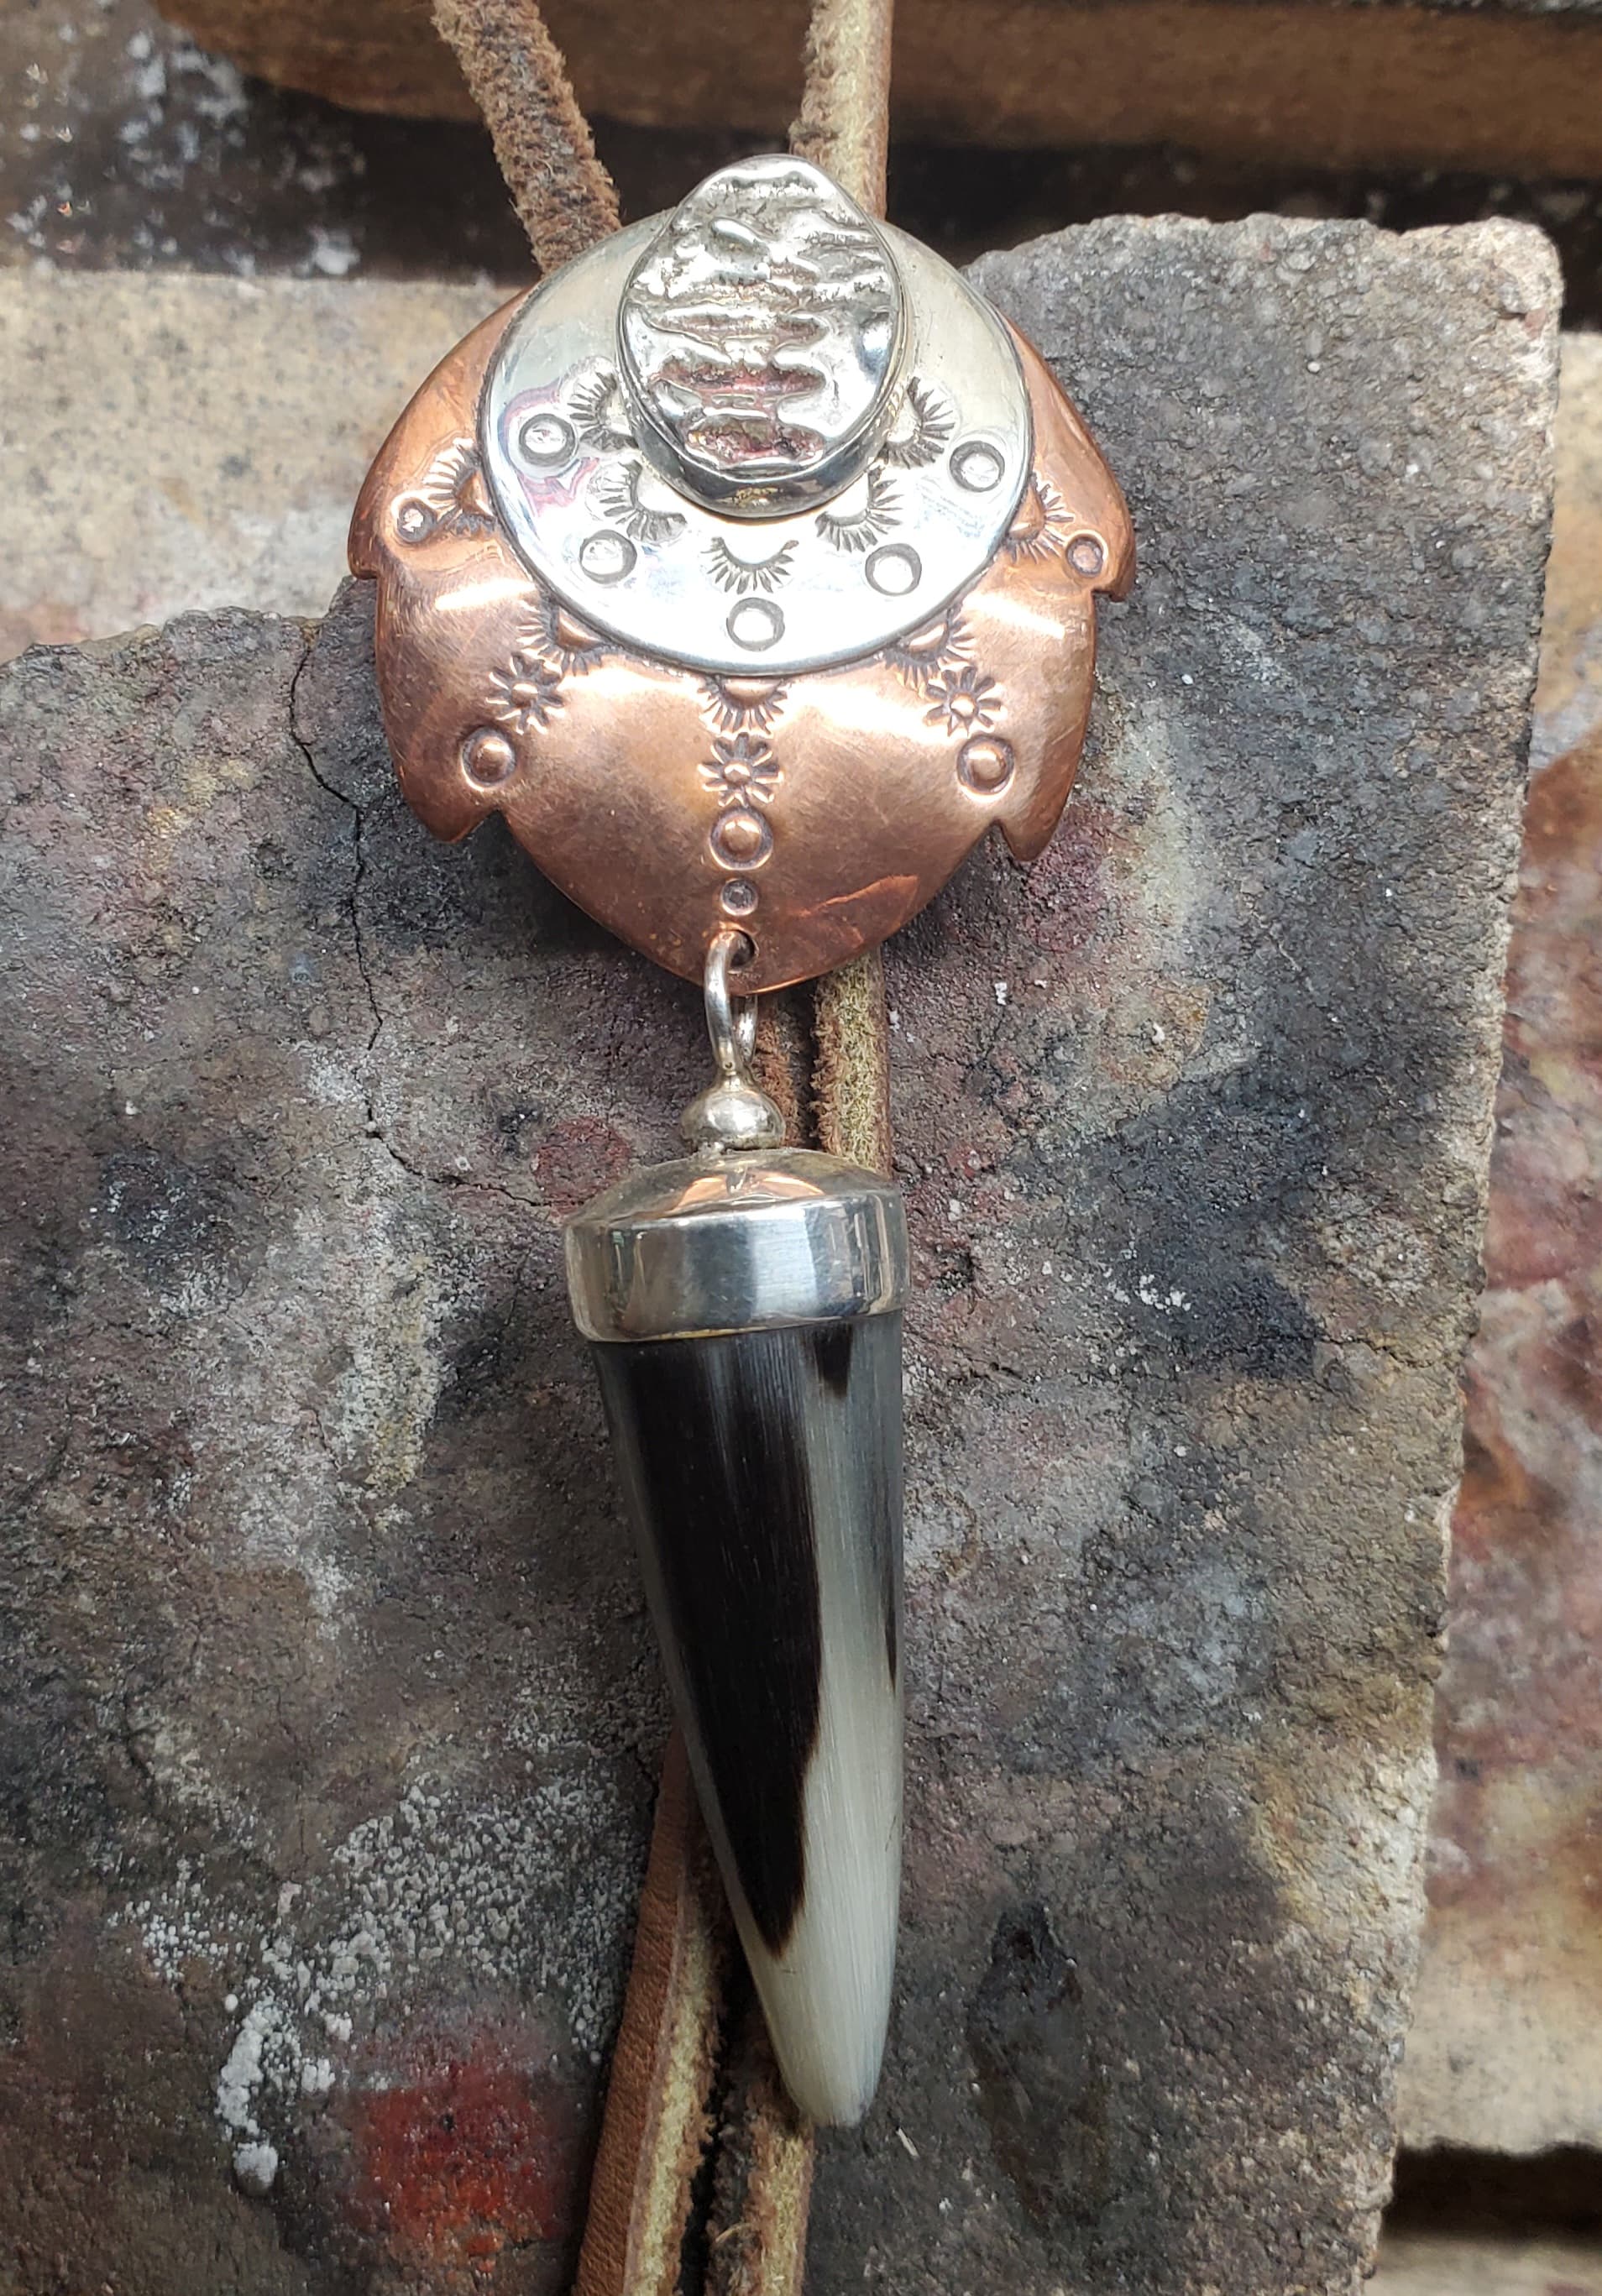
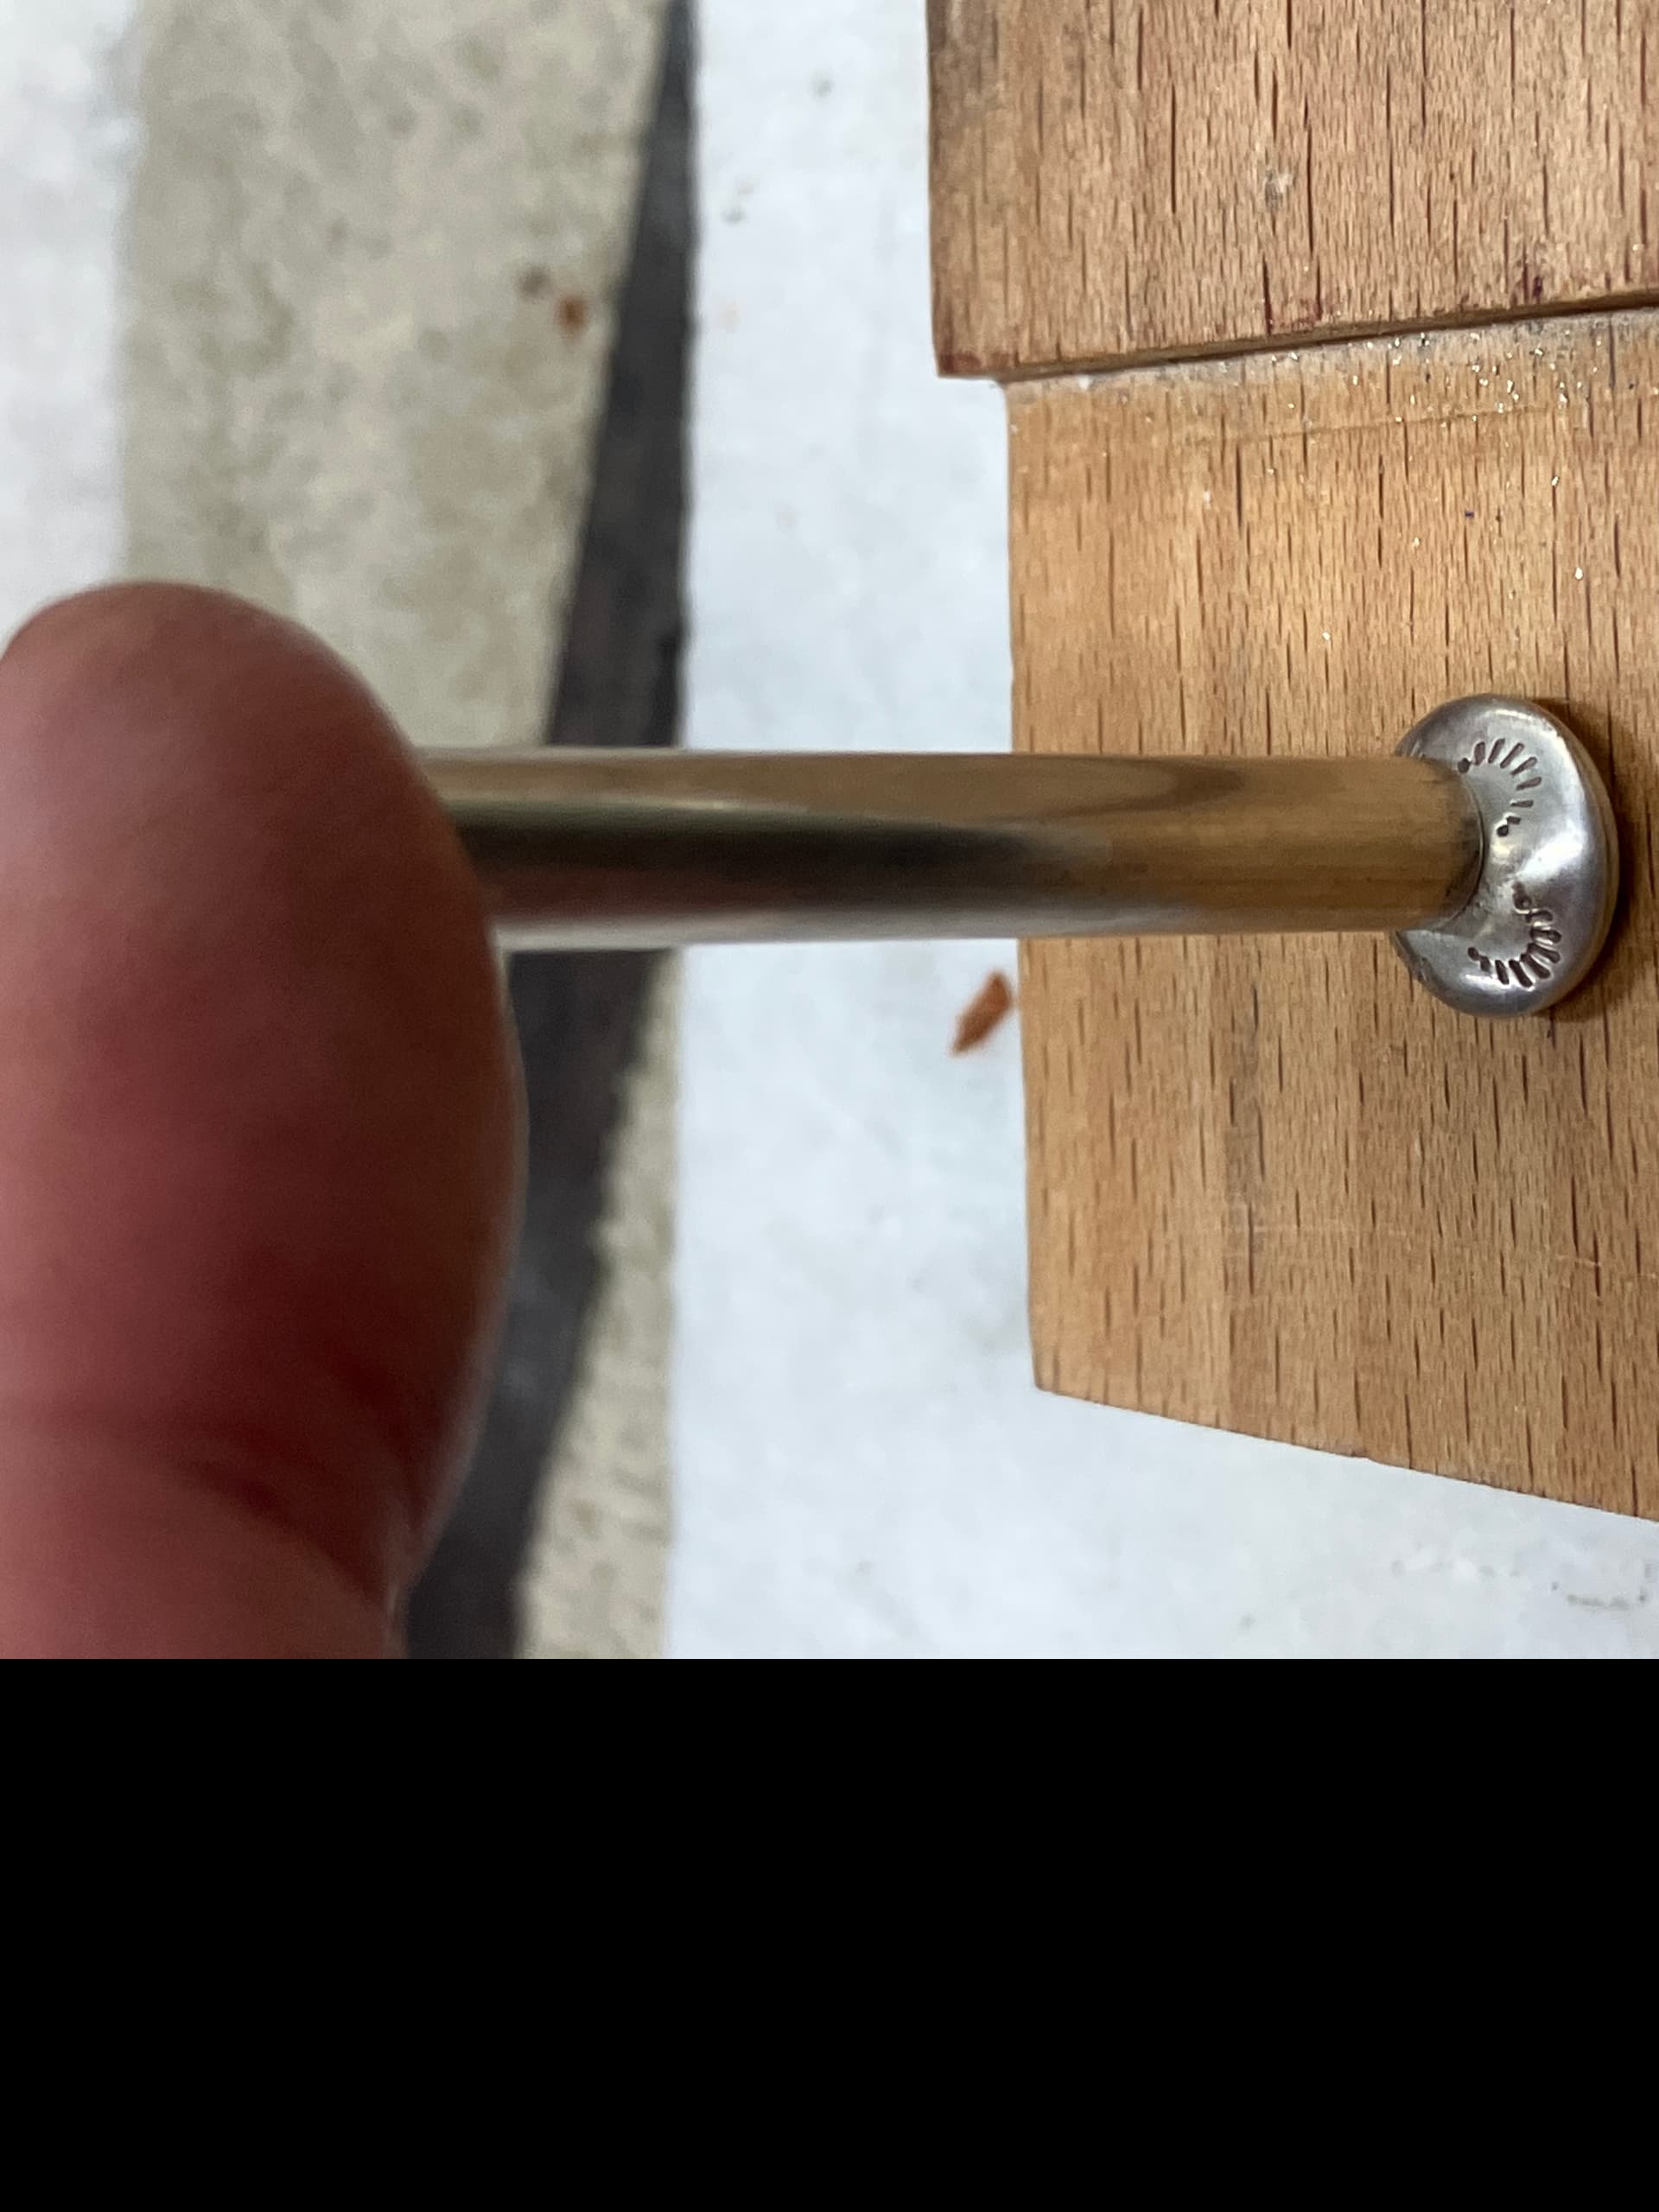
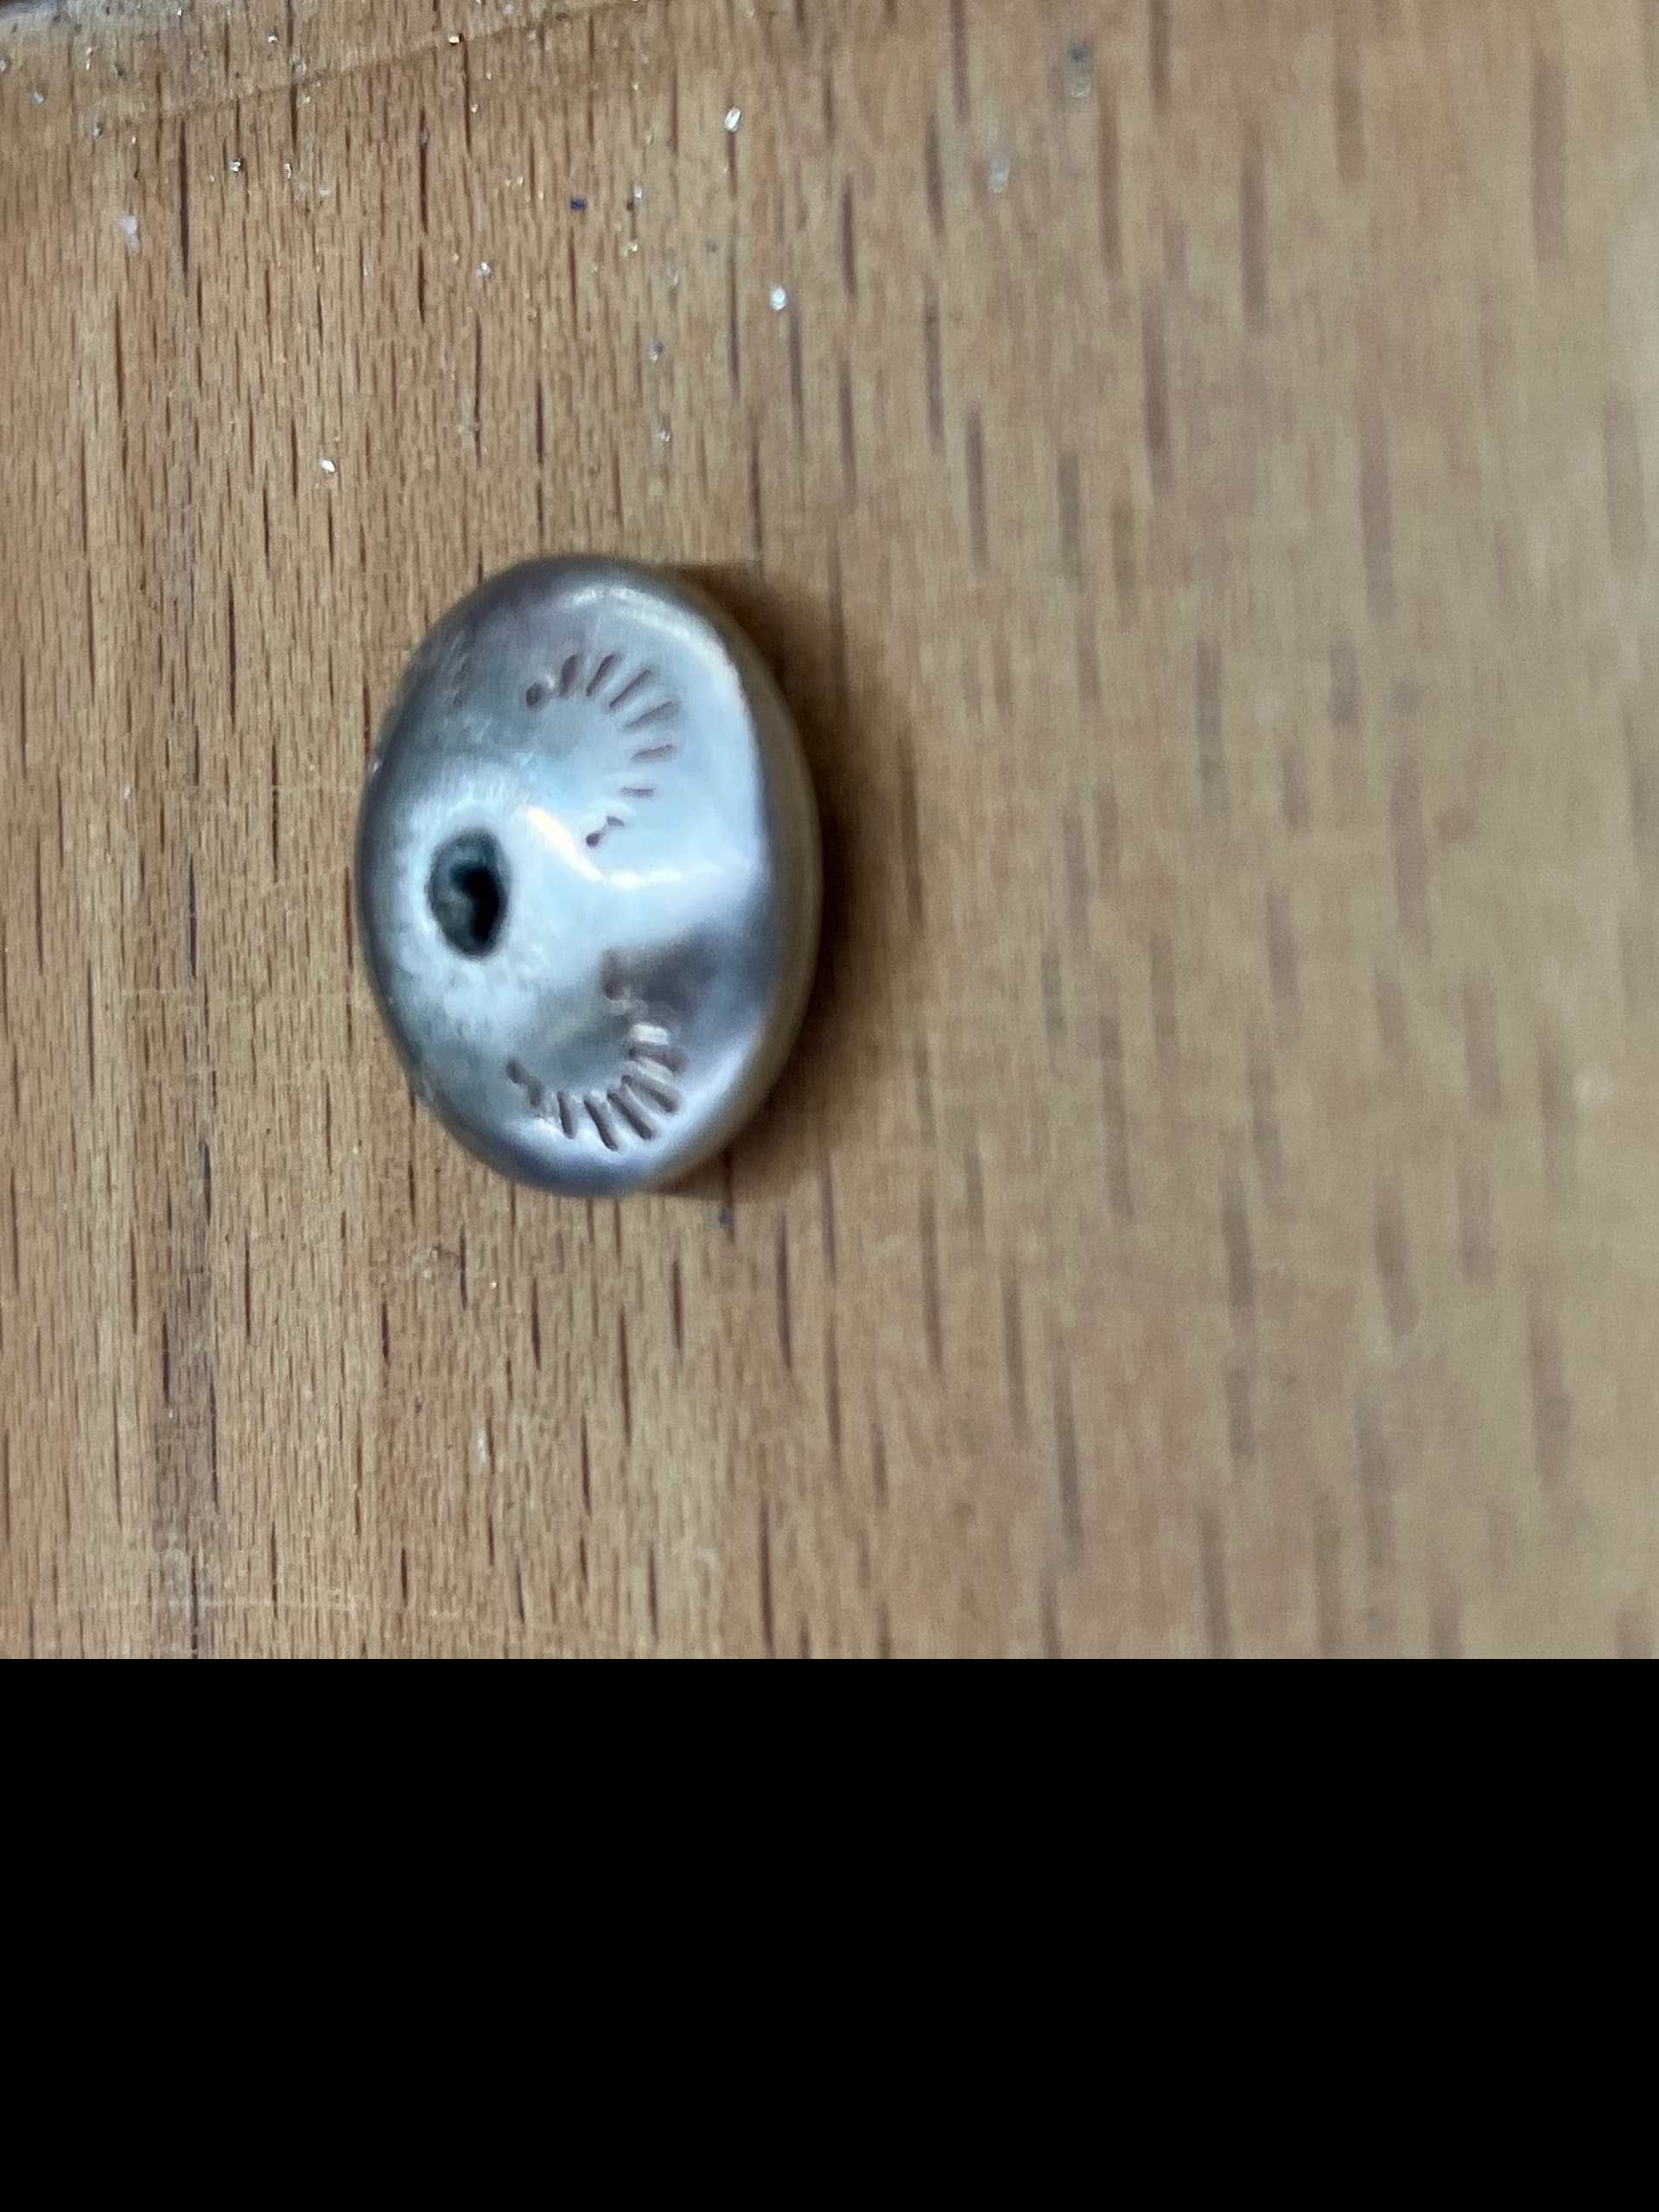
Sooo, resurrecting my old thread bc I finally completed the bolo portion and could not find a quality commercial clasp, I ended up going old school. Partly bc I didn’t like what was available and partly bc I wanted this to be heirloom quality that I could hand down to my kids and speaks of tradition. I used #6 half round wire with the rounded part to the inside for more friction w/o damaging the cord when slid. In the end I’m very glad I took this route. Now on to the tips. you’ll see what I came up with in the pictures…so far. I wanted something weightier than the commercial light gauge rolled/tapered tips and couldn’t find any cast sterling tips available so this is my starting place. The little saucers came out ok. I made them by punching out two circles of 22ga sterling, stamping and drilling one side for gases to escape when soldering, dapping to the desired convex shape and soldering together. Next is to solder the 4mm ID heavy walled tube to the saucers. My dilemma is that the 4mm ID sterling tube looks naked. I want to embellish it but I tried various stamps…phhttt! They don’t stamp very well on the round surface. I don’t have any experience in carving or etching so I’m looking for suggestions.
If you can, engrave artistic lines on the tapered ends, that might look good. Otherwise, add what I call a tree bark finish by scraping a round file along the surface in a way that might be interesting. Obviously, practice first on scrap metal before you do this on the finished piece. Old school always works. Good luck…Rob
Nice bolo. Our dad almost exclusively wore a bolo tie. Attached should be a picture of him from the mid 80s. You can also see some of his bracelets…Rob
for the ends, perhaps add soldered wires/ stamped wires/ balls…to add dimension to the tubing…
…some morning musings…
perhaps:
physically taper the tube:
do you have a rolling mill? with square wire grooves?..,“maybe” you can taper the heavy walled tube at one end?..ie: roll the end thru 1/3 of the way and then back it out? using small, progressively smaller increments…to achieve a gradual taper
I wonder…if…you could fill the tube with chasing pitch…and then chase a pattern in…on all or part of the tube…ie: vertical fluting…other small markings to create a ‘stamped’ pattern…
i wonder…if…you saw pierced vertical lines 1/3 to 1/2 of the length of the tube…then squeezed the tube thinner…the saw cuts being “relief cuts”…and finishing off by soldering a ring at/ or around the tapered end to secure the taper, and then solder onto the disc button…may just need 4 cuts total…saw down to cut 2 slits, then rotate 90 degrees and saw down the other 2 slits…you could use the saw to file the saw cuts wider at the ends to increase the taper…you could even “puff out” the vertical bars revealed by the slits,bend them,twist the,curl them…
visually taper the tube:
add twisted wire rope pattern ring (or similar) at seam, to transition from disc button to tube…
add interest to tubing:
add multiple rings for more design interest…possibly add a band of metal…like a cigar band…around the tube…that has been stamped/ saw pierces/ embellished…consider decorative wire/ bezel wire
twisted fine wire rope pattern (or stamped wire?) spiraling up tube and finishing off as a ring at top, and at bottom to transition from disc button…create a spiral…or fluting…or castellation…
solder jump rings, spiral wires, and/or balls onto the tube, and then sand/ file down for a flattened effect…
use various sized drills to drill a pattern using the holes…use a round bur to bezel the holes…
Thanks Julie and Wow!..thanks for taking the time to give all the suggestions! I would never have thought of trying to use my rolling mill to create a taper in the tube. So many good ideas I can see now that a little, or much, experimentation is in order…this may take awhile
Dad’s were always tapered with some form of decoration. A taper made on a small tapered mandrel of twisted wire wound around it in a coil might be interesting with a ball of metal soldered to the end…Rob
Hi Judy, I wanted the tips to be heavy since I’m 6’4" and usually where the cord longer than most. The braided cord is a bit stiff and I figured that the added weight would assist in keeping the cord dangling straighter. I tried doing the conical with 20ga and found it a real pain to form on such a small diameter mandrel (tapered punch). That’s why I end up trying to use heavy walled tubing.
When forming heavier metal - like 18g, into a cone, i’d use synclastic techniques. You need a hammer to make that move - and to make it easier, I often start with too much metal so I have something to hang onto… i’d use a trough of delrin, to hammer into.
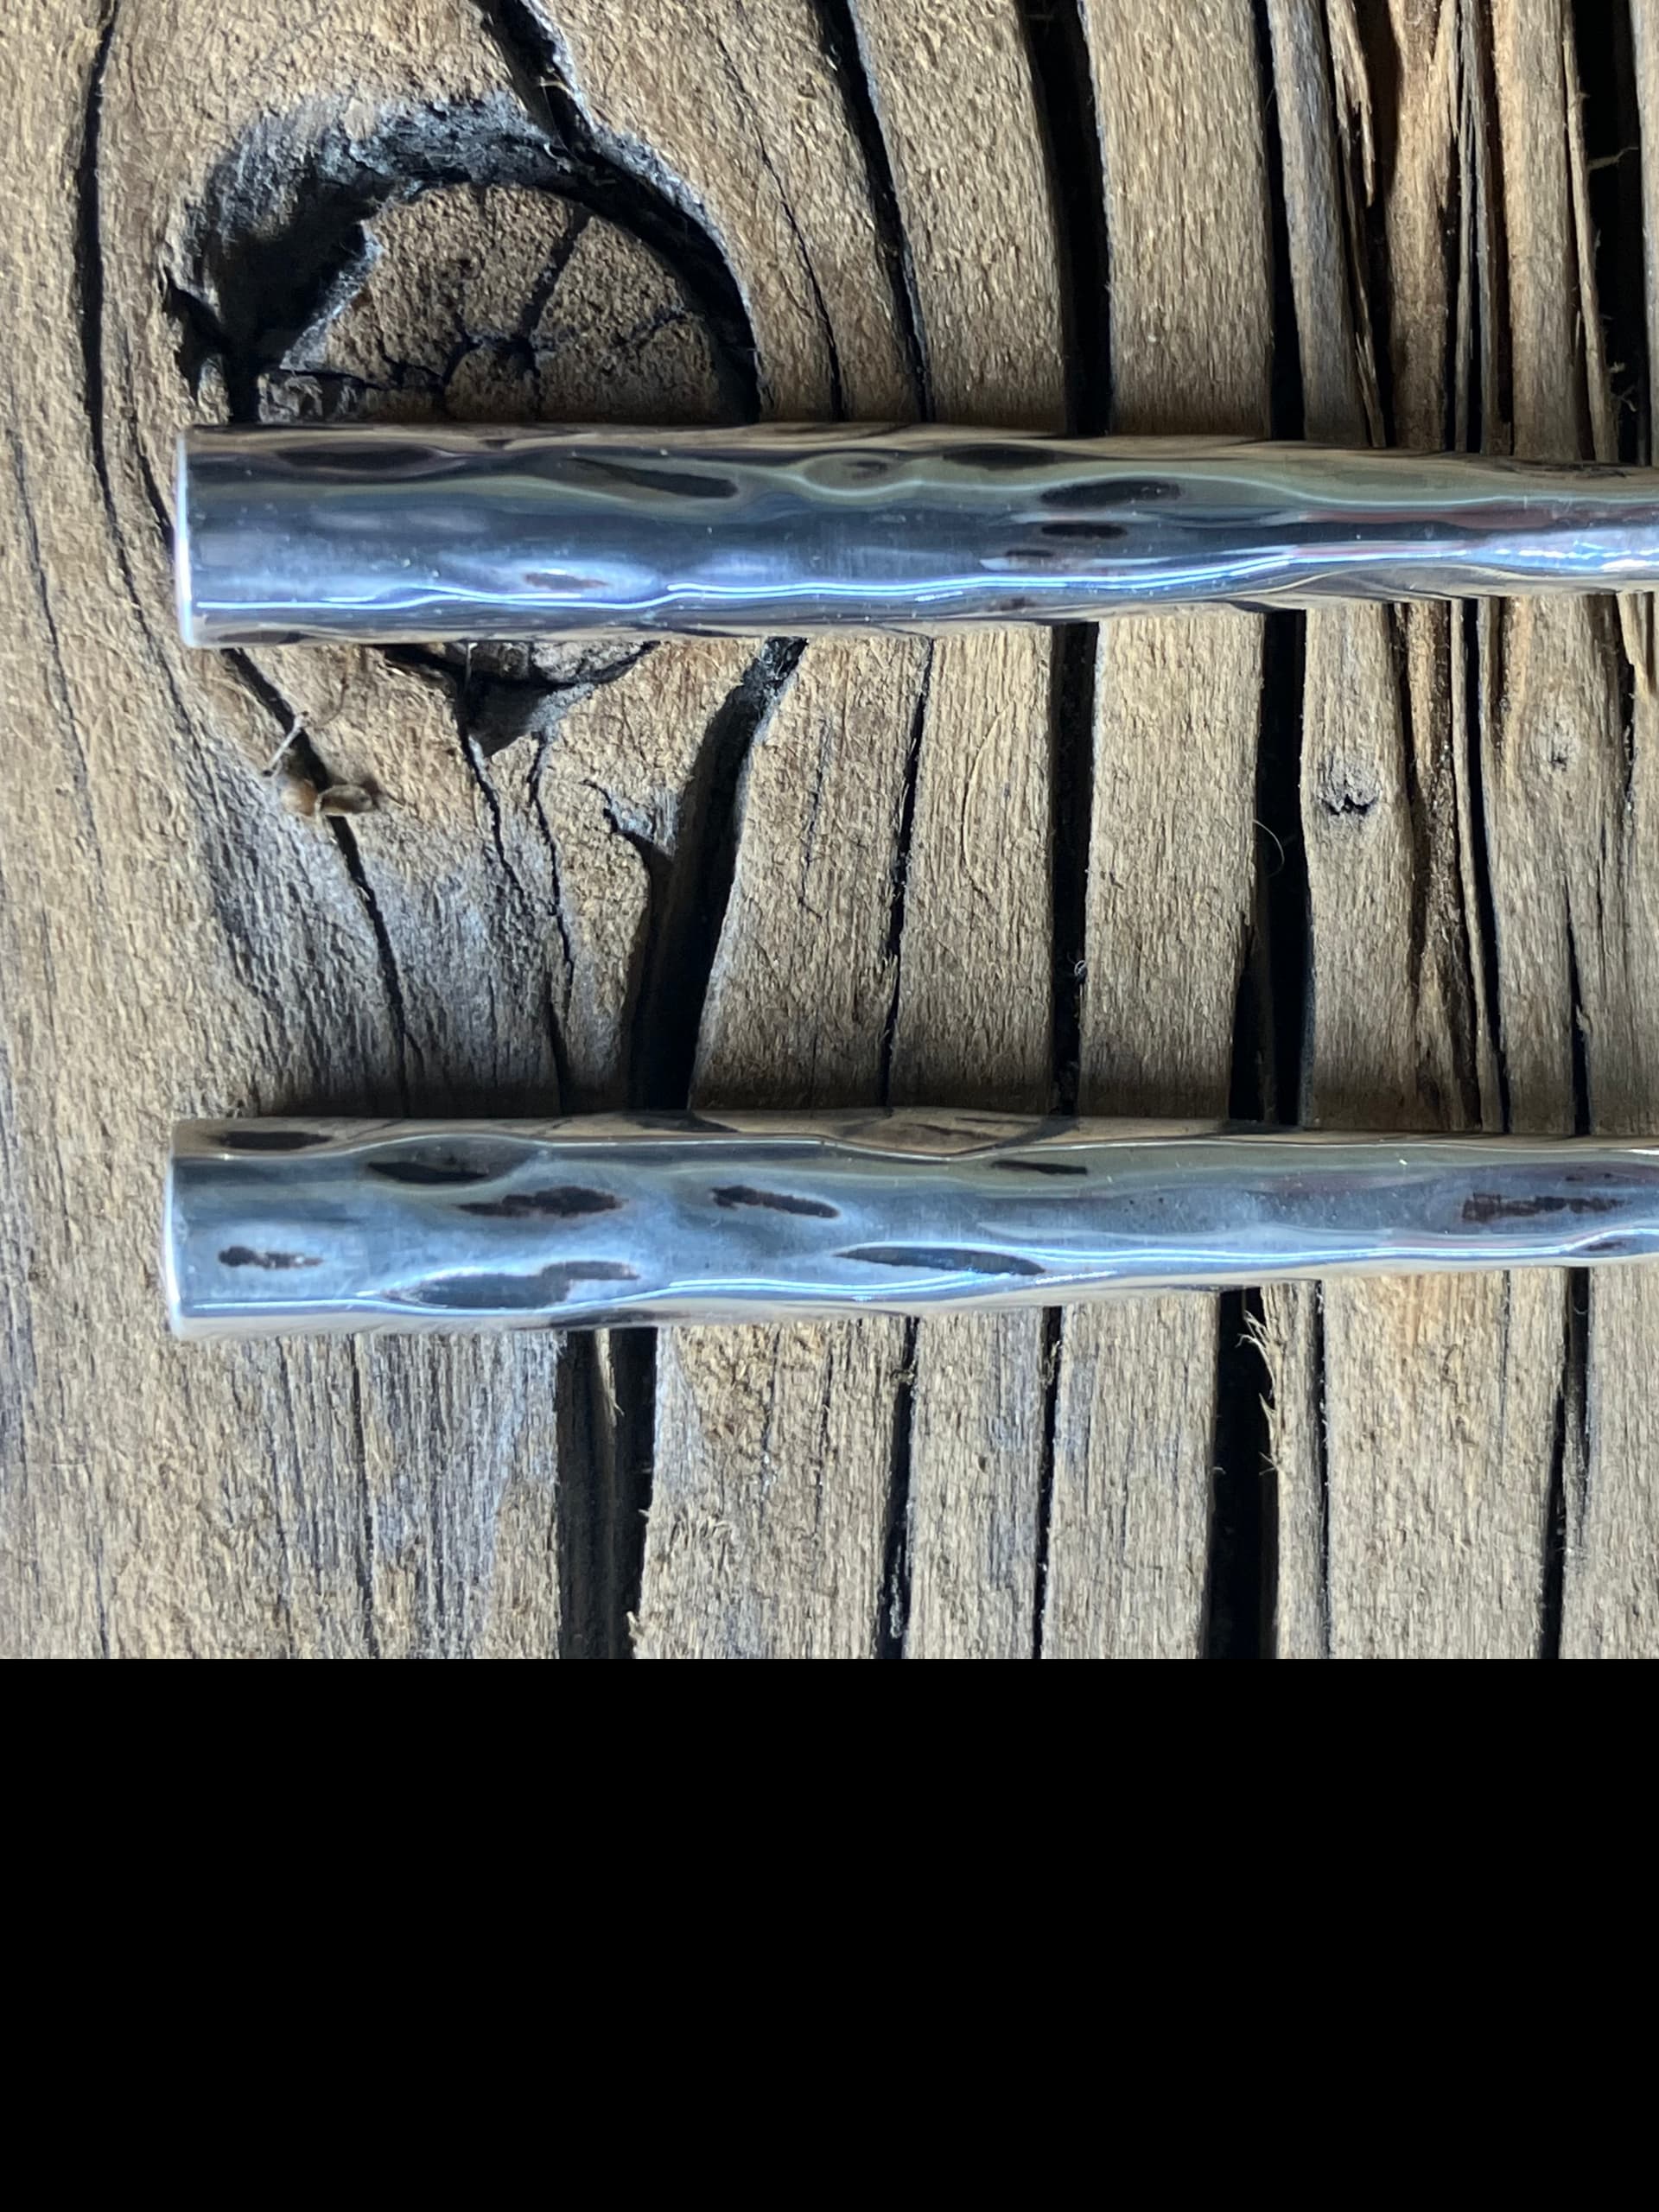
Well, I decided to go with trying one of your suggestions Julie and really like the outcome. I used my rolling mill to taper the tube. Of course, using the sq wire area it left marks; but rather than trying to file/sand the imperfections out, I decided to highlight them. On the upper portion where the mill had no contact I used a med silicone wheel to mimic the mills indentations to the entire piece. I soldered the sauces on and added a slight patina and voila! I’ll show you the whole bola tie once the tips are epoxied on…thanks for all your suggestions!


 I’ll give the “tree bark” finish a shot on some scrap.