Hi! I’ve seen quite a few discussions related with this item, but I can’t find any solution to what I’m experiencing. I hope somebody out there can help me  I live in Guatemala, so we don’t get to buy pre fabricated sterling sheets, but we do have to melt our own alloy and roll it. Last year I was working with a little propane Orca Torch, but it would take an hour to melt 5 grams of silver, so this year I decided to invest in a Smith Little Torch to add oxygen and be able to work with bigger amounts of silver in less time. I also invested in a rosebud tip exclusively for melting and annealing. Everything was going on fine (it’s not the first time I work with and oxy-propane torch), but suddenly, from one moment to the other, I started getting this little bubbles or blisters on the surface of my sheet after the first rolling and annealing. I have tried everything you can imagine, using a different ingot mold, different crucible, adjusting the pressure regulators, more oxygen, less oxygen, oil in the ingot mold, not oil, and a large etcetera… and I still get the problem. I know the answer is around one of those things that I’ve already tried, but if I could get an opinion from someone with more experience and knowledge than me, maybe I could focus on one thing. I would really appreciate it, as I’ve been going crazy with this. Plus, is there a way to save all the metal I’ve ruined in testing? Thank you so much in advance!
I posted a similar question several months ago. I don’t get blisters or bubbles right away. It only happens after I have reduced a 50 gram ingot from 5mm thick to 18 gauge. This is my typical pour. The blisters appear after I anneal the material. The answer that I got from one very reliable reader was that it was a result of air becoming entrained in the pour. She suggested that I pour more smoothly and without any pauses. It doesn’t happen all the time, but often enough to try and find a work around. Strangely, if I roll after the blisters appear and then use the sheet for whatever I am using it for, I don’t have a problem. They will also sand off and the surface can usually be finished in the normal fashion. So far my work around includes tipping the mold a bit to allow air to not become trapped in the pour and reducing the O2 once the material is melted. I also pour a lot of my ingots in delft clay and more recently petrobond sand. It happens less in the clay and sand. After that, it is a matter of chance. Good luck…Rob
Thank you so much Rob! I will try your advice. I actually started using a sand that I learned to make with an artisan teacher here in Guatemala, that is a mix of white cement and burned car oil, that you press tight in a can and then make your mold with piece of metal or something. The result is much better in deed, although I still get some little bubbles (for me it happens since the first annealing and the subsequents, that I usually do when I first reduce the ingot around the 50%). I still wonder why it started happening so suddenly (apparently it has to do with changing my torch equipment to add oxygen), when I’ve worked with oxygen and opened molds in other workshops and I never experienced this. It could also be the conditions of my workshop, air, etc. It is one of those mysteries of alchemy I guess. One last question, tipping your mold wont deform your ingot? or how much you tip it? I guess you put something behind the mold right? Otherwise you’d need literally a third hand to tip the mold, while you hold the crucible and the torch at the same time hehehe. Thank you again, I really appreciate your help
I just tip it a bit by putting a coin or similar object under one corner. I would appreciate the metallurgist among us to chime in about the impact of how we have our torch O2 adjusted on the formation of these blisters or bubbles. Thanks…Rob
Sure! I hope someone out there help us to find out what is happening with the O2 in our torches, because I’m sure that is where the original cause lies… for me it’s still so strange though, that it started happening from one moment to the other, because I’ve worked before in other studios with oxygen and I was doing just fine with my new oxy-propane torch… let me know if someone in your thread gives you some insight, and I will do the same. Cheers! Seb
I was able to find the link to my post where I asked what is pretty much the same question you are asking. It was posted on March 23rd. Following is the link…Rob
Maybe this wrong, but it was taught to me when melting metals. You put a pinch of flux on top of the melting metal in your crucible. Not when it is cold and you havent started melting, but when the metal starts to melt. In a sculpture class we would add broken glass on top. The glass was done when we melted pounds of metal at a time. Remember this could be wrong, but it was taught to me two separate locations by different teachers.
I’m retired now, but for fifteen years used to melt a lot of fine silver and its alloys for ‘bomb’ casting in ceramic shell moulds. Occasionally I would pour into ingot moulds and roll into strip. My heat source was almost invariably propane, with passive air drawn in.
In all that time I had maybe a few dozen or so strips or sheets that developed blisters. They were much more likely in fine silver than in Britannia silver or sterling.
It is well known how soluble oxygen is in molten fine silver, and how important it is to let the gas safely release at the moment of setting (without, for example, fountaining out as a spray of molten metal and oxygen).
This persuaded me to cover the metal in an open crucible with extra flux just before melting. In the case of ‘bomb’ casting, I would include bits of hard coke to float on the surface of the soon-to-be molten metal. This seemed to reduce the occurrence of blistering.
Oxygen is apparently nothing like so soluble in the two alloys of silver I mentioned, but I reasoned that it was plausible that there was some separation of the alloy constituents going on. I did try stirring the molten metal with a pure silica stirring rod, or a pure carbon one, on the rare occasions that I was using an open crucible, with indeterminate results. Usually I melted my metal in sealed ceramic ‘bombs’ where stirring was not really possible other than by shaking.
Anyway, it might be that an oxygen-rich layer of pure silver migrates to a boundary surface, then de-oxygenates on freezing to form blisters. Some high-tech lab somewhere may well have analysed the gas in these blisters, which would be crucial information.
So, although retired, I’m still actively searching for relevent new information on this topic!
Paul can you elaborate on bomb casting I’ve never heard the term and I’m interested , I’ve been casting since 1992 and of course reading you’re post awakened my curiosity, greetings from Tepoztlan Mexico
A variation of the “ceramic shell casting technique”.
A ceramic shell female mould is glued (with colloidal silica solution / molochite slurry) to a ceramic shell reservoir containing the granular metal to be cast, possibly with a de-oxidiser such as charcoal. So the whole forms a sealed ‘bomb’, which is put in a furnace until the metal charge is melted. The bomb is then inverted so that the molten metal flows into the mould area, and made to set rapidly. It works because ceramic shell is porous to gases.
I learnt the process in the 1990’s from David Reid as ‘The Reid Technique’ at St Martin’s College of Art foundry in London (now long gone).
Thank you Paul I now know what you are talking about I believe I’ve seen the process in a book , but I’ve never done it
Thank you so much for your input! I will try putting some borax in the mold
Thanks @aggie.p, I’ve in deed added the borax from the beginning, so I will do as you say
Thanks @rmeixner, I’ve actually already read your post, but not entirely, as I wasn’t subscribed on the site hehe, so I will do… I wanted to tell you I went to my artisan teacher workshop here in Guatemala, and I actually took some pieces of the blistered sheets that I had and that I thought it would require a whole process to recover… we melt them together, and the first two times the blisters came out again after annealing, but the third one it came absolutely smooth after annealing… so let me tell you what I’ve noticed that might be in the causes of the blisters. 1st) You should heat up the crucible around the silver to heat it up, before you concentrate on the silver to melt it, because the hotter your crucible is, the faster your silver will melt, hence, less time will it be expose to oxygen; 2nd) I guess it’s about experience and eye, but there is a point where your silver is properly melted that you have to achieve, but you shouldn’t go beyond that, so as soon as it reaches a liquid state and it looks integrated, pour!; 3rd) He puts a lot of burned car oil in the mold and uses a piece of newspaper dipped in that same oil as a stopper, so you actually delimitate the space where you will pour your silver, so it won’t spread through the whole mold (we’re talking about an open mold); 4th) The third time that was the one that came out nice, we used a different mold, a closed one, which is apparently always the best option… but also that third time that melting point of the silver felt better than the previous times, when I think we overheated it a little bit; 5th) Last and very important one, because it’s the opposite of what I was doing previously with my oxy-proppane smith’s little torch, you should maintain the source of your flame about an inch and a half away from the silver at all times… I thought you had to use the center blue part of the flame as proximate to the silver as possible “WRONG”, you actually heat up the silver with the “soft” part of the flame, although your flame is strong or neutral as they call it…
I haven’t tried in my workshop again, but I feel very positive lol… I hope it works, I’ll let you know
I don’t know if this is helpful or not, but in the textbooks, the point of the blue cone in the flame is the hottest part of the flame and just beyond that the flame is neutral…inside the blue cone the flame is cooler and is oxidizing. Out in the part of the flame that is beyond the blue point is a reducing atmosphere…so you are saying to keep the metal in the reducing part of the flame and to keep the flame on the metal as it is poured into the mold. This is a standard technique for casting and producing a casting without porosity, so I’m guessing that those bubbles might be large bubbles of oxygen that get into the metal and can’t get out before the metal solidifies. I would guess that if you have a larger flame, it is easier to keep well out into the reducing part of the flame and yet still melt the metal in a reasonable amount of time, thus minimizing the time the metal can oxidize. It is possible that there are impurities in the metal that oxidize, too, so stirring once the metal is molten might help bring those to the surface rather than having them trapped within.
Anything that reduces oxidation or leads to a reducing environment will help prevent gas formation…which is perhaps why the closed mold worked better in this case…-royjohn
@royjohn Thank you so much, your comment confirms what I realized two days ago in my teacher’s workshop… I was doing it wrong, because I thought that the inner blue part was the one you should use… So I’m very positive now that I will get it right!
Little story…once long ago I didn’t have experience with the torch and needed an air conditioner plumbed into my house. I met a guy at a flea market who was fixing auto air conditioners and convinced him to come out and climb under my house to connect the lines and put in some drying filters…it was taking forever because he was holding the propane torch so close to the joints that he was inside the blue cone…joints were not flowing. I convinced him to pull the torch away a little and we were done in no time! By pointing the blue cone at the joint but staying a little outside it.
There is a Wikipedia article on “oxidizing and reducing flames” and if you google "images for oxidizing and reducing flames you will come up with many photos and diagrams of this concept. Working with sterling silver requires a reducing flame to try to keep from oxidizing the copper within the sterling. Glad this is of some help. Let us know if this solves the problem. -royjohn
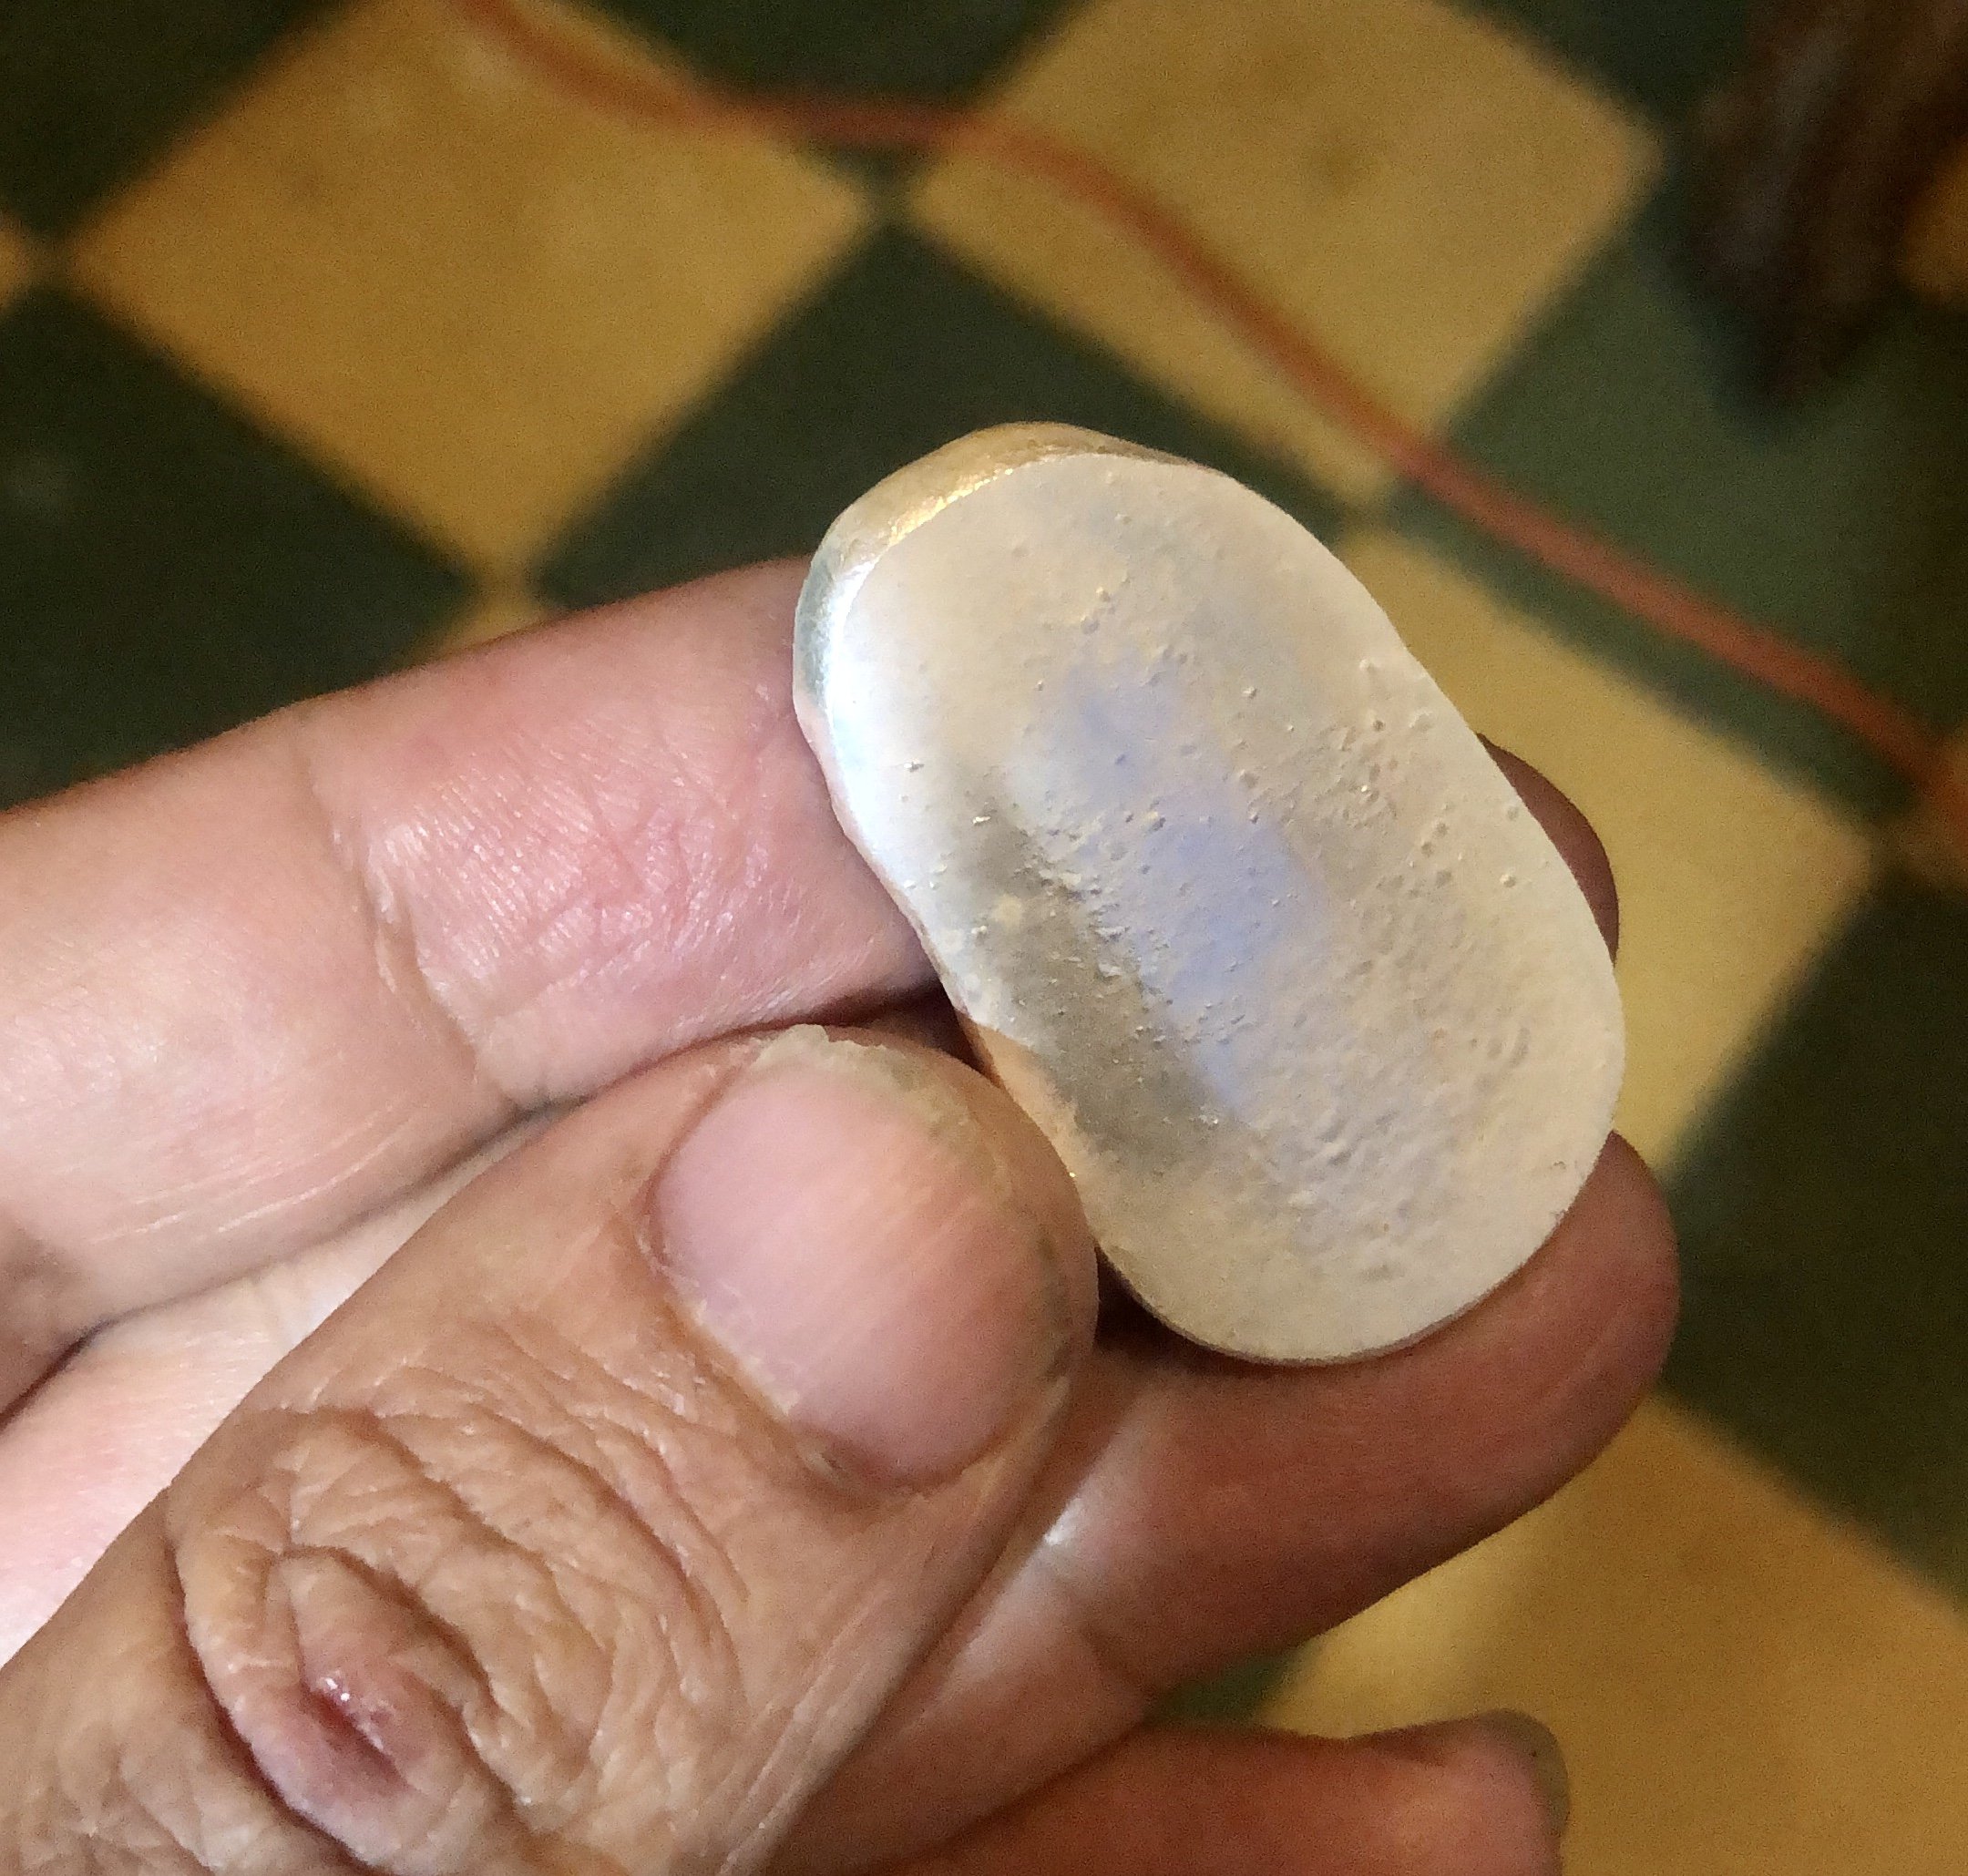
@royjohn Thanks for sharing that story, I was definitely very confused about the use of the torch flame… and now that I think about it, what happened is that in all the other workshops where I used oxy-propane torches, they were big, so I was actually scared to put the flame to close to the crucible lol. And now that I got the smith little torch with the rosebud tip, the flame doesn’t feel so hectic, so I was putting to close :-/ Today I made some wire with a couple of pieces that had blisters (like the one in the photo) and it was nice and smooth. I know wire it’s safer in that sense, but I’m sure it’s also due to a proper melting
I will read that wikipedia article right away. Thanks!