“Bezel Setting an 9x7mm Oval stone ”
This technical “Bezel-Setting” essay is for an Oval stone of 9x7mm’s, with a tapered wall measurements of 1.35 ![]() 2.00 mm’s. I don’t suggest Bezel setting any stone that is softer than 8.00 on the Mohs scale of hardness.
2.00 mm’s. I don’t suggest Bezel setting any stone that is softer than 8.00 on the Mohs scale of hardness.
I’ve been asked to write this in the knowing that some of my setting expertise will help someone, somewhere!
Just for this essay, I am “staging my demo-rings”. The reason is that I don’t have four hands, to hold my camera, my ring and extra lights, burs or hammer!
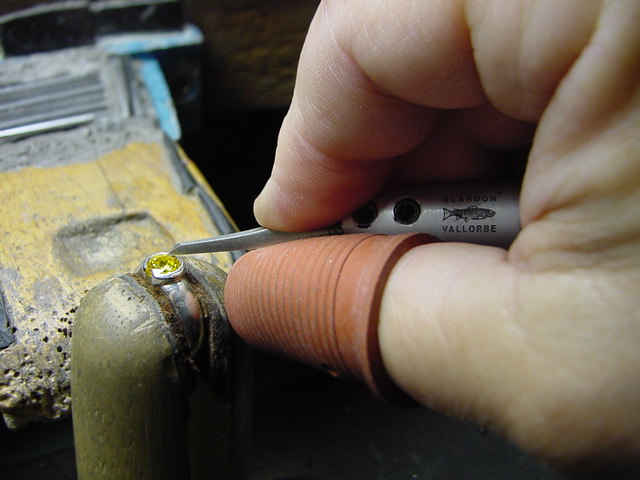
What setting tools are needed?
1- Pillar File with a #2 grit,
2- Onglette #2, “Right-Sided” which is only cuts on the ‘Right’ side.
3- Pumice (#180 grit) Wheels “Flat-Faced” & “Pointed”.
4- High Speed Steel, 90-degree angle with a 4.5mm diameter.
5- Riveting hammer w/polished surface/face, (so clean you can see your face on it). If there are any marks on your hammer, they will be transferred to the bezel frame.

This Bright-Cutting technique, is a skill all by itself, why so? As there will be a significant amount of metal covering the stone, this “Bright-Cutting Process” gives the image of ‘less metal being seen’. This inside curve, cutting-surface should be quite smooth, as some faceting inside the cutting area may appear, this is not desired!
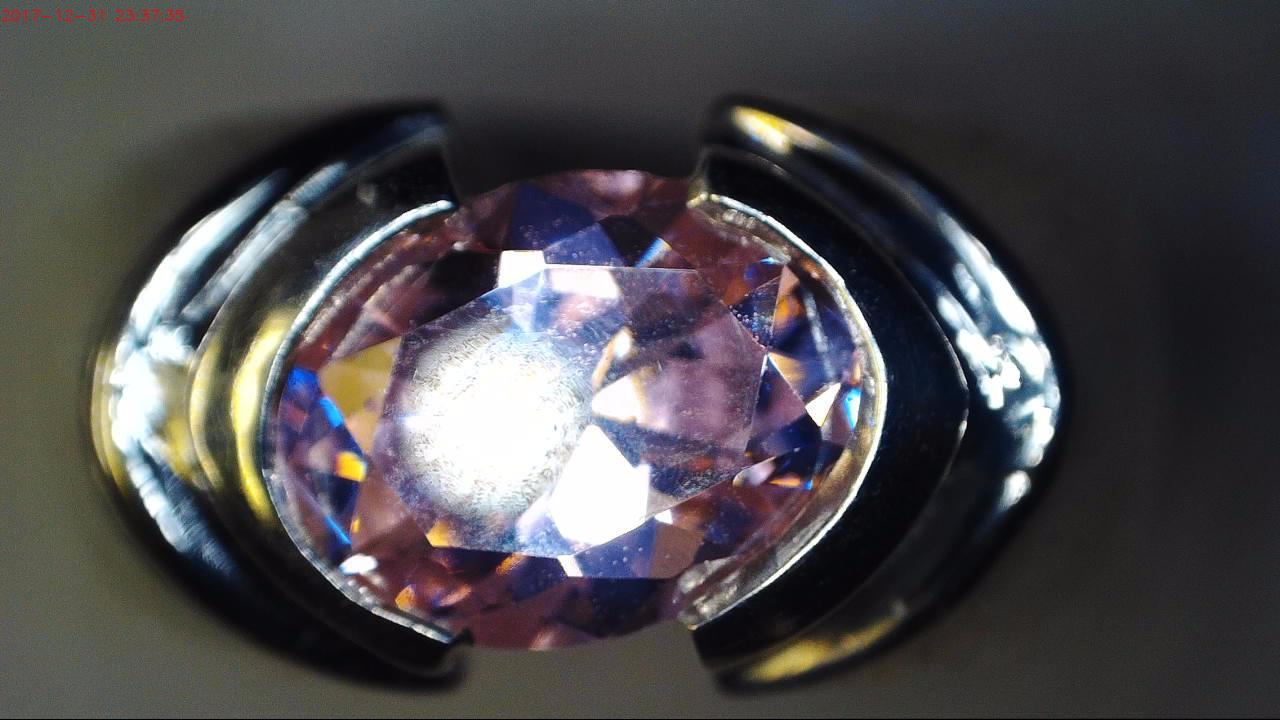
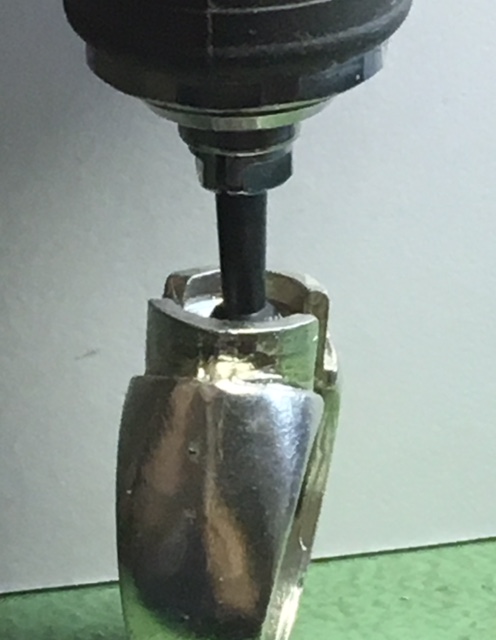
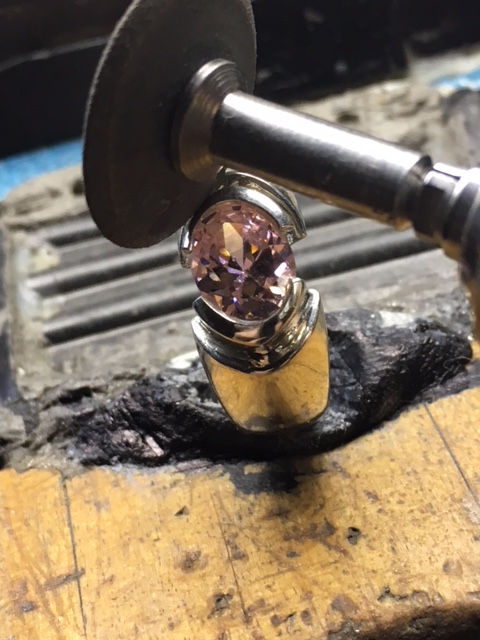
The very first you must do is to remove any defects from the metal-casting. Once the stone is in the ring, it’s almost impossible to clean afterwards. In the photograph supplied there seems to be many, agree?
The first step in making a bearing cut is to get your “High Speed Steel” bur, examine the teeth to make sure that they are able to cut the metal. The next and very important step is to make sure the stone is free of any inclusions, this is for a genuine or even a synthetic stone. Once the stone is in, removing will literally ‘destroy’ the bezel & ring!
On this particular design, the Oval stone of 9x7mm requires a HSS bur of 4,5 mm in width. If it is larger you won’t be able to navigate around the inside of the frame.
In the process of making a ‘bearing’, please avoid cutting a ‘groove/bearing’ with a 156C bur!
The simple reason is that the teeth of this bur are too close together & cannot make any aggressive cuts, as the HSS bur can create.
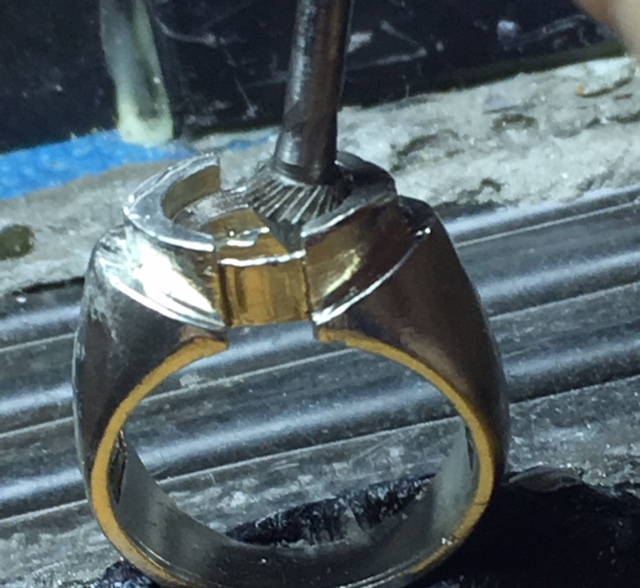
To make the first bearing cut, the position of the HSS bur must be held at a 45-degree angle, plus the ring should be held at the same angle as well. Why is this combination of angles so necessary? We are cutting out a groove to match the deep Pavilion for the ‘ends of the stone’.
As the stone is Oval, this stone has two distinct angles to cut. Now we are going to cut out a bearing for the sides of the stone. Here the angles of touching the metal are now different.
Here we will hold the bur in a vertical position, what I would do now, is cut all around the inside of the inner bearing. I want all of the bearings not to have any ‘ridges’ or corners where the stone must sit.
It is imperative that the space just where the “Girdle” of the will sit, for this I would do the following. Use a “round bur of #??” and clear out just where the girdle of the stone will sit. The reason is that in using a HSS bur, the edges of the bur are not always as thick as the stone. This is just where your round bur comes in handy.
Why did I use the “#??”, it is that you must place your stone against your group of burs, then you can and only then decide which size of bur to select, not me!! Sorry!
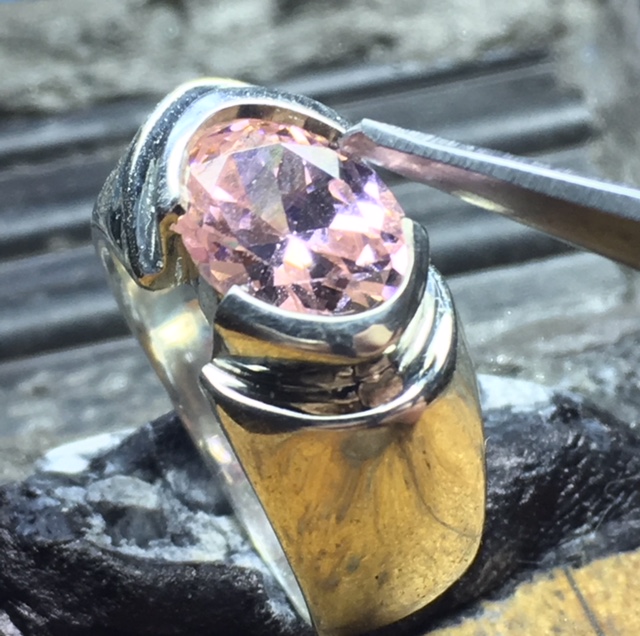
When you have cleaned out, all around the bearing, can you attempt to place your stone into the Bezel. If the stone isn’t going to sit, I would use again a HSS bur and just remove the upper inside rim of the Bezel, just on one end. Then your stone will literally fall into the bezel frame…sitting flat, not crooked and of course, not twisted!!
On the two edges on each half-frame, namely four in all, I will start my hammering. I don’t want the stone to move, as this hammering might dislodge the stone and make it move, not nice right now.
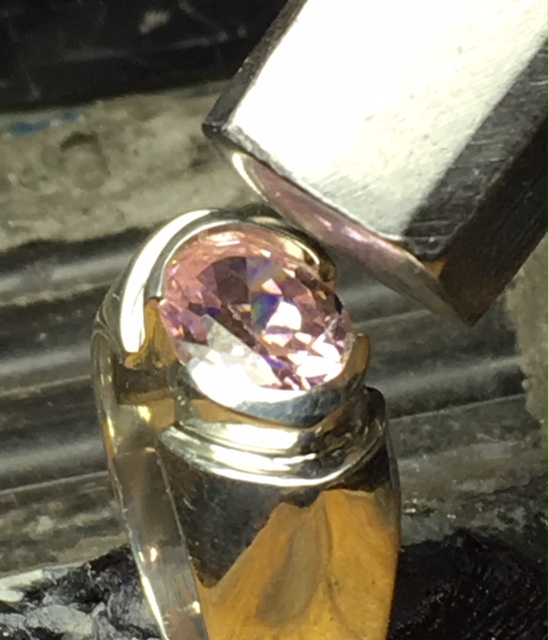
After close examination of the Bezel, I think it is prudent now to start hammering all around the frame. Hammering at a 45-degree is wise as you don’t want your hammer to hit the stone. This might happen if you left your “table” too high in your frame. I always have the “table of the stone” at the same height, as the tip of the frame.
When you have finished your initial hammering, now is the best time to use your 10x power loupe and make sure all of the bezel is ON THE STONE. There must be no spaces or gaps where the metal is touching.
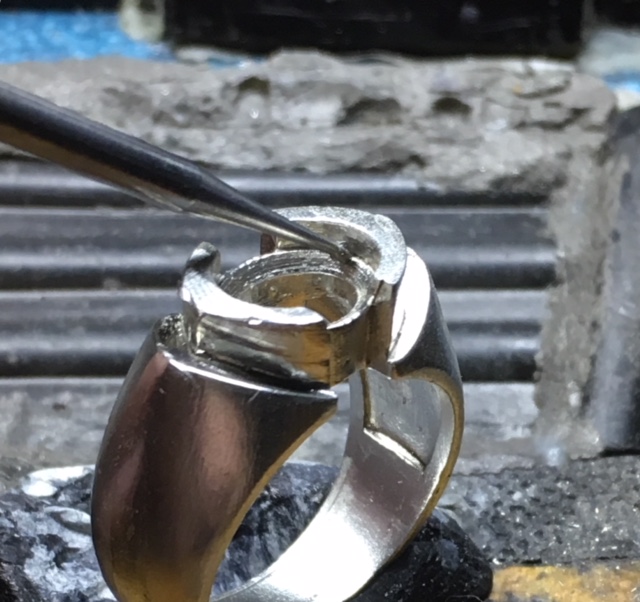
At this point comes the easy section, “Bright-Cutting” in and around the bezel. With my Onglette #2. Right-Sided cutting blade I will now create a bright inner-cut. In this essay, I prefer not to go into graver-preparations, but only on ‘Bright-Cutting’. To achieve a nice and clean cutting-surface, let your blade give you the cutting-angle you need, how is this done?
The barrel-shape angle is all you need and ‘don’t lean the blade further away from you’. I give the blade a forward cut, and turning the blade to the left, at the same time with your left hand rotate the ring to the right. Two turns at once! This will take some practice, if you are left-handed, just reverse the directions!
The next step is to start the ‘trimming’ or shaping the Bezel design. I would prefer you do this next stage ‘after’ your “Bright-Cutting” & ‘before’ the pumice wheel cleaning.
BTW, the Bezel tops are never, FLAT, but always @ a 45-degree angle.
You have your Pillar file of #2 cut/grit, reshape every angle, corner and bezel sides & top…everywhere where possible! From here, we were using a rough file, now we go to a ‘finer finishing’ process.
Now we are in the finishing stages re: Emery & Pumice @ #180 grit wheels. Go over every little area that your Pillar file and Hammer touched!
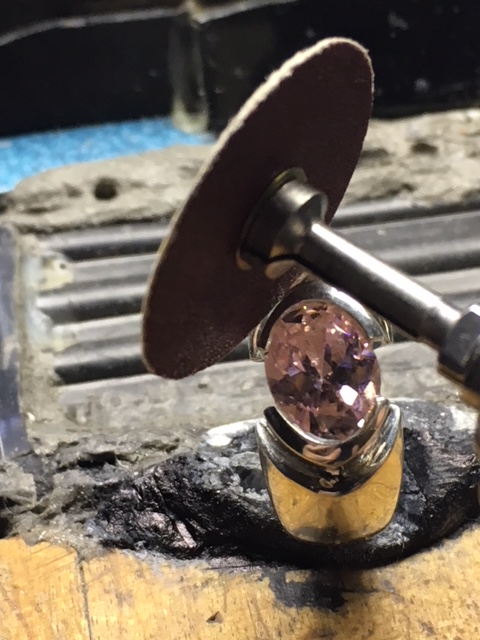
After you see that you’ve finished with the #180 grit, I sometimes use my #1,000 grit PINK wheels, when necessary.

Don’t leave any section to your Polishing cloth-wheels, as they will round off the corners…everywhere!
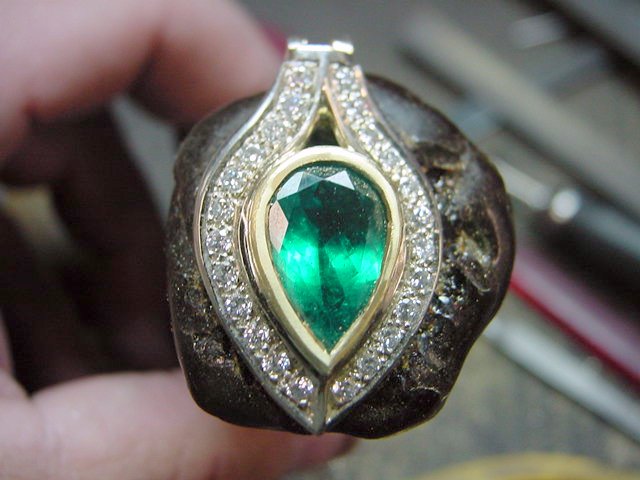
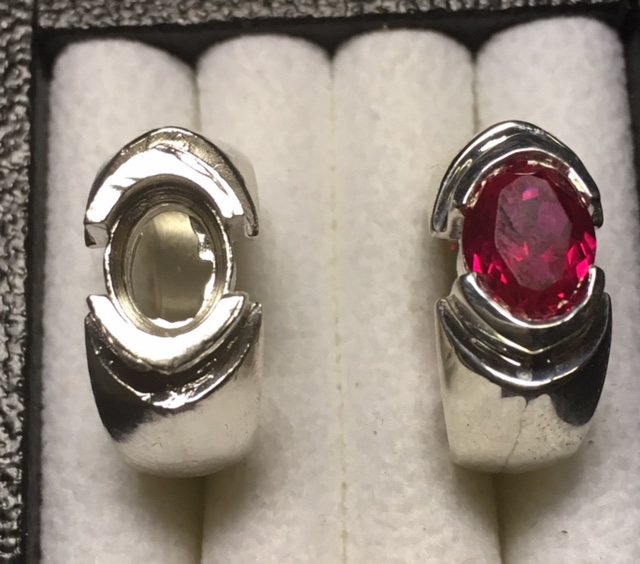
I used the same techniques to Bezel-Set this 5.25 carat Genuine Emerald. On today’s wholesale market this stone would be worth $12,500.00.