My shop is almost done. I want to thank Don Meixner (? spelling) for the helpful advice 6 months ago when we began the construction. My last question concerns bench top finishes. I am fortunate to have 3 large oak topped benches. They are unfinished white oak. Does anyone have an opinion on the best finish to put on the oak? I don’t plan to stain it. I have a gallon of Minwax polycrylic left from the walls. I’d rather use it than buy something else, but I also want what is bet.
Close enough Jean.
Regards finishes. I would think any paint you use would not put up to an untended torch. I’m pretty careful but I have lit up a lot of paper work over the years. I can’t think or anything that won’t scorch. My bench is raw maple. And much of the surface where the torch runs is just fire brick. I have one small watchmakers bench that never sees a flame and that has a Gymnasium floor seal on it.
Don Meixner
1 Like
I use granite tiles under my torch area. They are cheap and when they get too icky I throw them away. I am thinking of the polishing bench area and the Foredome/GRS area. I also am fortunate to be able to having a separate bench for non electric work like pounding and sawing. Even though I plan to use a dust collector now I know there will be crud to scrub off the polishing bench area.
I buy tile backer and use it as a surface on which to do my casting. I also use it behind my kiln and cut into smaller pieces to form a heat tent when needed. I haven’t tried to solder on it as it tends to scorch a bit when you hit it with a torch flame. I have a large piece of heavy copper sheet under my soldering station. Otherwise my soldering bench top is bare wood with the only finish being years of spilled flux. In a previous life it was a shuffle board. Twice a year I tear it all down and sand the wood, vacuum it and get back to work. My other benches are either Formica or bare plywood. Once in a while I think about putting a finish on some of my benches, but that thought quickly passes…Rob
1 Like
Paste wax.
And have your most junior apprentice wax the benches once a month.
Thanks Rob. We are using tongue and groove oak for my tops. It was from my parents house leftover construction oak. They were a big part of me going into the business. I am proud to have the oak and want it to look good and be durable and cleanable. This shop I swear I will keep clean. I have heard of using paste was on the wood and am thinking about that too. This afternoon I will get pictures and post them. I thank all of you for your valuable input. BTW I am a one woman show and feel like I am still an apprentice to myself.
1 Like
I have often looked at unfinished oak flooring while at Lowes or similar places and thought that it would make a great bench top. Oak is hard and you can finish it or not. You can also just replace it if it gets badly damaged. Go for it…Rob
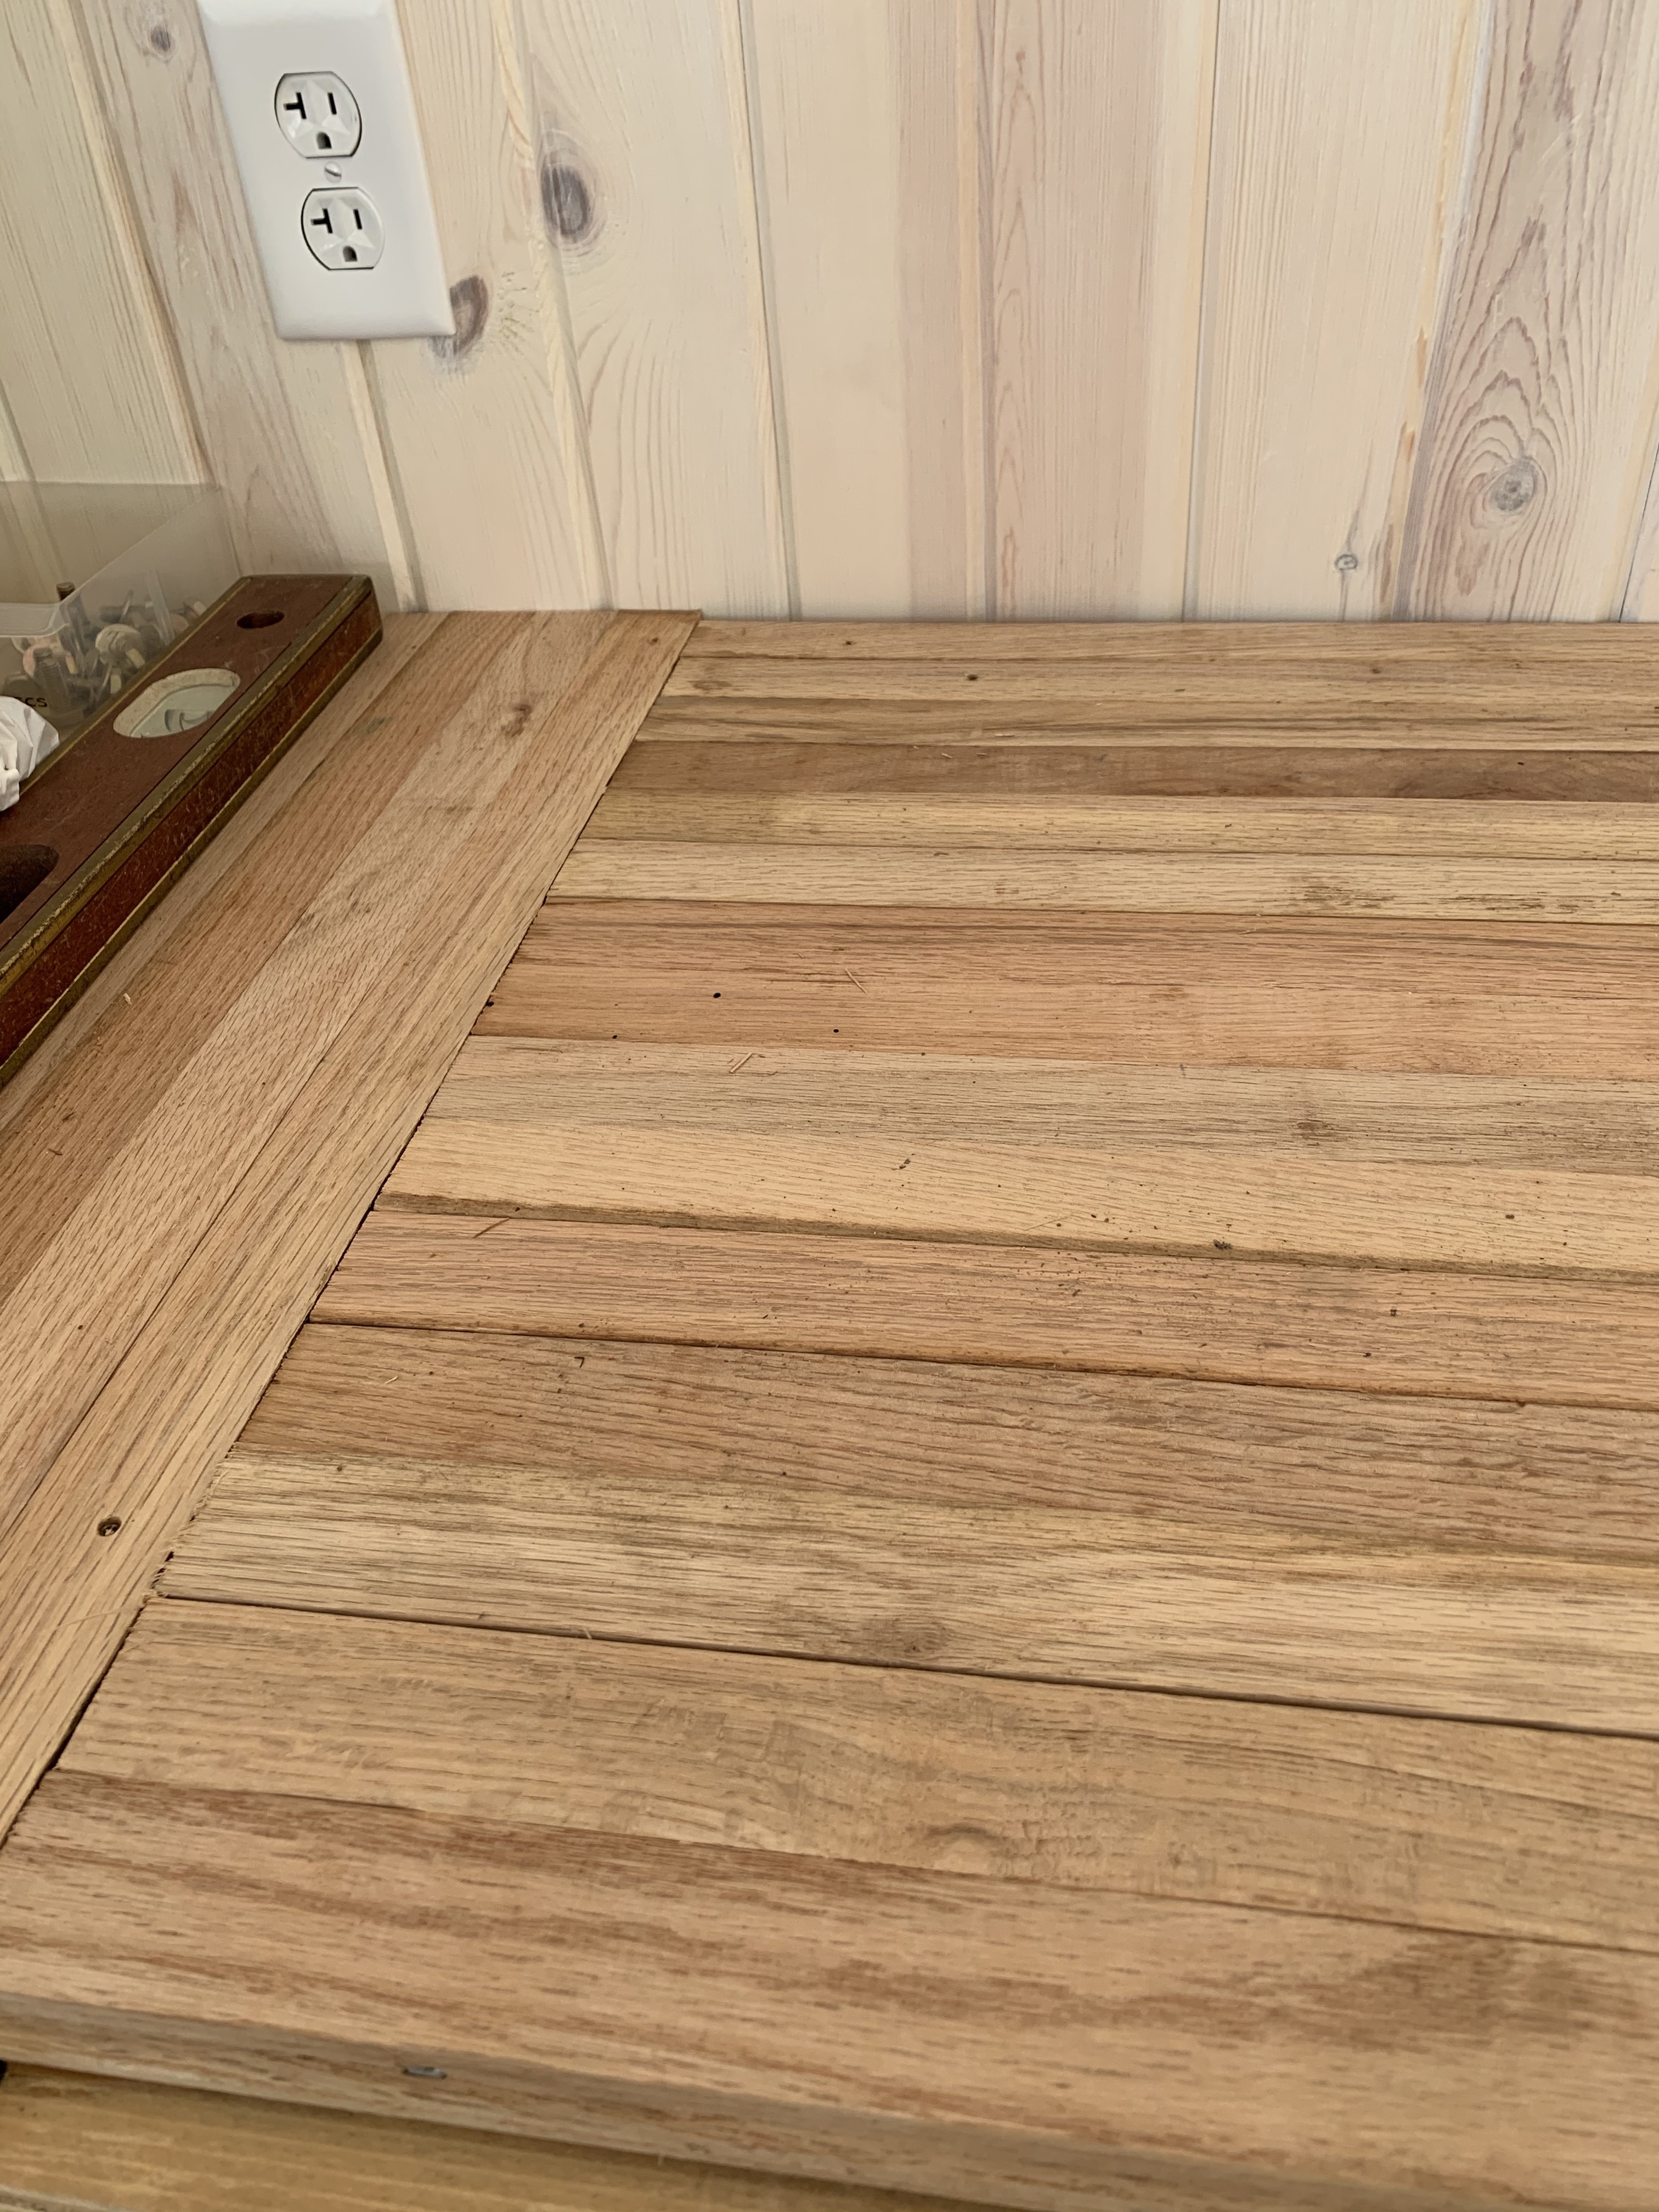
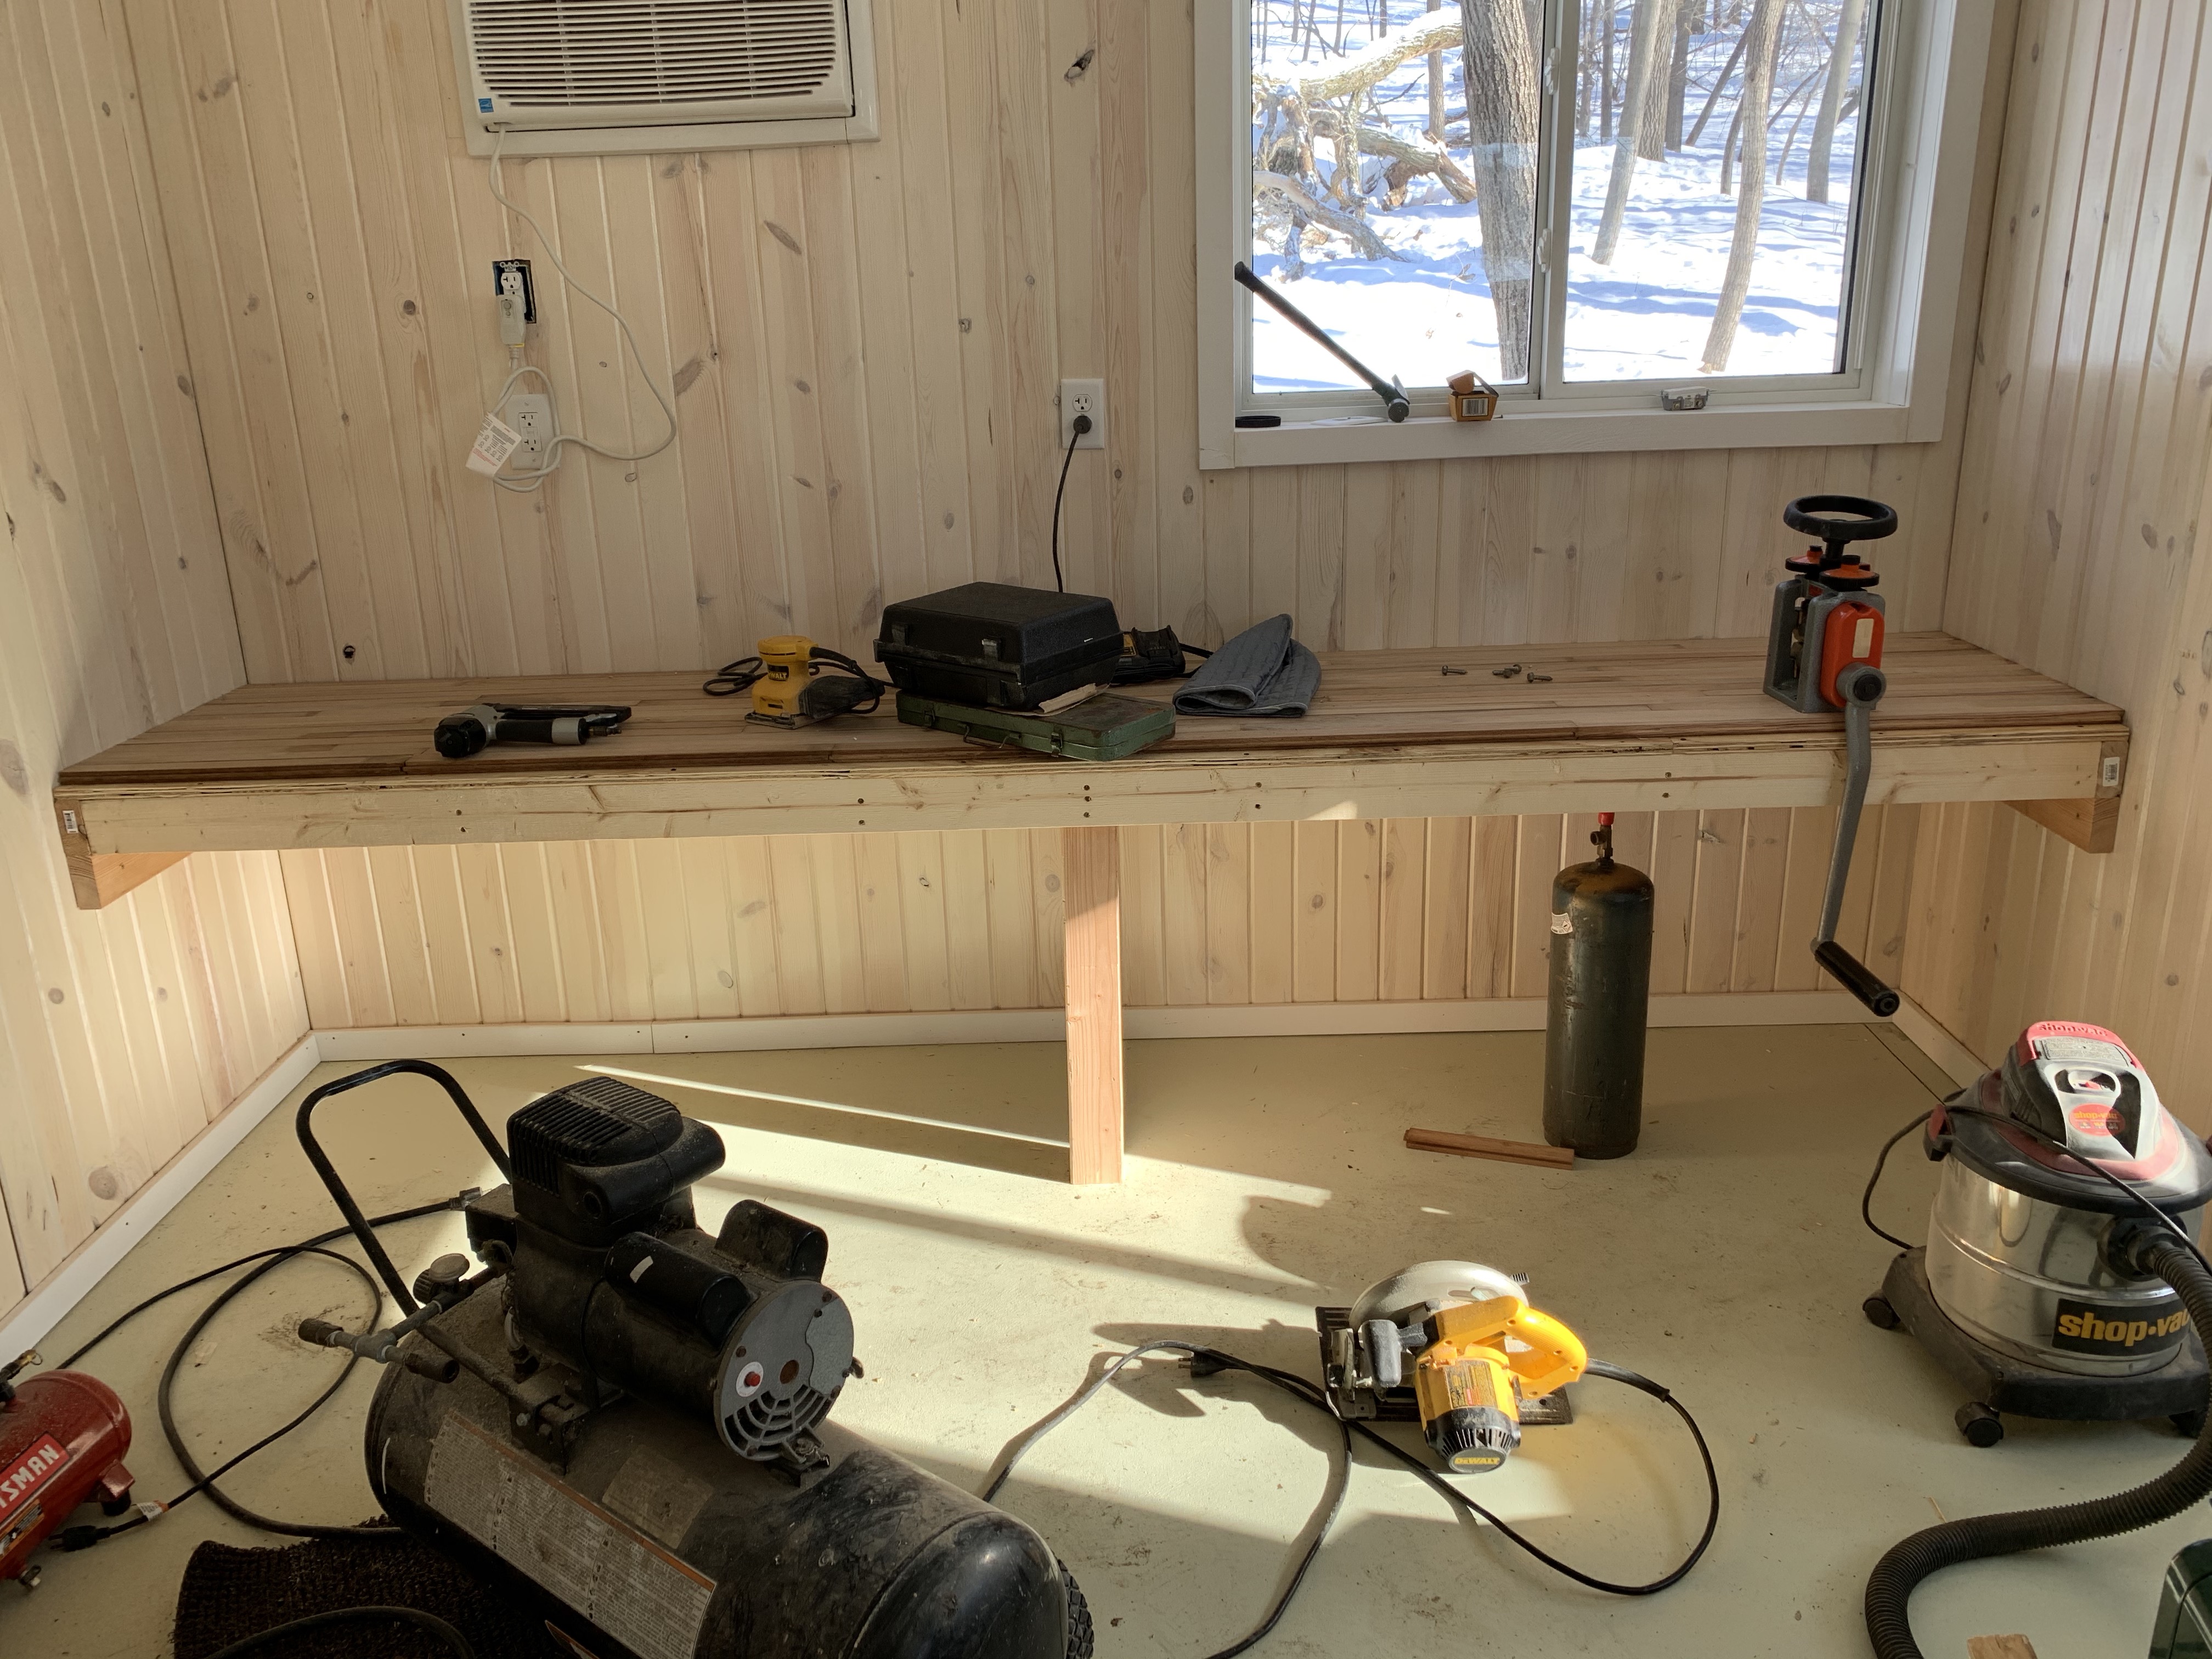
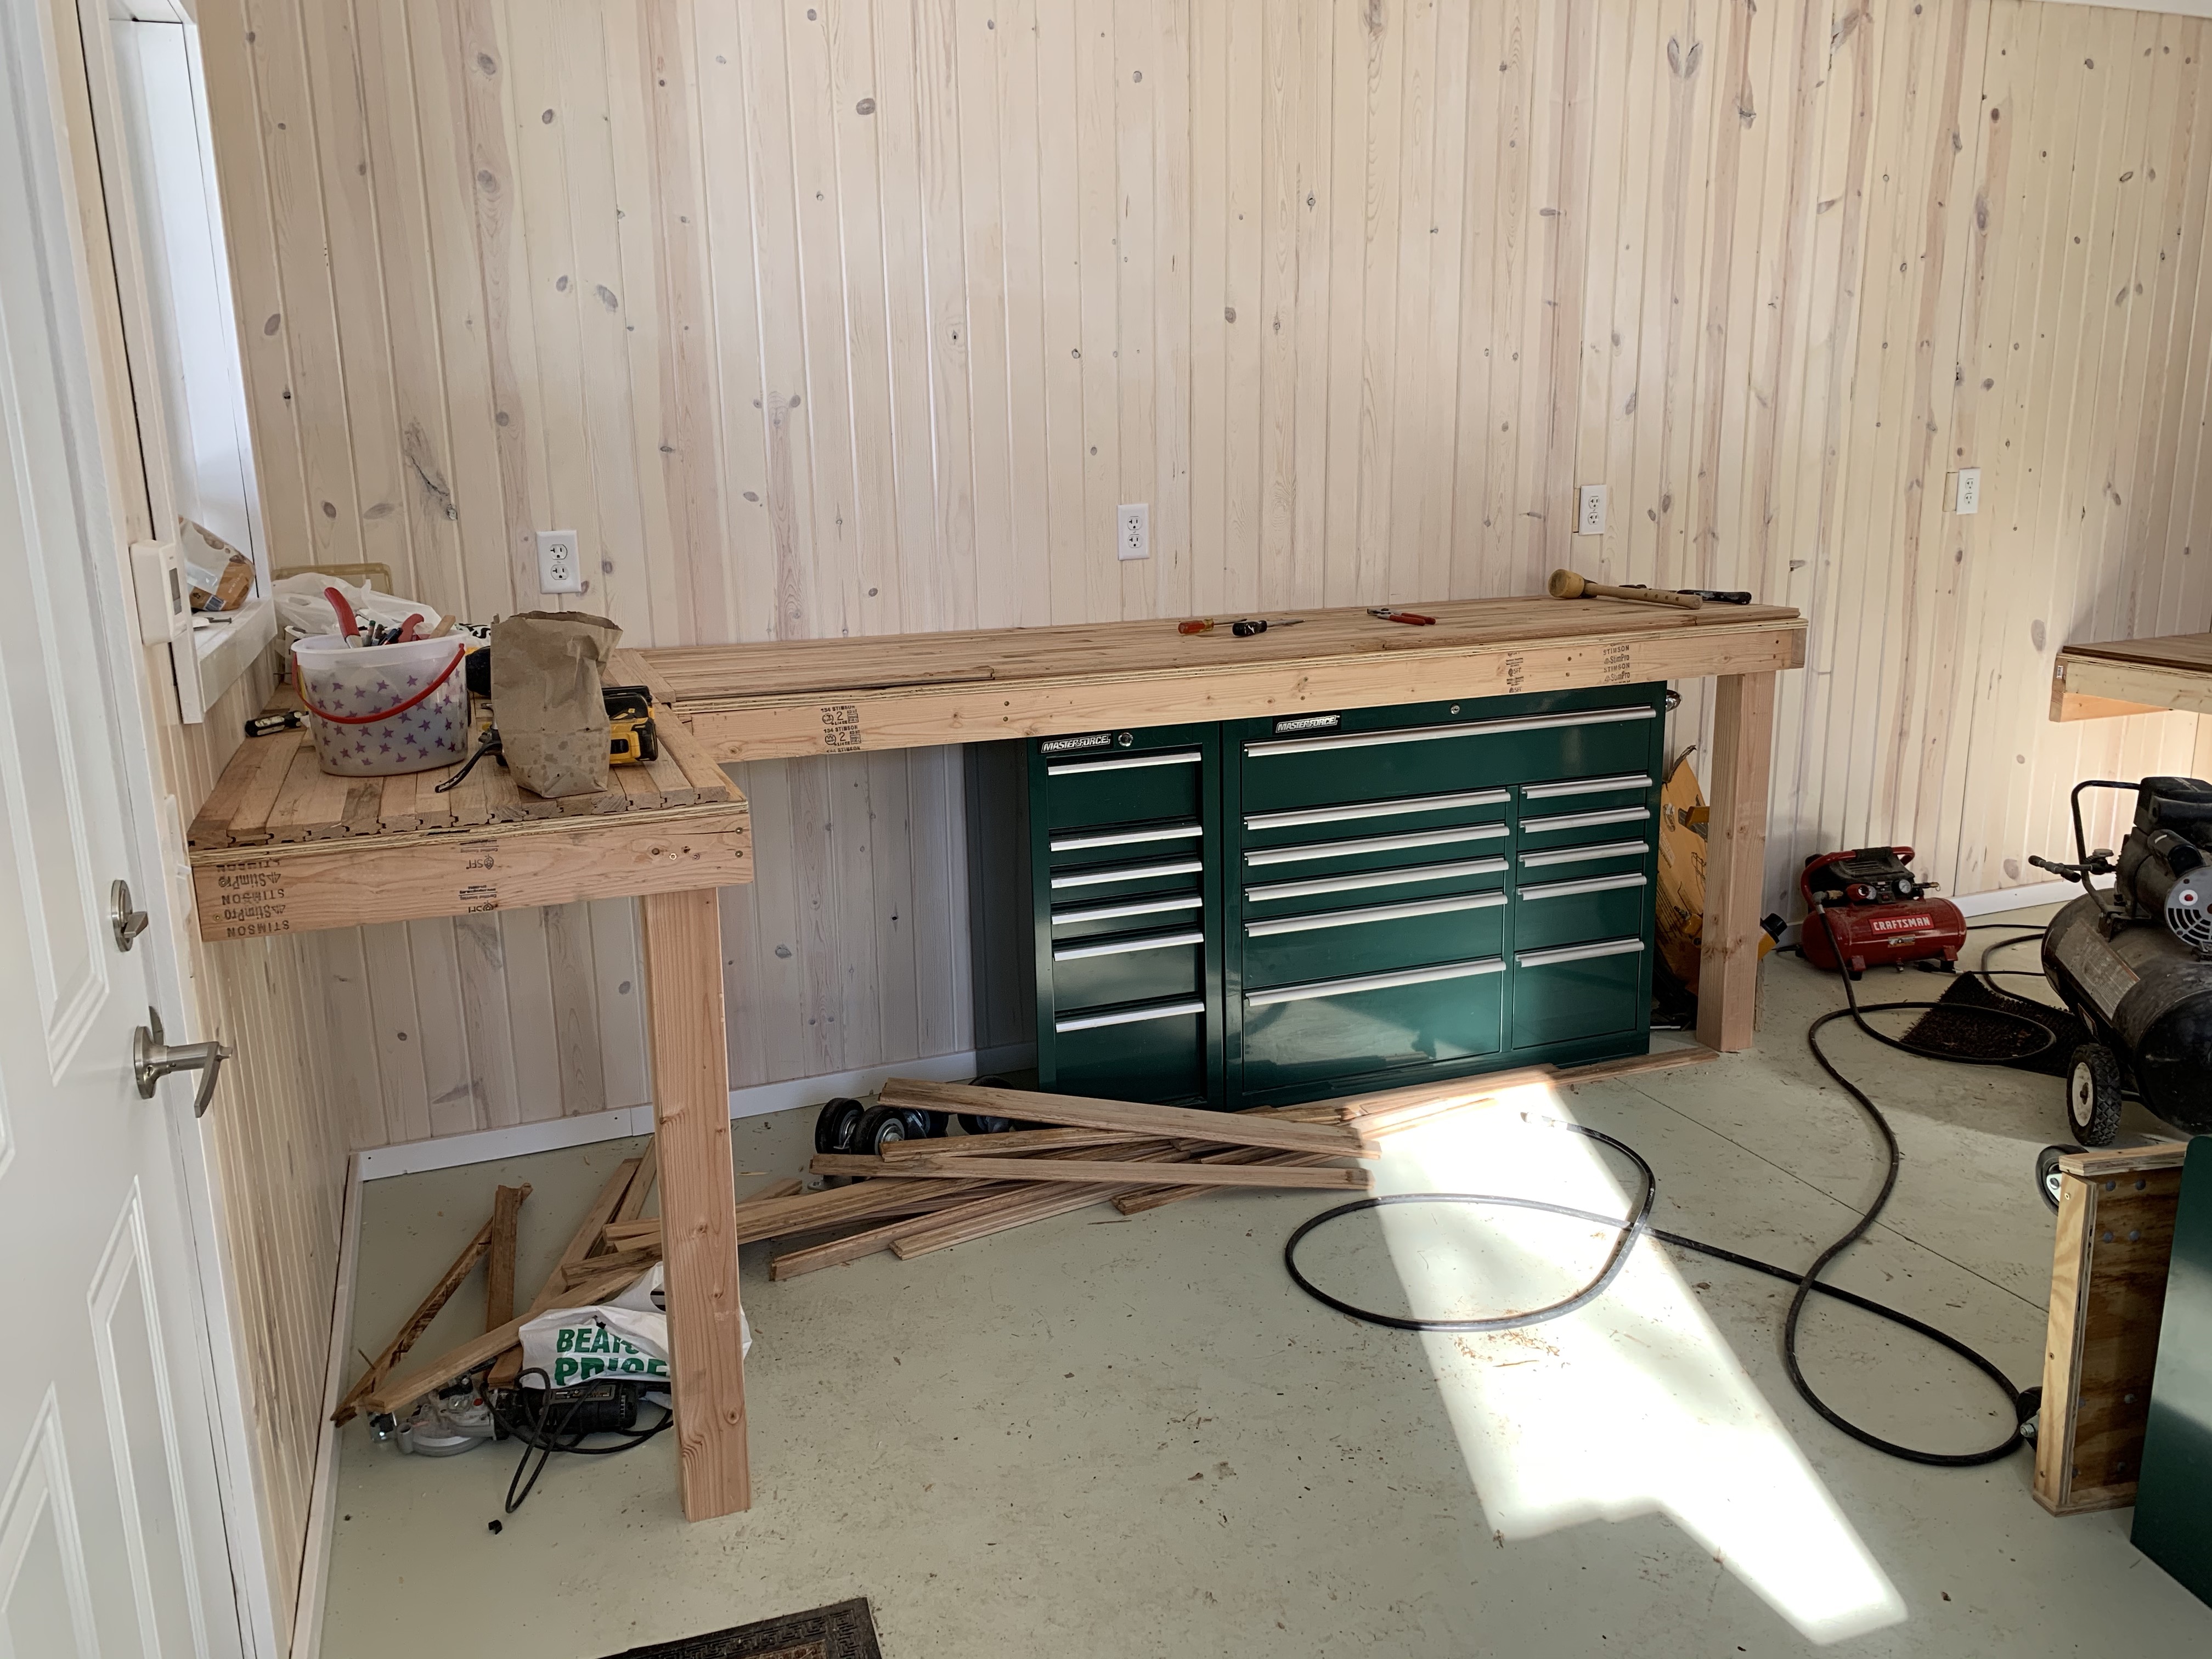
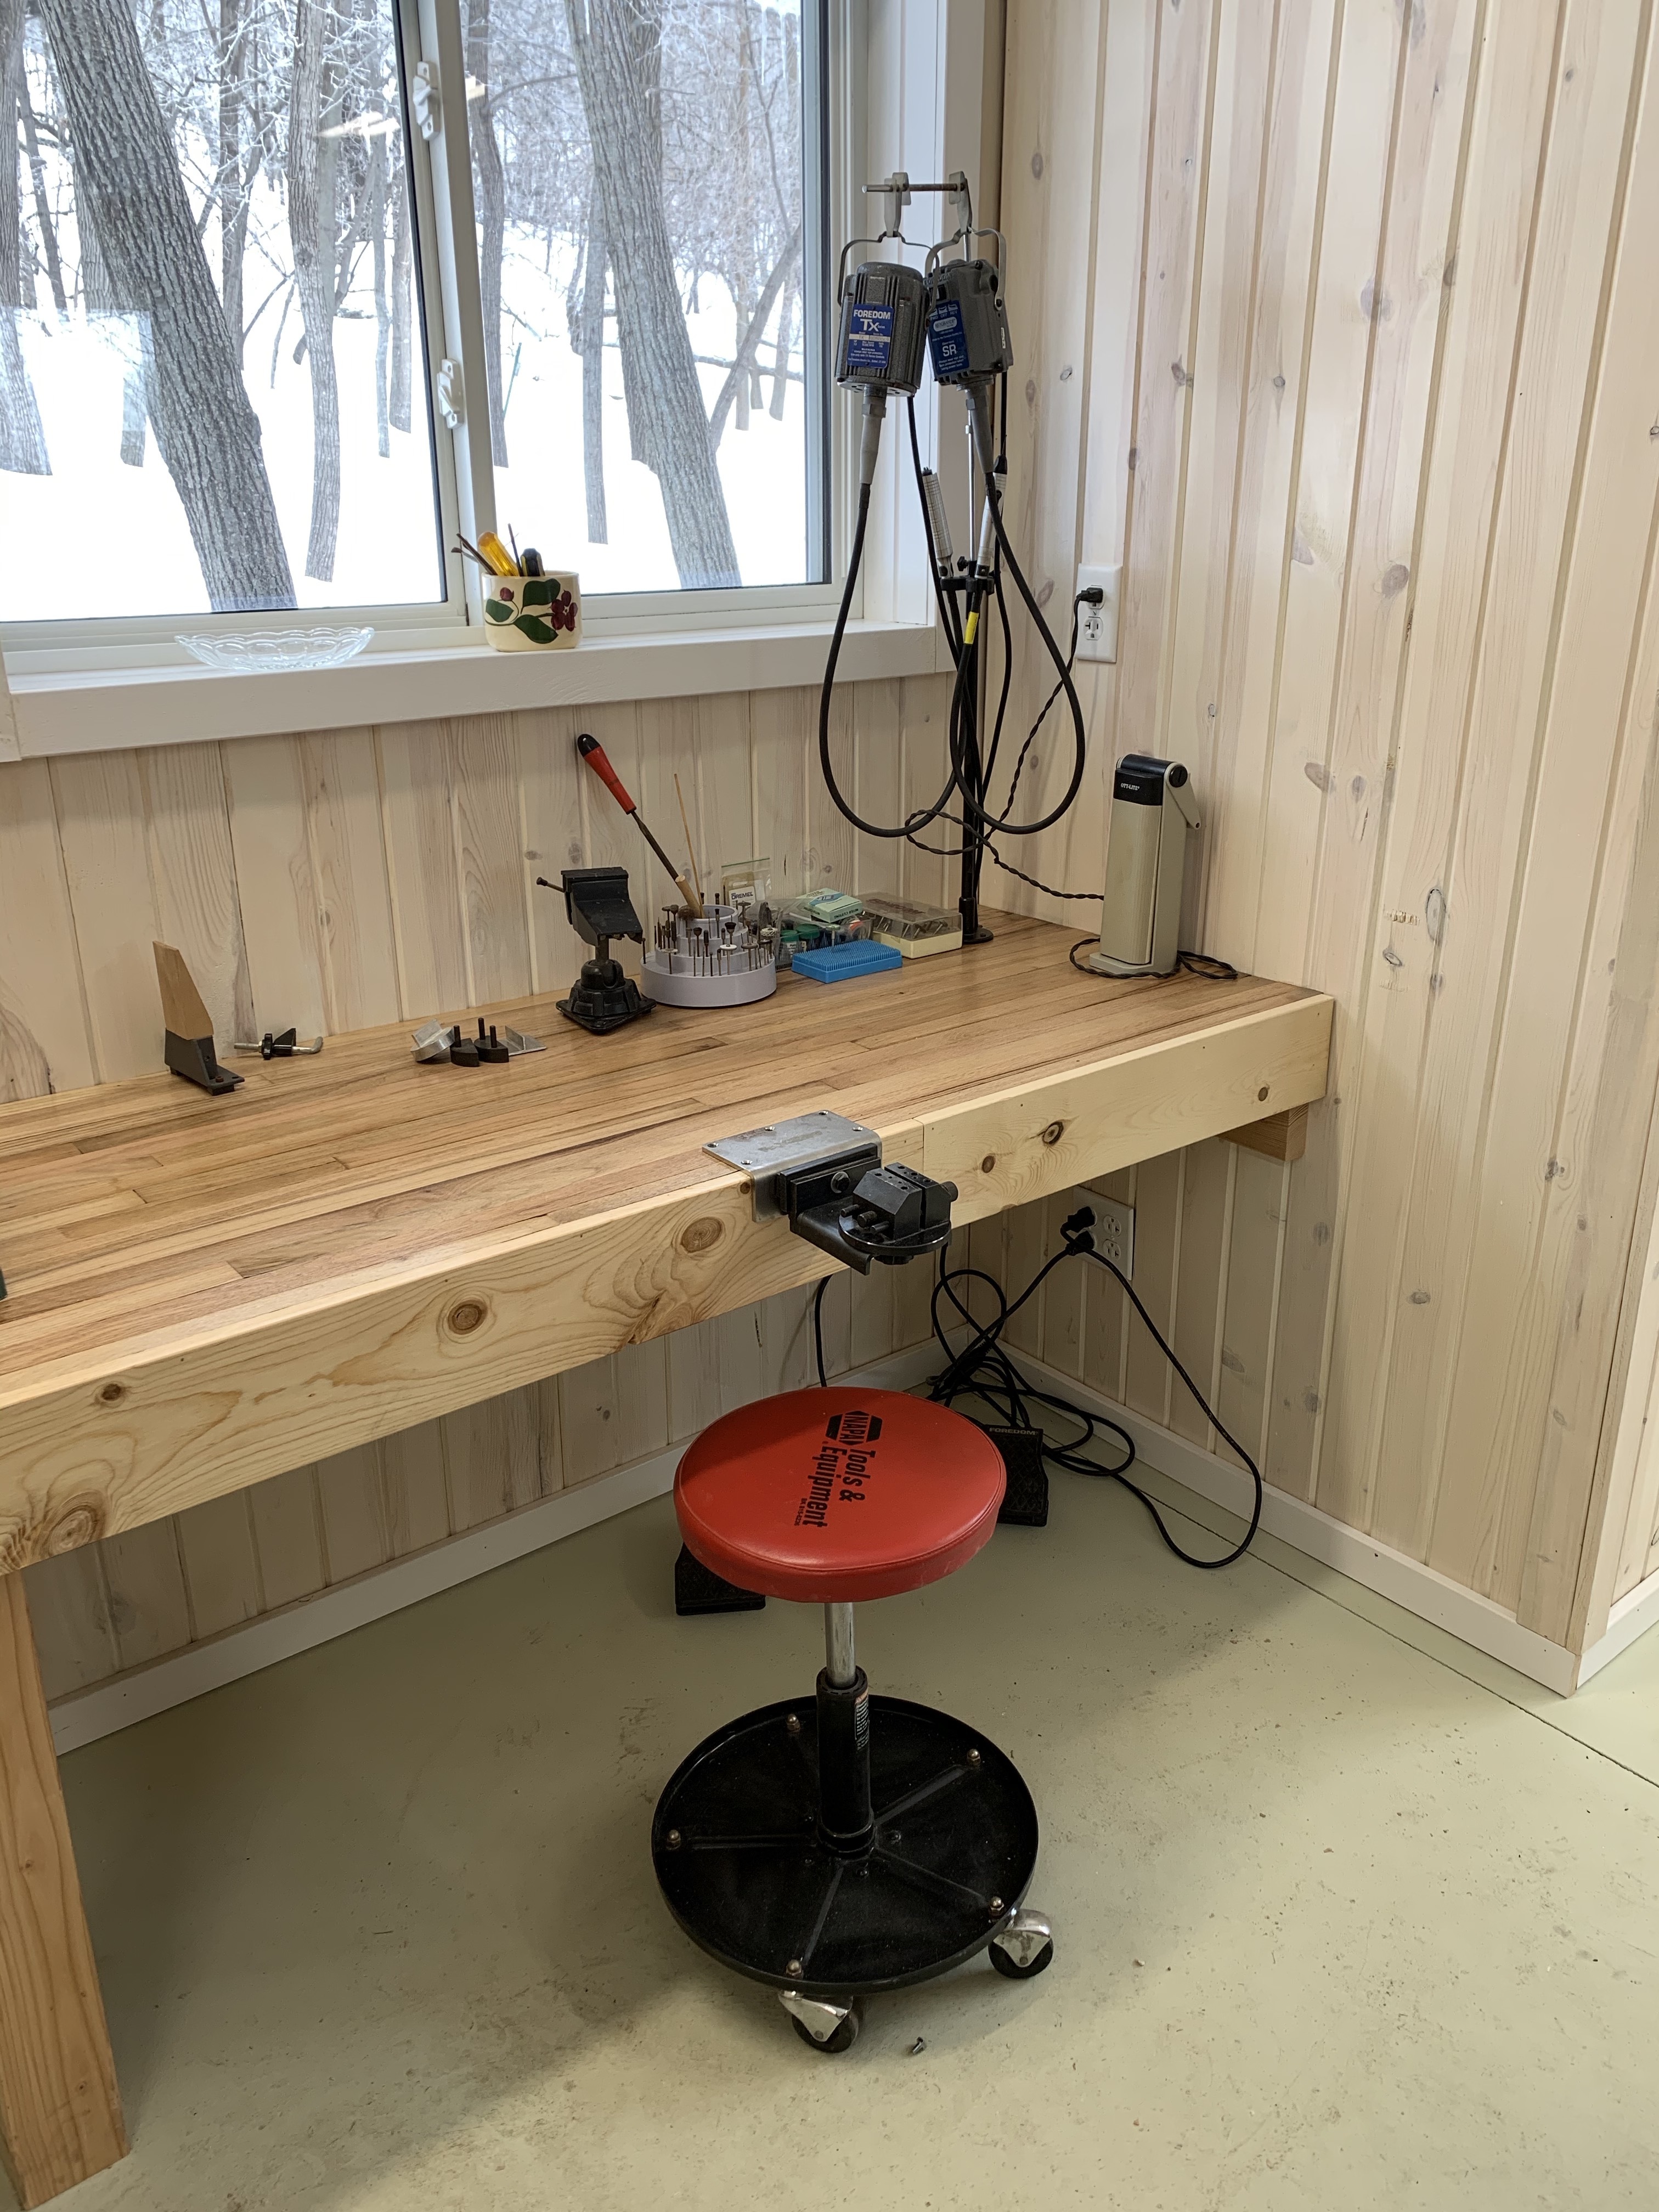
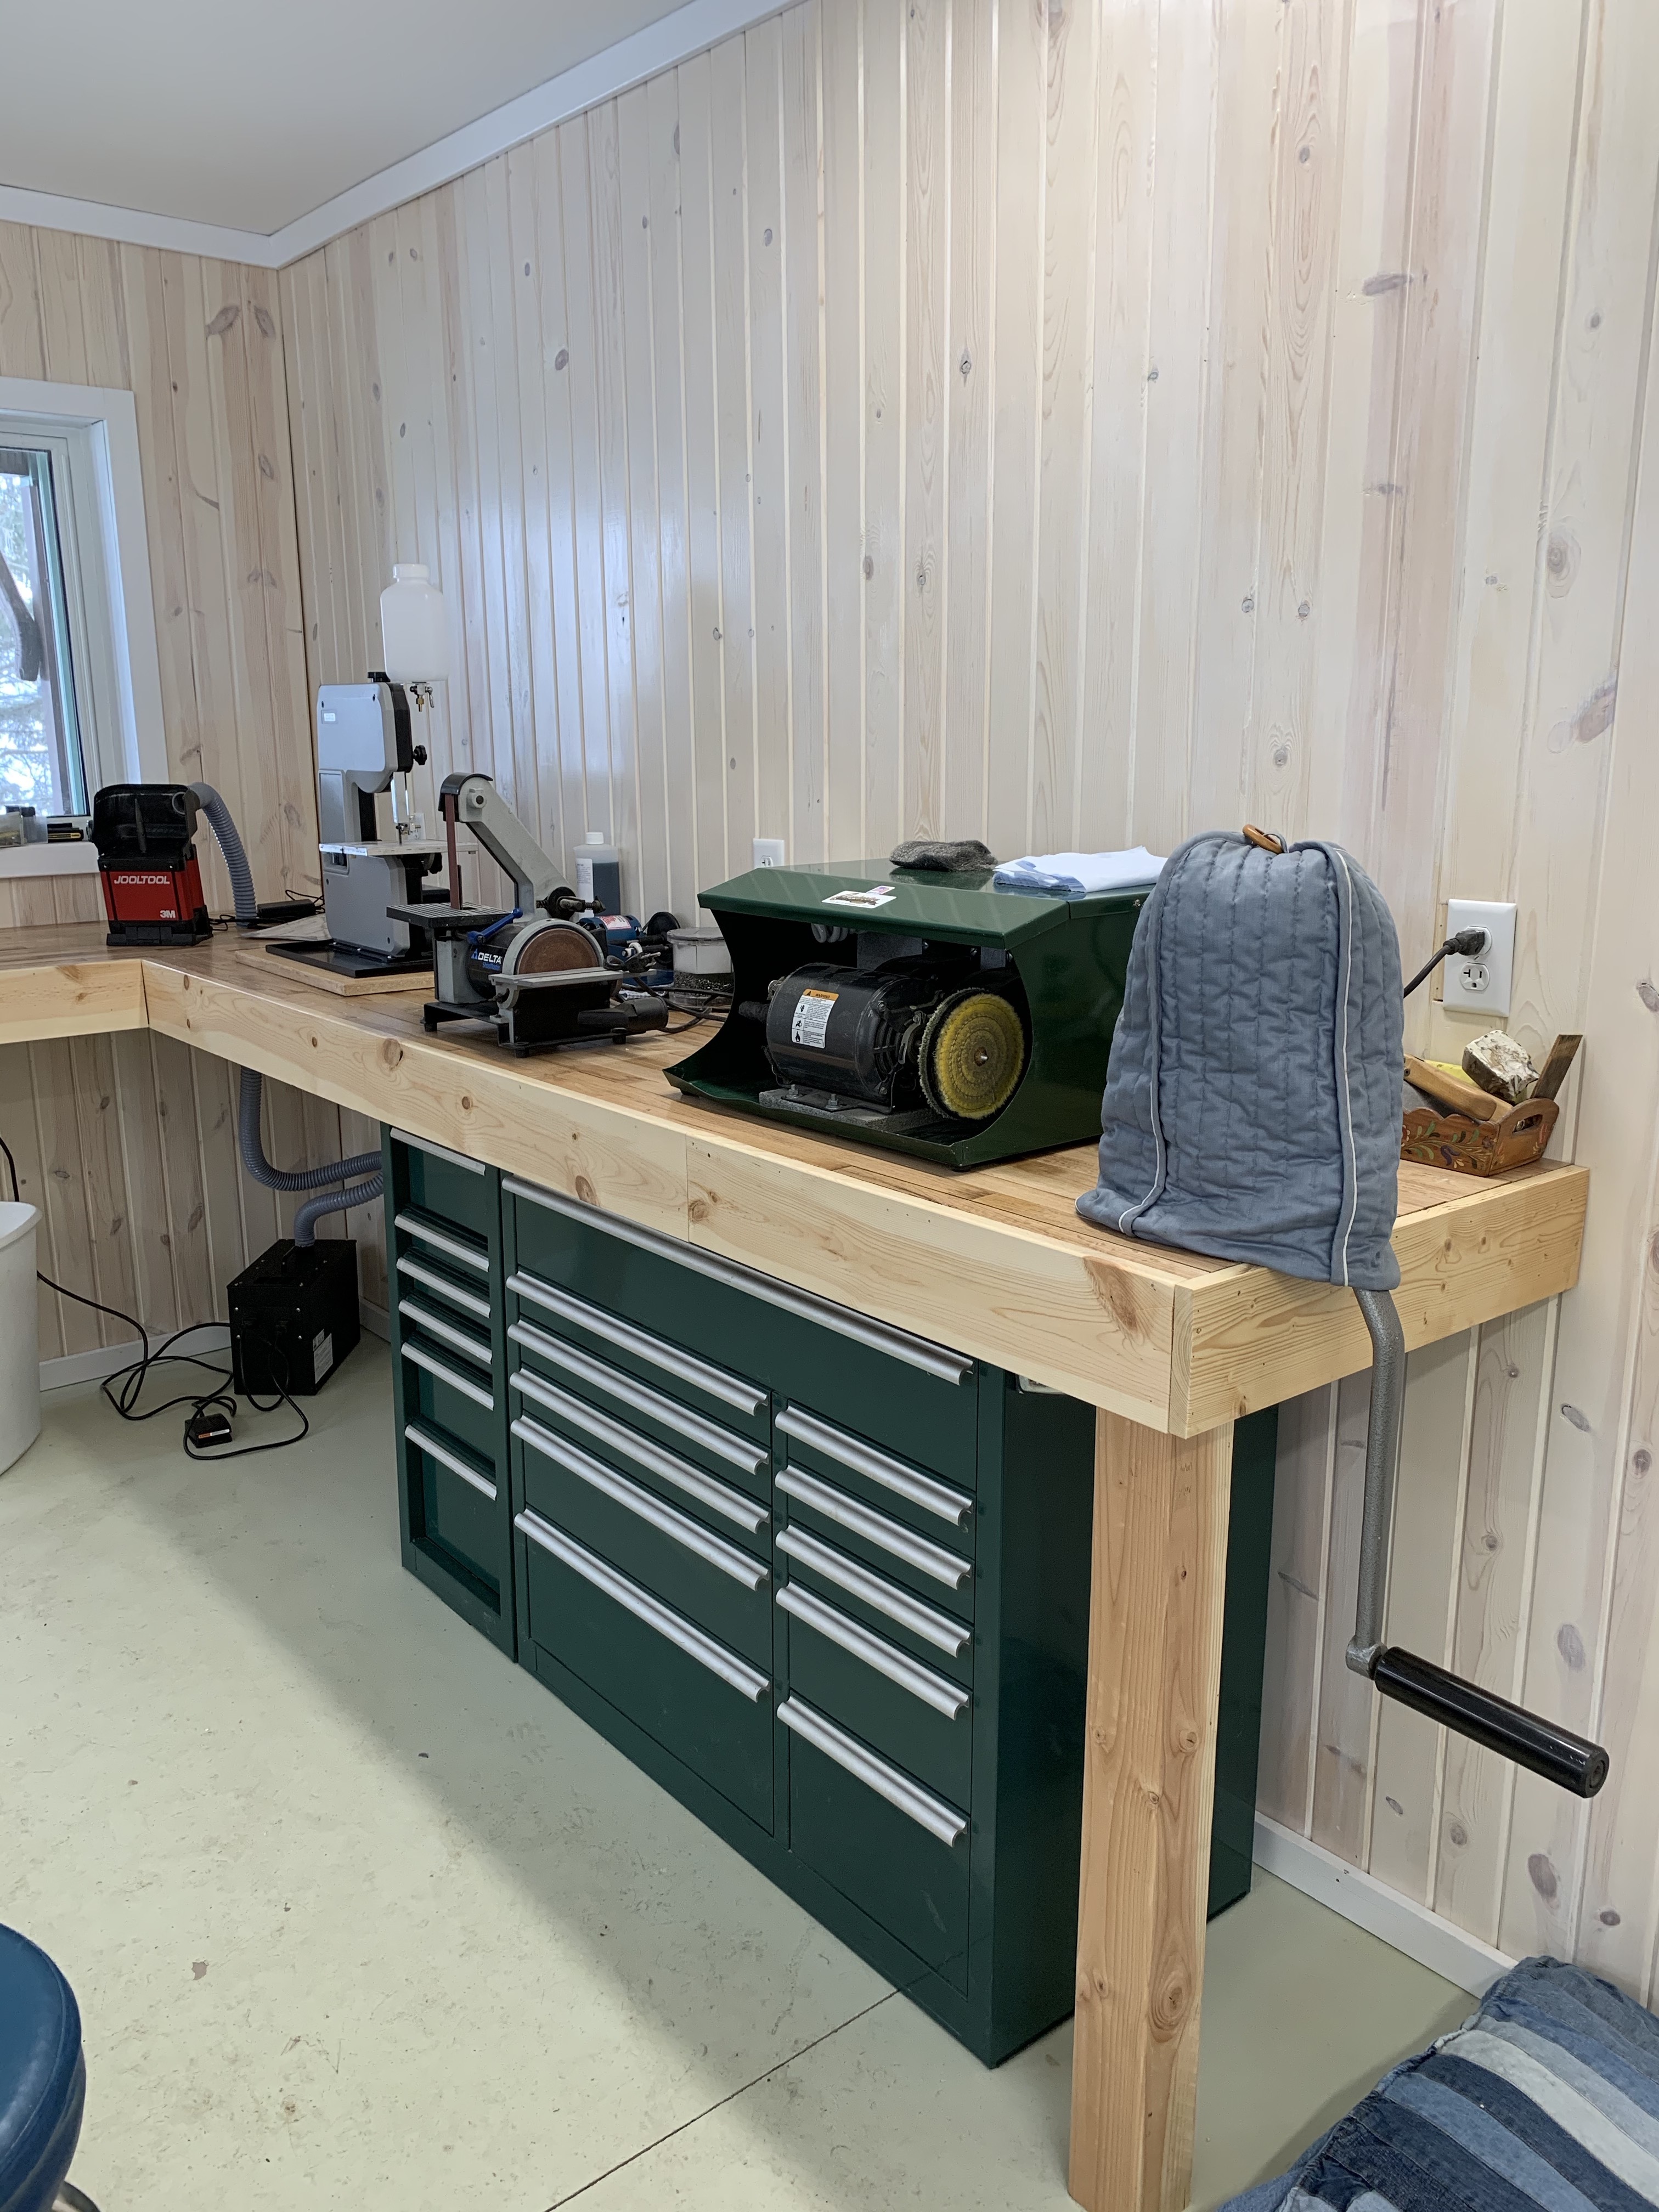
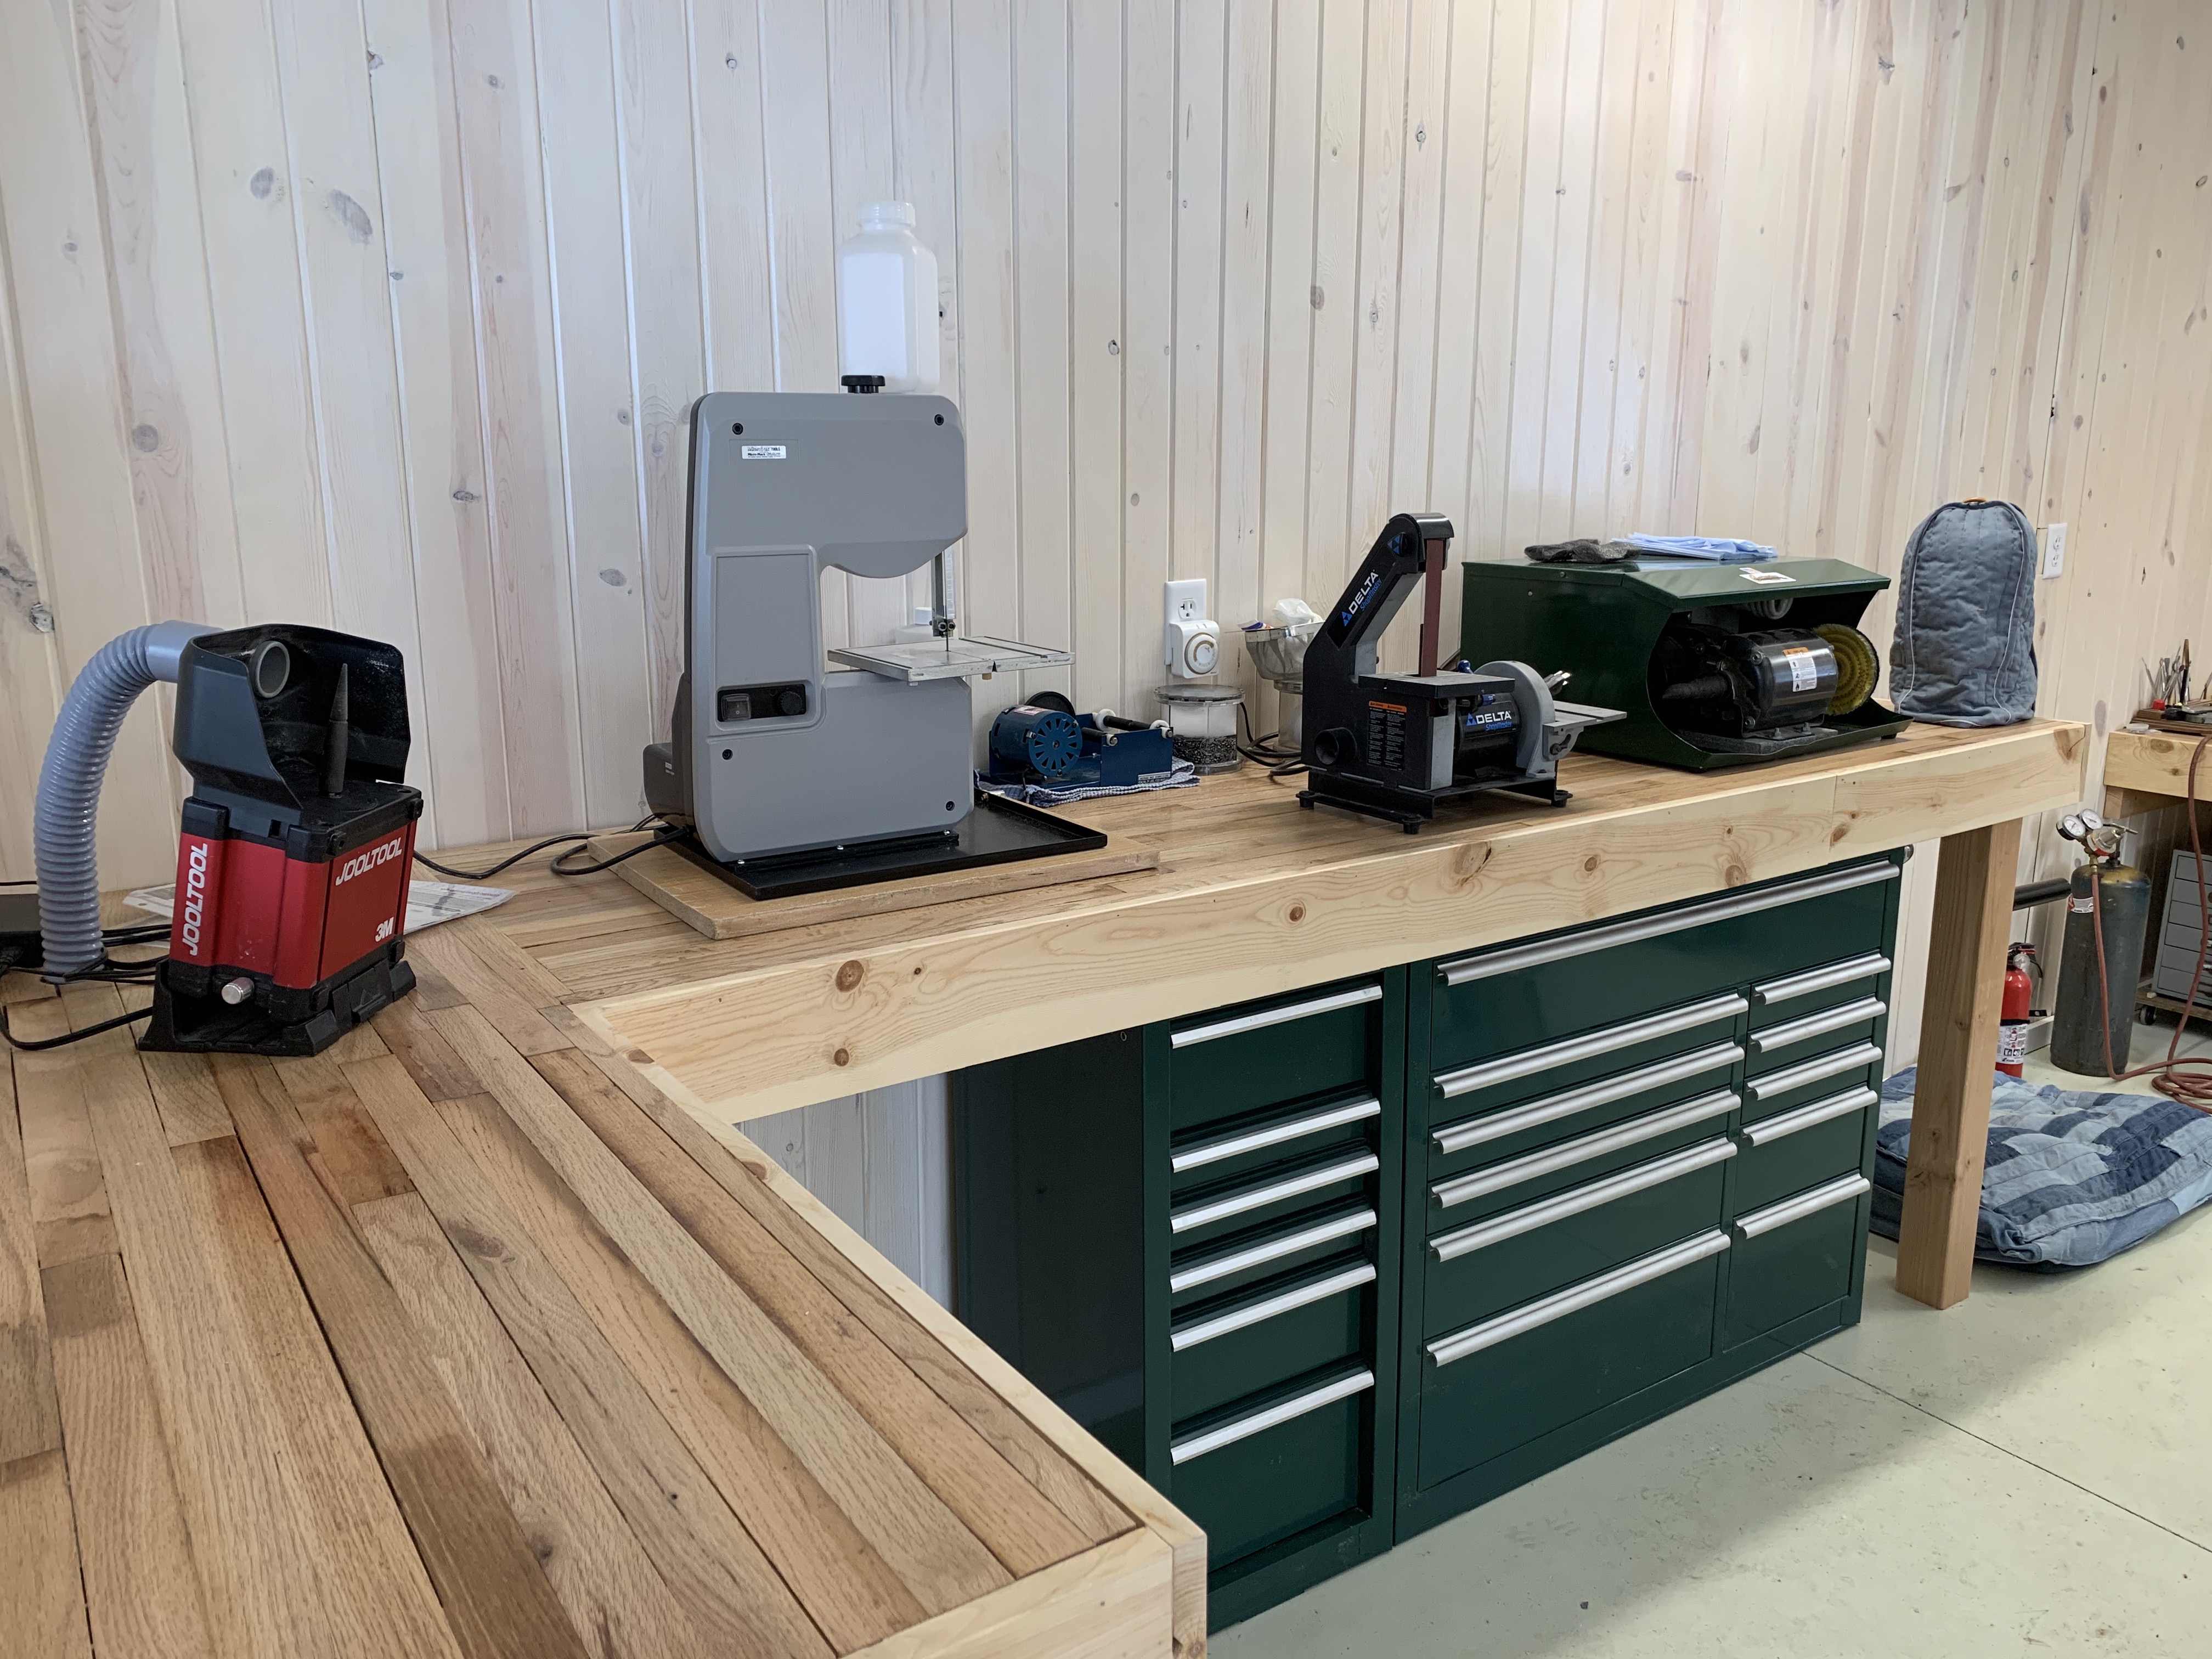
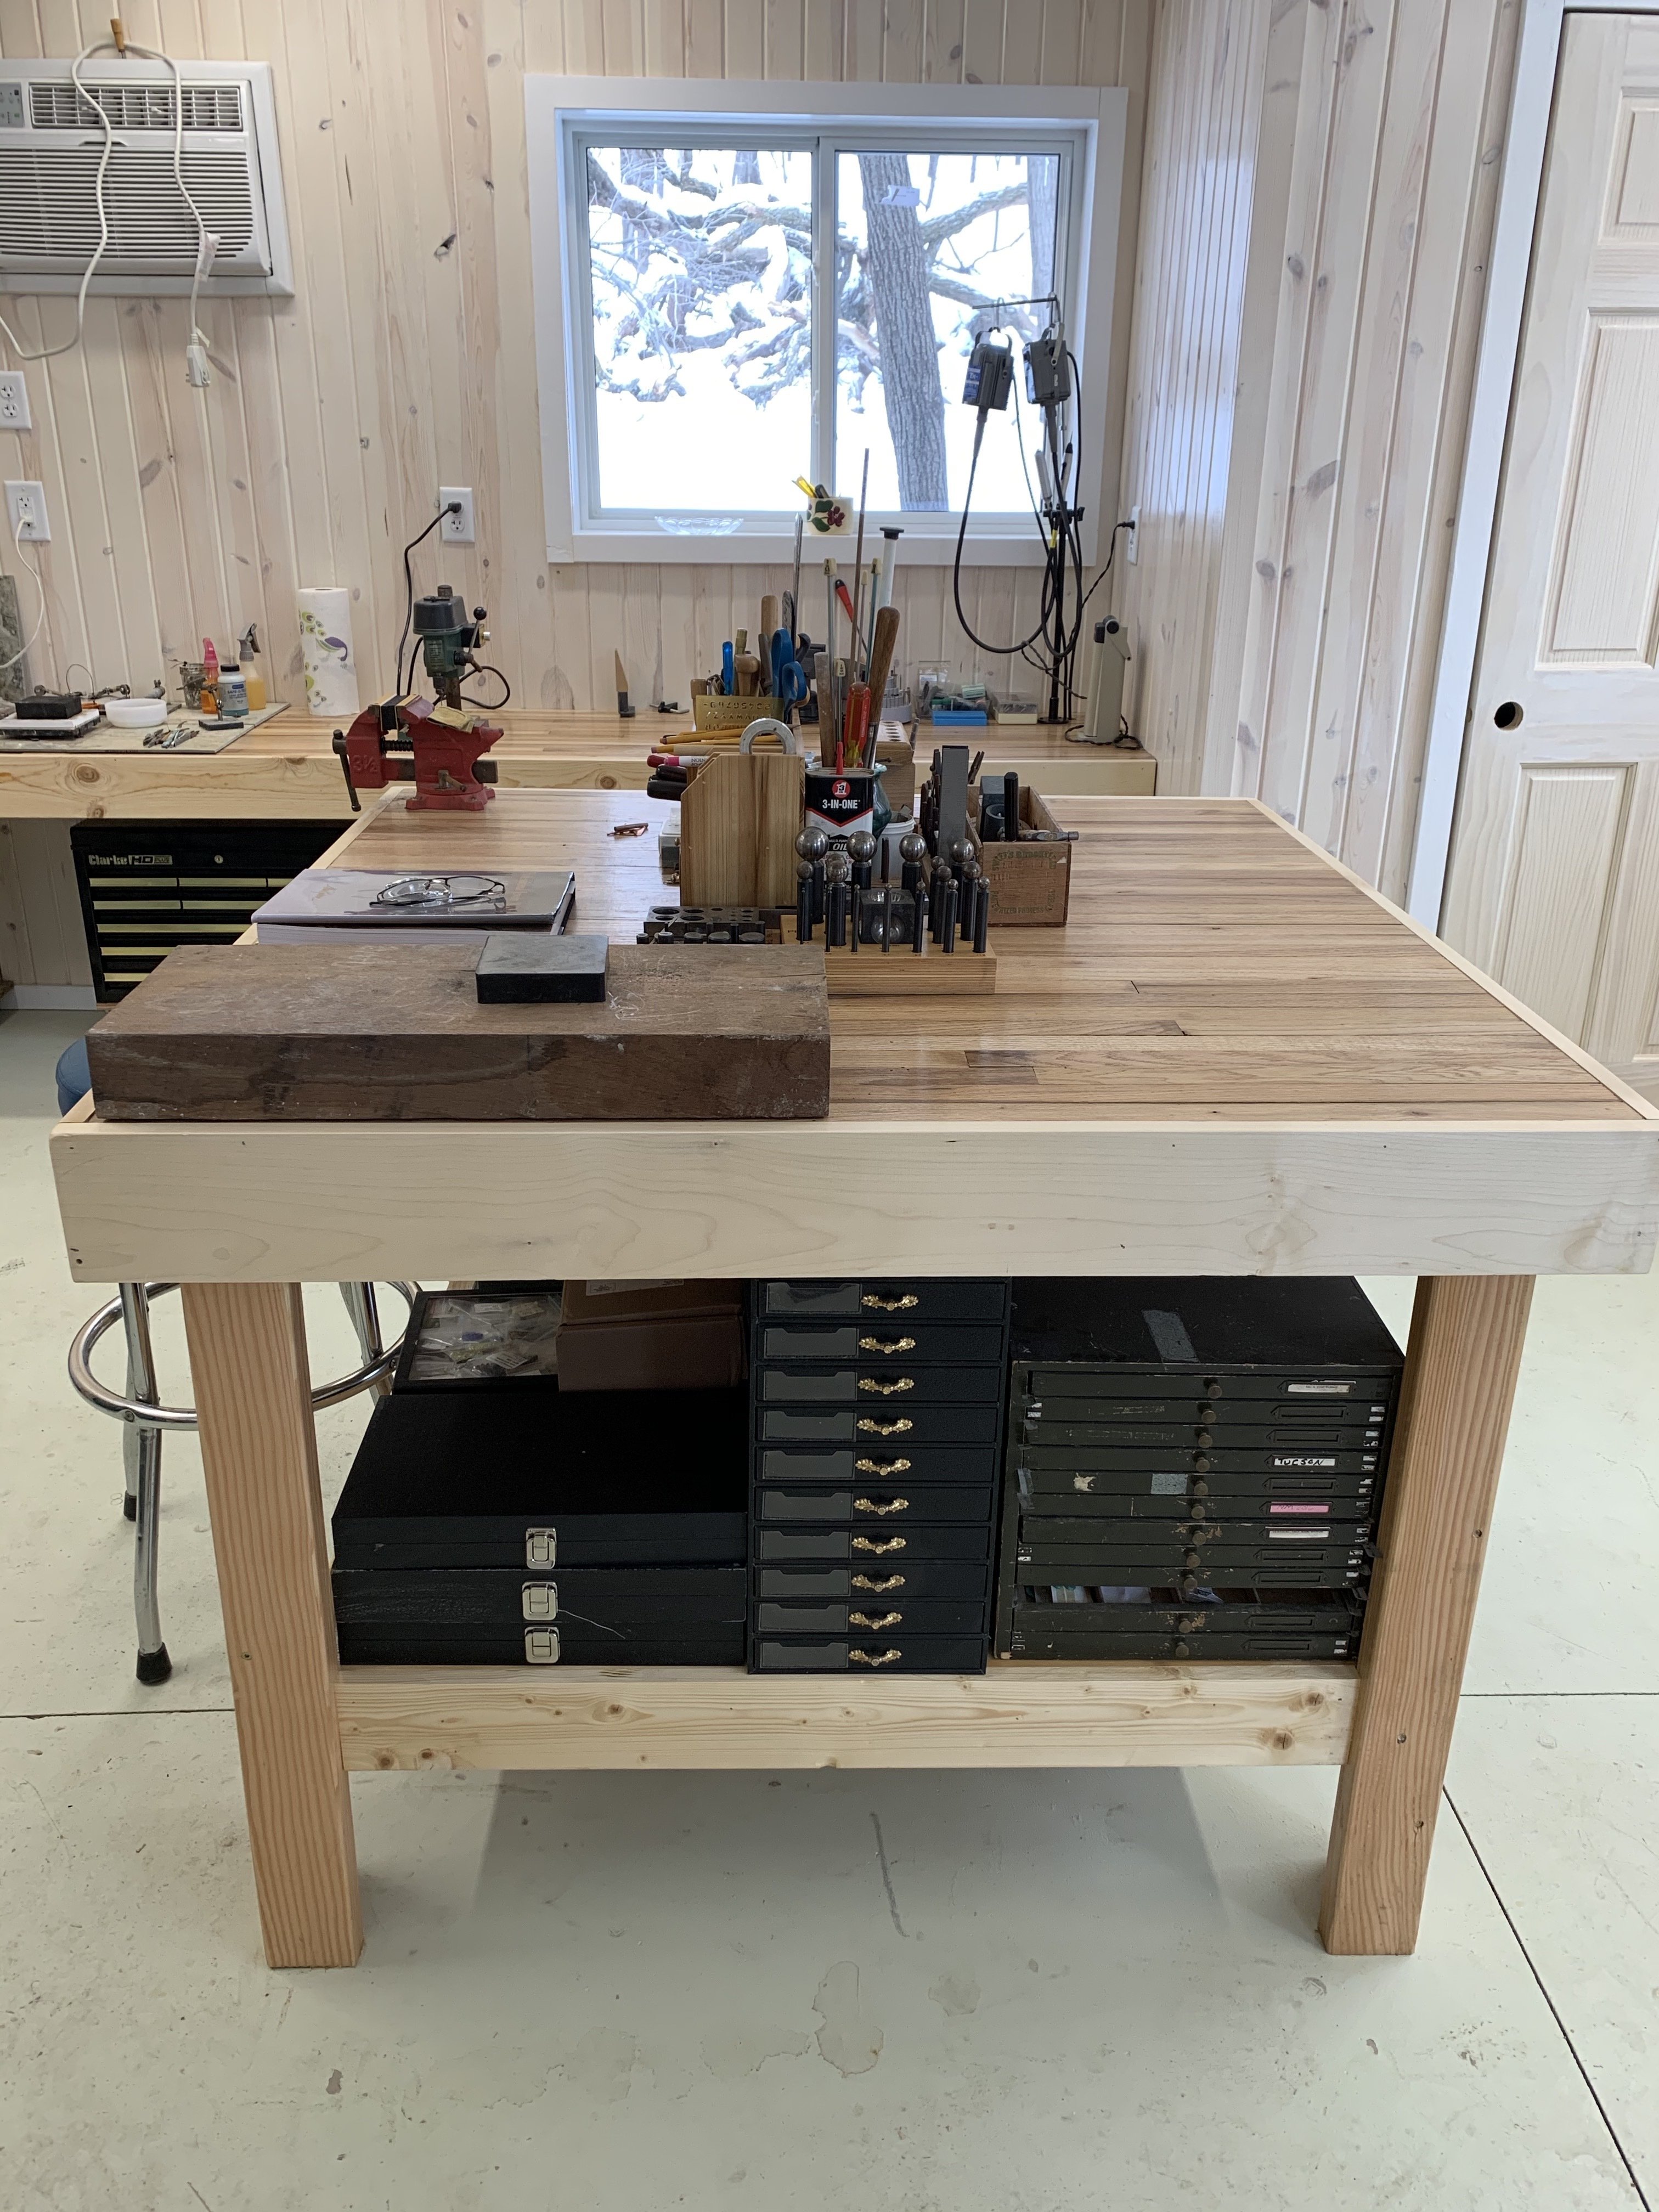
Here are pictures of the benches prior to the front trim work and the sanding. I have a long sitting bench and an L shaped standing bench.

1 Like
Nice! The only suggestion I have is that you may lose things in the grooves. That probably isn’t as bad as losing them on the floor. I lose so much in my shop that I keep a small cordless handvac and flashlight handy to look for things…Rob
They would be mighty tiny things! And yes that is a possibility.
I am thinking bench sweeps and stuff that you might want to collect to send to the refinery. I vacuum this stuff up and then just send the filter with whatever I want to refine still in the filter. The refinery can burn it out…Rob
Hello Jean, Robb et al.,
I’m pretty familiar with tongue and groove oak flooring, as I floored two large rooms in my current home with it a few years ago. Lovely stuff! Mine looks very similar to your bench top photos except that it’s a slightly different colored finish…yes, there’s a very small crack between the planks into which precious metal dust could lodge…if you aren’t working over your under bench tray…if one were particular about this, a butcher block surface is smoother…however, I understand a sentimental attachment to the oak, since I have an old oak table which I’ve had forever which will eventually become part of my work area. If losing dust in the cracks is an issue, you could certainly use a urethane or similar finish which would fill the spaces between the boards. -royjohn
1 Like
I’m a little surprised that no one has mentioned this. How about just varnishing the top surface of the bench. If you put it on thick enough the varnish would fill the grooves between each board and give you a nice flat smooth surface and no loss of materials. My bench I have been using is almost 20 year old now and it was made out of pine by my dad and just varnished. There are now lots of places the varnish has been worn off or slightly burnt from solder picks but still makes a decent finish. Probably should have redone the surface and kept up with it. But it has character now.
The only other thing that I can think of that would work, just about as well, would be to use a clear silicon and fill the grooves.
1 Like
Actually that is in the running for my choice… I had a varnished top in my old shop and it was just fine. It was tough and easy clean up and it did fill gaps. Thank you for commenting.
The best idea I would use Is that pour on epoxy. It forms a very hard surface, and would fill all grooves. I just did that to my new butcher block counters in my kitchen. I would never use silicone caulk anywhere where you may want to varnish, paint or epoxy as nothing sticks to it. Even after you remove it no paint or varnish will adhere.
1 Like
My bench was a real find, a half round writing desk, extremely sturdy. It’s topped with 3/4" plywood with poly type finish, and a delight to work at. Messy photo does now show the heavy duty scrolled legs.
1 Like
Thanks to everyone for their great ideas. What I ended up doing was applying 4 coats of Varathane. I lightly sanded between each coat. It gave me a nice tough semi gloss finish that should be easy to wash. Now I have my pounding bench to finish once my husband gets it done. It is 4’x4’. When all is said and done, my tools and stuff organized, and everything is still clean, I will take pictures and post. Thanks again to all who offered their opinions.
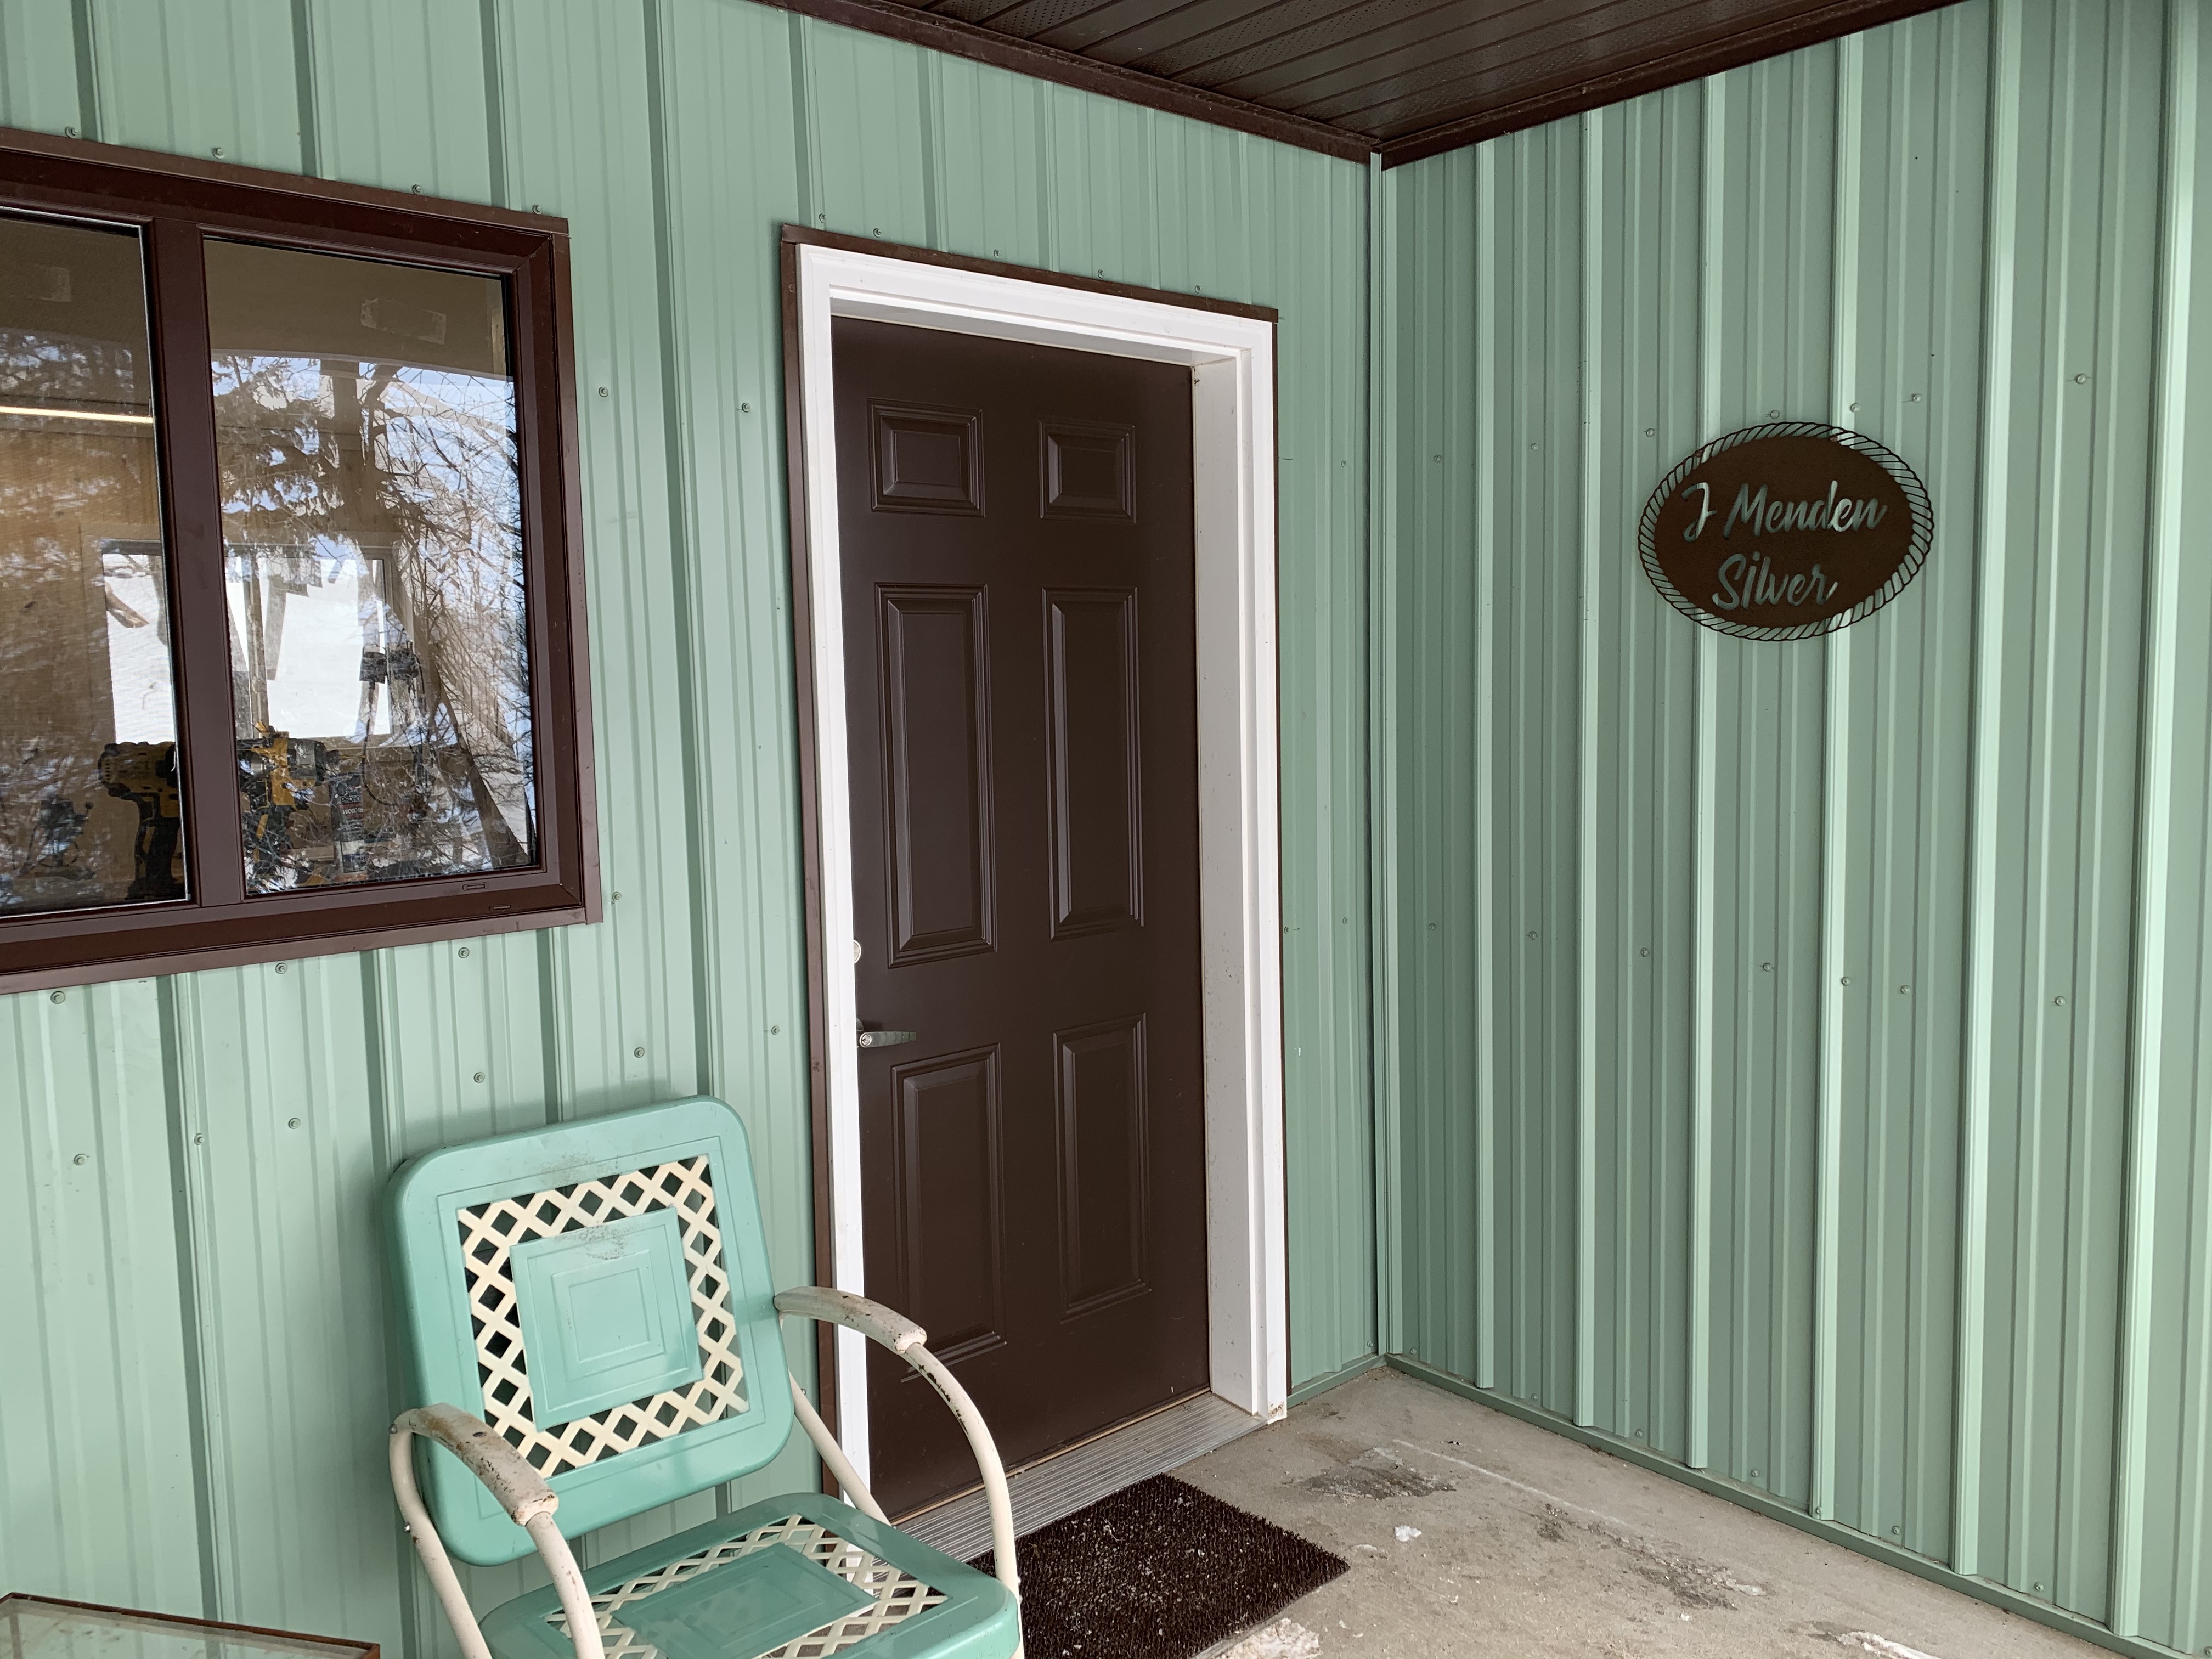
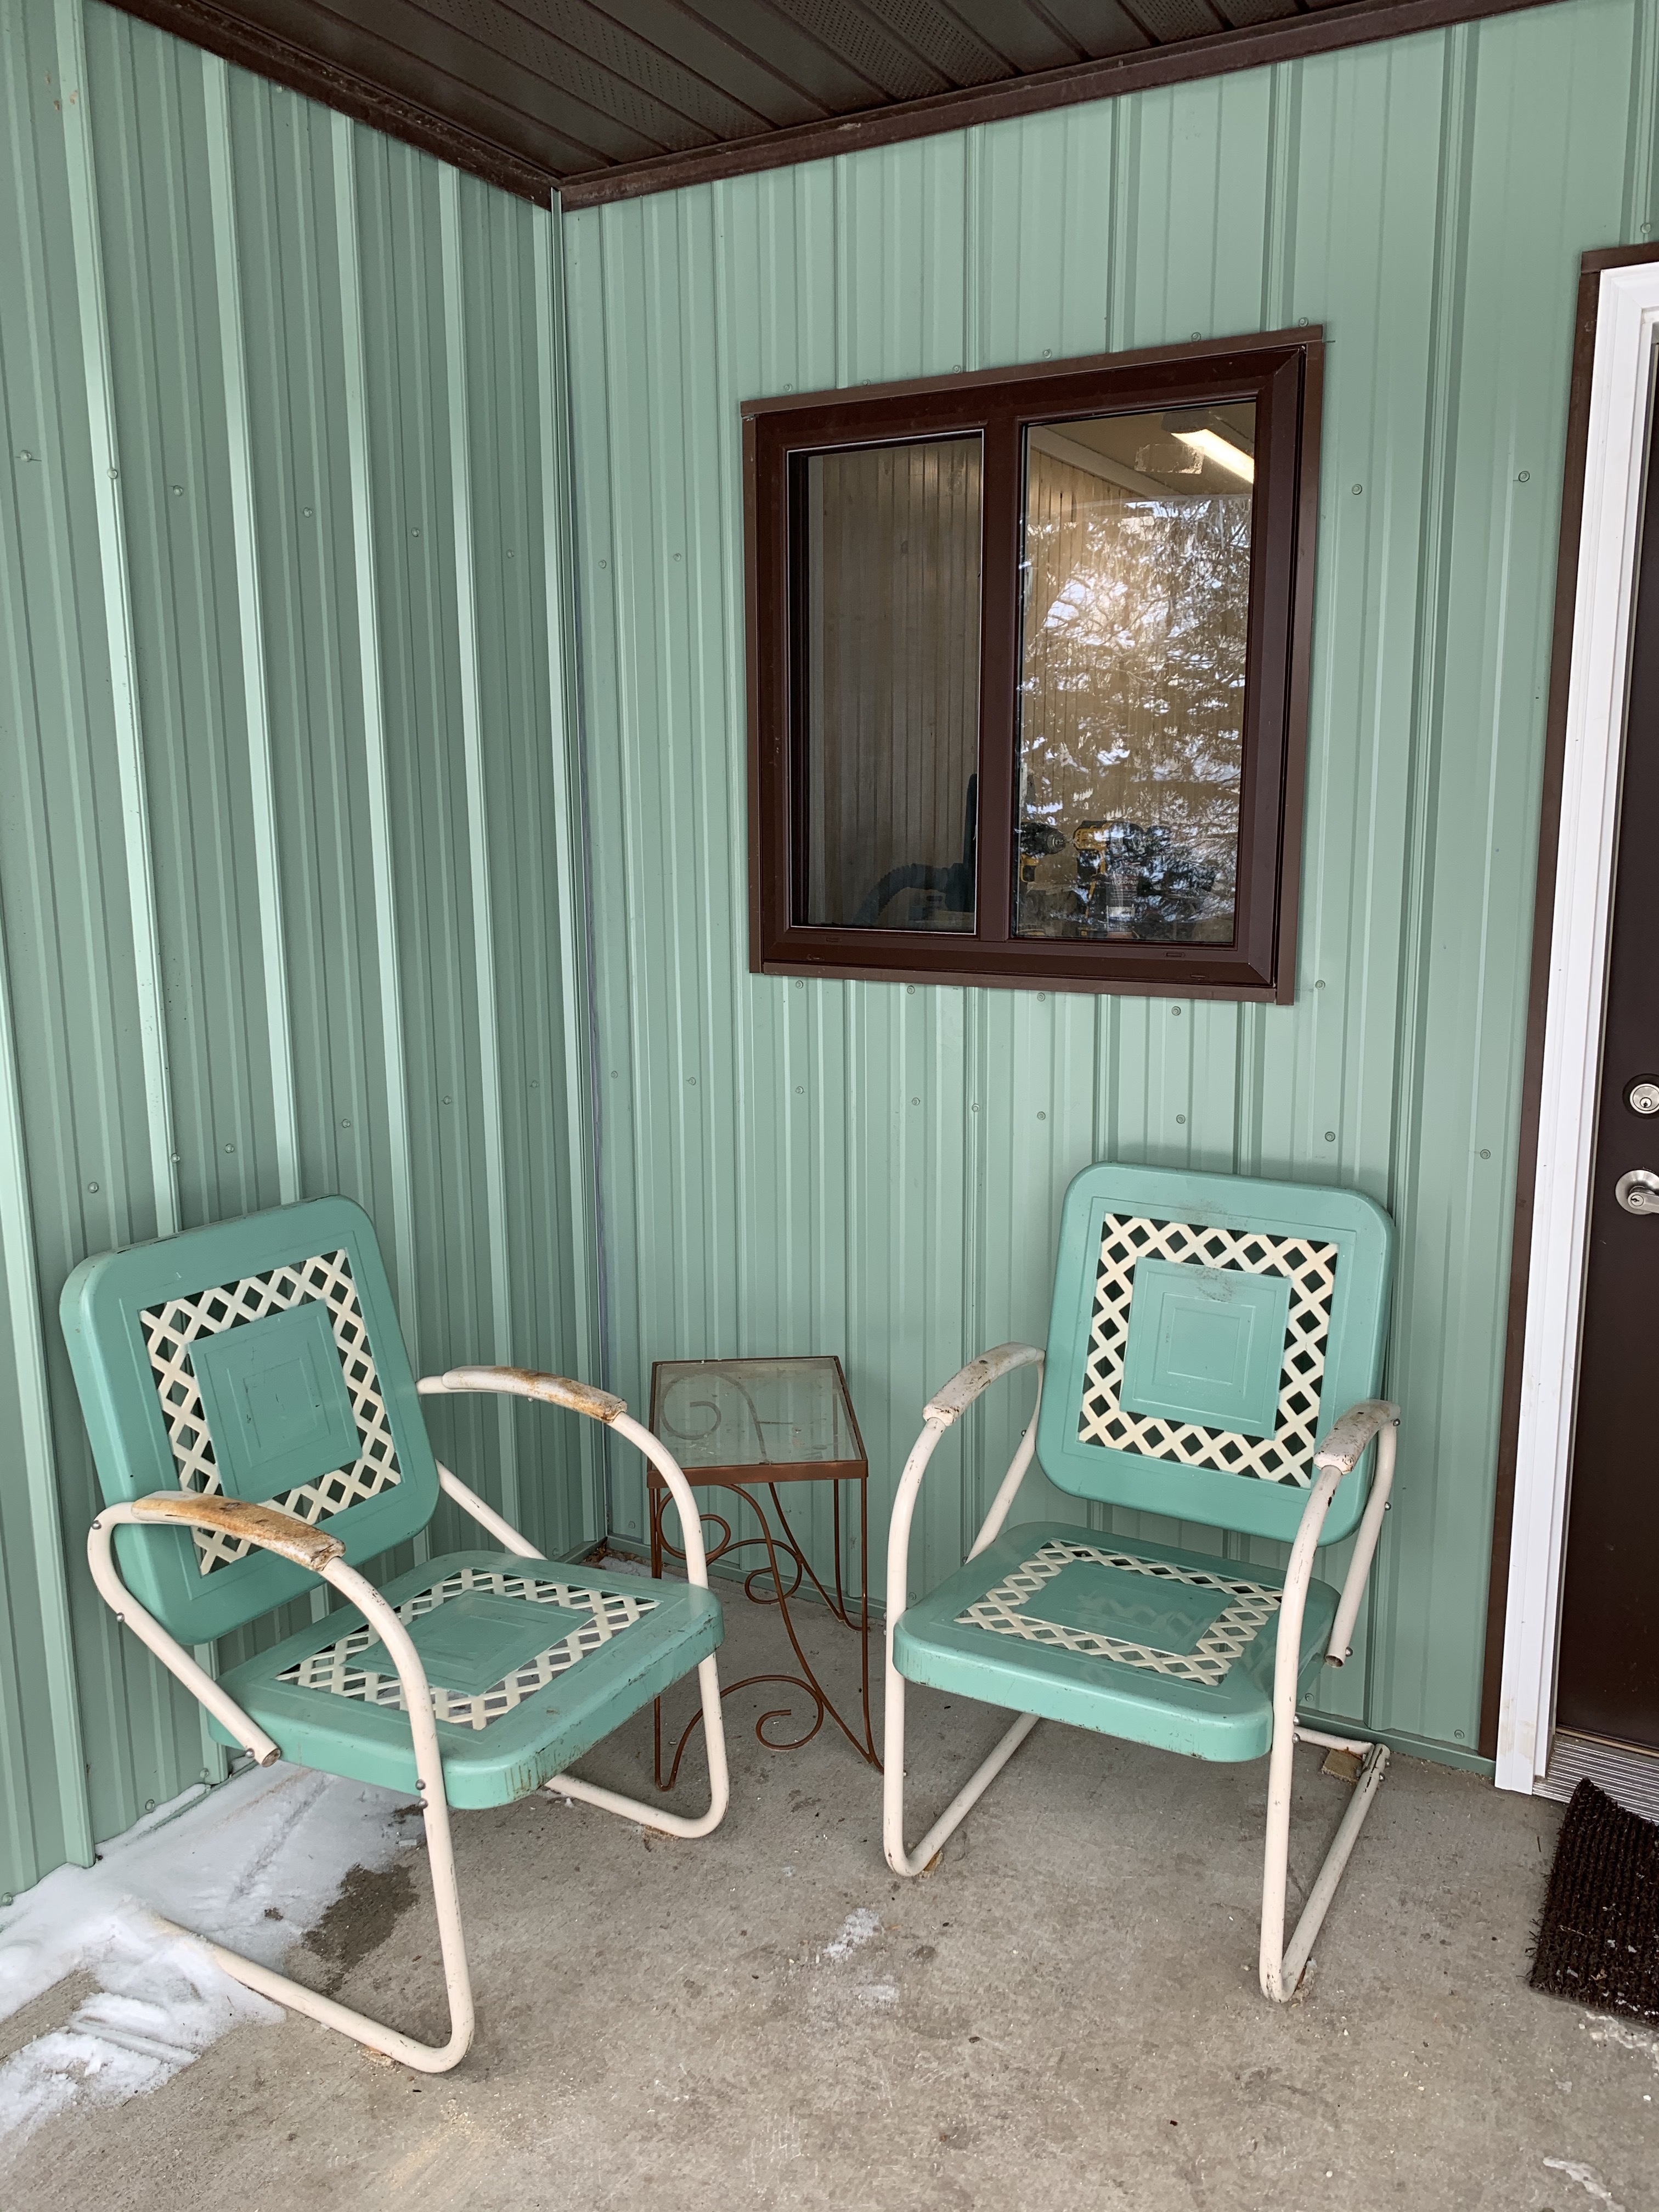
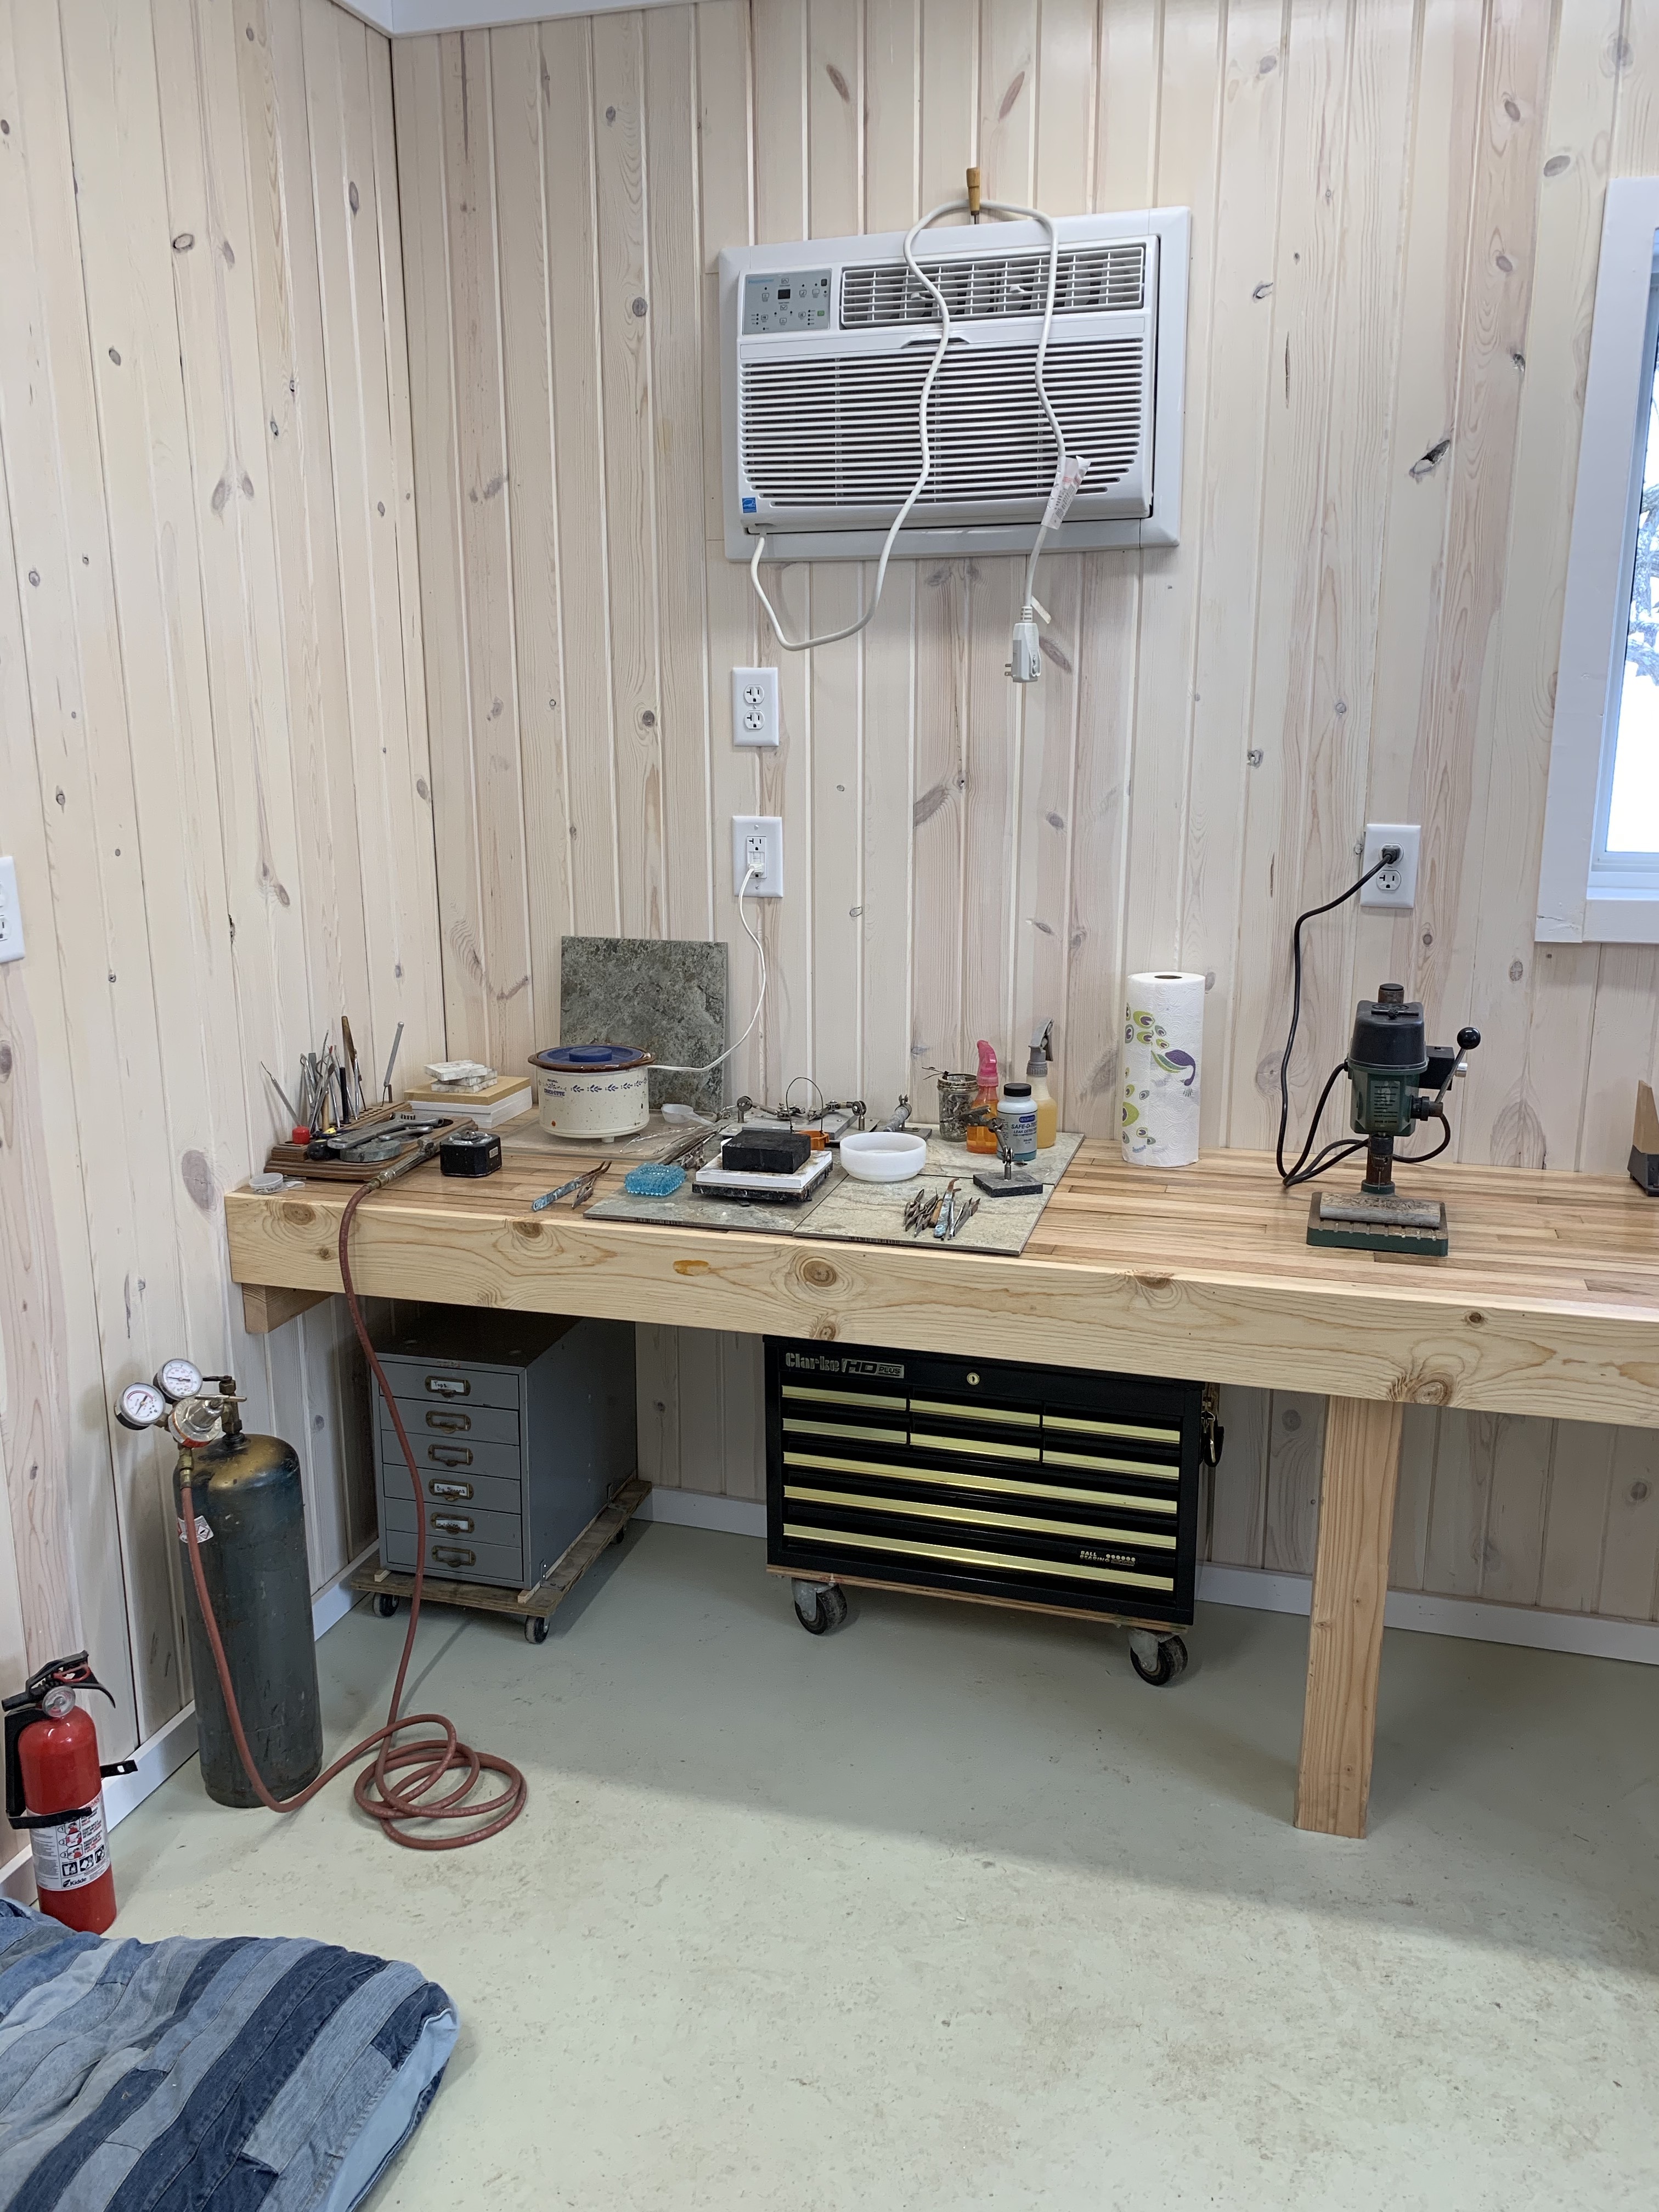
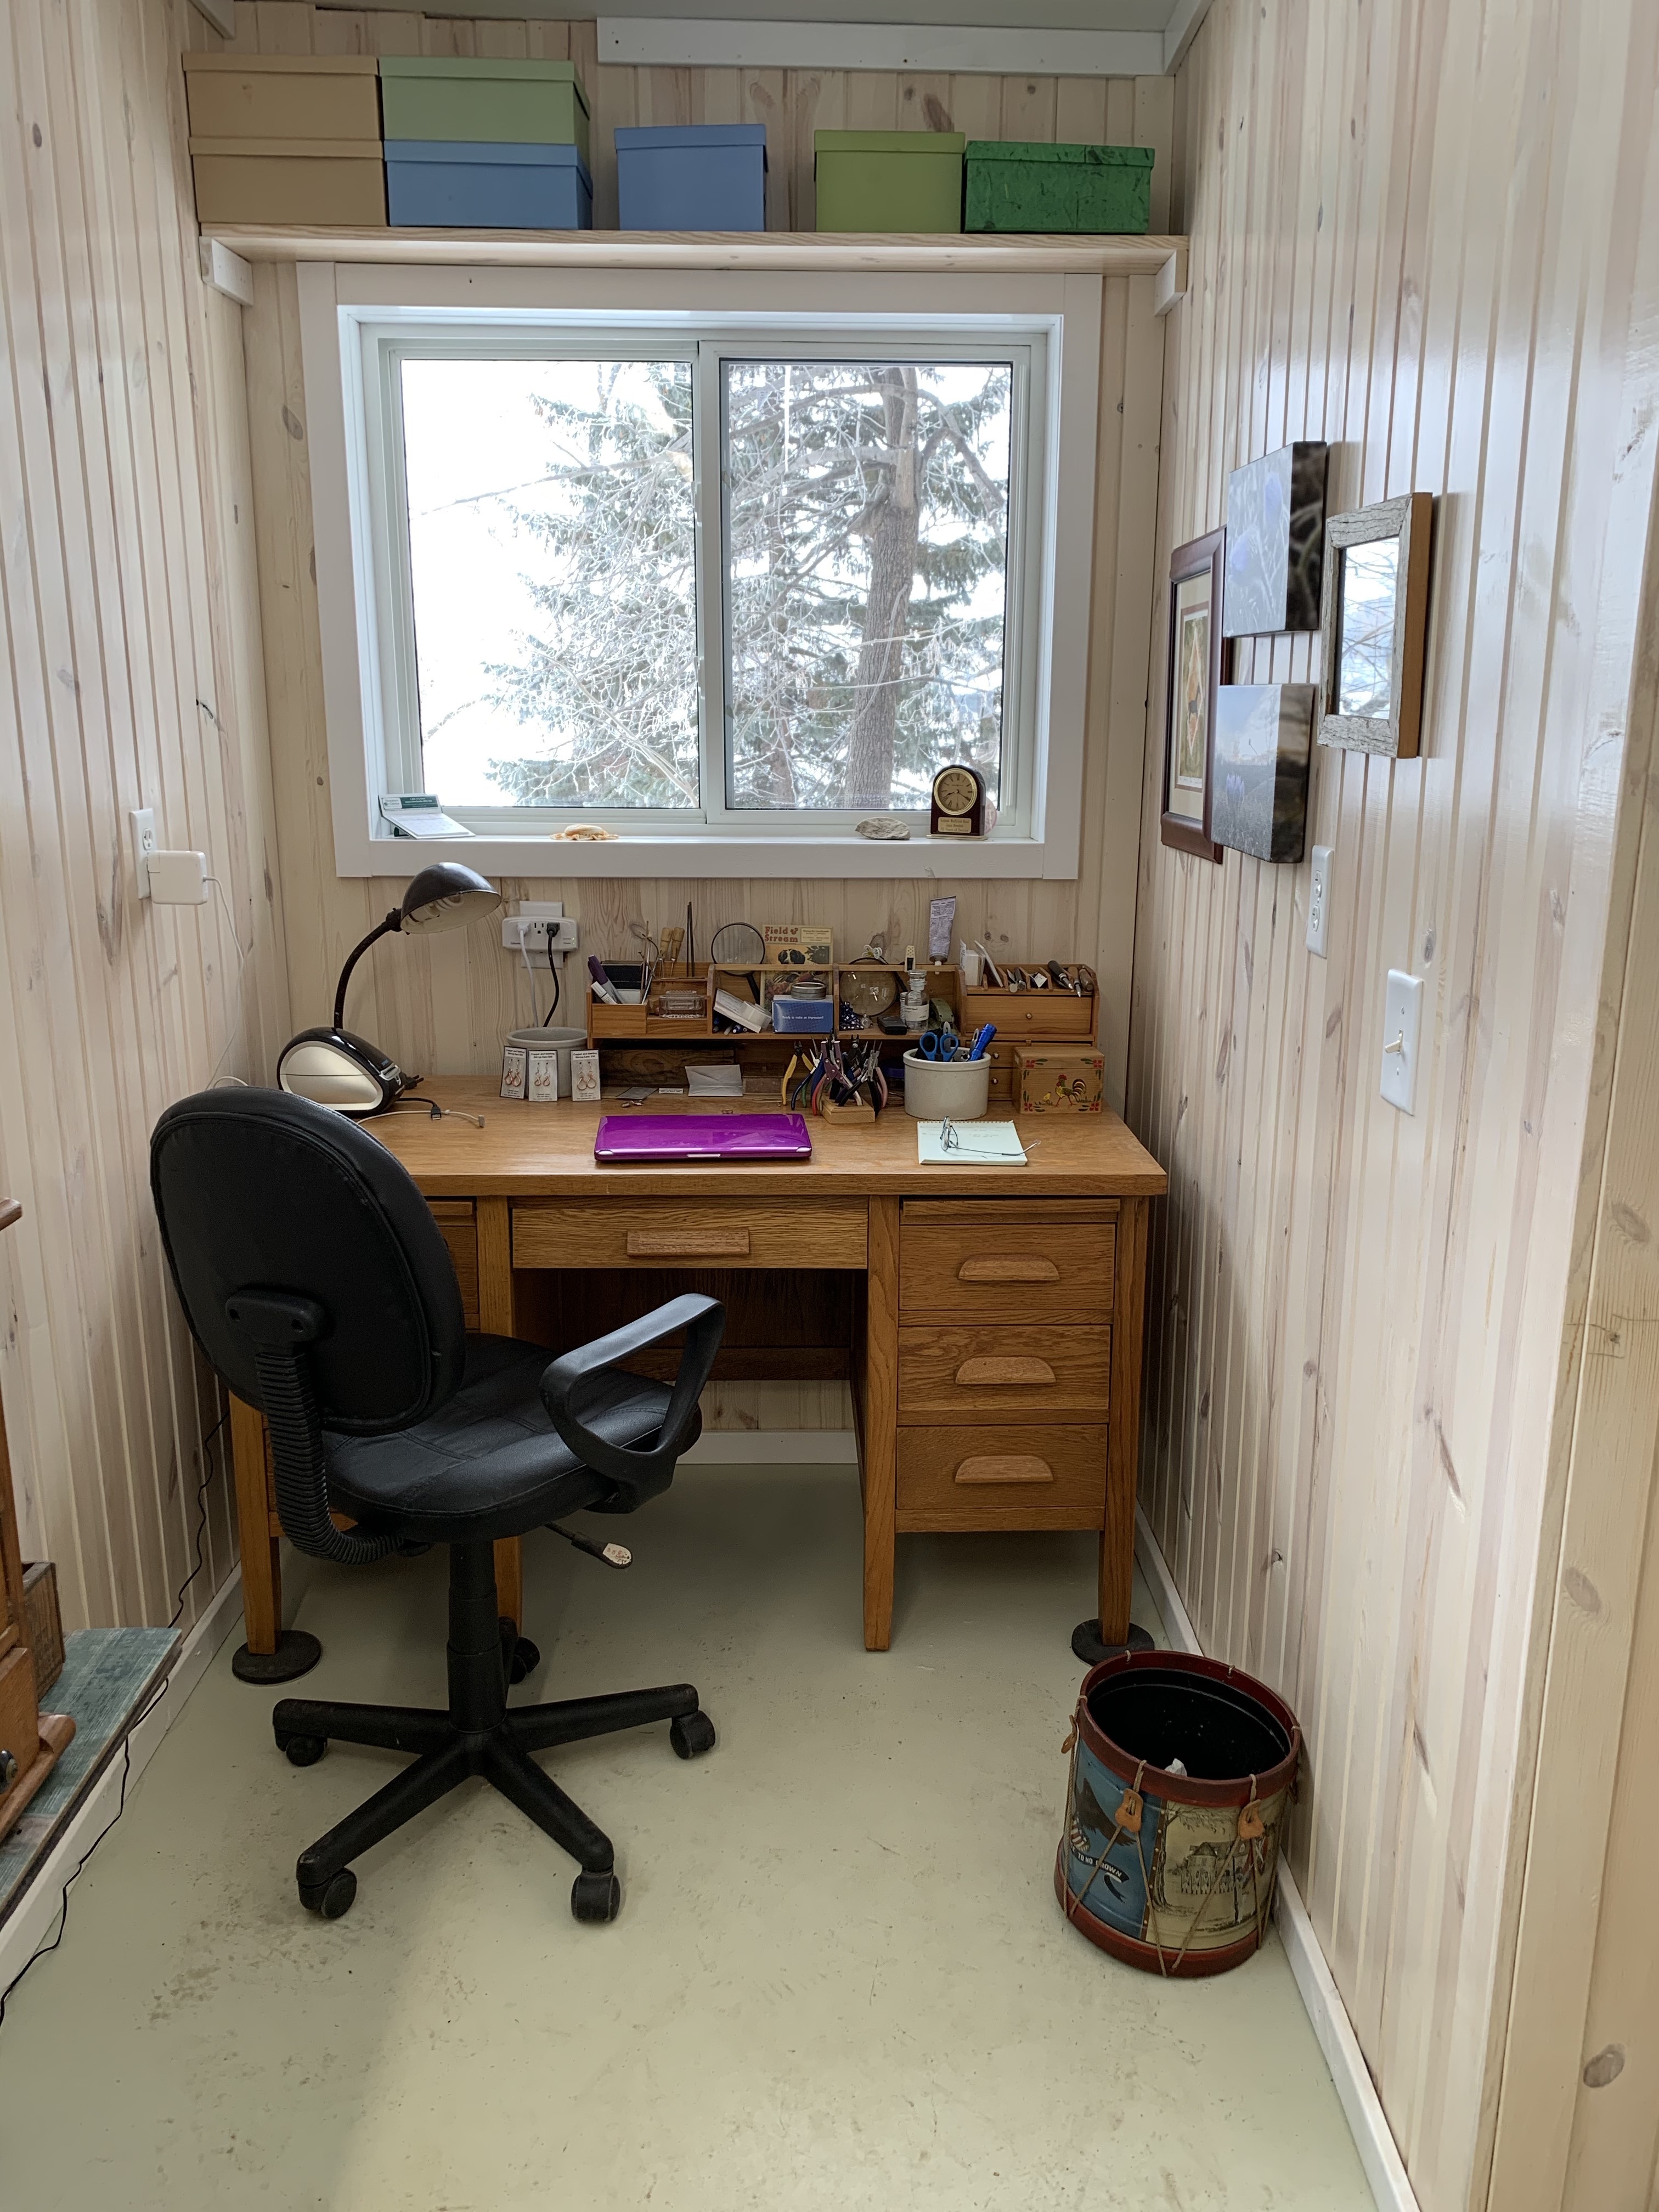
Hello Everyone. As promised here are pictures of my completed shop. Many of you have been very kind and helpful in all areas of this project. I know I still do not have a solder fume extraction system or a vacuum system. I am undecided yet as to what my plan will be. Comments and questions on the new shop are welcome. It is 460 sq ft. My old one was 88 sq ft.


1 Like
Very nice. A few more birdfeeders and a guitar on the wall and you are ready to start work. A pat on the back for a job well started.
Don Meixner
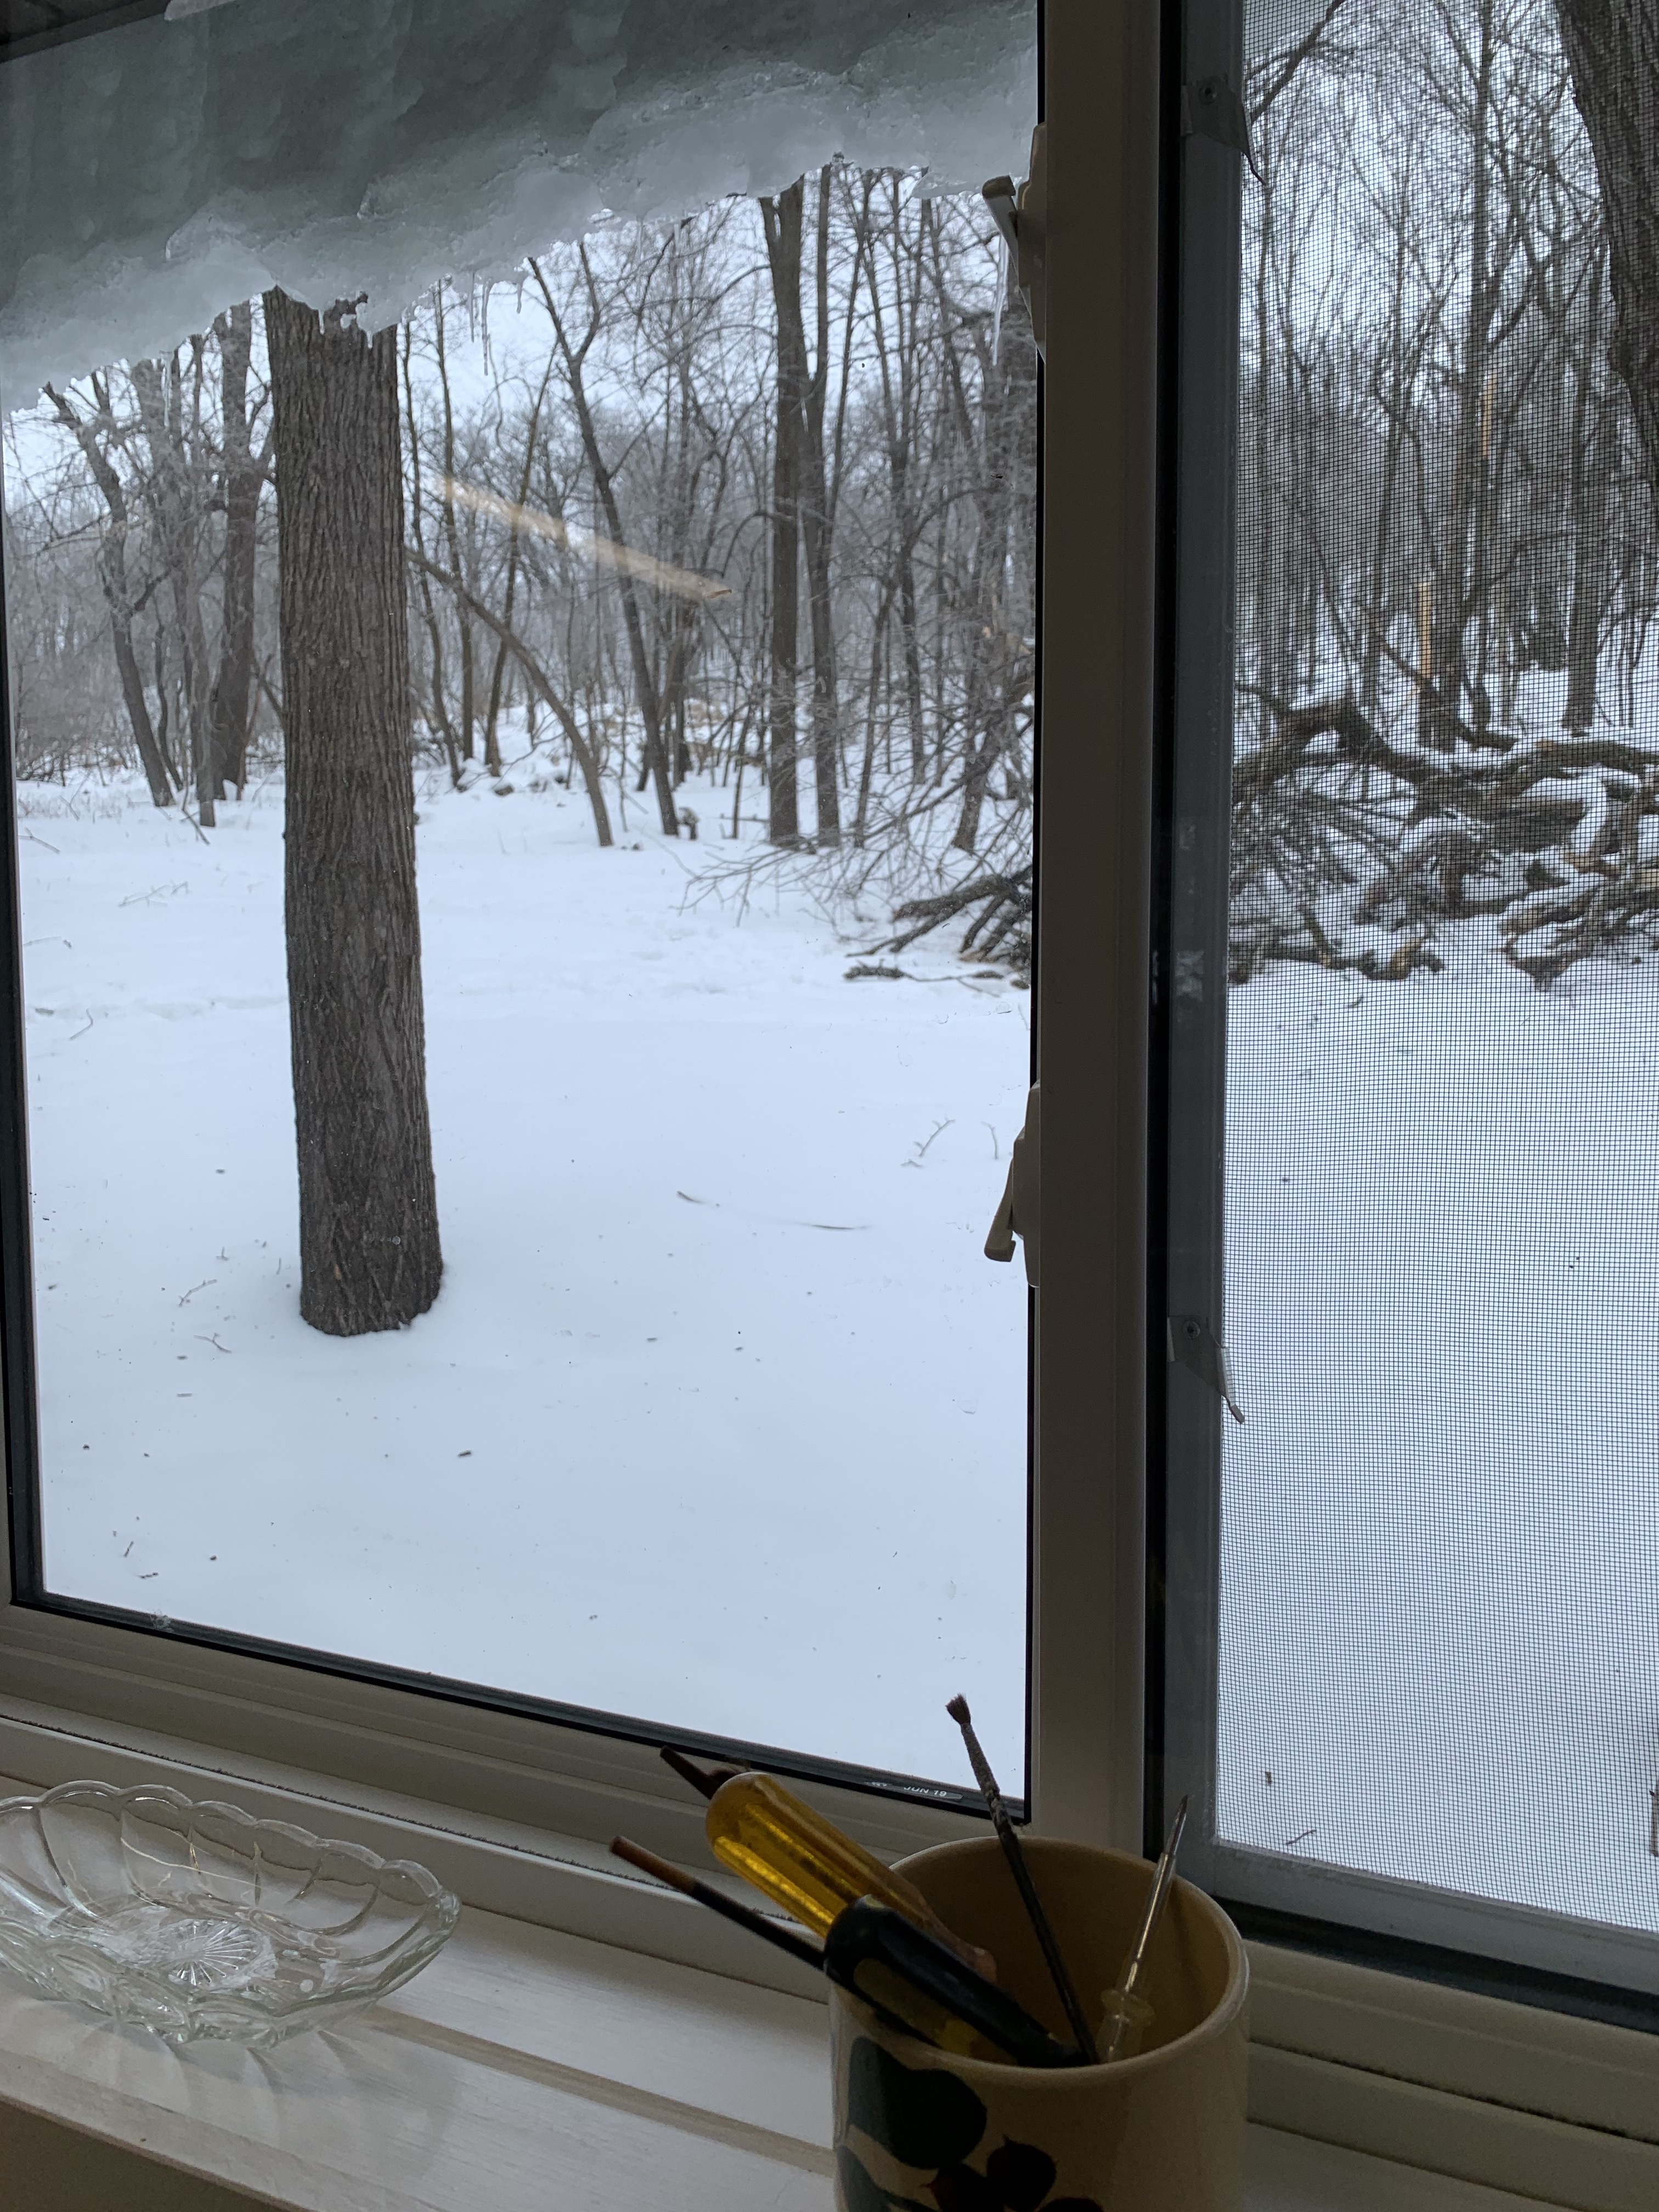
Jean, that is really lovely and very well organized…I have as much space as you do, but I’m fighting to get organized and put in some more benches and work stations. You’re an inspiration! As to the fume extraction, your soldering station is close enough to the window on its right that you could put a thin board (an extra piece of the siding used on the walls?) into the window and use a 4 inch duct with an in line fan. You could use a standard dryer vent through the board or find a round to rectangular connector to make the board even narrower to preserve more of your view. However, a more elegant solution would be to make a purpose built vent, using a 4 inch hole in the wall near the corner on the left of the soldering station. Same sort of system, a fishmouth that sits behind the soldering block with a 4 inch flexible metal duct and in line fan vented through the wall. The big box stores all carry a vent with a gravity flap, but it doesn’t seal that well and this past year I replaced the one in our rental’s laundry with another that is slightly more expensive which is a spring loaded circular vent that pops out when air pressure is applied. You will know it when you see it. Keep a few scraps of the paneling in case you ever want to convert the room and block up the hole. However, I foresee many years of contented crafting in this very beautiful studio. Good luck and forgive me if I have gone on too long. HTH, royjohn.