Arc welding with stones in place

I didn’t know this until folks in Orchid explained to me that boric acid and heat will damage/etch sapphires.

Here’s what GIA says:

Here’s two safety data sheets on Firescoff:

Unfortunately neither says what’s actually in Firescoff? I’ll be surprised though if it doesn’t have any boric acid in the recipe, but I don’t know that for sure.

Do any Orchid members know best practices for soldering next to sapphires without coating them with boric acid or if Firescoff won’t harm them?

Jeff

1 Like

From Rio:

"Chil gel is better for this purpose, but it works best for gold and not silver. I have attached the product link below.

Rio Chil Gel with Syringe Applicator - RioGrande"

1 Like

One negative with that product is that it’s going to act as a heat sink, which may require you to use more, not less heat.

If you have to remove the sapphires for some reason, often the best path for small ones that aren’t designed to be removed (like yours) is to break them apart and pull out the pieces. That will cause the least damage to the setting and allow the greatest chance for successful resetting. Hopefully it won’t come to that! But it’s good to know that is an option.

1 Like

Ya, I’m leaning away from the chill gel because I’m worried it’ll interfere with the work. I’d prefer to risk the sapphires and get the join reliably. Might just avoid coating them in anything.

What an adventure a single broken prong has kicked off…

1 Like

I HAVE AN UPDATE!

Long story short, it worked! I’ll try to walk you through the saga.

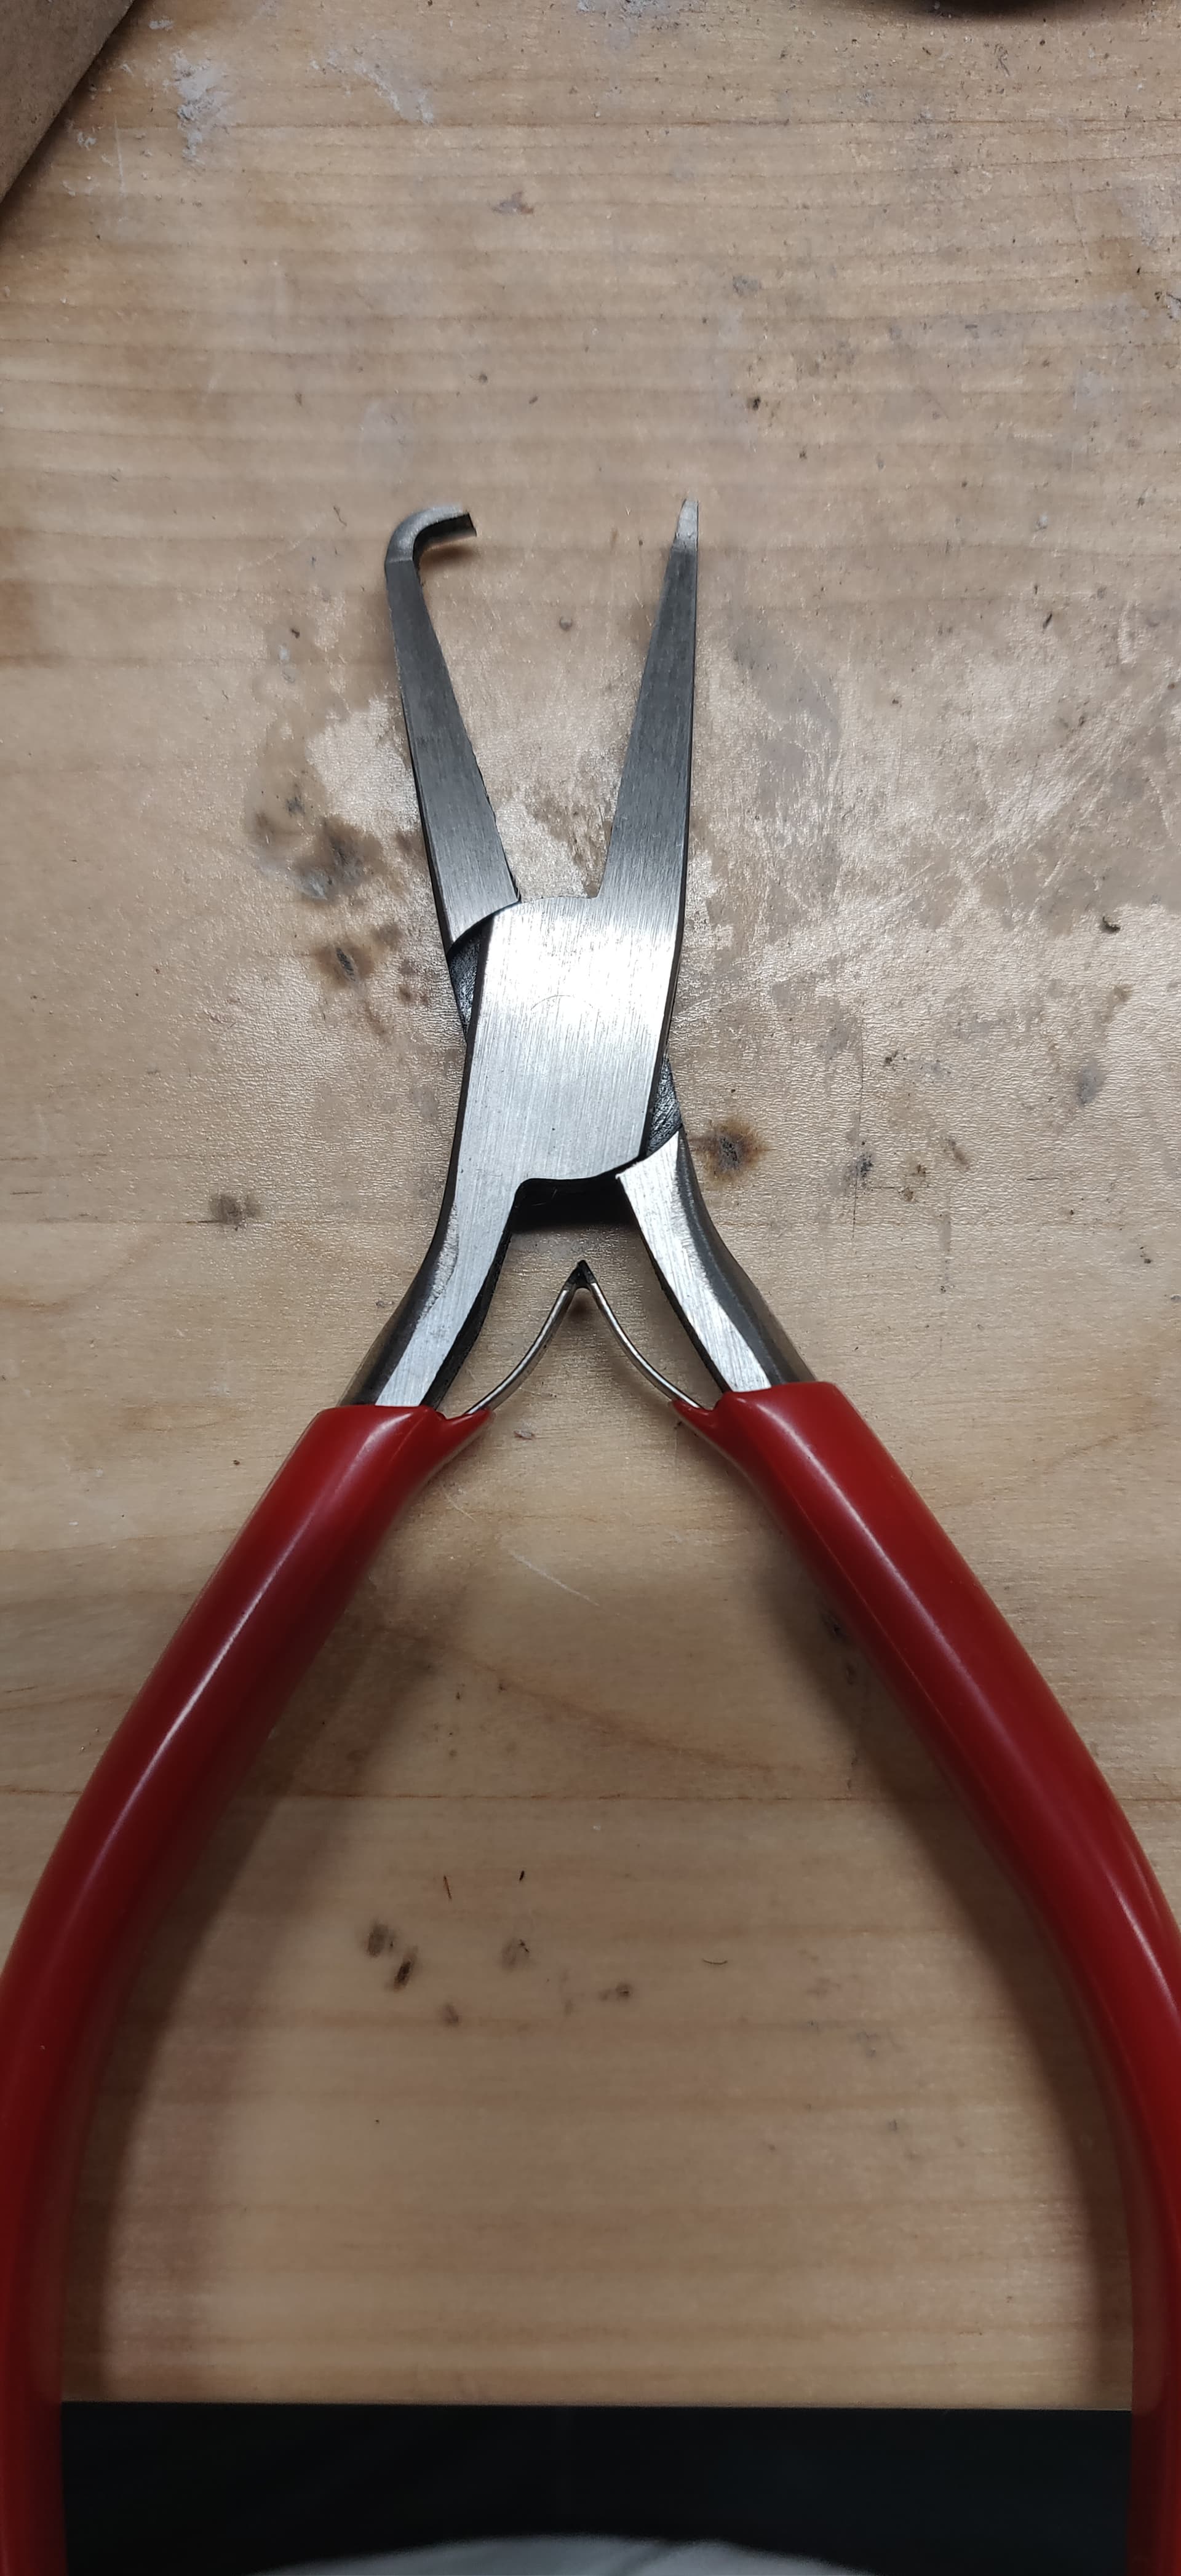
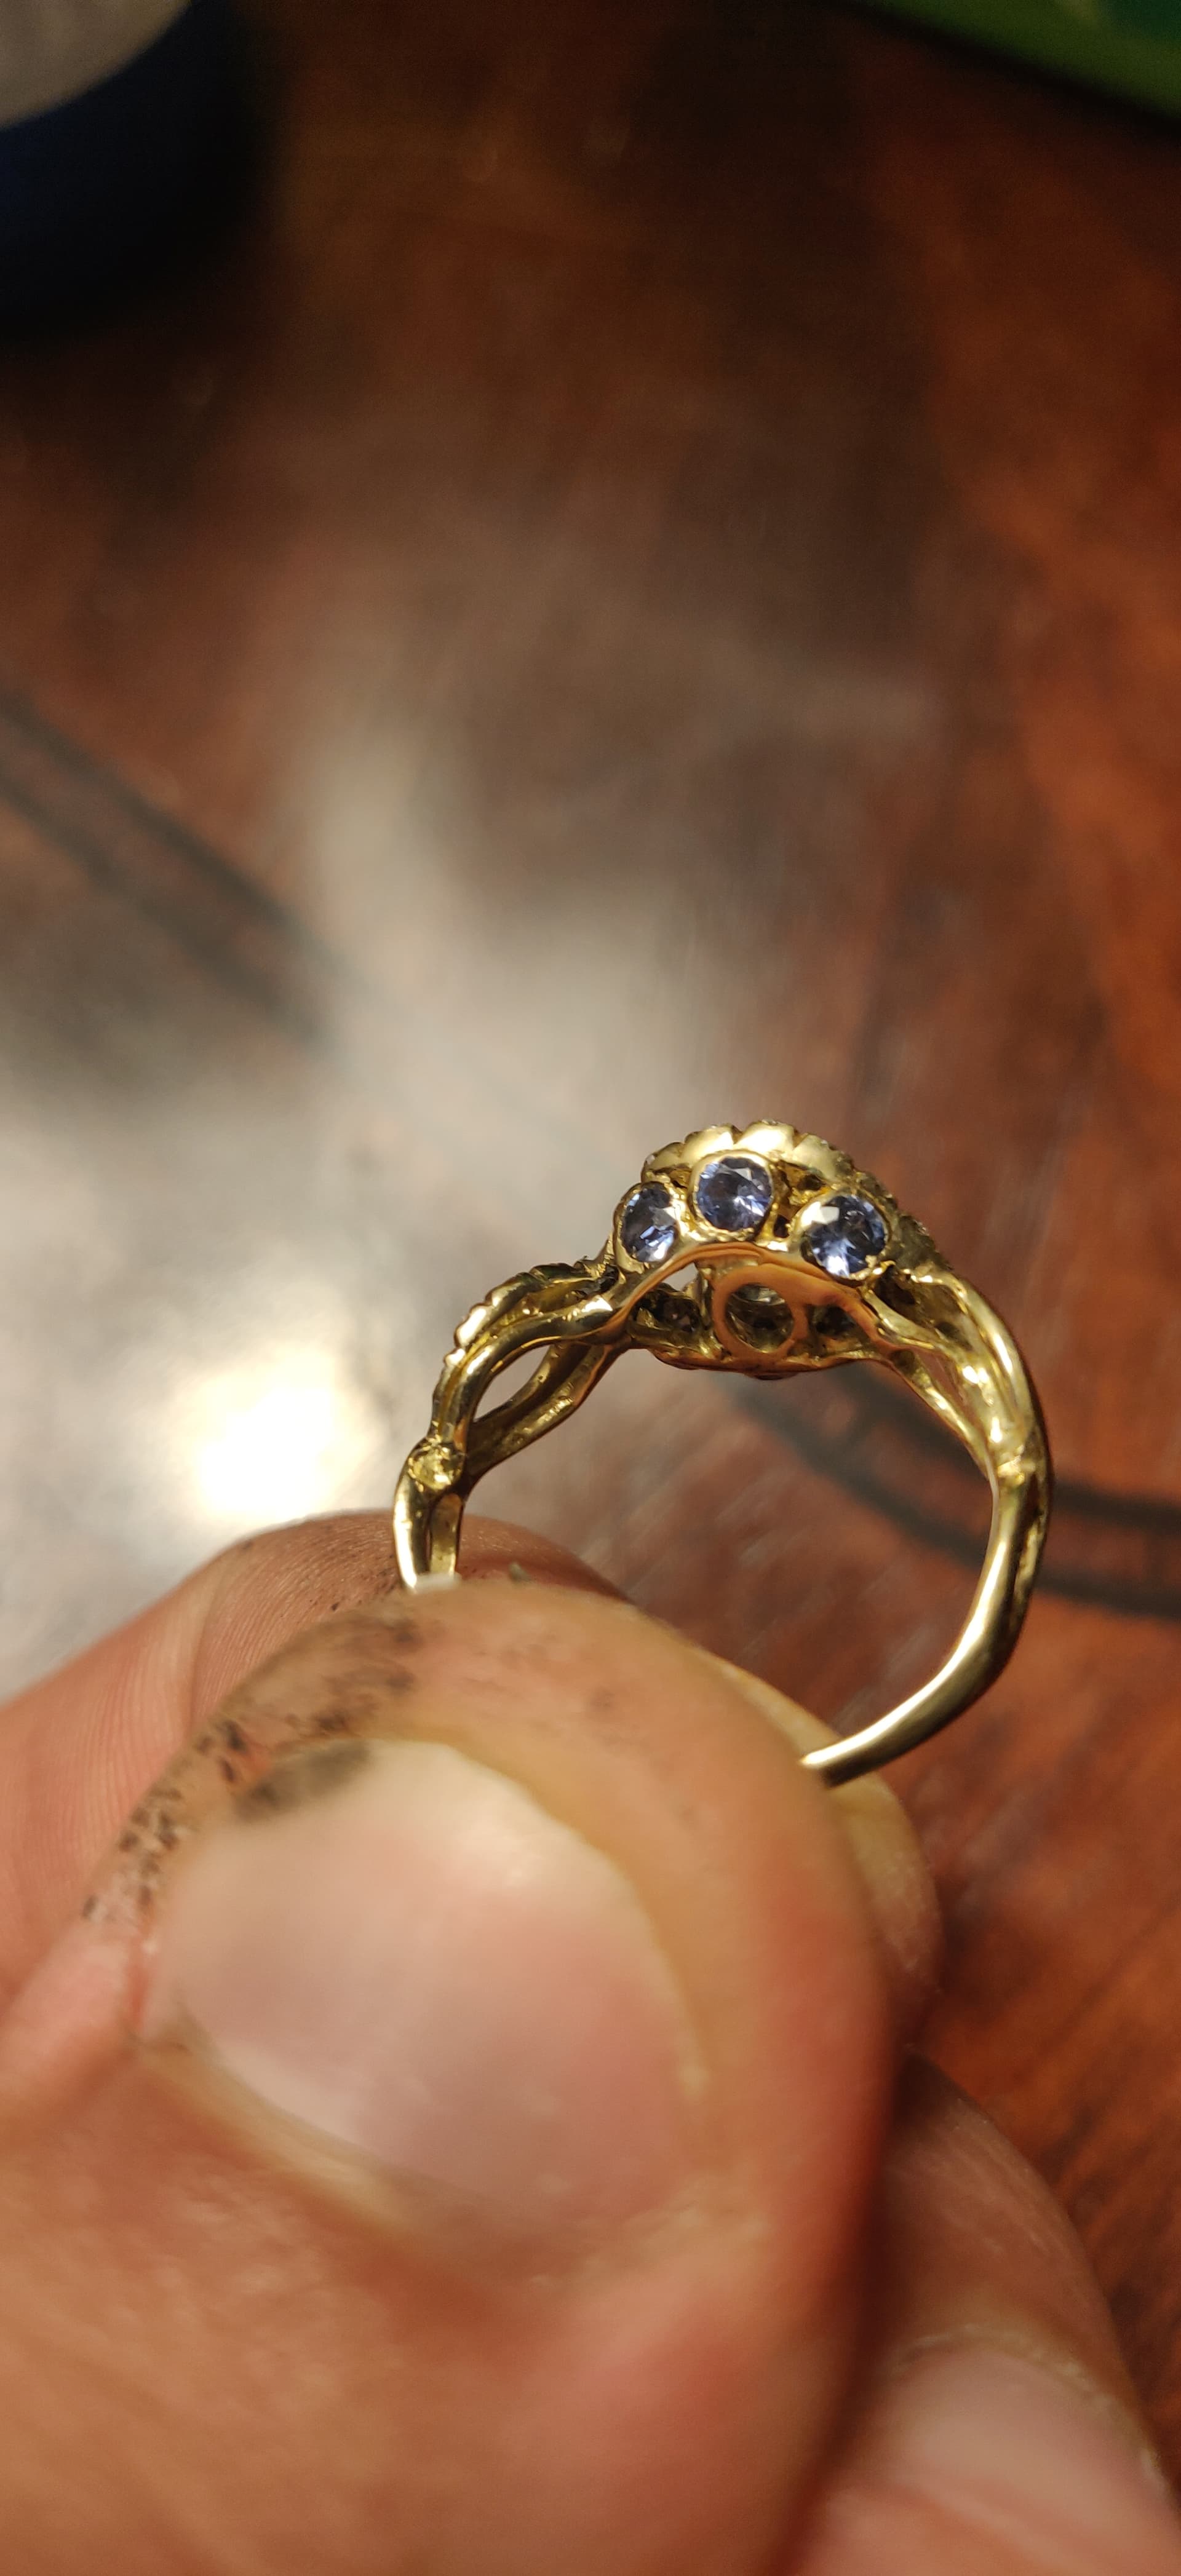
Step one was stone removal. I picked up a pair of evil looking pliers for the job.

I was able to pretty easily bend back two prongs and pull the stone.

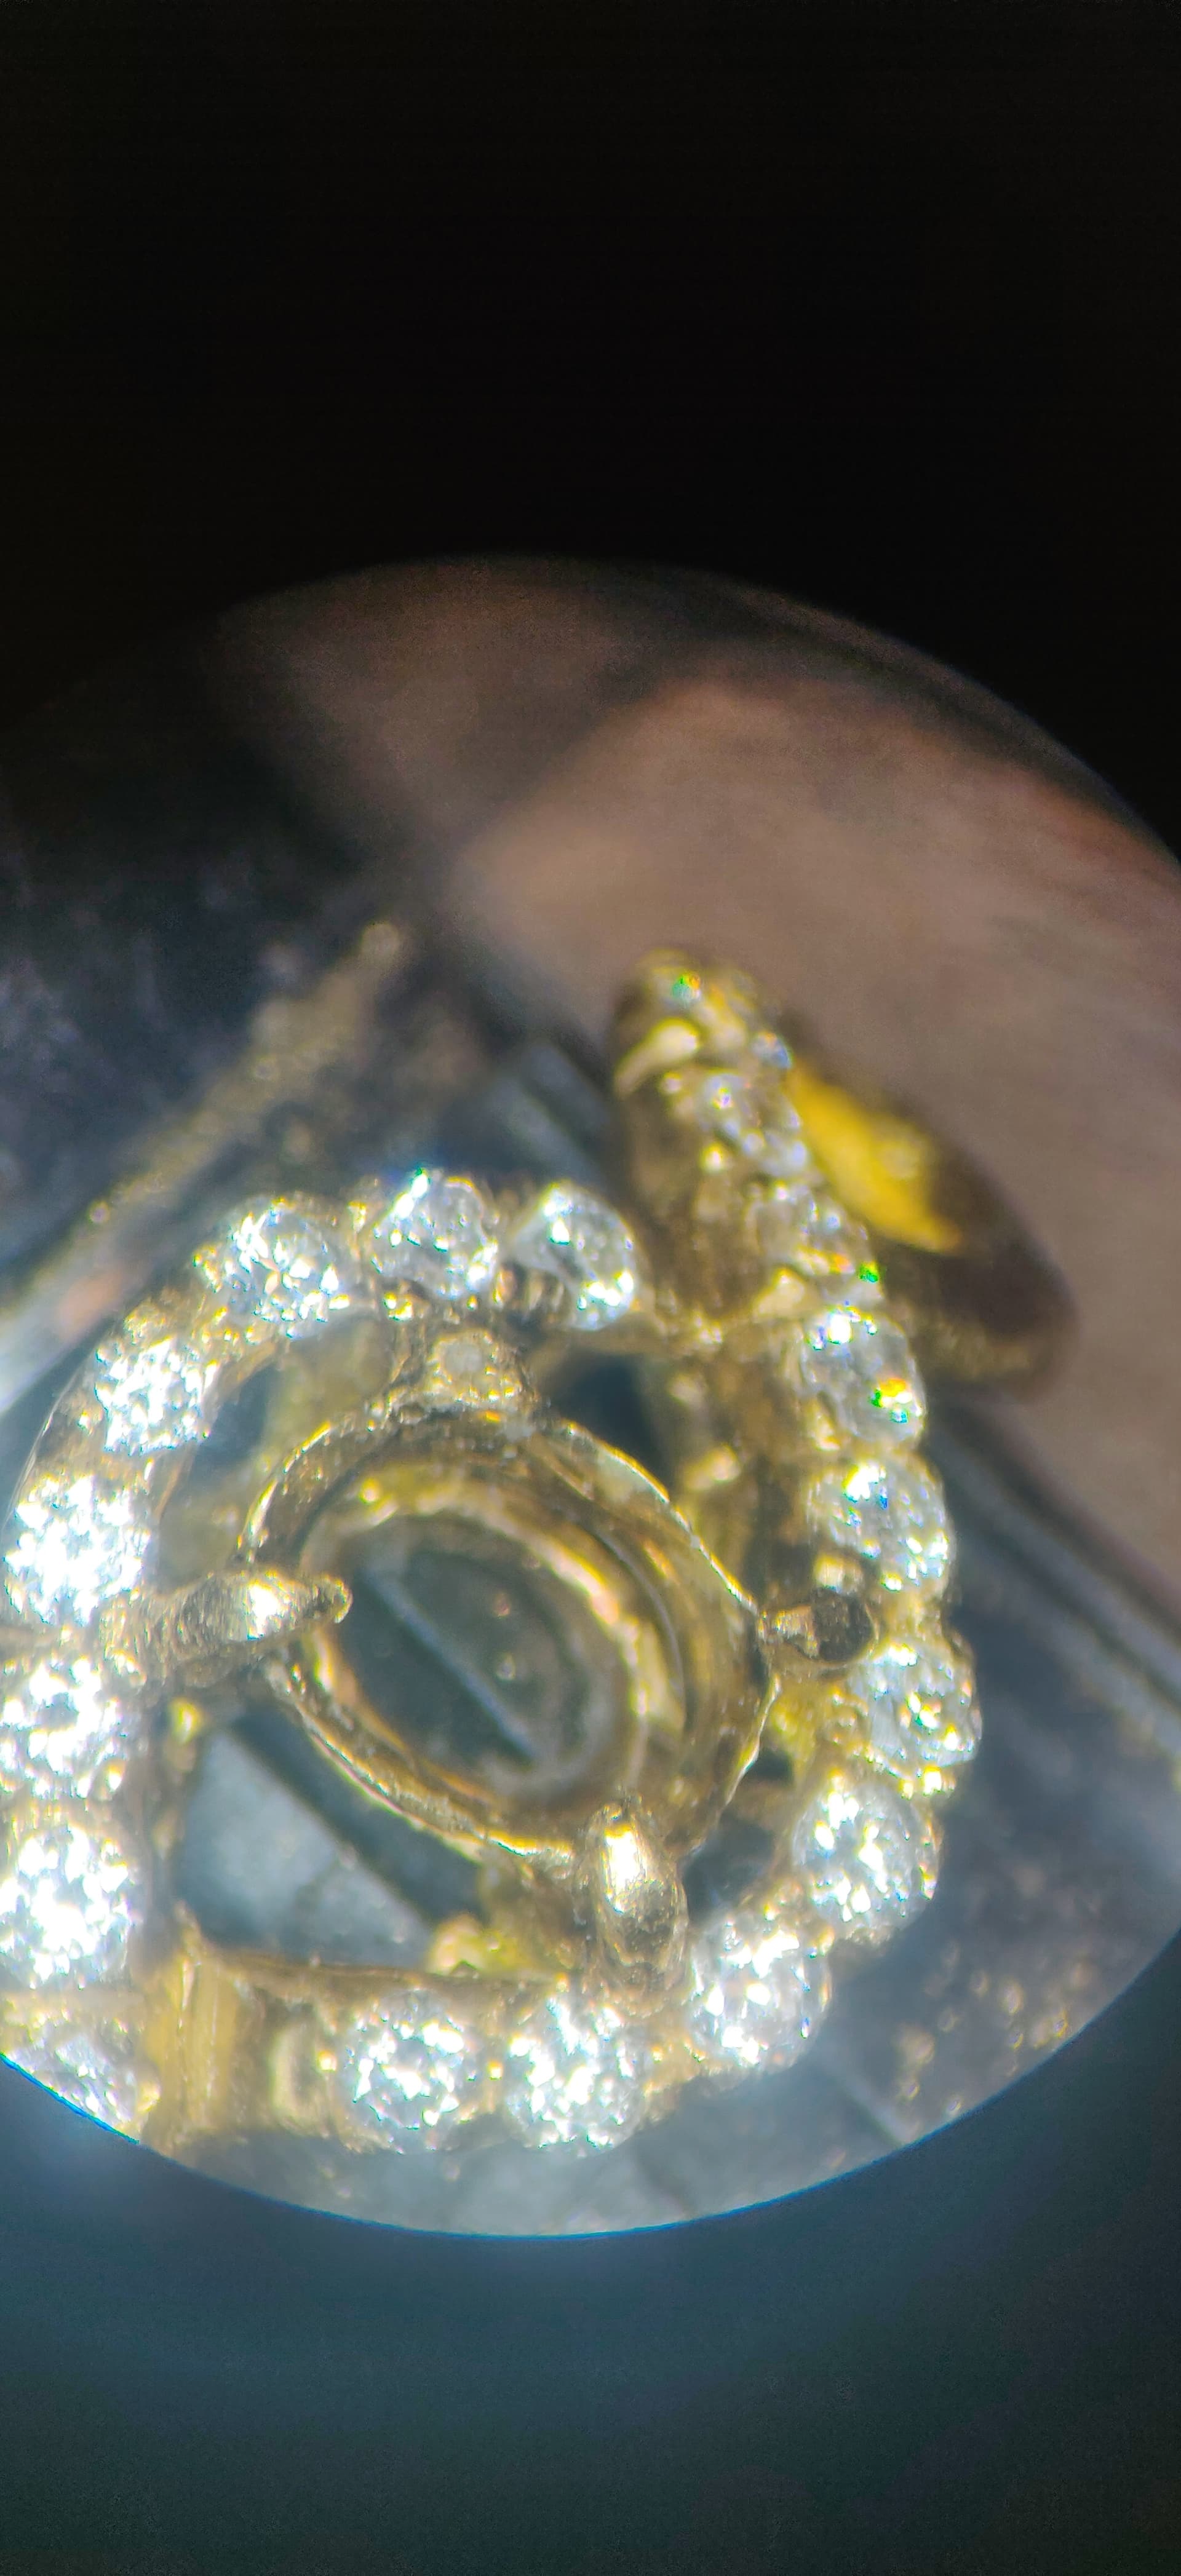
Next I drilled out the old prong. You can kinda see the hole.

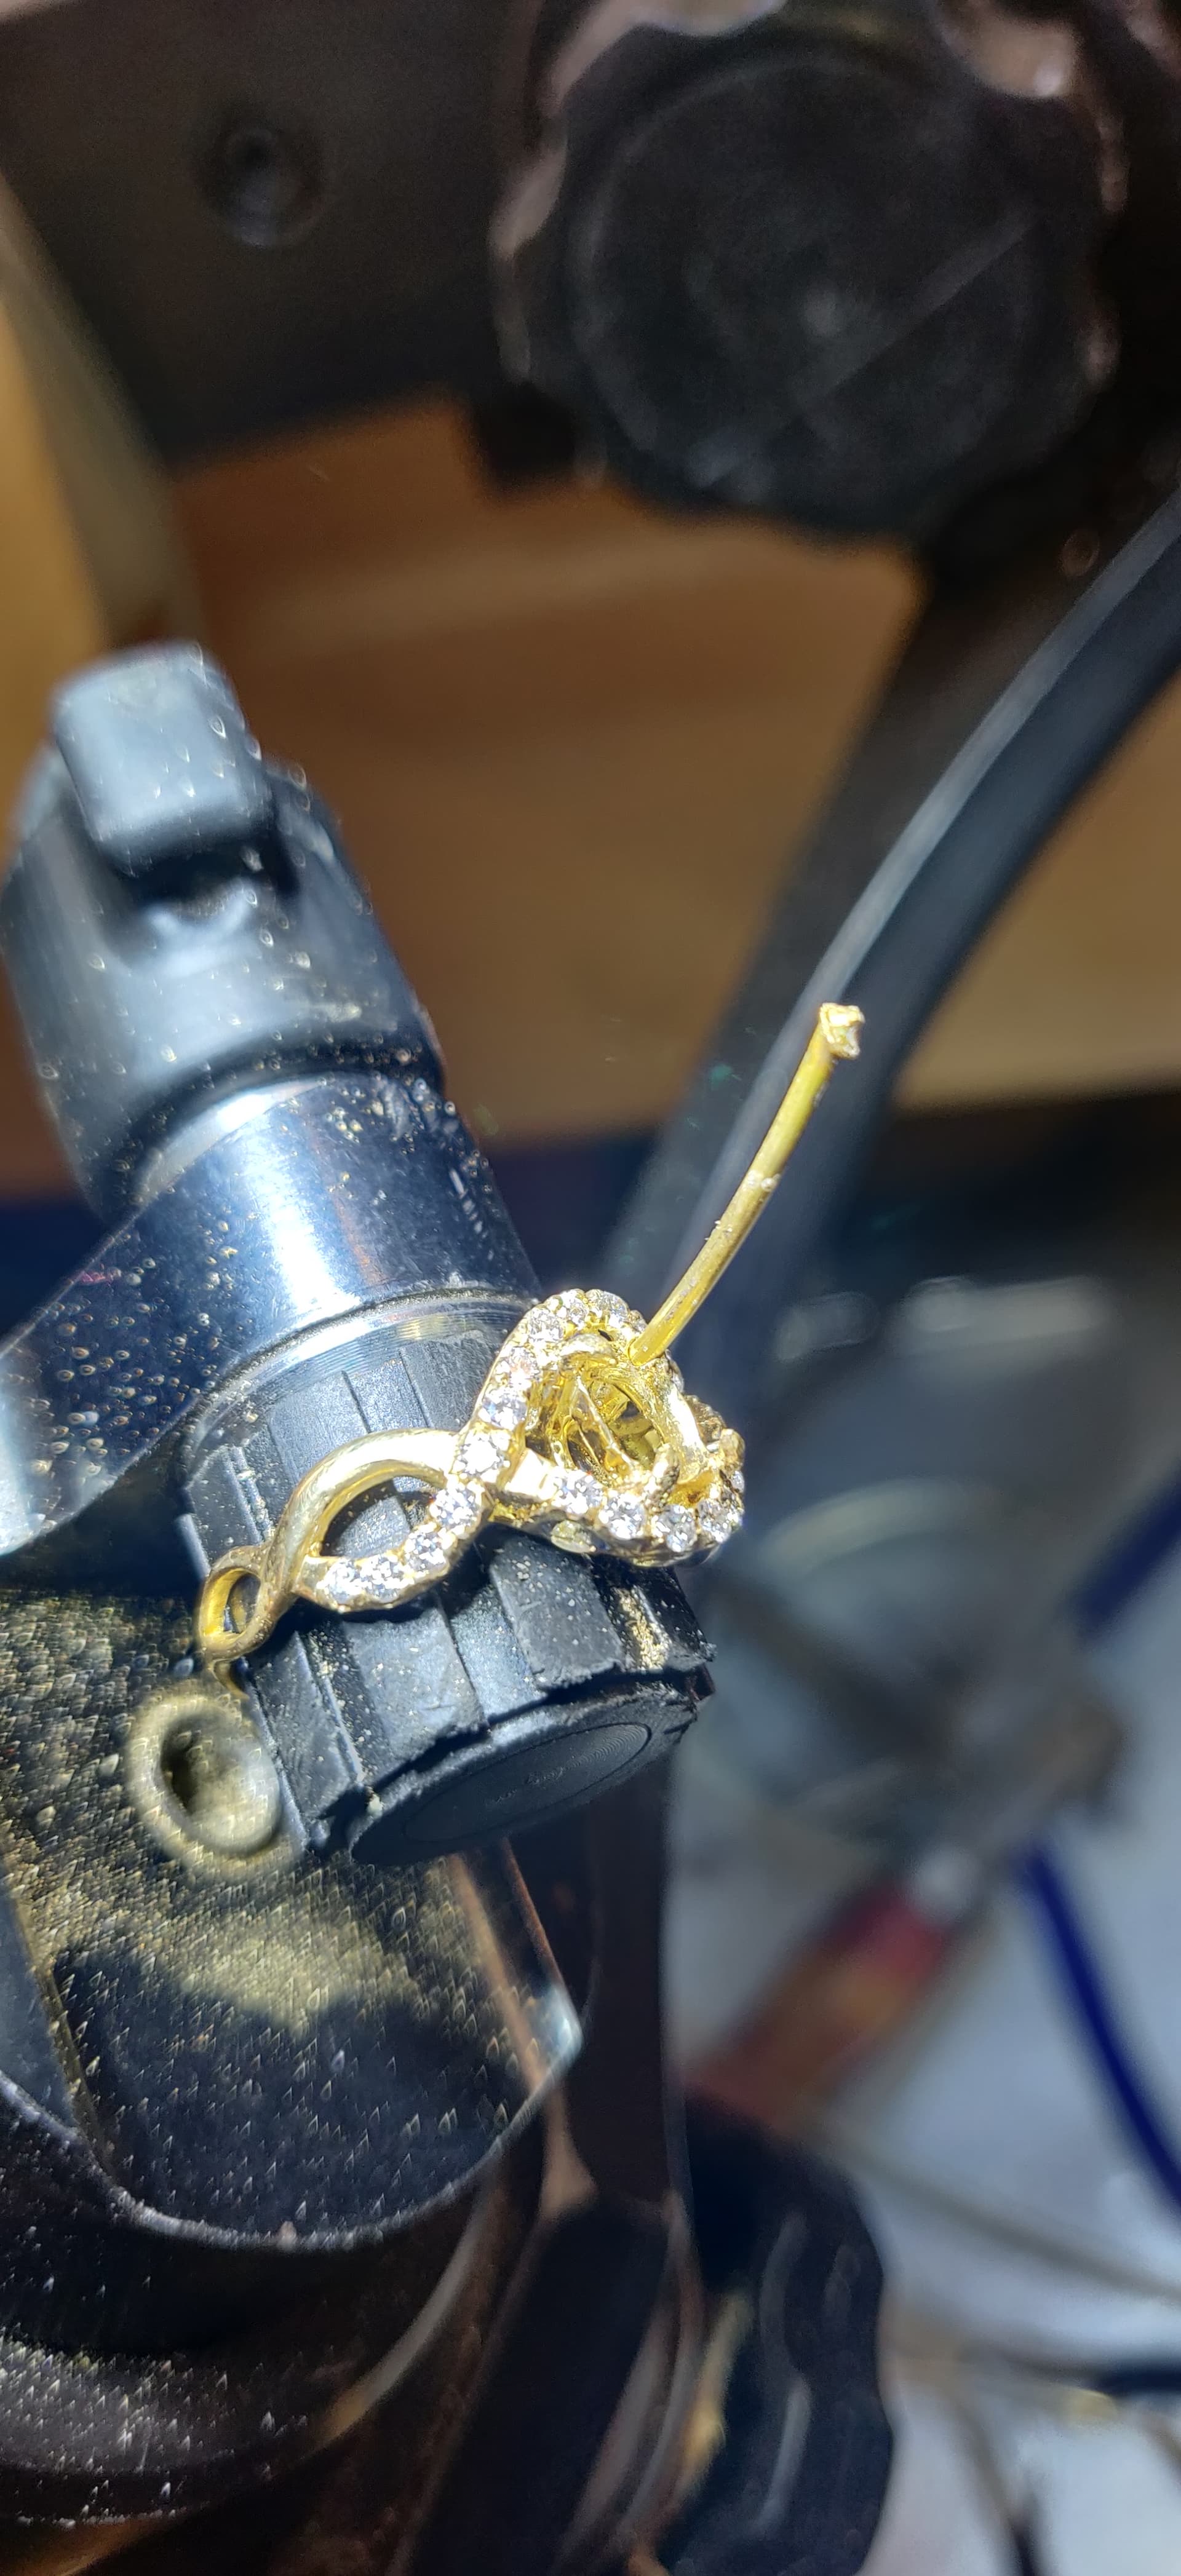
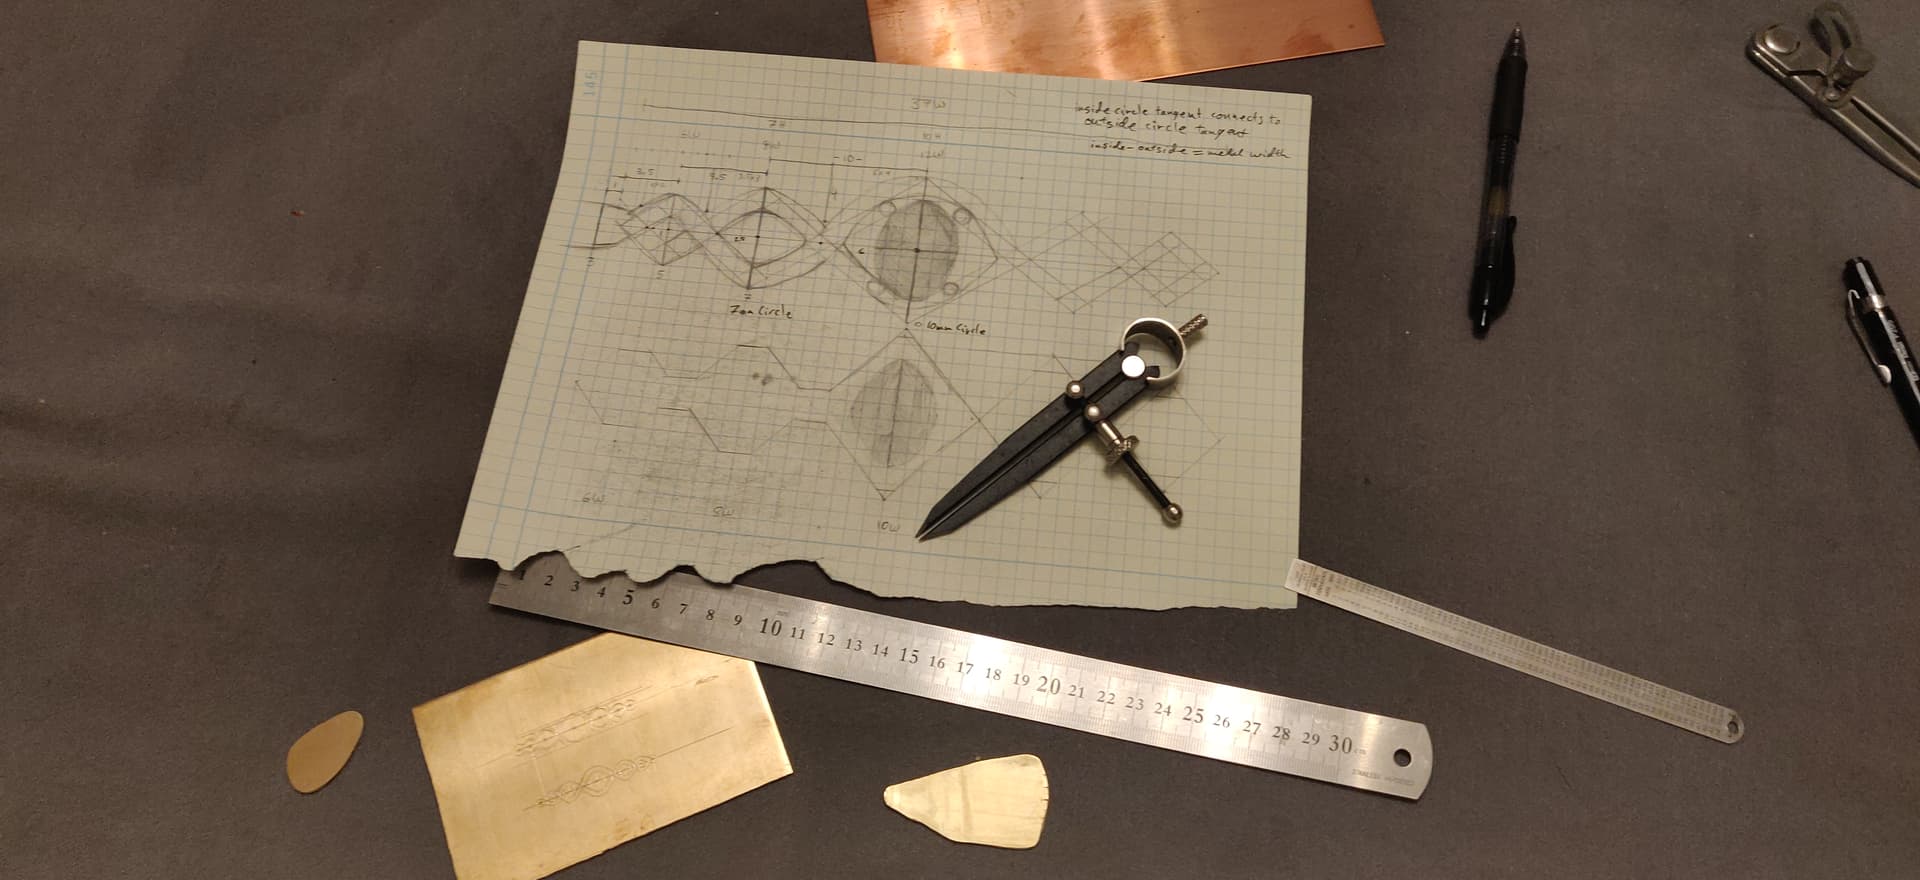
Then I test fitted the wire:

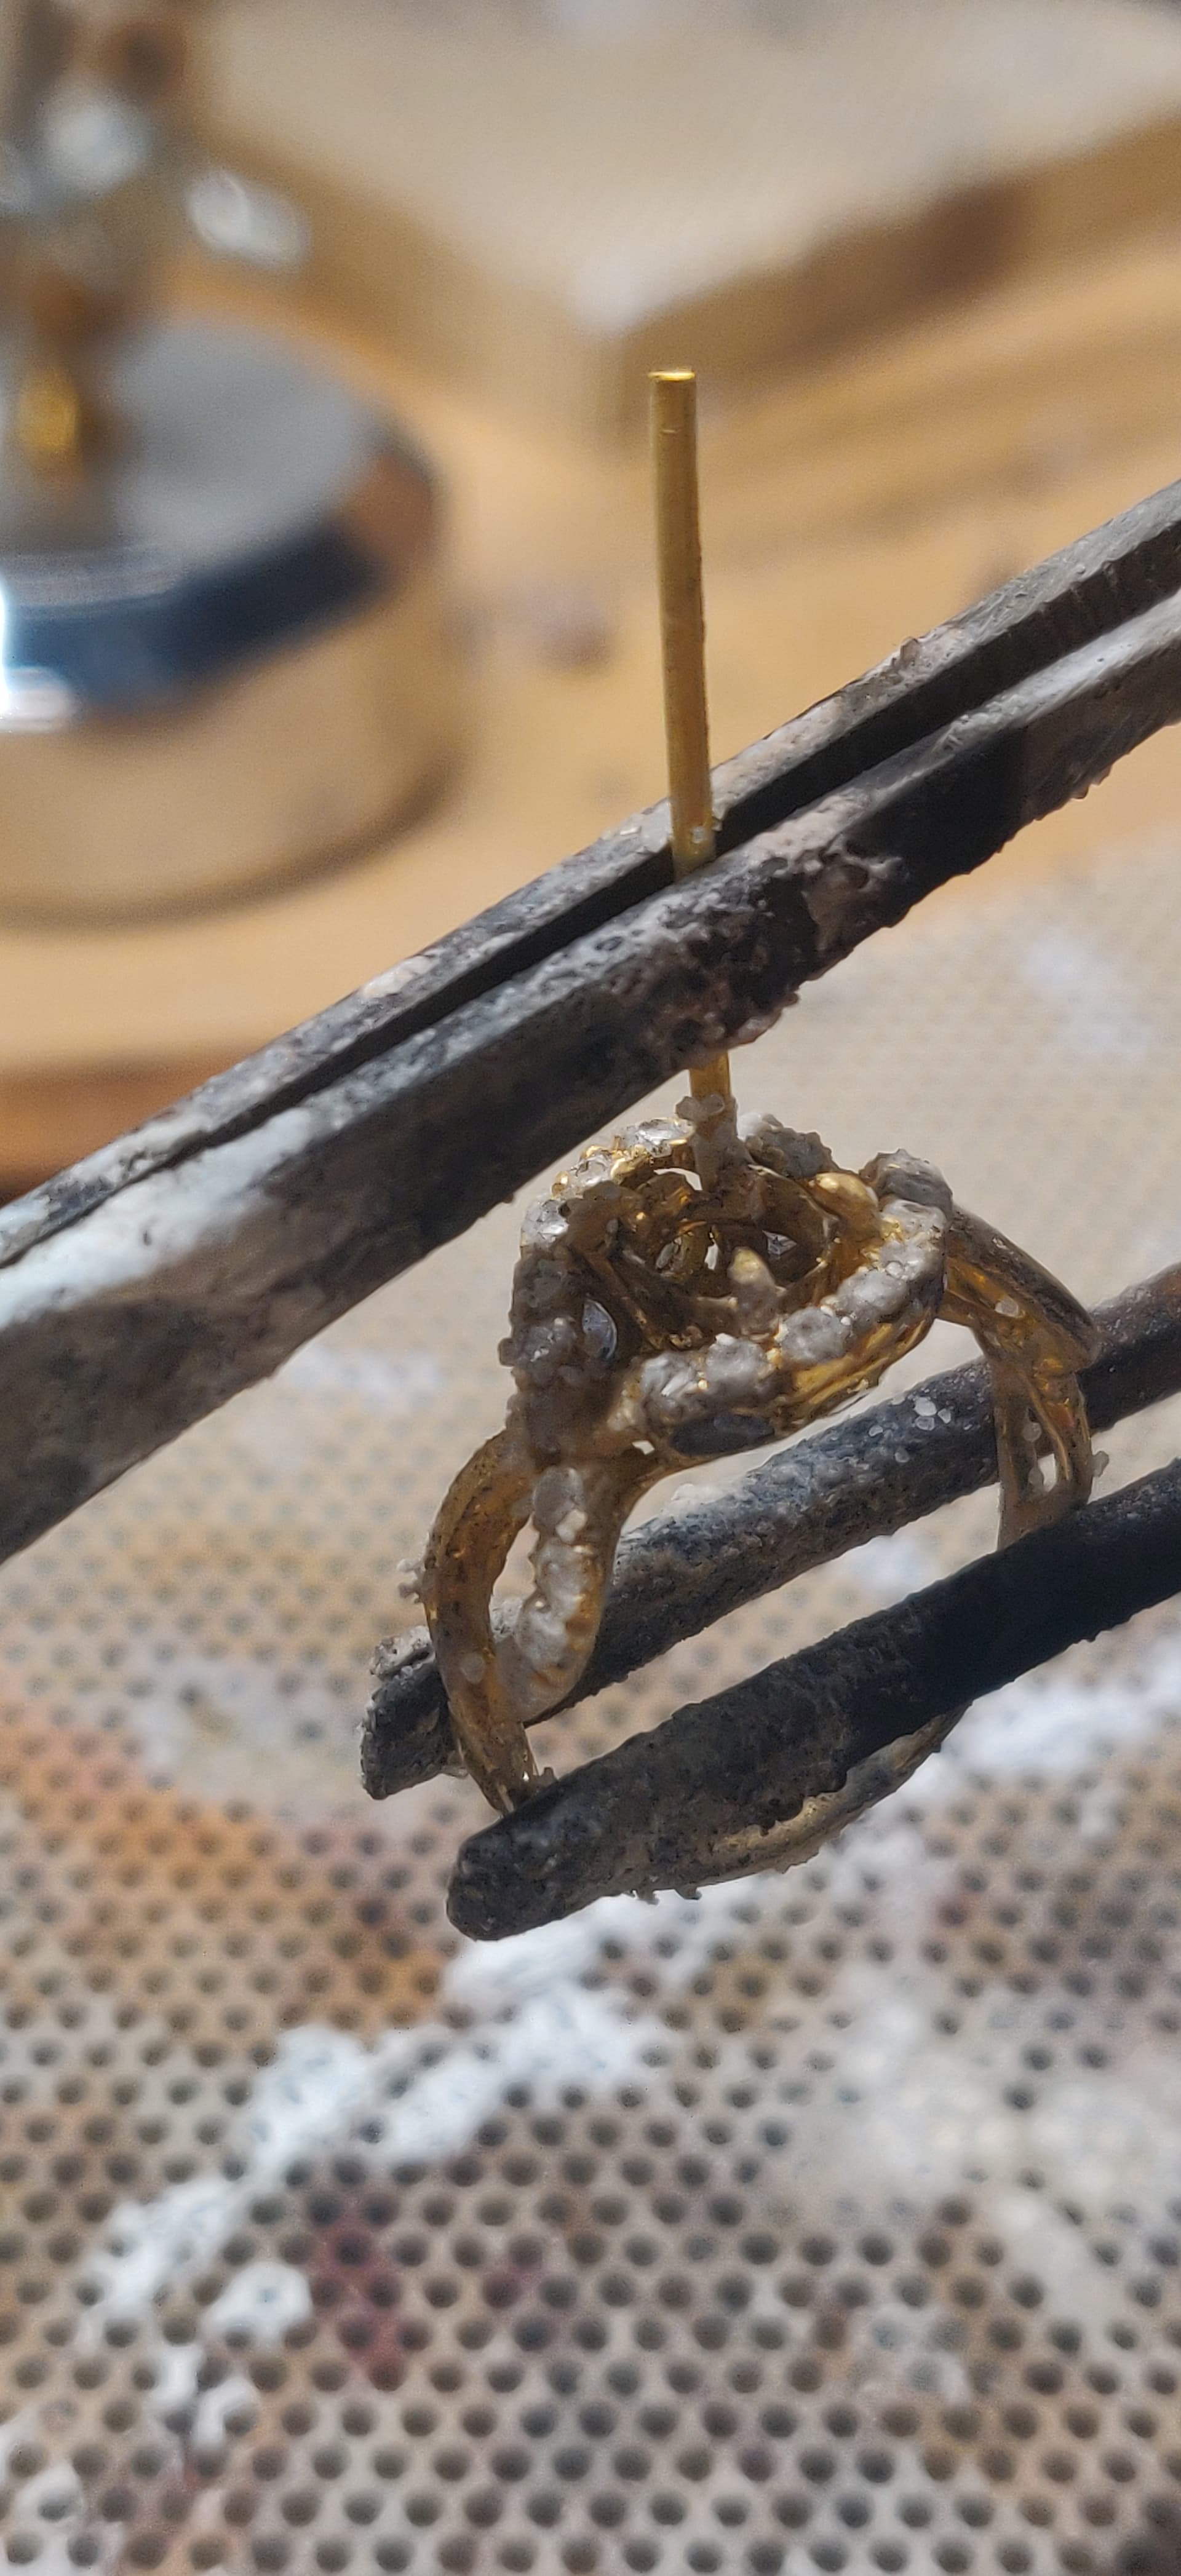
Them I clamped it all for soldering:

I used boric acid and denatured alcohol here. I’d paint a layer of the solution on everything and burn off the alcohol to leave behind the boric acid. I did this 3-4 times and then used a water dipped brush to remove any of the crystals from the sapphires.

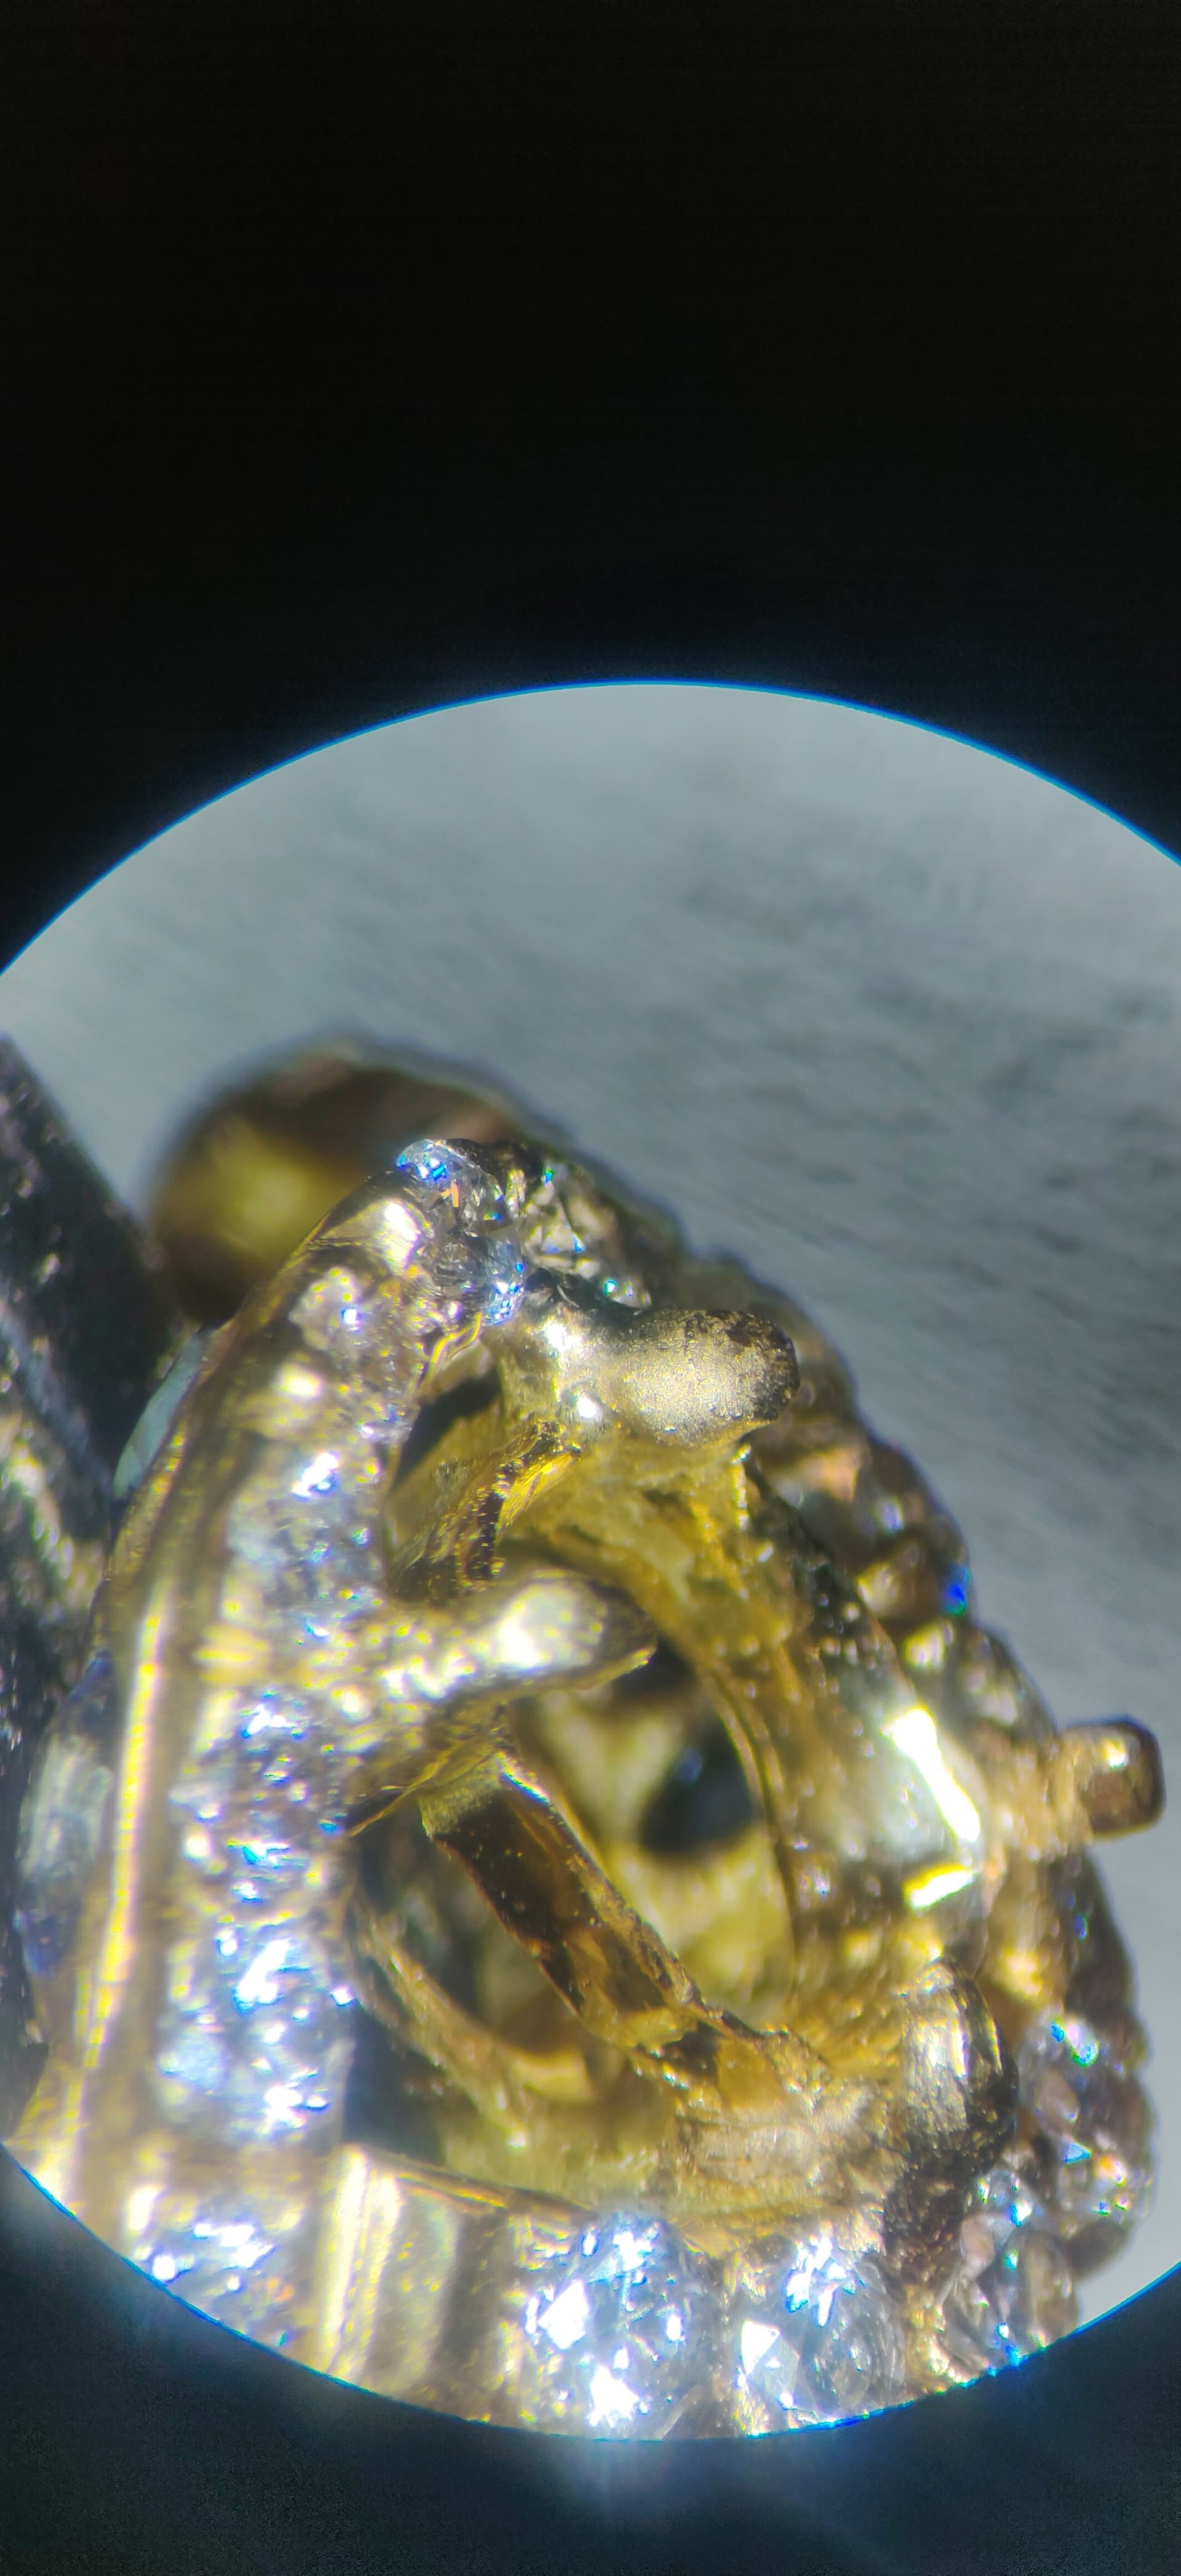
First solder job was a failure. I got an initial rough connection and then got greedy and removed my clamp. Poof, the wire dropped out. Left behind a nice ball of solder. Oops.

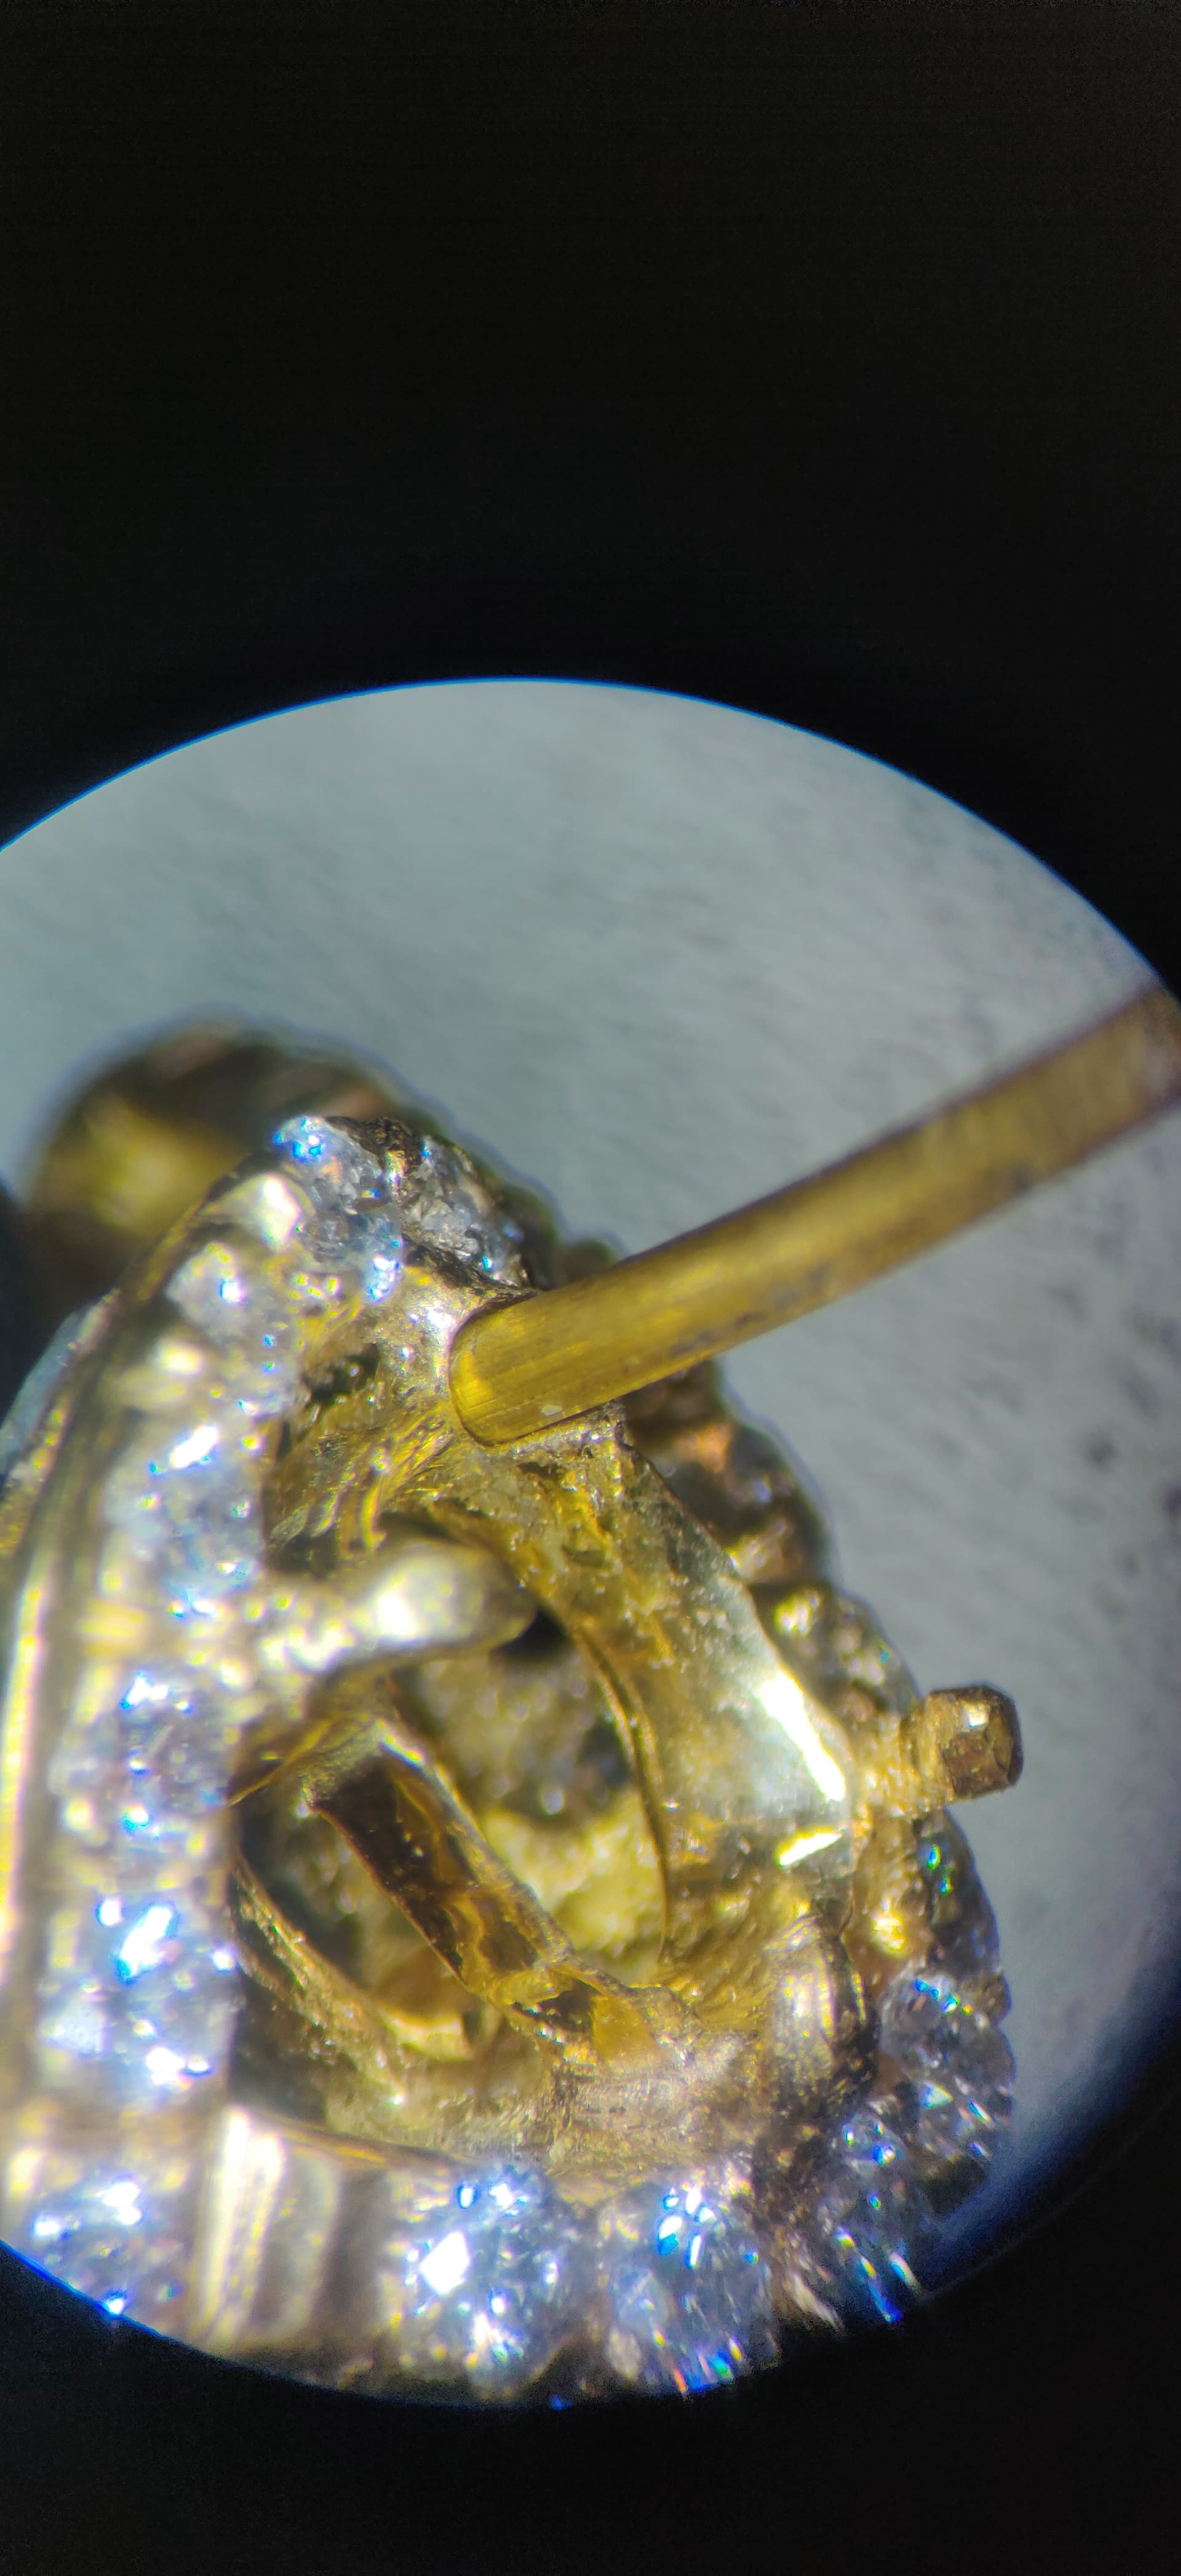
So I re drilled the hole. Came out better the second time. Test fit, solder.

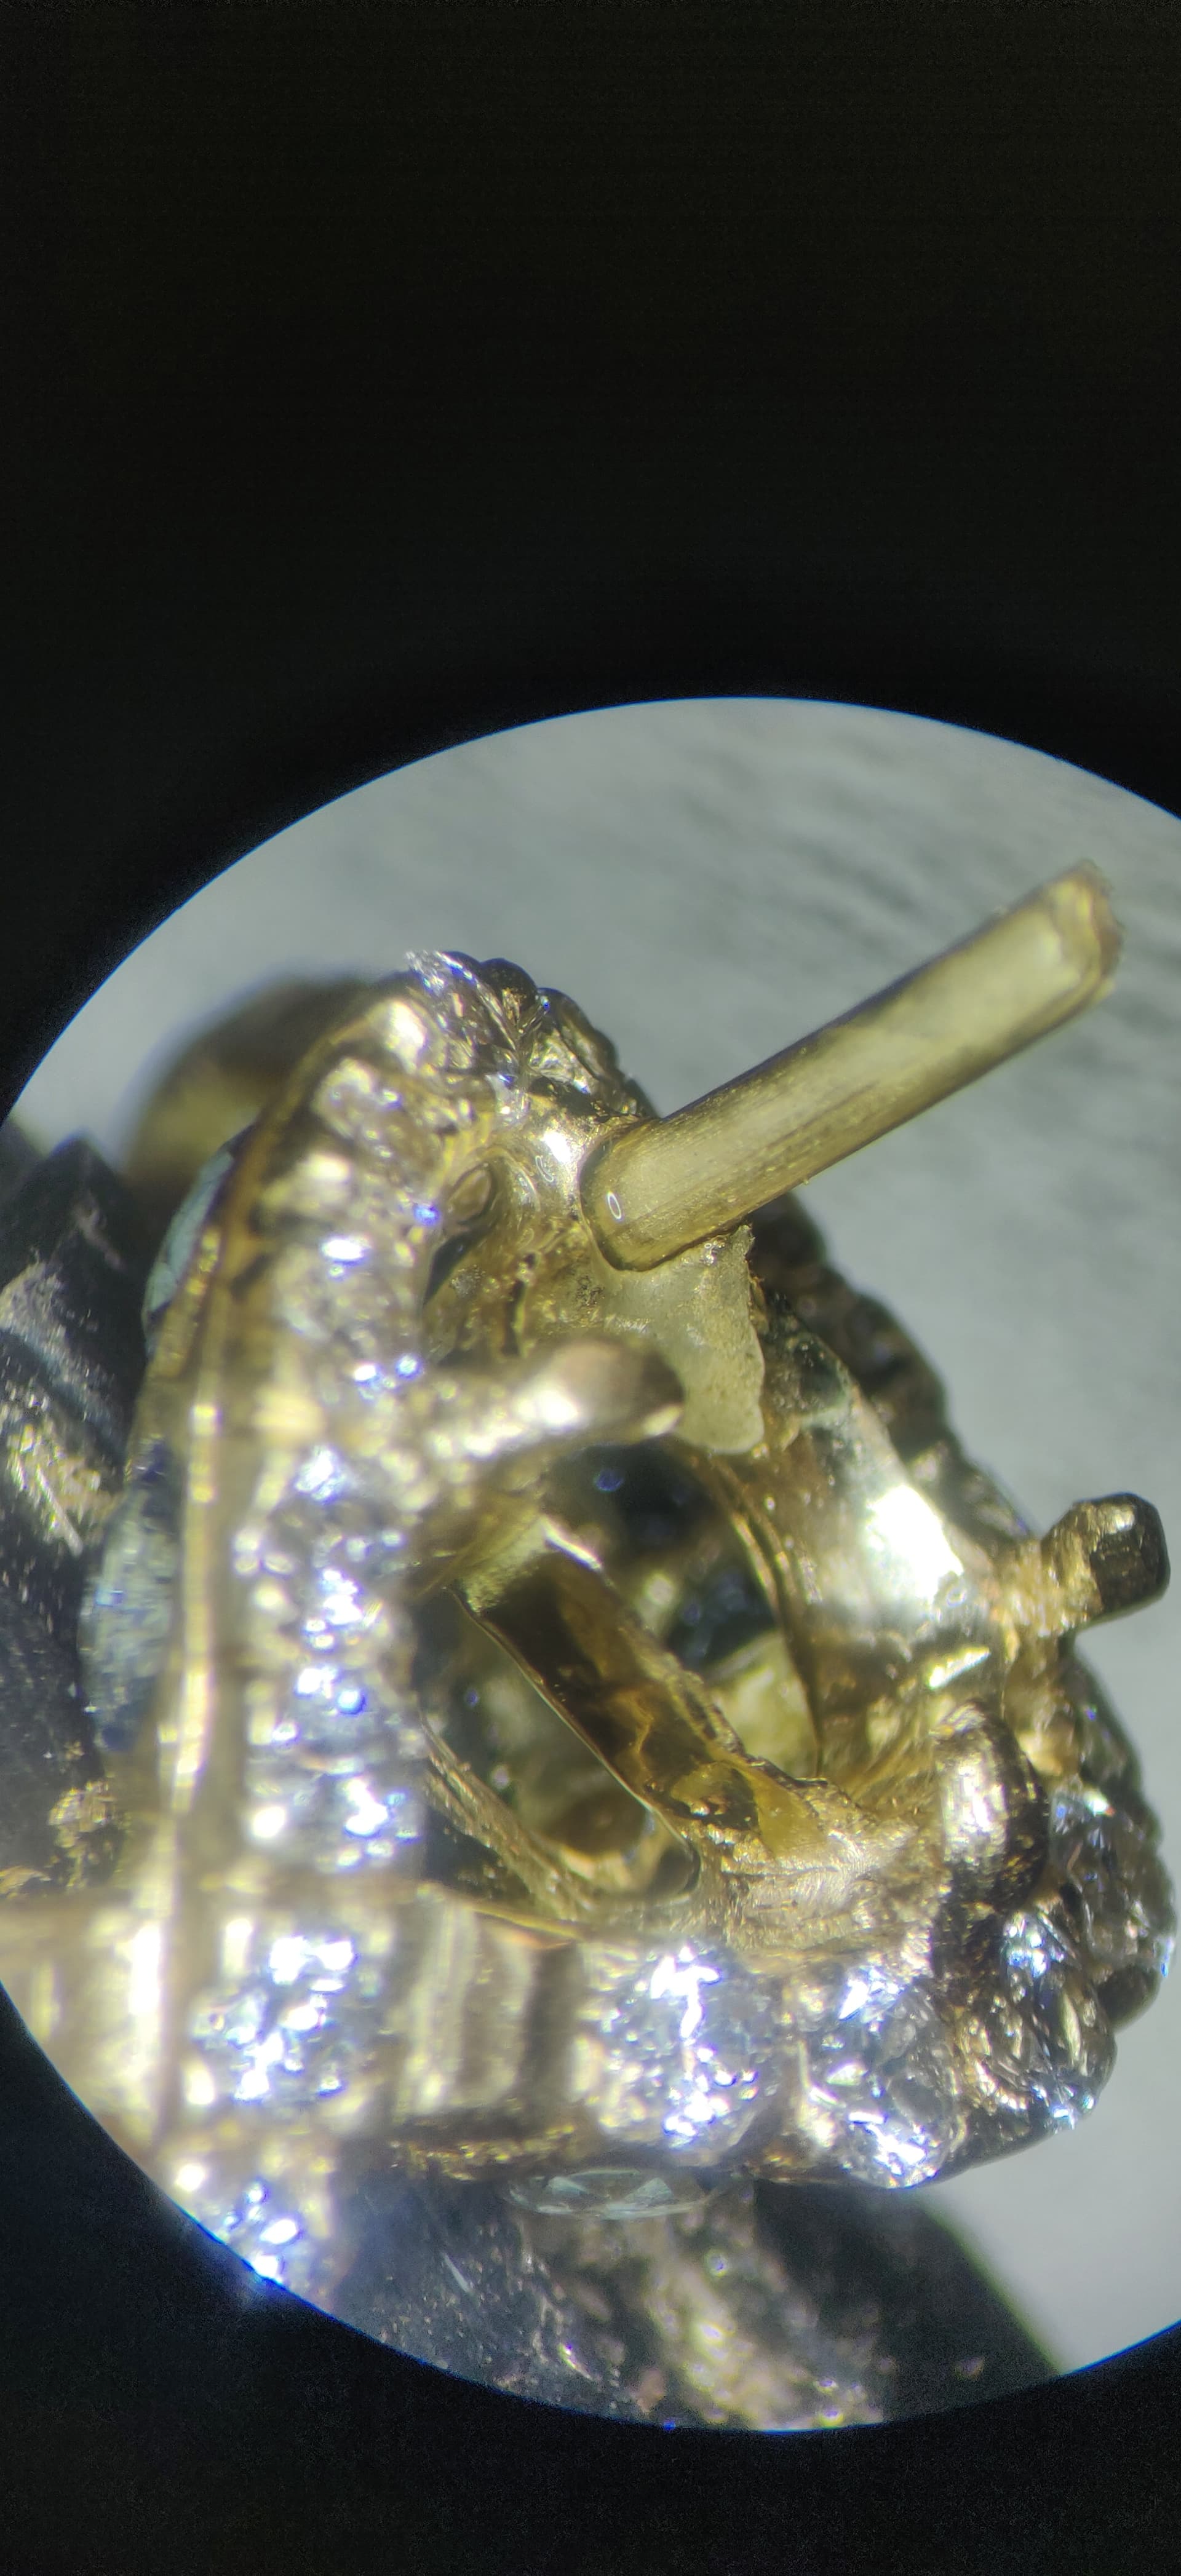
Solder flowed poorly the second round so I mostly managed an ugly tack. But it was enough to hold things in for round three. Third time a charm and all that I guess. Got a bit frisky with the heat here and balled the end of the wire. Oops again. Could have been worse, and it got me my prong!

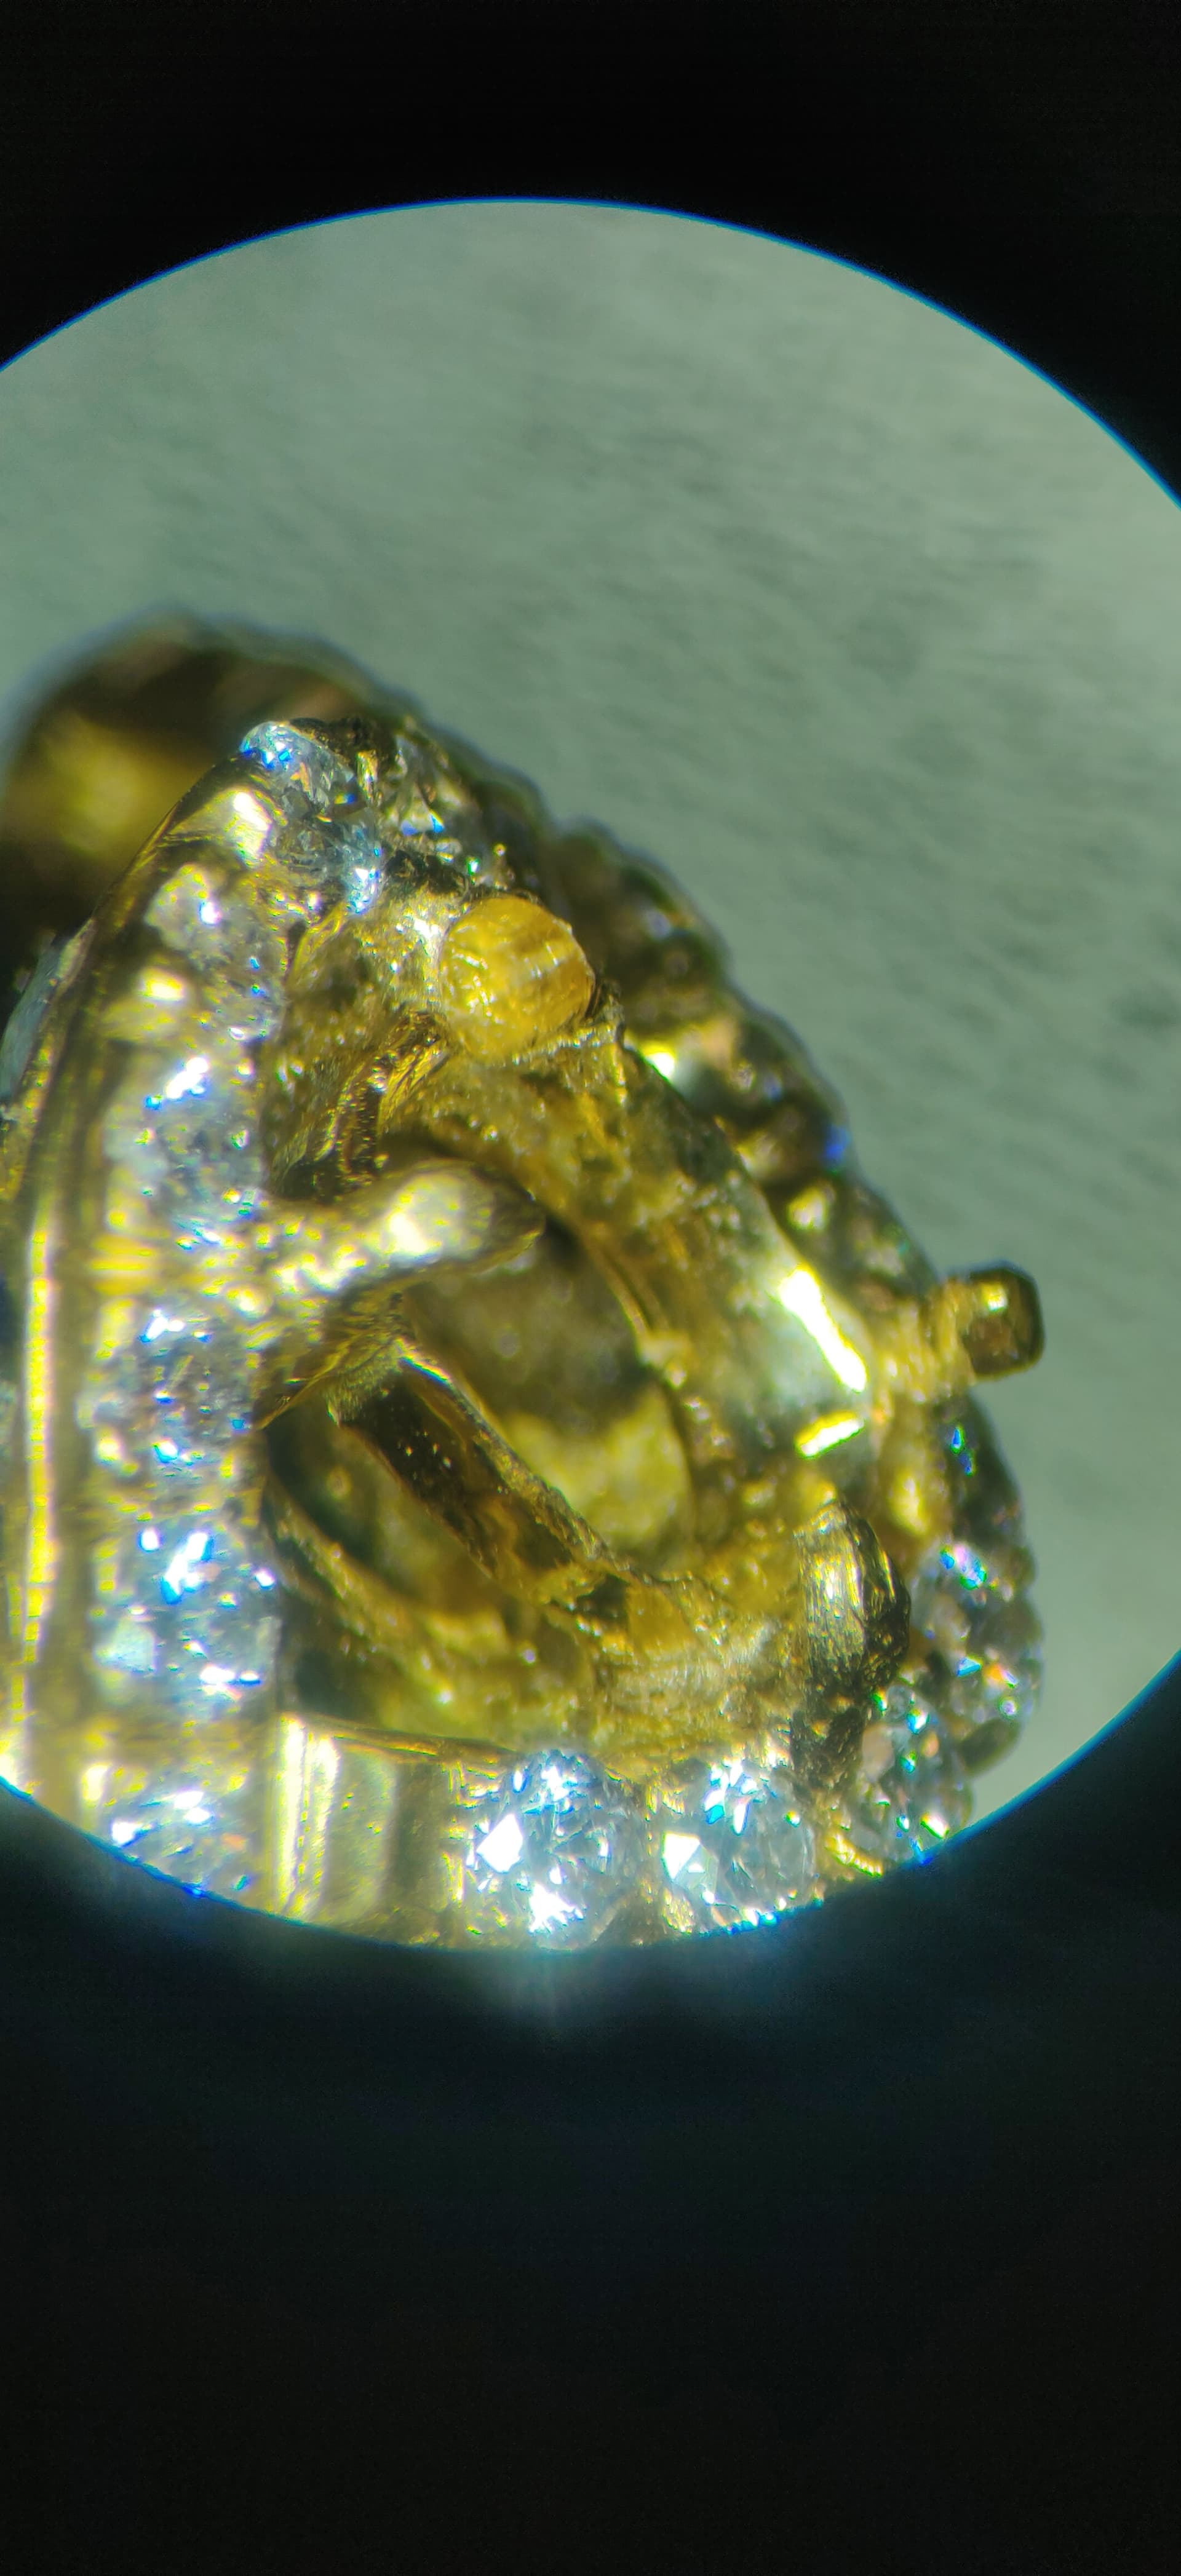
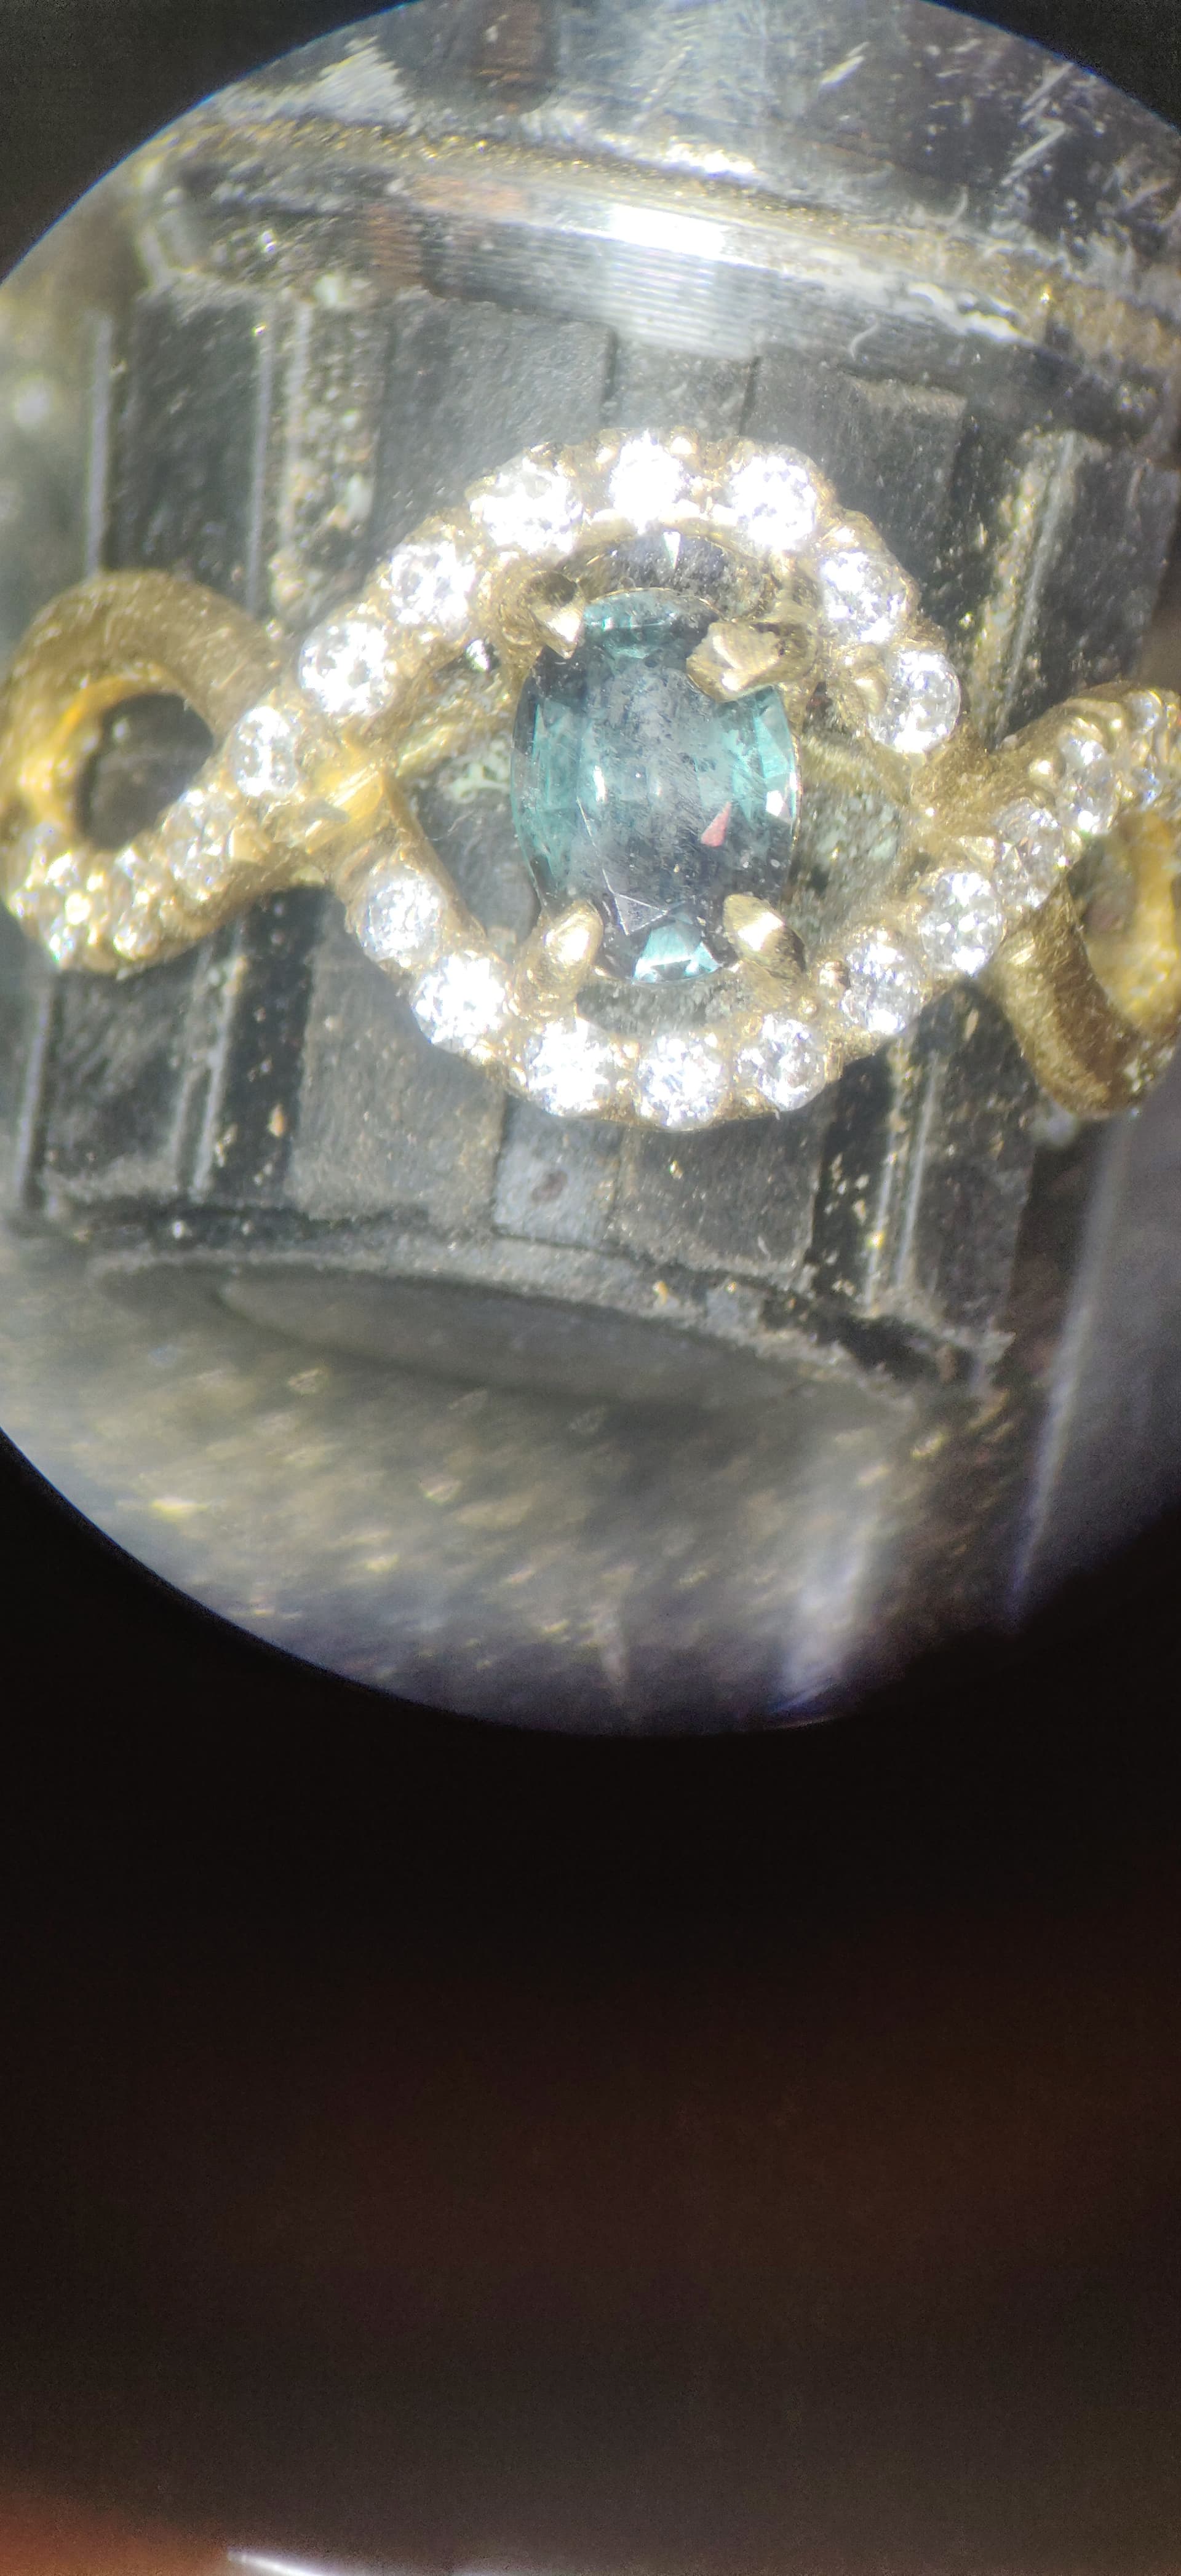
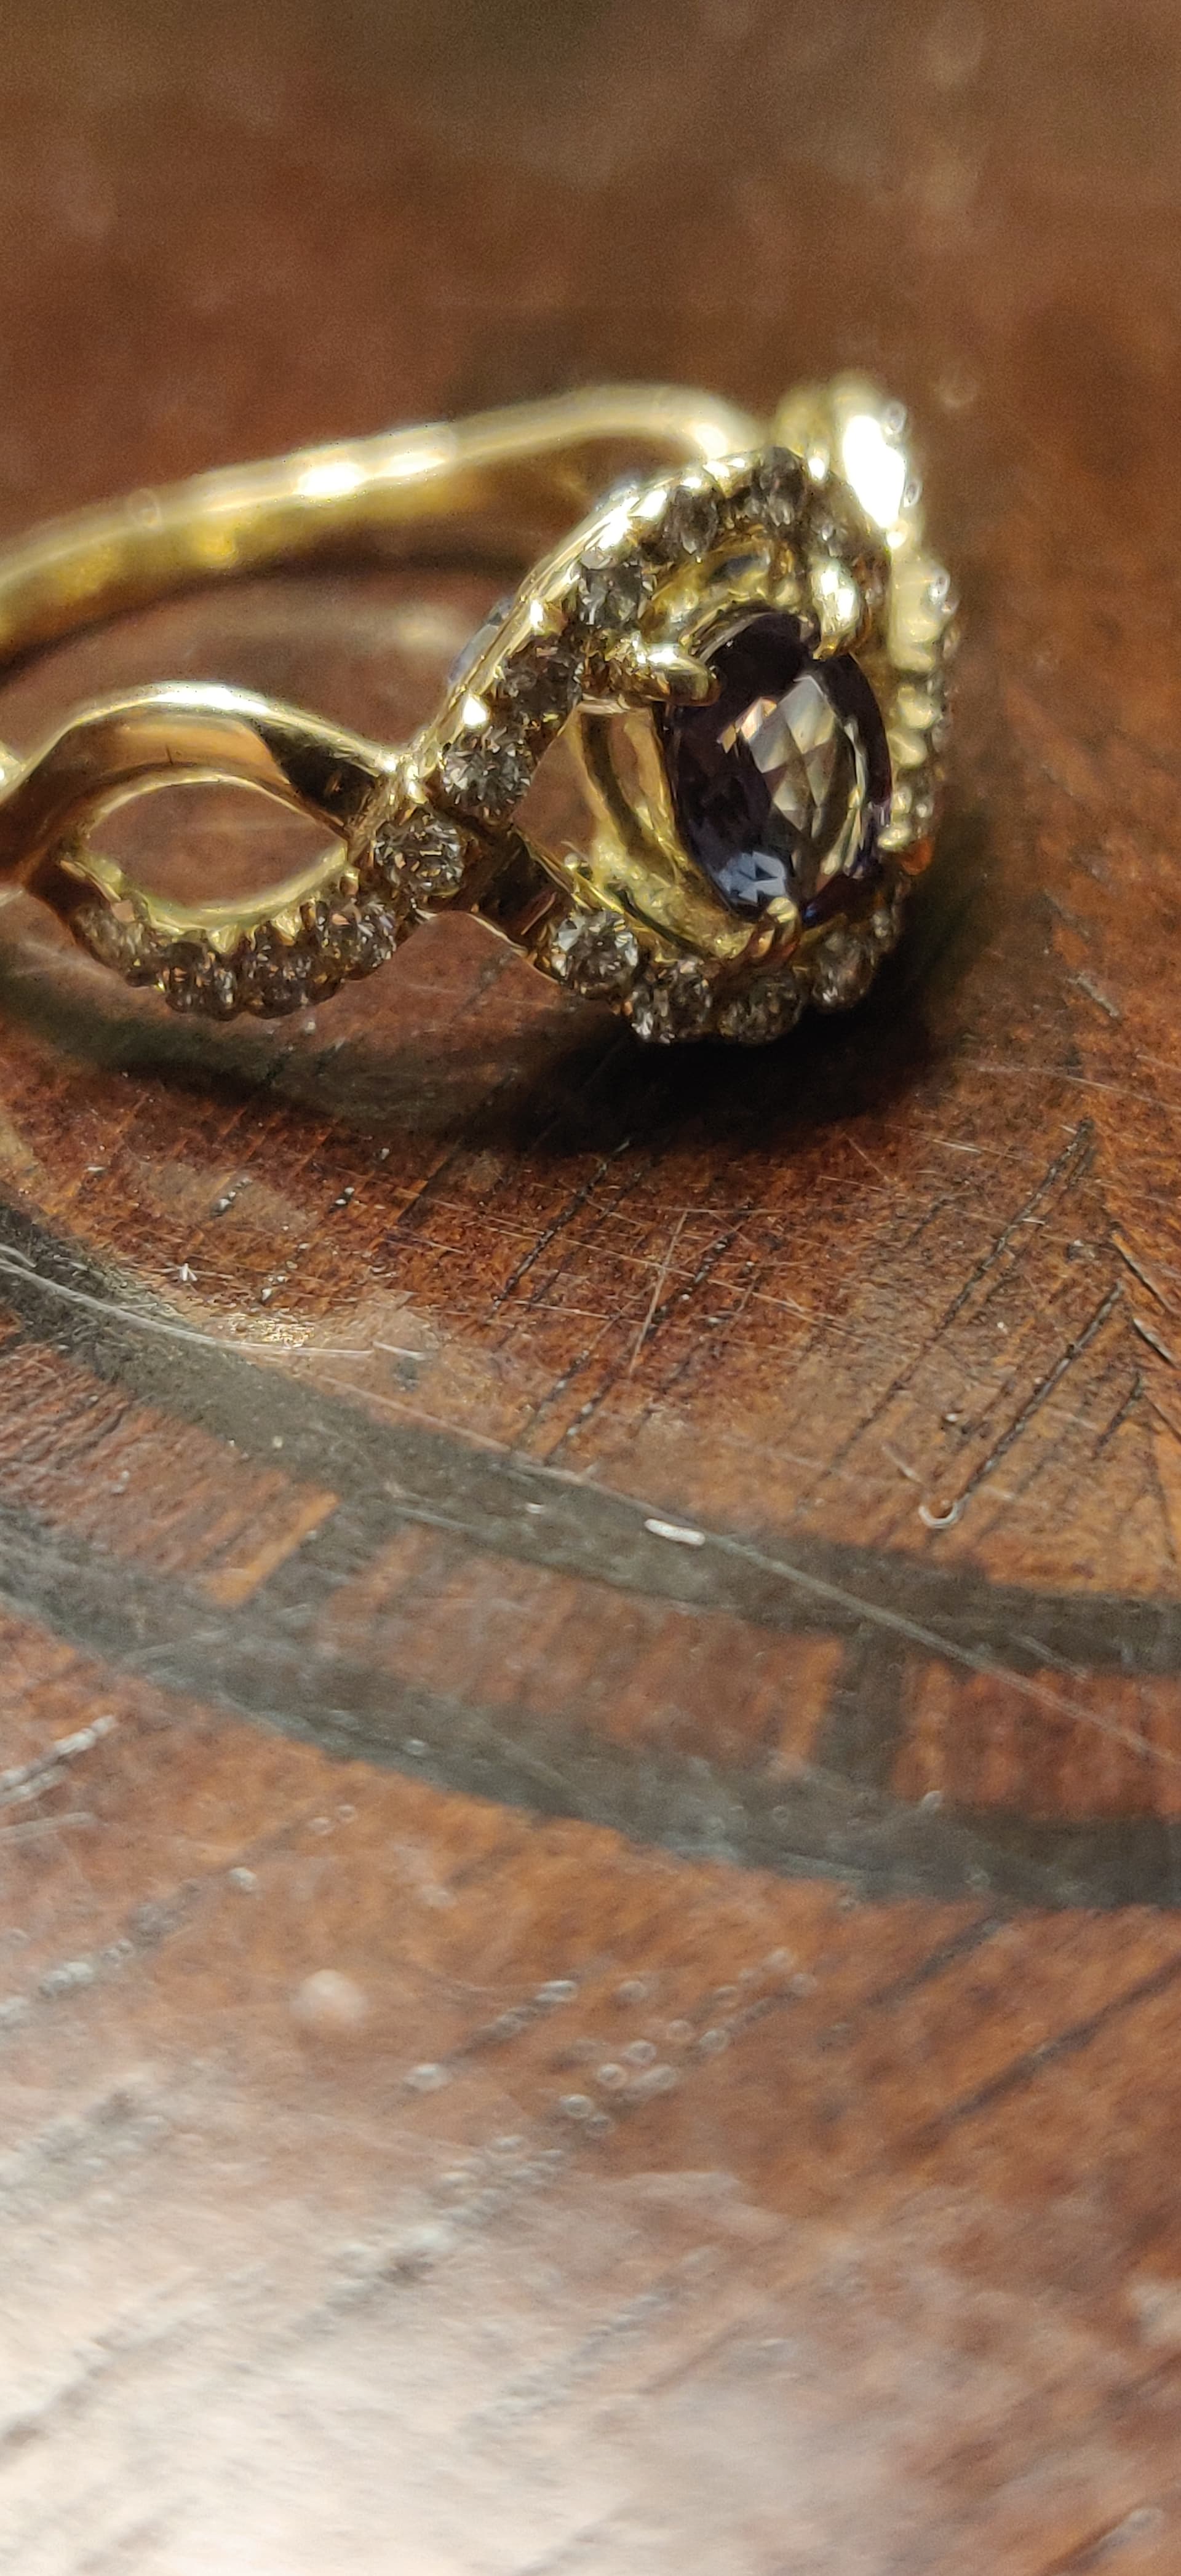
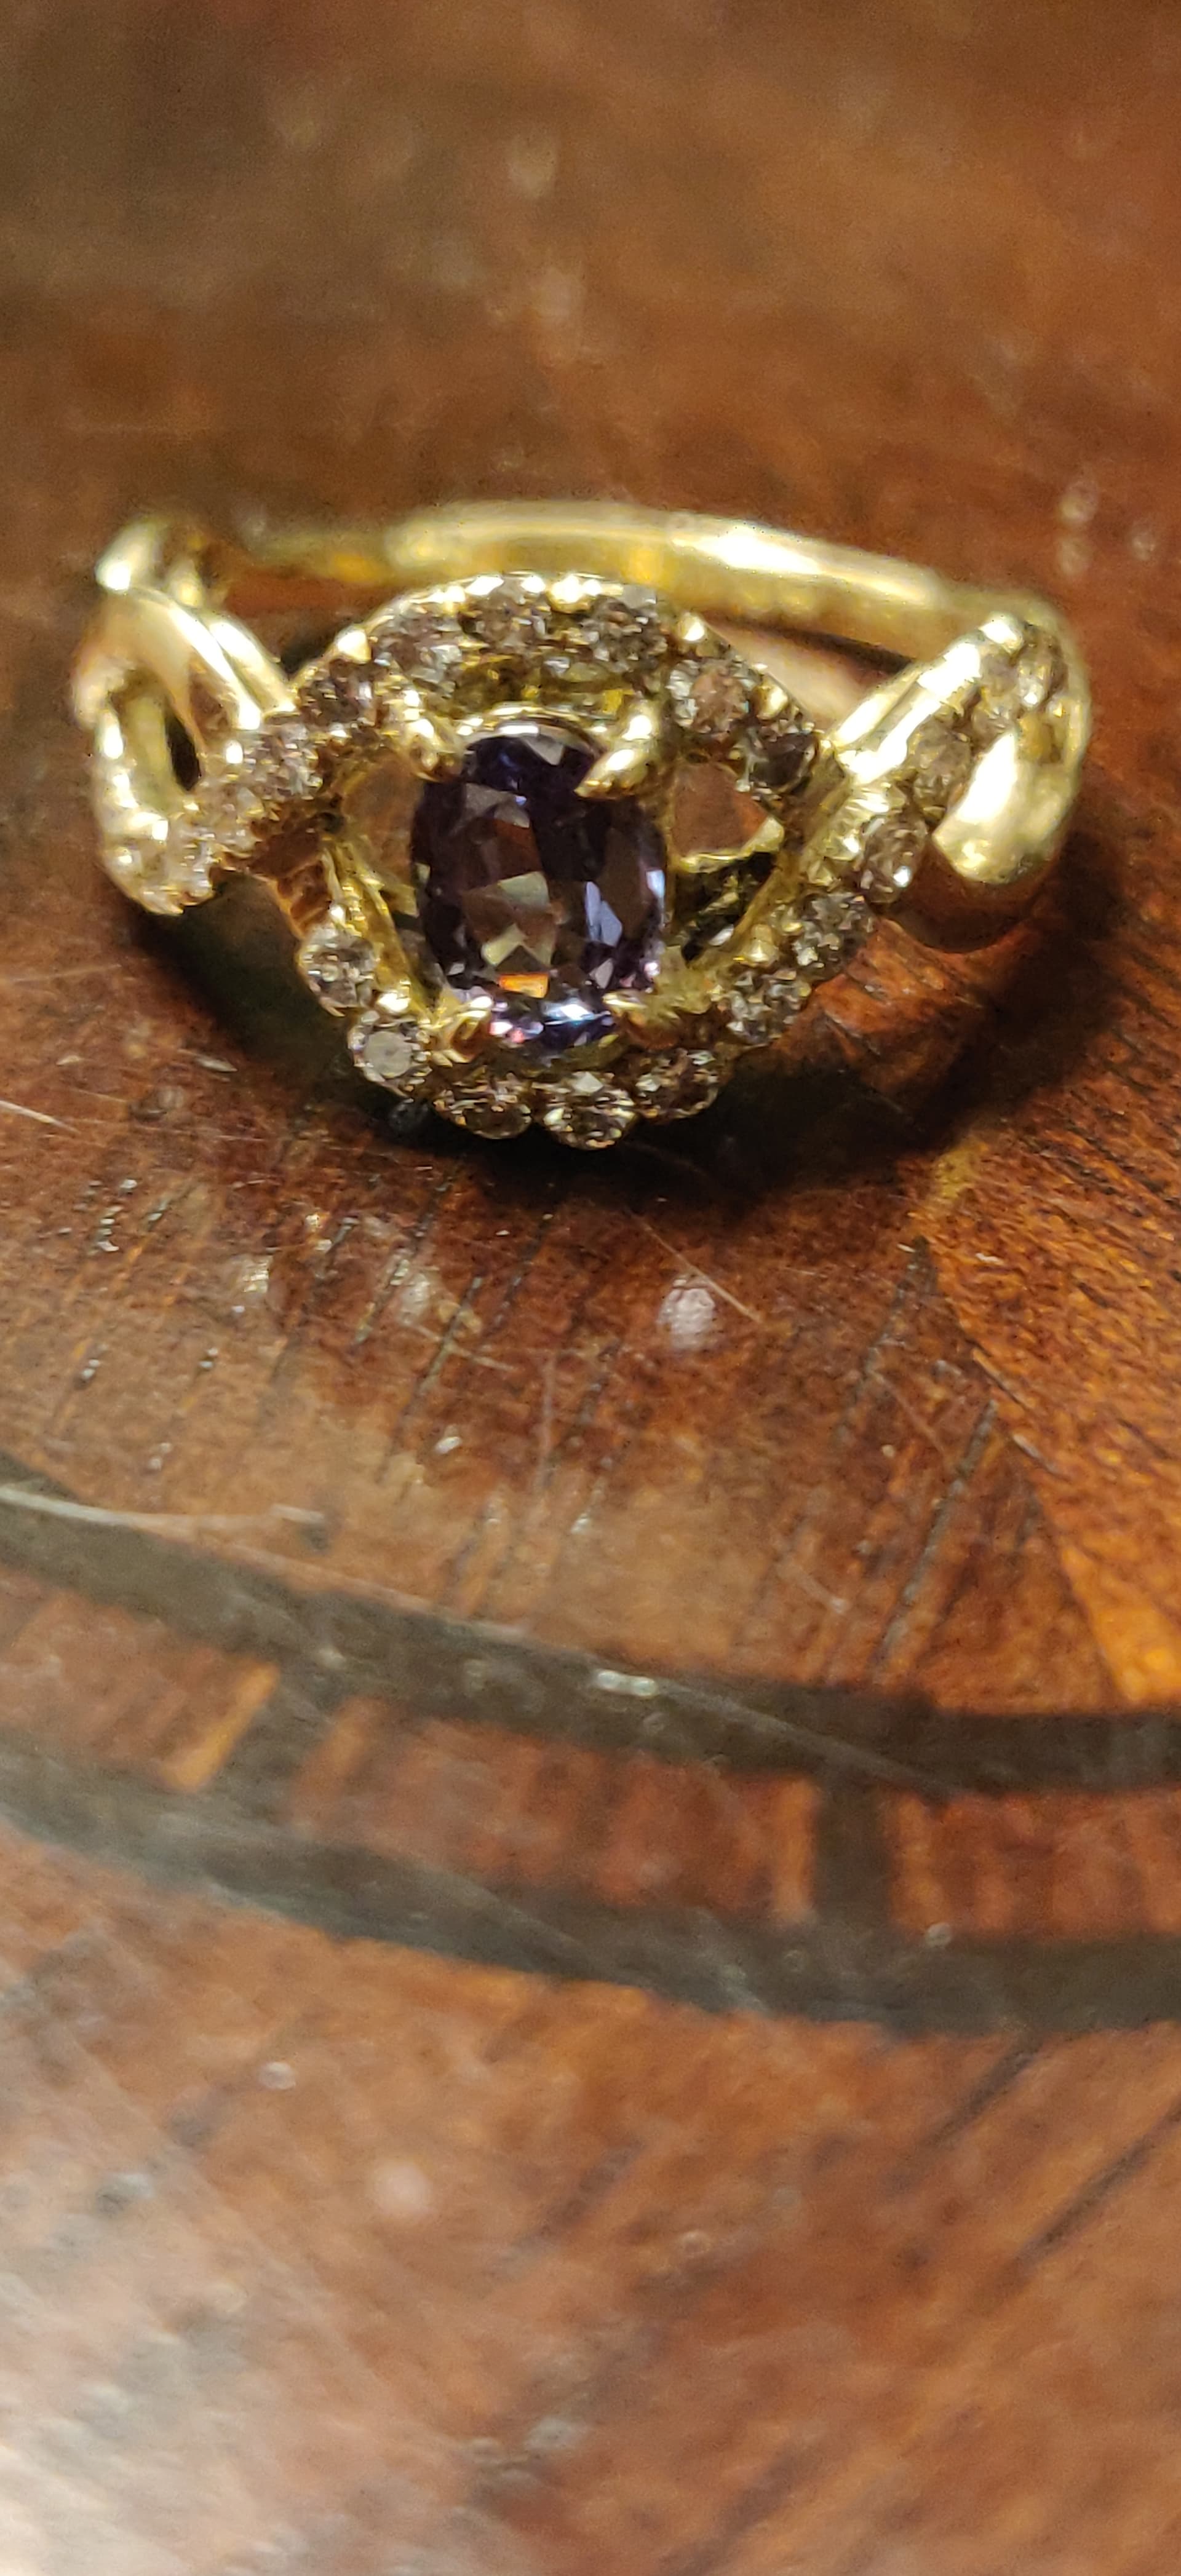
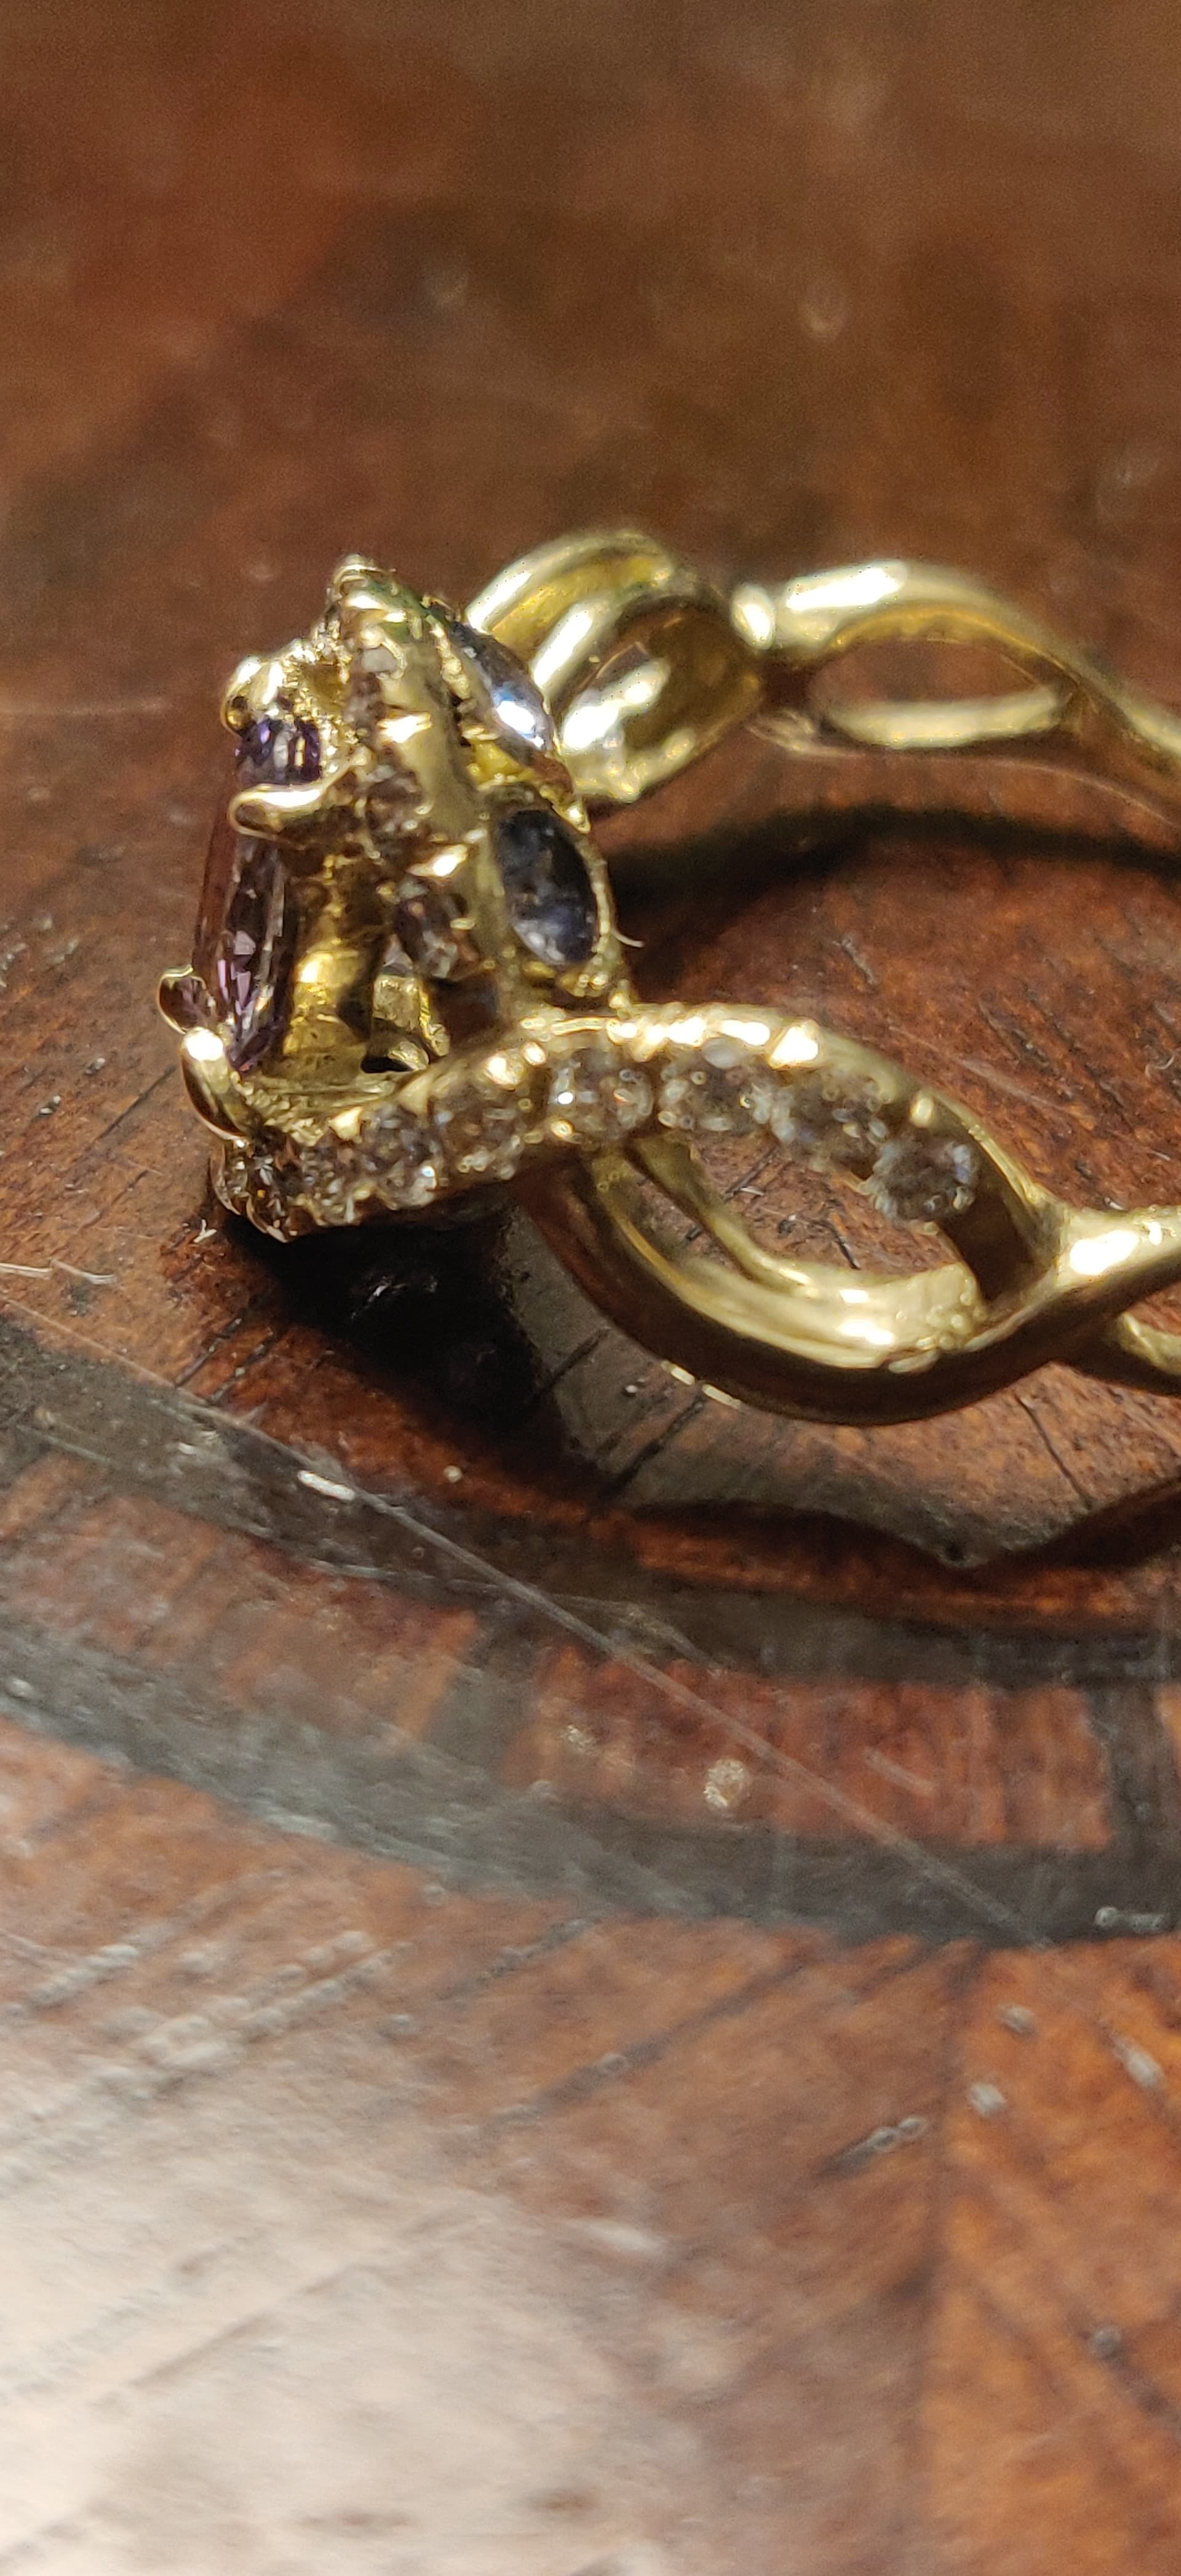
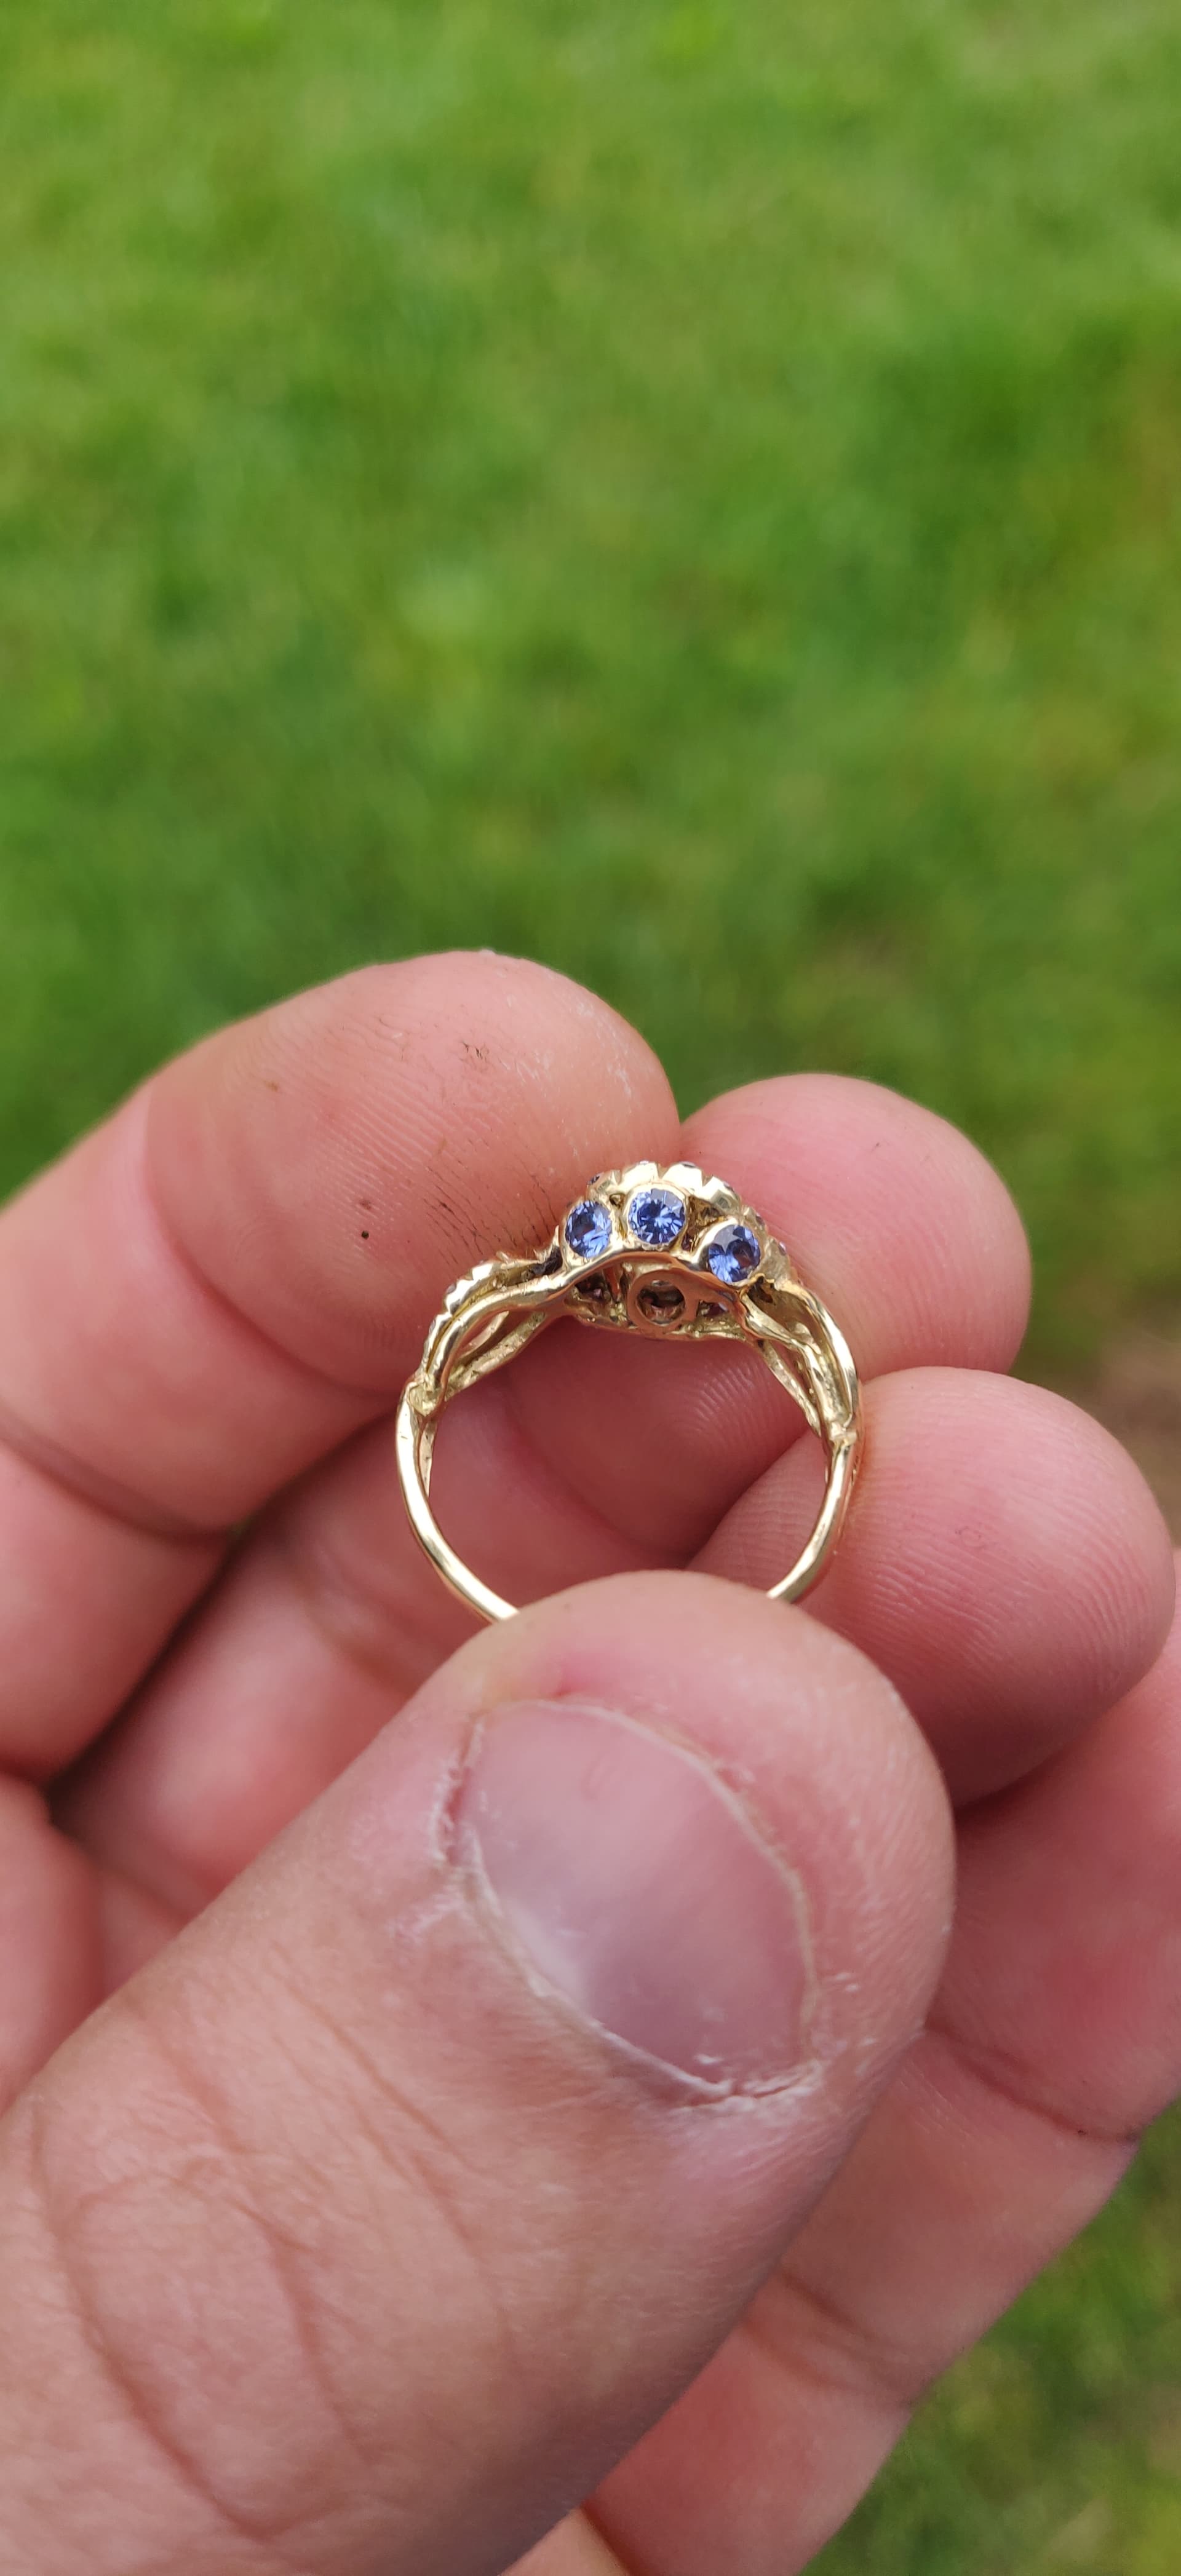
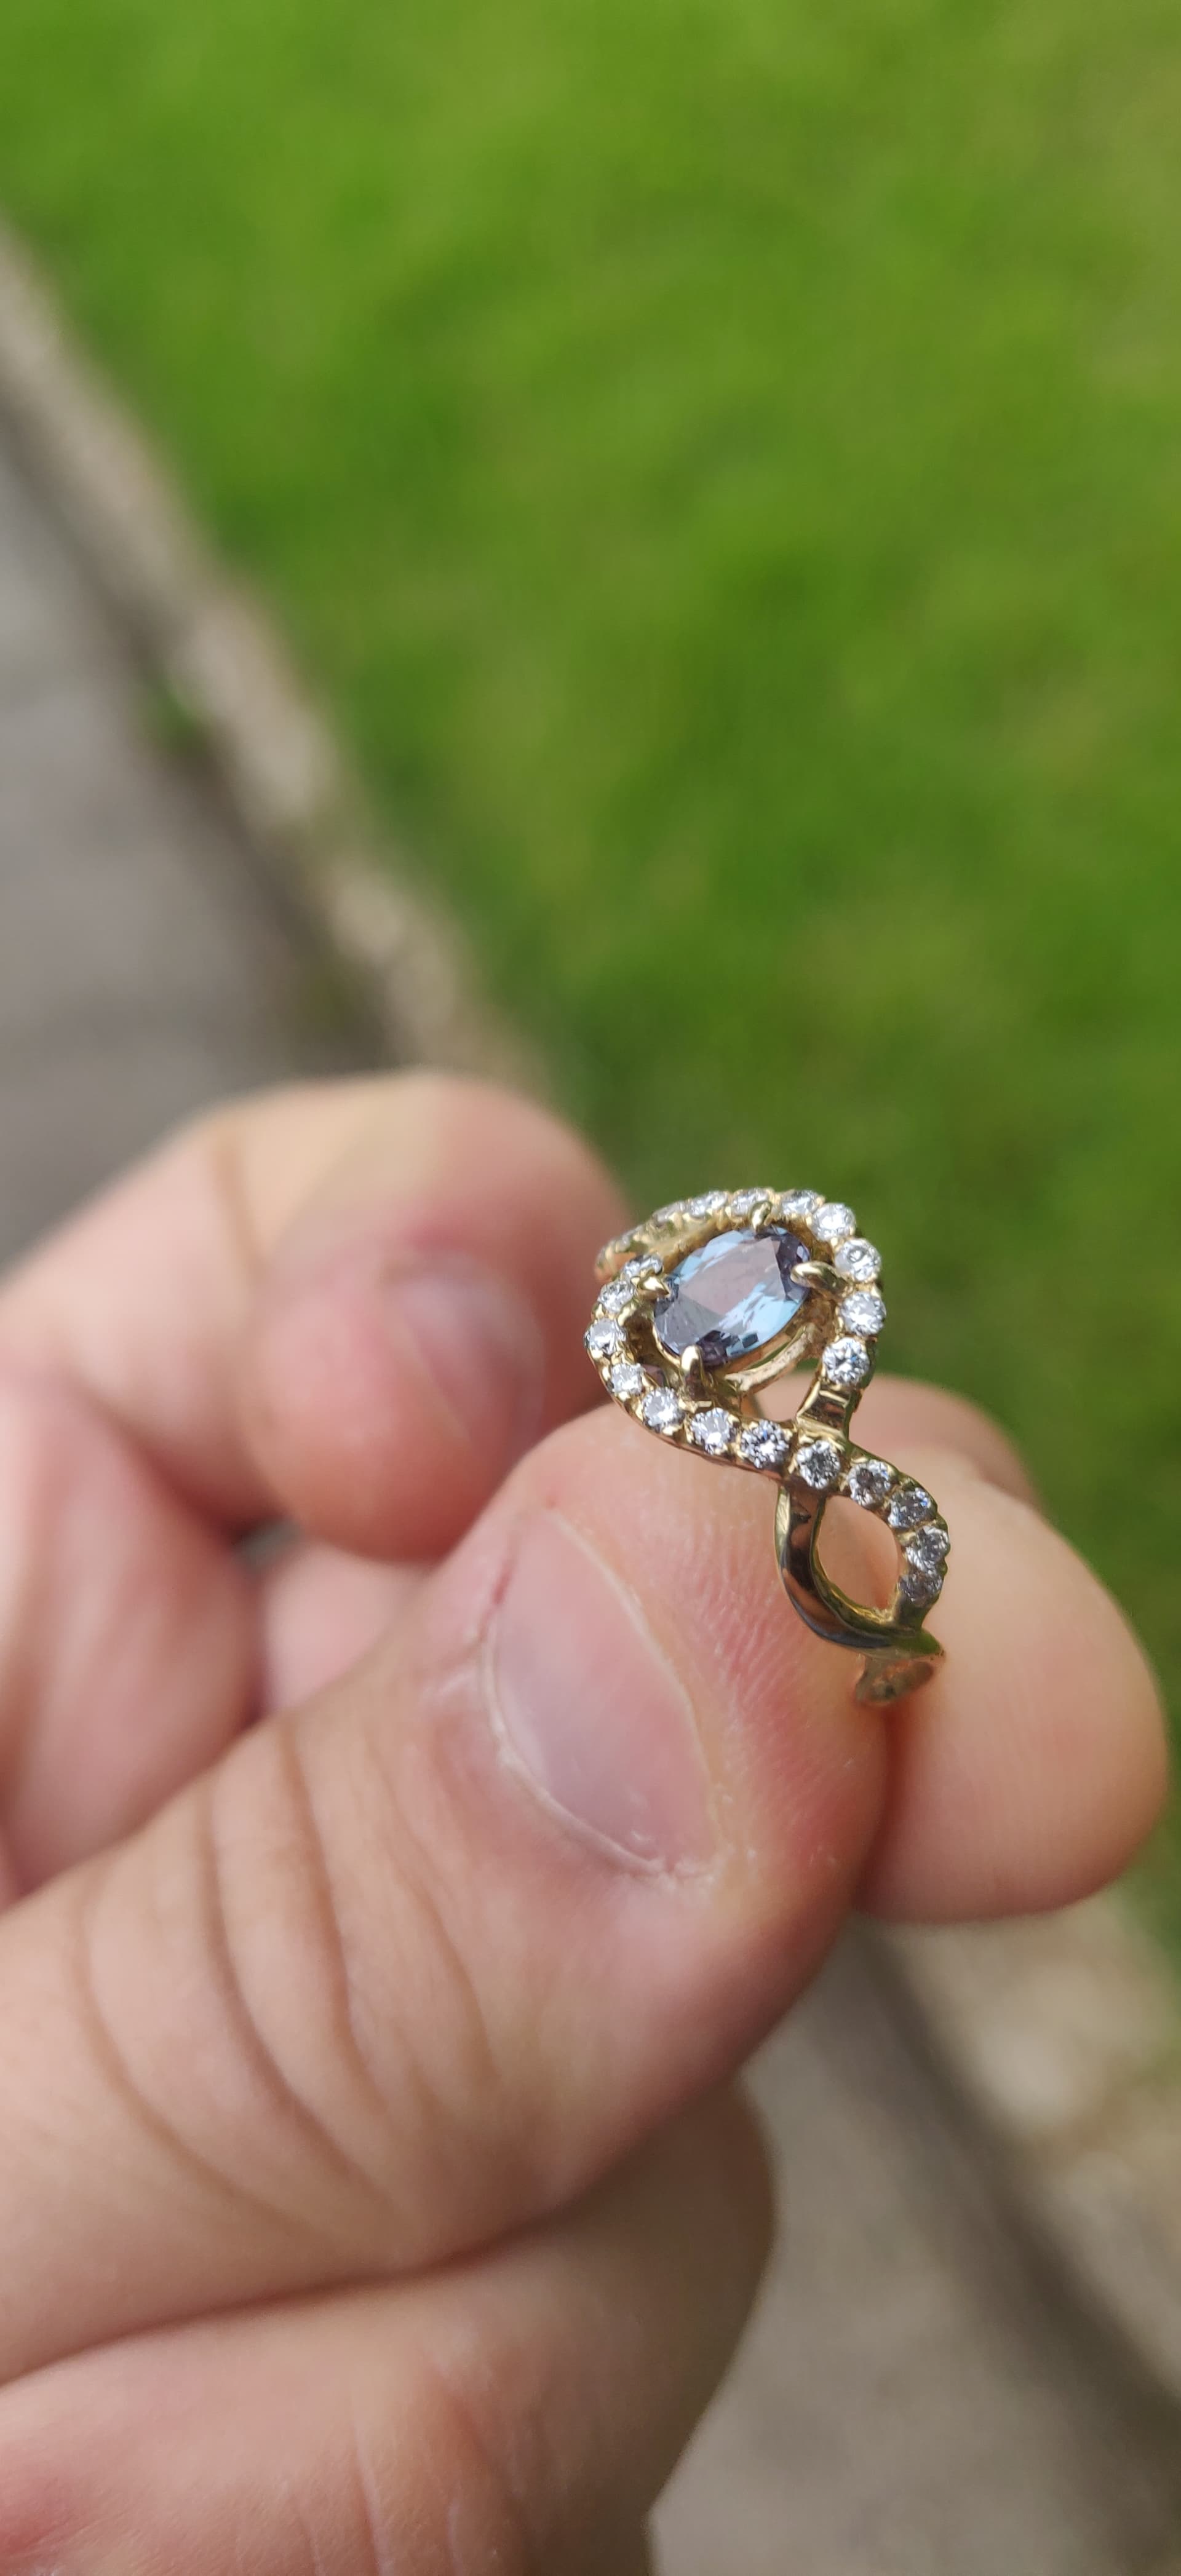
Then it was grind and polish the seat, notch the prong, drop in the stone…and voila!

No damage to the sapphires and diamonds that I can see. Still more refining and polishing to do, but HEY, IT WORKED!

So I guess all that’s left is…

A HUGE THANK YOU for all the advice and encouragement! You guys really pulled me through here.

I’ll update here as I finish the ring and get ready to pop the question. You guys are amazing!

Happy fabricating!

5 Likes

Some images after a brief polish. There’s more to do but the are cool because you can see some of the reddish color change under incandescent light.

8 Likes

Yay!! I knew you could do it! One of the reasons that I was advocating for a drilling and soldering in the replacement wire was so you could start with a solid prong that was good as new.

Fantastic work!! Congratulations!

Jeff

8 Likes

Thanks so much for your advice and support Jeff! Absolutely invaluable.

Here’s some bonus pictures from this morning in daylight. Loving the colors on this stone.

Also I booked the restaurant for the big day. On my birthday! This is getting real :flushed::grin:.

8 Likes

Congratulations on your job and in advance for the important event.

One thing I would add is that soldering can also make wire brittle if you heat it up too much. It’s like over annealing, when instead of being annealed it gets hardened.

6 Likes

Well you did a wonderful job because that is a very beautiful piece of jewelry and congratulations

1 Like

A very nice job great looking piece I’m familiar with some arc welders.
I would put a small piece of solder on missing prong and a small piece on prong to be be added then file flat then place on setting and start with a low setting and increase till you have a good weld. If you still can’t get there look for someone with a laser to help you with your project.
If your in Texas I can recommend some jewelers with lasers

3 Likes

Hi Daniel I have been following the story of your ring saga with awe and admiration for your sheer tenacity as well as your skill as a designer.
I think we are all excited that you have pulled off this very complicated repair yourself.
Also that you are finally going to be able to pop the question!
Congratulations on many fronts - you have made a beautiful ring and I am sure it will make your special person extremely happy!
Cheers from Willie in Oz

1 Like

Thank you!!! I just finished the final polishing so I’ll have to post an update. Might update with some photos of the big day too if I feel comfortable with it and my better half allows me to :grin:. I’m sure she’ll see this thread at some point​:rofl:. It’s been fun meeting the community here and I’m really grateful for all the positive encouragement this has gotten.

I’m not what I would think of as great at design work but if I have a vision in mind I like the puzzle of building it. I like looking at super crazy high end stuff and trying to understand how it’s made and my YouTube feed is full of fabrication montages :rofl:. This particular design is inspired by one my partner liked, and my desire to avoid a direct copy of the standard “halo” that I see everywhere.

Here’s a picture of the sketch I made when I started plotting it out.:slightly_smiling_face: You can see some of the practice layout I did on brass in the bottom corner.

1 Like

Wow man. What a special ring. This is one of those things where you gotta be sure to store the story behind it to pass down years to come. Weve got a good story like thst fron my great grandmas ring.

1 Like

Thanks!

We’re less than two weeks out to the main event! She was abroad for most of the work so she still doesn’t know it’s done, just that I want to make it and it’s my big project this year. Looking forward to seeing her response :blush:.

3 Likes

sorry for the delayed response: your work rocks! lots of time and careful tedious work paid off perfectly.
Congrants. May your successes continue… I am sure that you learned a lot from this one… next time it will go faster. Always the case… Again, conrants!!!

1 Like

Are you also on the IGS website? Pretty sure I’ve seen your posts there also.

I’m not! I joined here because I screwed up a pretty important project :rofl:

ok someone who goes by Daniel also but not sure if it was you…thanks for replying.

Haven’t found IGS to be of much use. This one is much better. The IGS show and tells can be maddening.

I don’t even know what IGS is to be frank. You’ve got me googling it :rofl:.

I’ve lurked these forums and tutorials for years as an amateur. It’s a huge resource for learning. But this was the first time I felt like I needed to post.

1 Like