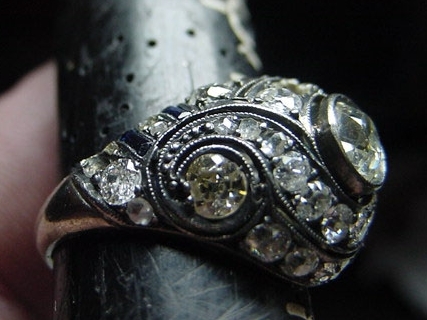
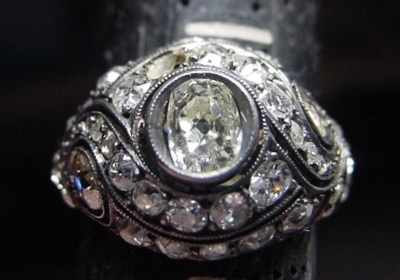
What you are going to view are some re-e-ally antique styles of a brooch & bracelet. I’ve always wanted to demonstrate how some of these Arte-Decos pieces, got to be ‘antiques’! This is a ‘long forgotten world’ of soldering & using a pump-drills, but as you can imagine in some countries these techniques are still being practiced? The ring that is in my ring-clamp, I was asked to literally ‘remove’ every Mein-Cut diamond. But I had the foresight in capturing it via my camera “the old-style of setting” before I did that horrific task of dismantling that beautiful ring!
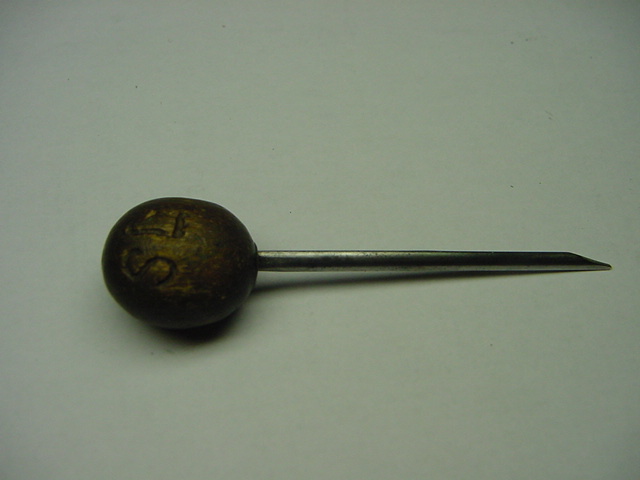
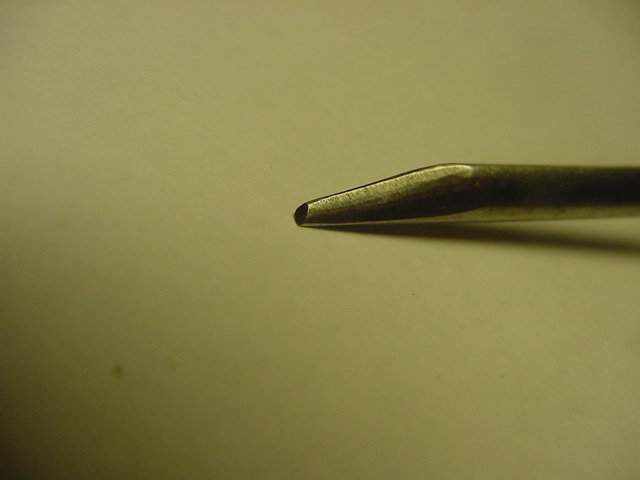
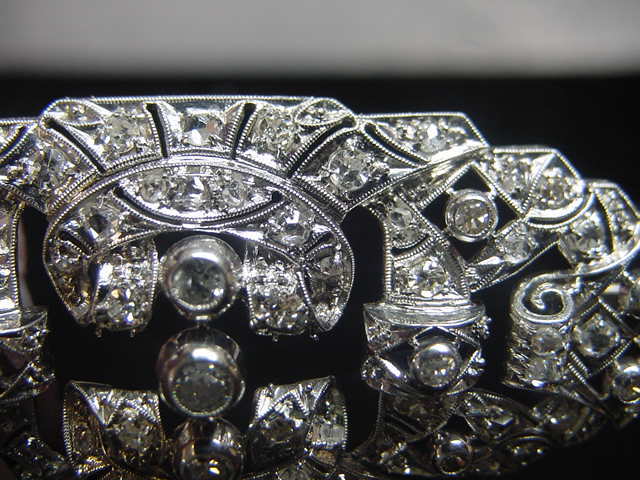
Can you, imagine that long before there were any burs, the ‘setter’ had to cut out a hole with his “Bull-Stick”, as it is still known in the jewellery-centre in London, England. In fact, my teacher gave me his very own “Bull-Stick” that he used circa 1940’s, (see attachment). He had to cut the shape of each rough-shaped stone prior to mounting each & every diamond. Can you visualize that the setter had a multitude of finer gravers to use and was using two processes, namely, the ‘Rough-Cut’ then the “Bright-Cutting” prior to setting of each stone, easy? This long process to set 30 diamonds in an Eternity Ring that could take him nearly 1.5 days, start to finish! Now we can do the same ring after CAD, (maybe) one hour! By the way, flex-shaft motors didn’t come into existence till the early->mid 1940’s!!! You can see the extensive uses of “Milgrain” on every Bright-Cutting edge. Styles do change & then return.
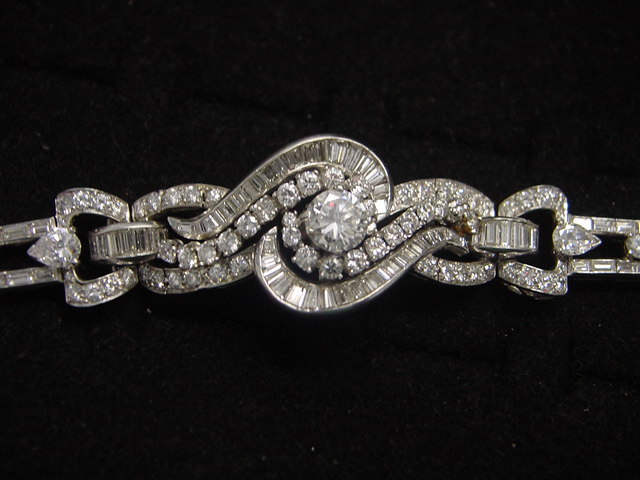
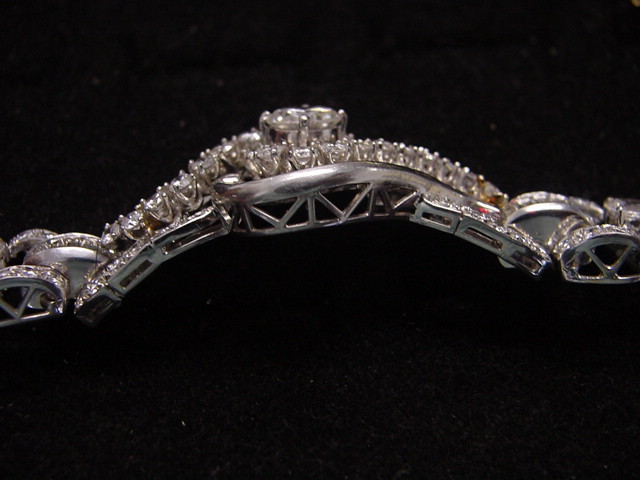
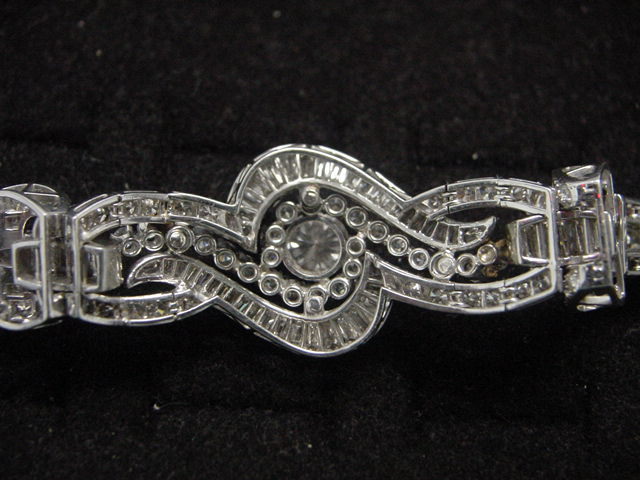
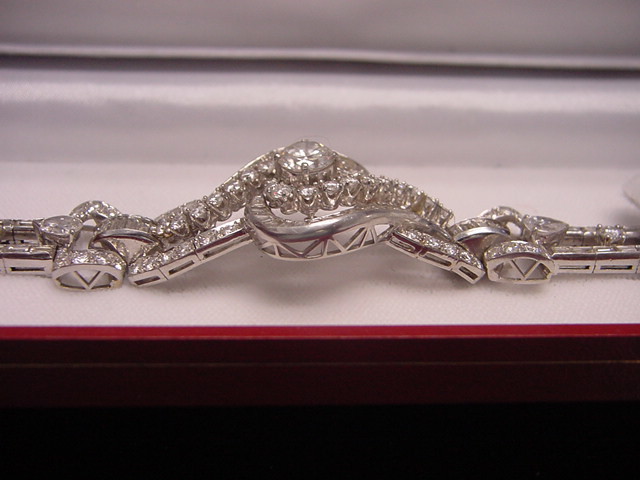
You are looking at a bracelet in different positions, “top, side & underneath”. Also how it looks in it’s new bracelet box! I requested that my client to allow me capture this attractive bracelet before he took it away! Now you are enjoying how this “Arte-Deco” style of jewelry looks from the setters bench-pin.
Also imagine that each allocated stone had it’s own space & could not be interchanged with another stone, This is because no two stones were shaped equally!! Each hand-carved hole was created with a “Scorper” a.k.a. Graver! Now this is Diamond Setting, look how far we have advanced? Mind-boggling setting exercise, agree?