Accidentally reshaping metal in hard to reach spots

morning! i’m in desperate need of tool suggestions for reaching inside very tight spaces. i posted about this once before and you were all so helpful with tools that could get inside the seat of the stone area, but i’m still having trouble in areas where i want to work the grits from coarsest to finest and i can’t find a single tool that can reach them all without adversely affecting/flattening another area. suggestions for polishing like using a toothpick in the flex shaft charged with compound is great, but i still haven’t been able to sand the areas in order of grit before getting to that point!

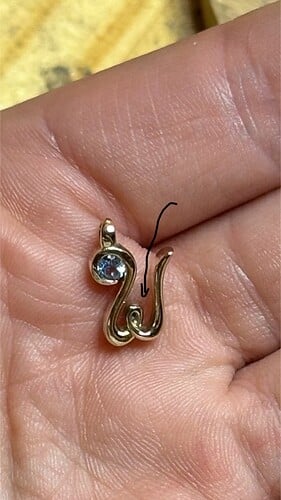
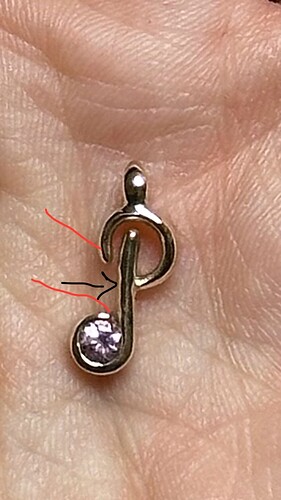
i’ve tried sanding wheels and they’re great since they’re flexible but i end up flattening parts of my curved piece. if i use emery paper on a split mandrel that is best for running around the outside of the curved piece but it’s too thick to fit into the tighter areas. i’ve tried radial discs but those have actually left indents in spaces, you can see the waviness of the “P” charm where the black arrow is pointing, that happened when I was using a radial disc on the parts of the charm i’ve pointed to in red! I don’t even remember what i used that did this to the “W”, but i simply cannot get to the inside portions of this charm and when attempting to, the part i’ve pointed to flattened out in the process.

these charms are printed from CAD files and part of the issue is the growth lines from the 3d print. i feel that i have to start the sanding process at a coarser grit to get these out. i’m using a casting company so don’t have access to the resin before it’s casted to do any kind of finishing work on that first. i’m just at a loss as to how people get into these tight spots! i keep wishing i had emery paper rolls the size and shape of a sewing needle.
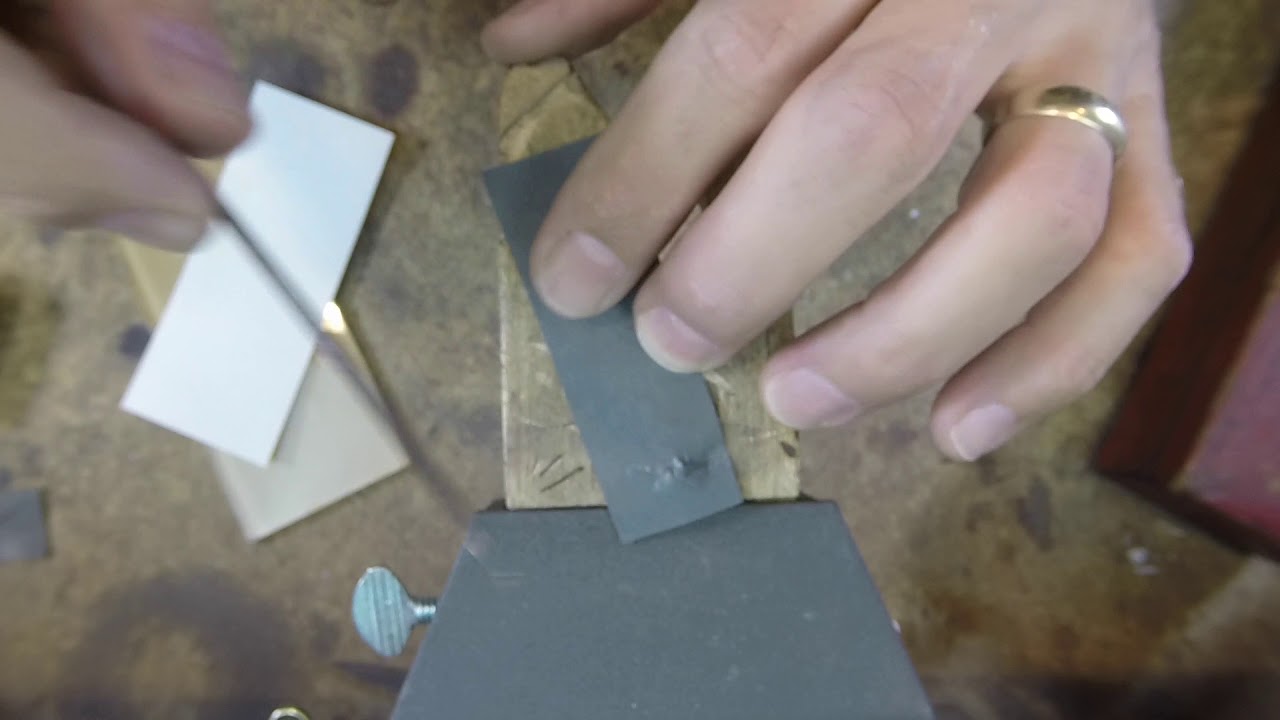
It’s easy to make split mandrels in any diameter you desire by sawing a lengthwise slit into a nail. Figuring out how to make simple tools is an important skill to develop.
You could also get some inexpensive, round needle files and snap off the tip to chuck in the flex-shaft handpiece. This should quickly even out the growth lines.
Abrasive cords and ribbons available from McMaster-Carr range in grit from 120-180, which should be good as the initial coarseness for cleaning the growth lines.

1 Like

Lovely work. You could try cutting a 1/2 inch strip of sandpaper, fold it in half the long way, and put in your jeweler’s saw. It only works for a short time but may be just enough for you to smooth out those places.

1 Like

thank you! i was attempting this but the paper kept ripping very quickly. i recently saw a hack where someone made a mini version of a saw frame out of cross like tweezers, should be good to get more leverage with a shorter piece of paper, i think im gonna try that!

1 Like

the tool making skills are something i’m certainly still developing :relieved: thank you, i’m gonna check this out!

Maybe I’m missing something, but wouldn’t the Jura Tool sanding film that Julie mentioned in this previous thread solve this problem? You can get it in a variety of grits and can cut it down to any width. I use a similar product that’s used in the dental industry.

One other thing that I’ve done in a similar predicament is that I’ve taken a fine needle file that is the right shape, but is too big to fit into where I need it and ground down the outside to get it to fit. Since most needle files have two sides, it’s kind of sacrificing a needle file and making it be a one-sided file, but that’s sometimes worth it.

Hope that helps!!

Jeff

2 Likes

Hi Christine,

You can strengthen the thin strips of sandpaper by backing them with packing tape (duct and strapping tapes work too).

Apply the tape to the back of your paper and then burnish to make sure there’s a good bond. You can then cut your strips. I have an old paper cutter in the studio that I use just for this purpose.

Pam

3 Likes

you’re absolutely right i completely forgot about those strips she mentioned, and somehow missed it when i went back to that thread. apologies, but cant wait to try that!

1 Like

genius!

1 Like

It may be that the type of diamond carving tools that I use could be useful for you too. The finer grits of
220 to 500 are useful for resculpting in very tight areas.

3 Likes

Toothpicks dipped in CA glue then the grit of your choice. You can also look at small ceramic sticks in various grits. Both the toothpicks and ceramic sticks come in a size that can be chucked in a flex shaft handle or a pin vise. Butchers string with various compounds applied to it also can be worked into small spaces. You can also cut thin strips of abrasive media and attach it to your saw frame the same way that you would a blade. Lots of good ideas in this discussion and they don’t all have to be a special tool, just one that works. Good luck…Rob

2 Likes

If you have an adjustable saw frame that you can make smaller, that may help. Another idea is to put some double stick tape on the back of the sandpaper and fold it in on itself. That might make it too thick but worth a shot. Hope it goes well!

1 Like

Hi,

if you do not have any yet, i highly recommend escapement files. they are a smaller size down from needle files, and come in coarser cut 2, 4, 6, and finer cut 8.

i have many escapement files…each in all the cuts:

if i were to recommend the first few, i would say:

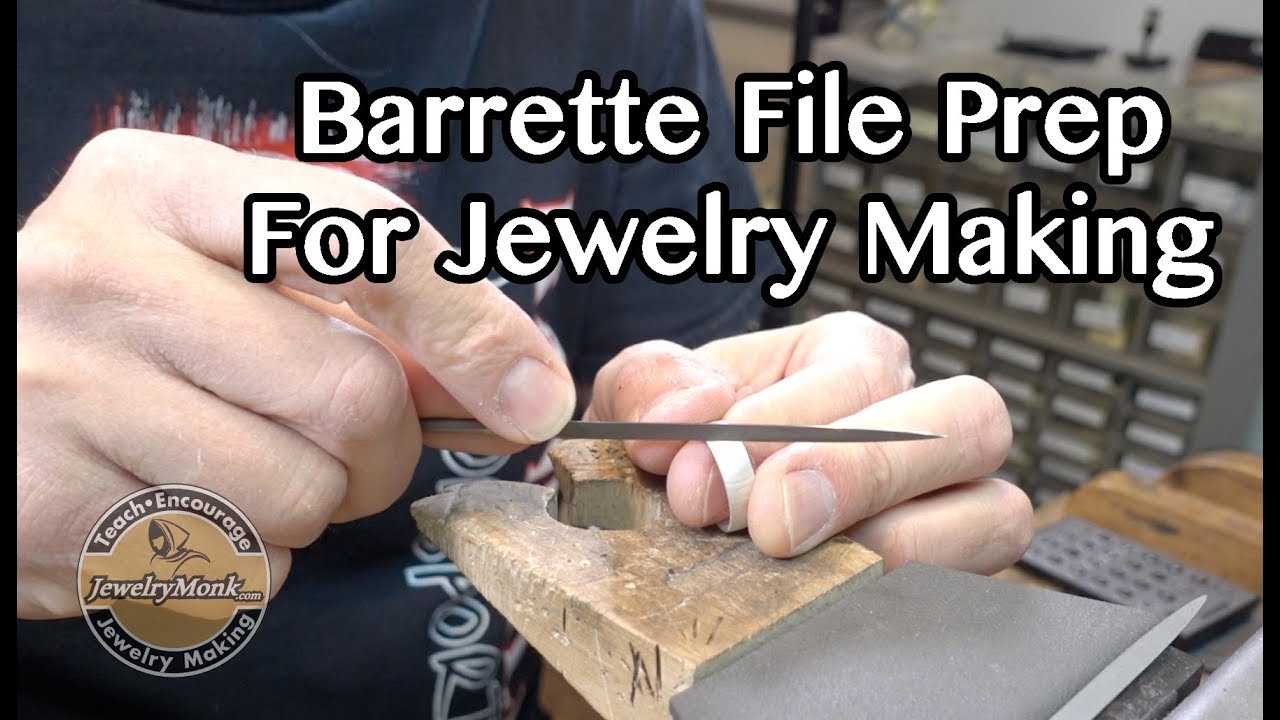
barrette files (with and without safety edges you later polished on) in each of the cuts (if i could only recommend 2 i would say cut 2, 4. ok…and 6 haha! and 8 haha!)

when you grind/ polish down the spine of the barette it gets thinner and can fit into smaller areas and without gouging/ marking up other areas…

tapered round file- cut 2, then 4

square- cut 2, then 4 (polish one side down as safety edge

then if you want more:

half round file- cut 2, 4

and then get finer cuts 6, 8 in the ones you already have

it would be cheaper to buy these specific ones/ cuts than buying ab”set” that has many you may not “need”…they run around $15-18 bucks each…or $$$ for sets of 12.

there is also one that looks like a flat file, with parallel rounded sides…great for grooving out grooves for prongs…i forget the name…jointing? great investment in a few widths…i recommend 0.8mm, 1.0mm, 1.2mm (side width)

i work small and use these files more than any other larger files (ie: needle, hablis, hand files) or any flexshaft attachments (burs, buffs. wheels)

(and i am afraid to say i have bought almost every kind in past attempts to problem solve as you are doing)

then i would move to emery paper…folded to size and firmness…with balsa wood for added firmness….strips…etc

also, when cleaning up round wire tupetype ahapes, remember to shaoe progressively…like if you were taking a square wire to a round wire shape…be systematic in your metal remival to maintain a round ahape…

search escapement file…you will have to search to get all the grits…try artco.com

julie

1 Like

thank you so much, I definitely was not aware that escapement files were smaller than needle files, so I thought I had these already! Ordering asap.

Hi,

and although pricey, you can also modify to your requirements…

ie: grind the “top” of a square file (to make a narrower flat file)
or a round file (to make narrower half round) down to make thinner…to get into really small spaces…can grind the narrow tips off to get broader end…

not that i recommend this, but you can modify tools when you need something specific…like shaping silicone points…

julie

i don’t have a bench grinder, but i have diamond wheels i bought to shape gravers (though with little success :joy:) can i get away with these for shaping files? what do you shape silicone points with?

Hi,
or even just heatless mizzy wheels in a flexshaft…always good to have…

use the diamond wheels to polish the safety back after grindin with mizzy wheel…

ie: …top spine of barrette escaoement file after grinding

…one flat side of square file after grinding

…the side of the barrette file (if you carefully kinda “take off” the outwardly angled teeth on side edge…so you can safely file prongs without filing stone when the file edge rides on stone…ie the edge doesn’t cut…if that makes sense…test execution on an old needle file perhaps…so you see what i mean…maybe there us a youtube video

julie

1 Like

Hi,

oops! pisted below on wrong post haha!)

i was suggesting polishing strips…

julie

Hi

so, generally speaking, safety edges are put on so that adjacent sides of the file dont cut into someplace you dont want it to…

ie: when using a square file in a corner, only one side is cutting, while the other side is just riding on the surface helping to maintain 90 degree corner…crisper than if both sides were cutting

or when using a barrette file in a corner, the adjacent side wall isnt getting gouged by the inside edge of the barrette

for “dressing” silicone wheels and points, you can use an old file, or dressing wheel sold for that purpose…or anything thst will grind down/ shape the point…i try to be mindful if not using something that could break off and embed in the silicone…like emery paper…

julie

1 Like

Have you considered actual sewing needles? They come in a ton of shapes and sizes, are relatively cheap, you can use the glue trick for grit on the sharp end or the hole on the thread end to slide in and wrap a bit of 3m paper/ tape backed. They last decently with the exception of the incredibly tiny 15/0 beading needles.
Good luck with your projects!

Joan

2 Likes