Three topic techniques in one essay & very easy to read!
(This is more of a pictorial-teaching essay, I’ve kept the text to a minimum.)
If any words of paragraphs deem to be important to you, I have ‘bolded’ that section.
I am stressing that these new setting techniques need repeating even in between two paragraphs, why so? These have to be mentioned again, as they are too important to miss!
These topics also needed these very same pictures to better explain all of the subtle setting techniques. These are still in ‘my archives’, so why not use them again? Many of these photographs being shown were used in previous essays.
Three, Mini-topics:
1 => Modification of a Bead-Burnisher!
2 => Modifying a 77B, Cup-Bur!
3 => Making the Four Claws on a Princess setting, look almost invisible!
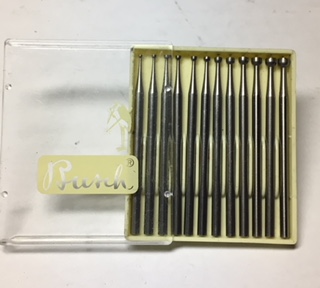
What tools will you need?
I will keep the list of tools just very ‘basic’.
1 => Oil stone, “Fine India” grit preferred.
2 => Triangular File, Grit #4, 8 inches long, or 20cms.
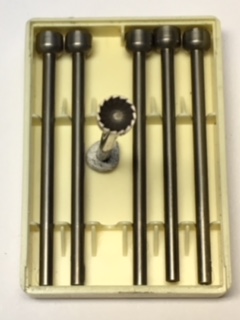
3 => Pumice wheels, #180 grit, Flat-faced.
(additional tools are displayed, where warranted)
This essay will cover two examples of ‘modified burs’. These two burs are easy to modify, but these will literally change your setting problems from difficult to easy. The only extra tool you need is an ‘oil-stone’ just to make these simple modifications.
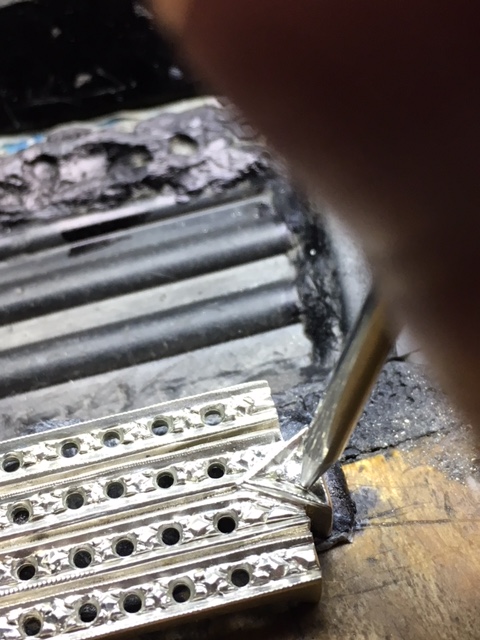
Last topic is to demonstrate “How to trim the large “VEE” shaped claws on a Princess stone!" I need to make these claws look almost invisible. I will show you all of the ‘before & after’ photographs, as well as the many problems you might be having difficulty with. I am very sure you did have a few!!
ESSAY NUMBER ONE:
“Difficulty Scale out of 10” Rating of only 3/10!
All of these photographs are with ‘staged’ demo-rings, under proper conditions all rings would be held in a ring-clamp!
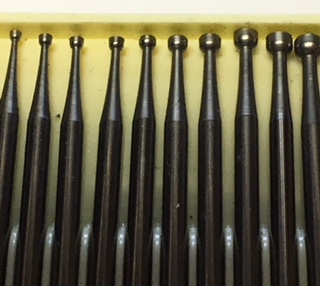
My first item is a “Bead-Burnisher”, this tool was aimed to ‘round the Pave’ beads’, but the problems can be very expensive. The problem is that you just can’t burnish your diamond set beads while setting soft stones, such as Emeralds!
With a little alteration to this burnisher, you can now ‘finish your stone setting’ with no chance of any stone breakage.
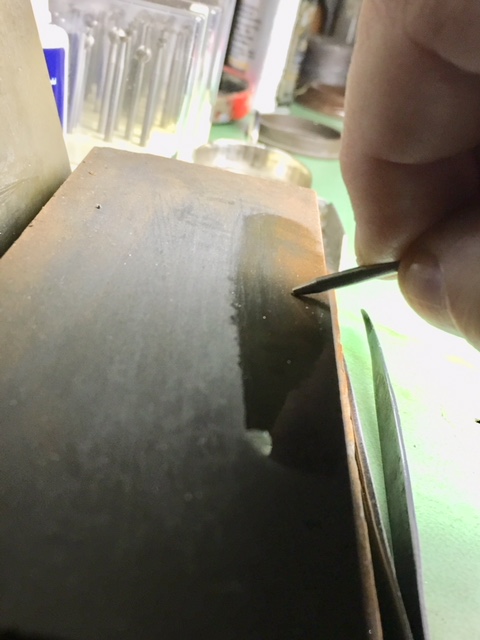
The steel burnisher will never make any contact with the stone while in this ‘rounding’ stage. Therefore you are removing that tip of the tool, but still a well-functioning tool.
Under ‘normal’ circumstances when you are finishing bead-burnishing, you have to literally avoid in having the burnisher-rim get too close to the stone. The “stone will incur the wrath of an angry diamond setter!”

You were having a problem in not wanting your tool to touch the stone. Another problem was that your burnisher was kept always at a “45-degree angle away from the stone”. With this subtle & slight alteration, you can get your bead-burnisher to be now held in a ‘near vertical’ position, with this method, no more broken stones!!
I actually like this ‘modification’! It now allows me the setter, to burnish beads of all sizes that are common to the day-to-day setting projects.
Essay number TWO:
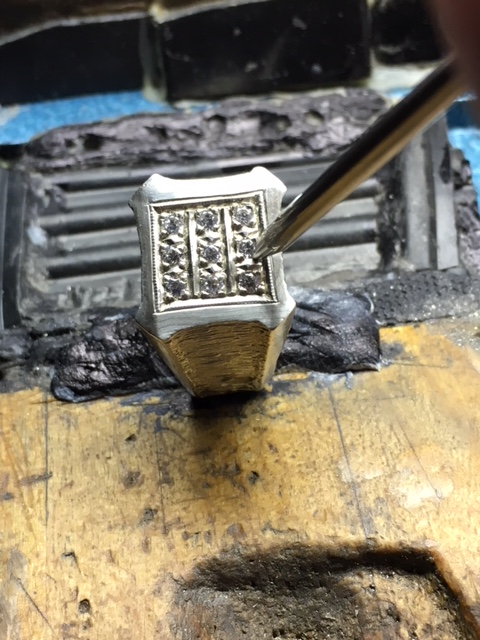
Rounding a claw to look like a little ball, can now be created with so much less effort!
** Your 77B, Cup-bur is all you need, but with the “tool-shop bought” configuration as it is, can cause some problems, what are these?**
“Difficulty Scale out of 10” => rating this at 4/10!
A =>Being unable to shape the claw-tip that is touching the “Crown & Kite Facets”.
B =>Attempting to round the claw & leaves a little “dish” on the outside of the claw.
This was caused by leaning the bur beyond the required 45degree angle from the vertical angle of the claw-tip. This is also caused only by the ‘rounding of the claw’ as the setter is now over compensating in the ‘rounding’ process. That bur is literally digging deeply into the back/outside side of the claw & ruining it, plus it looks very unsightly, to say the least!
C =>The 77B-bur is now grinding INTO THE CLAW! This can be an awful mess in the repairing, time wasted, reduction in the metal around the claw. Not to mention over-polishing and loss of security in holding the stone. This problem can be now avoided.
D =>Being unable to do a “final trim” with ANY file on the inside of the 6-claw head. This is also a problem also with the cluster-top claws, of any size.
The solution is so-o simple! I’m keeping this text to a minimum, but showing you the simple method in making your ‘trimming’ so much more aesthetically appealing.
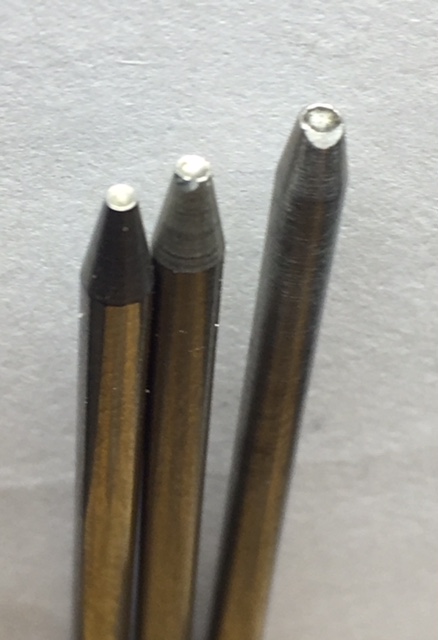
How is this ‘bur restructuring’ accomplished? Use your oil-stone, as seen in the photographs, let the rotating bur cut gently on the stone, use ample amounts of oil.
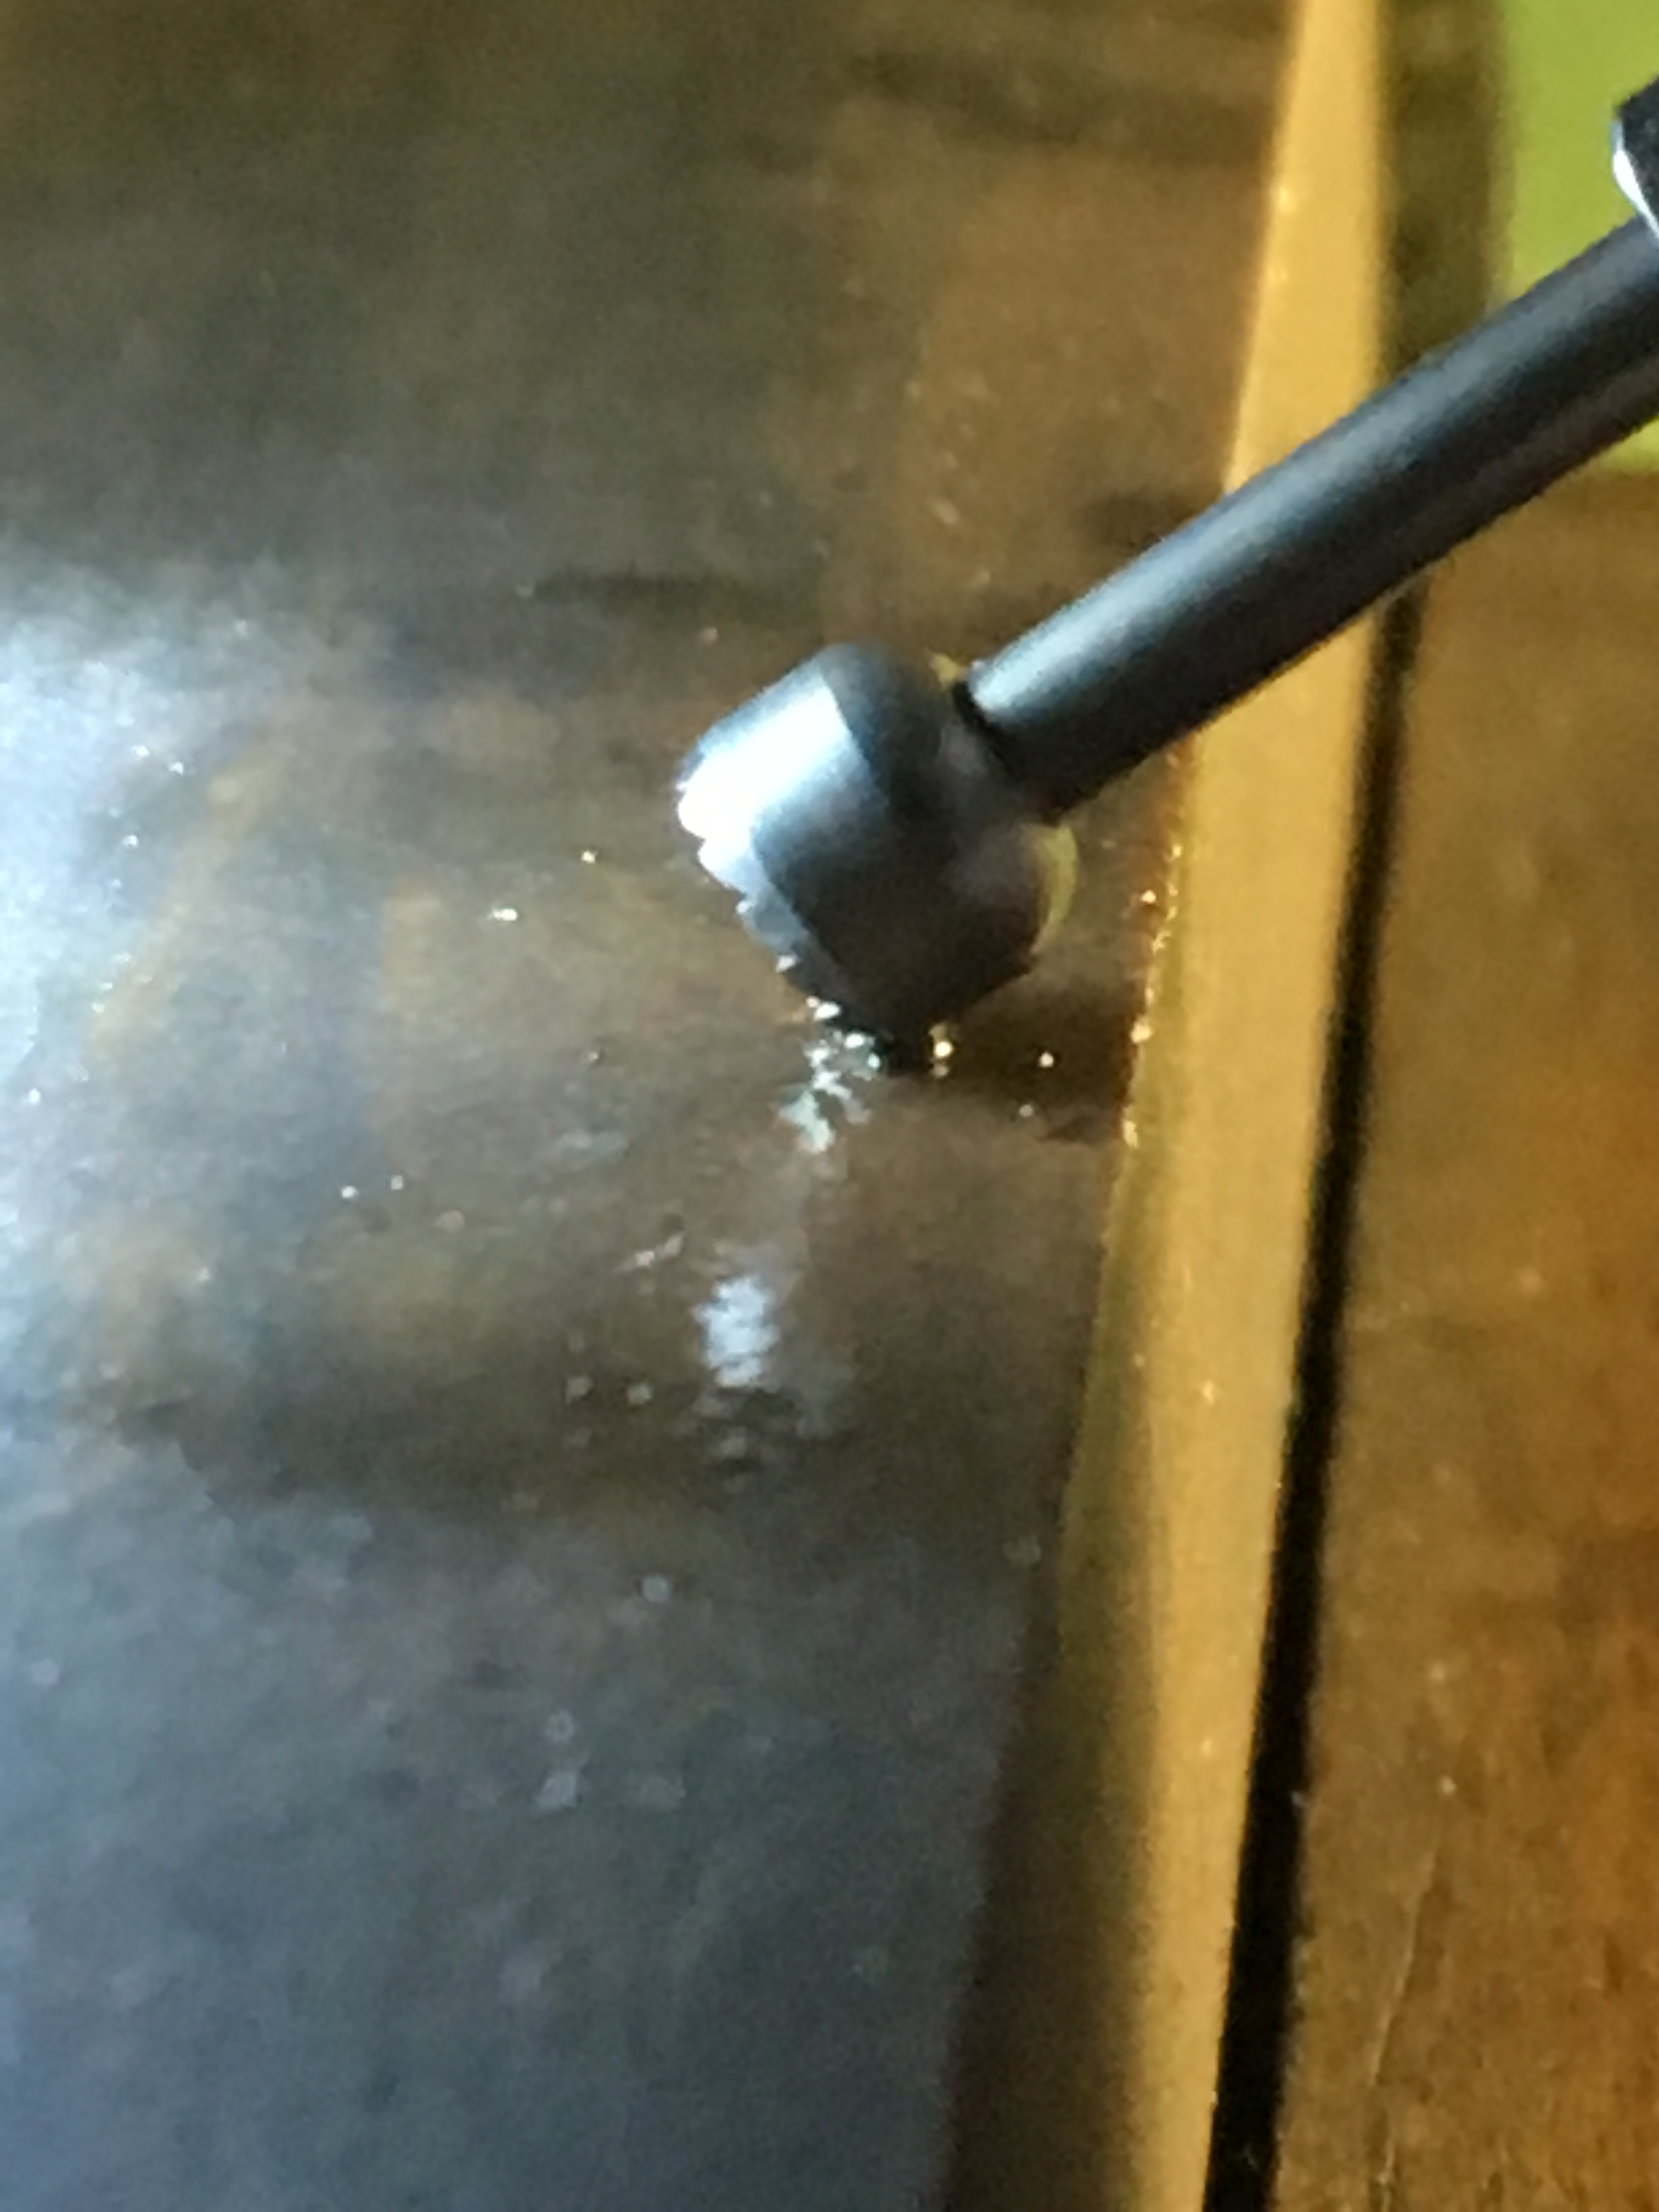
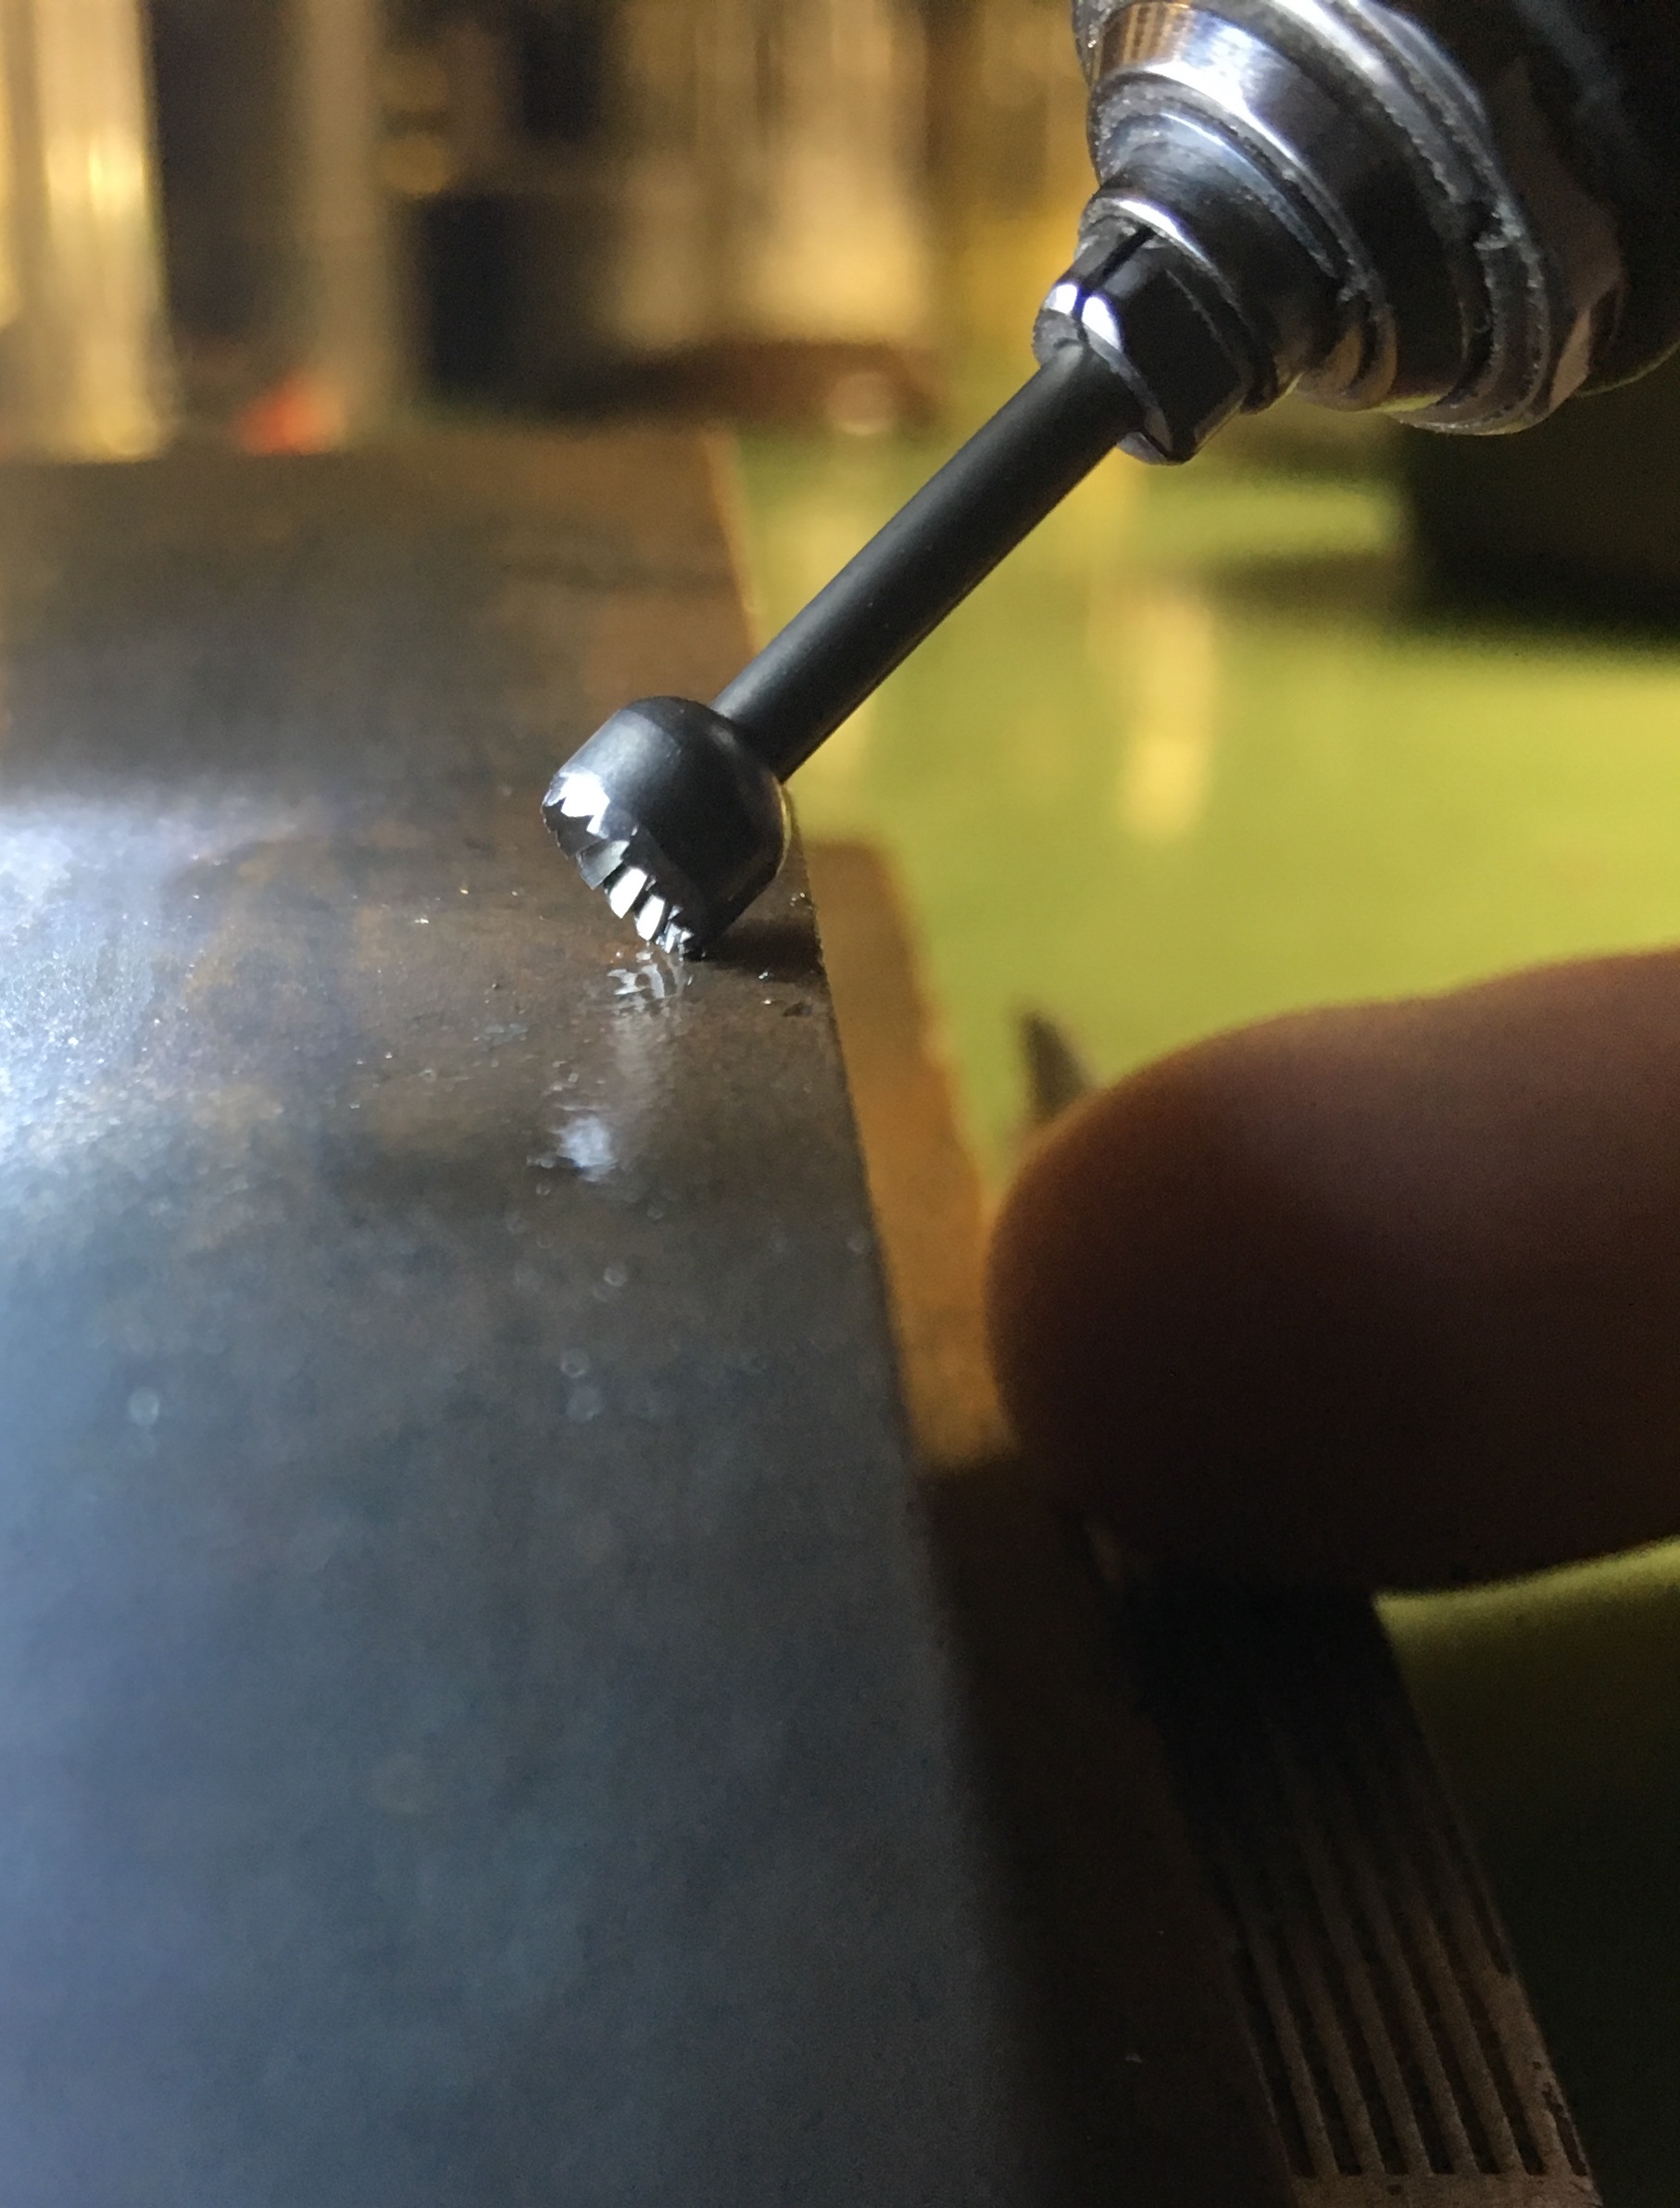

Observe the angle of the rotating bur while on the oil-stone. Finally keeping the claw structure in near pristine condition, as this is just what you really want!
Move the rotating bur along the stones’ surface, if not, you’ll actually dig a hole into your stone! Study the photographs, observe the important angle on the bur.
What you are doing is bringing the teeth ‘towards the outside’ of the 77B-cup.
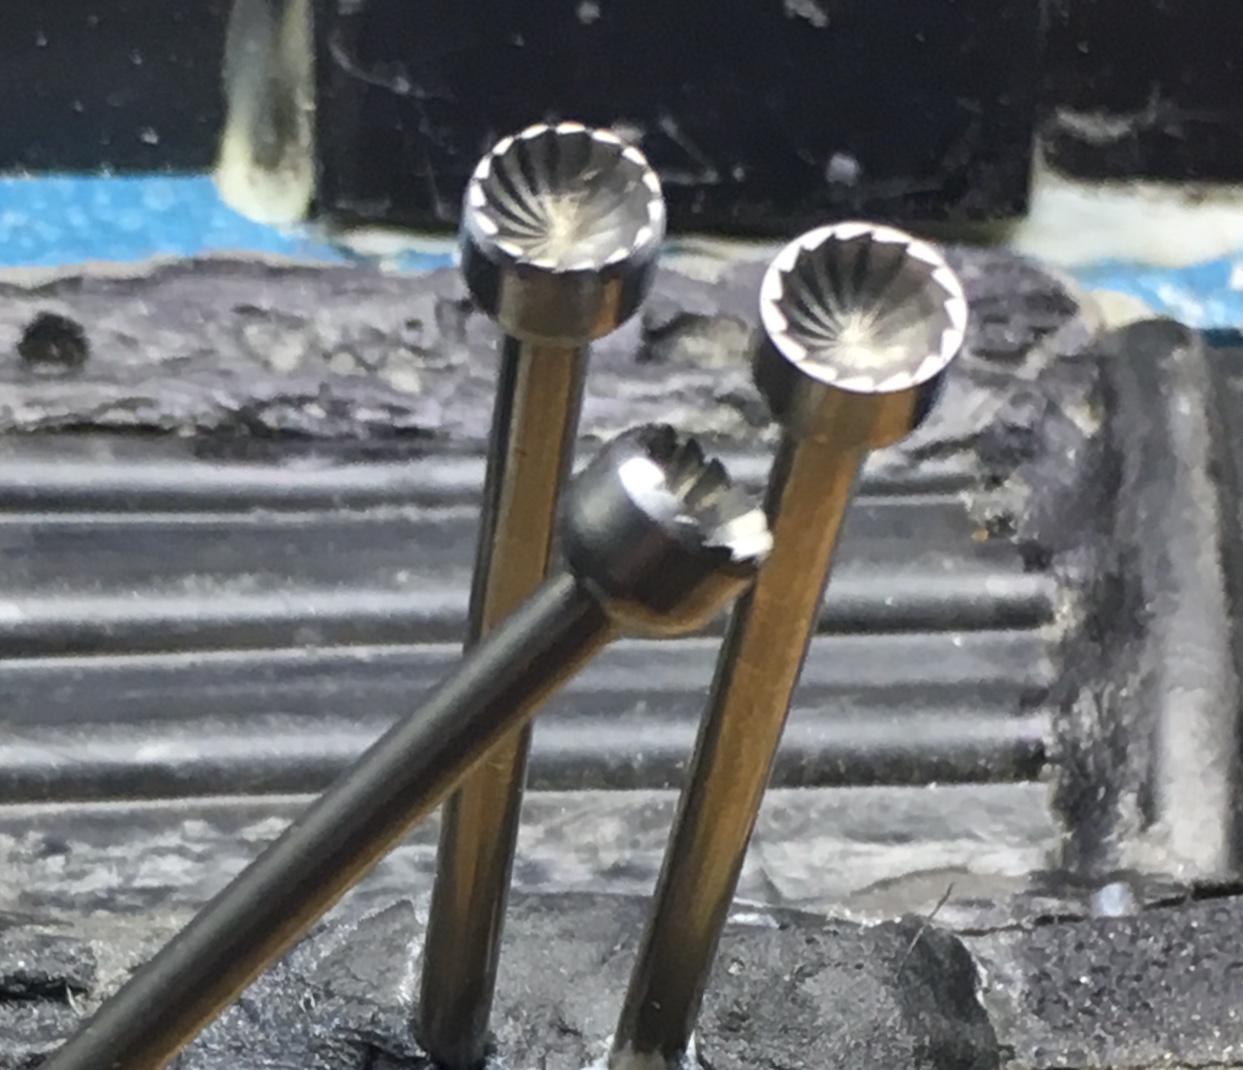
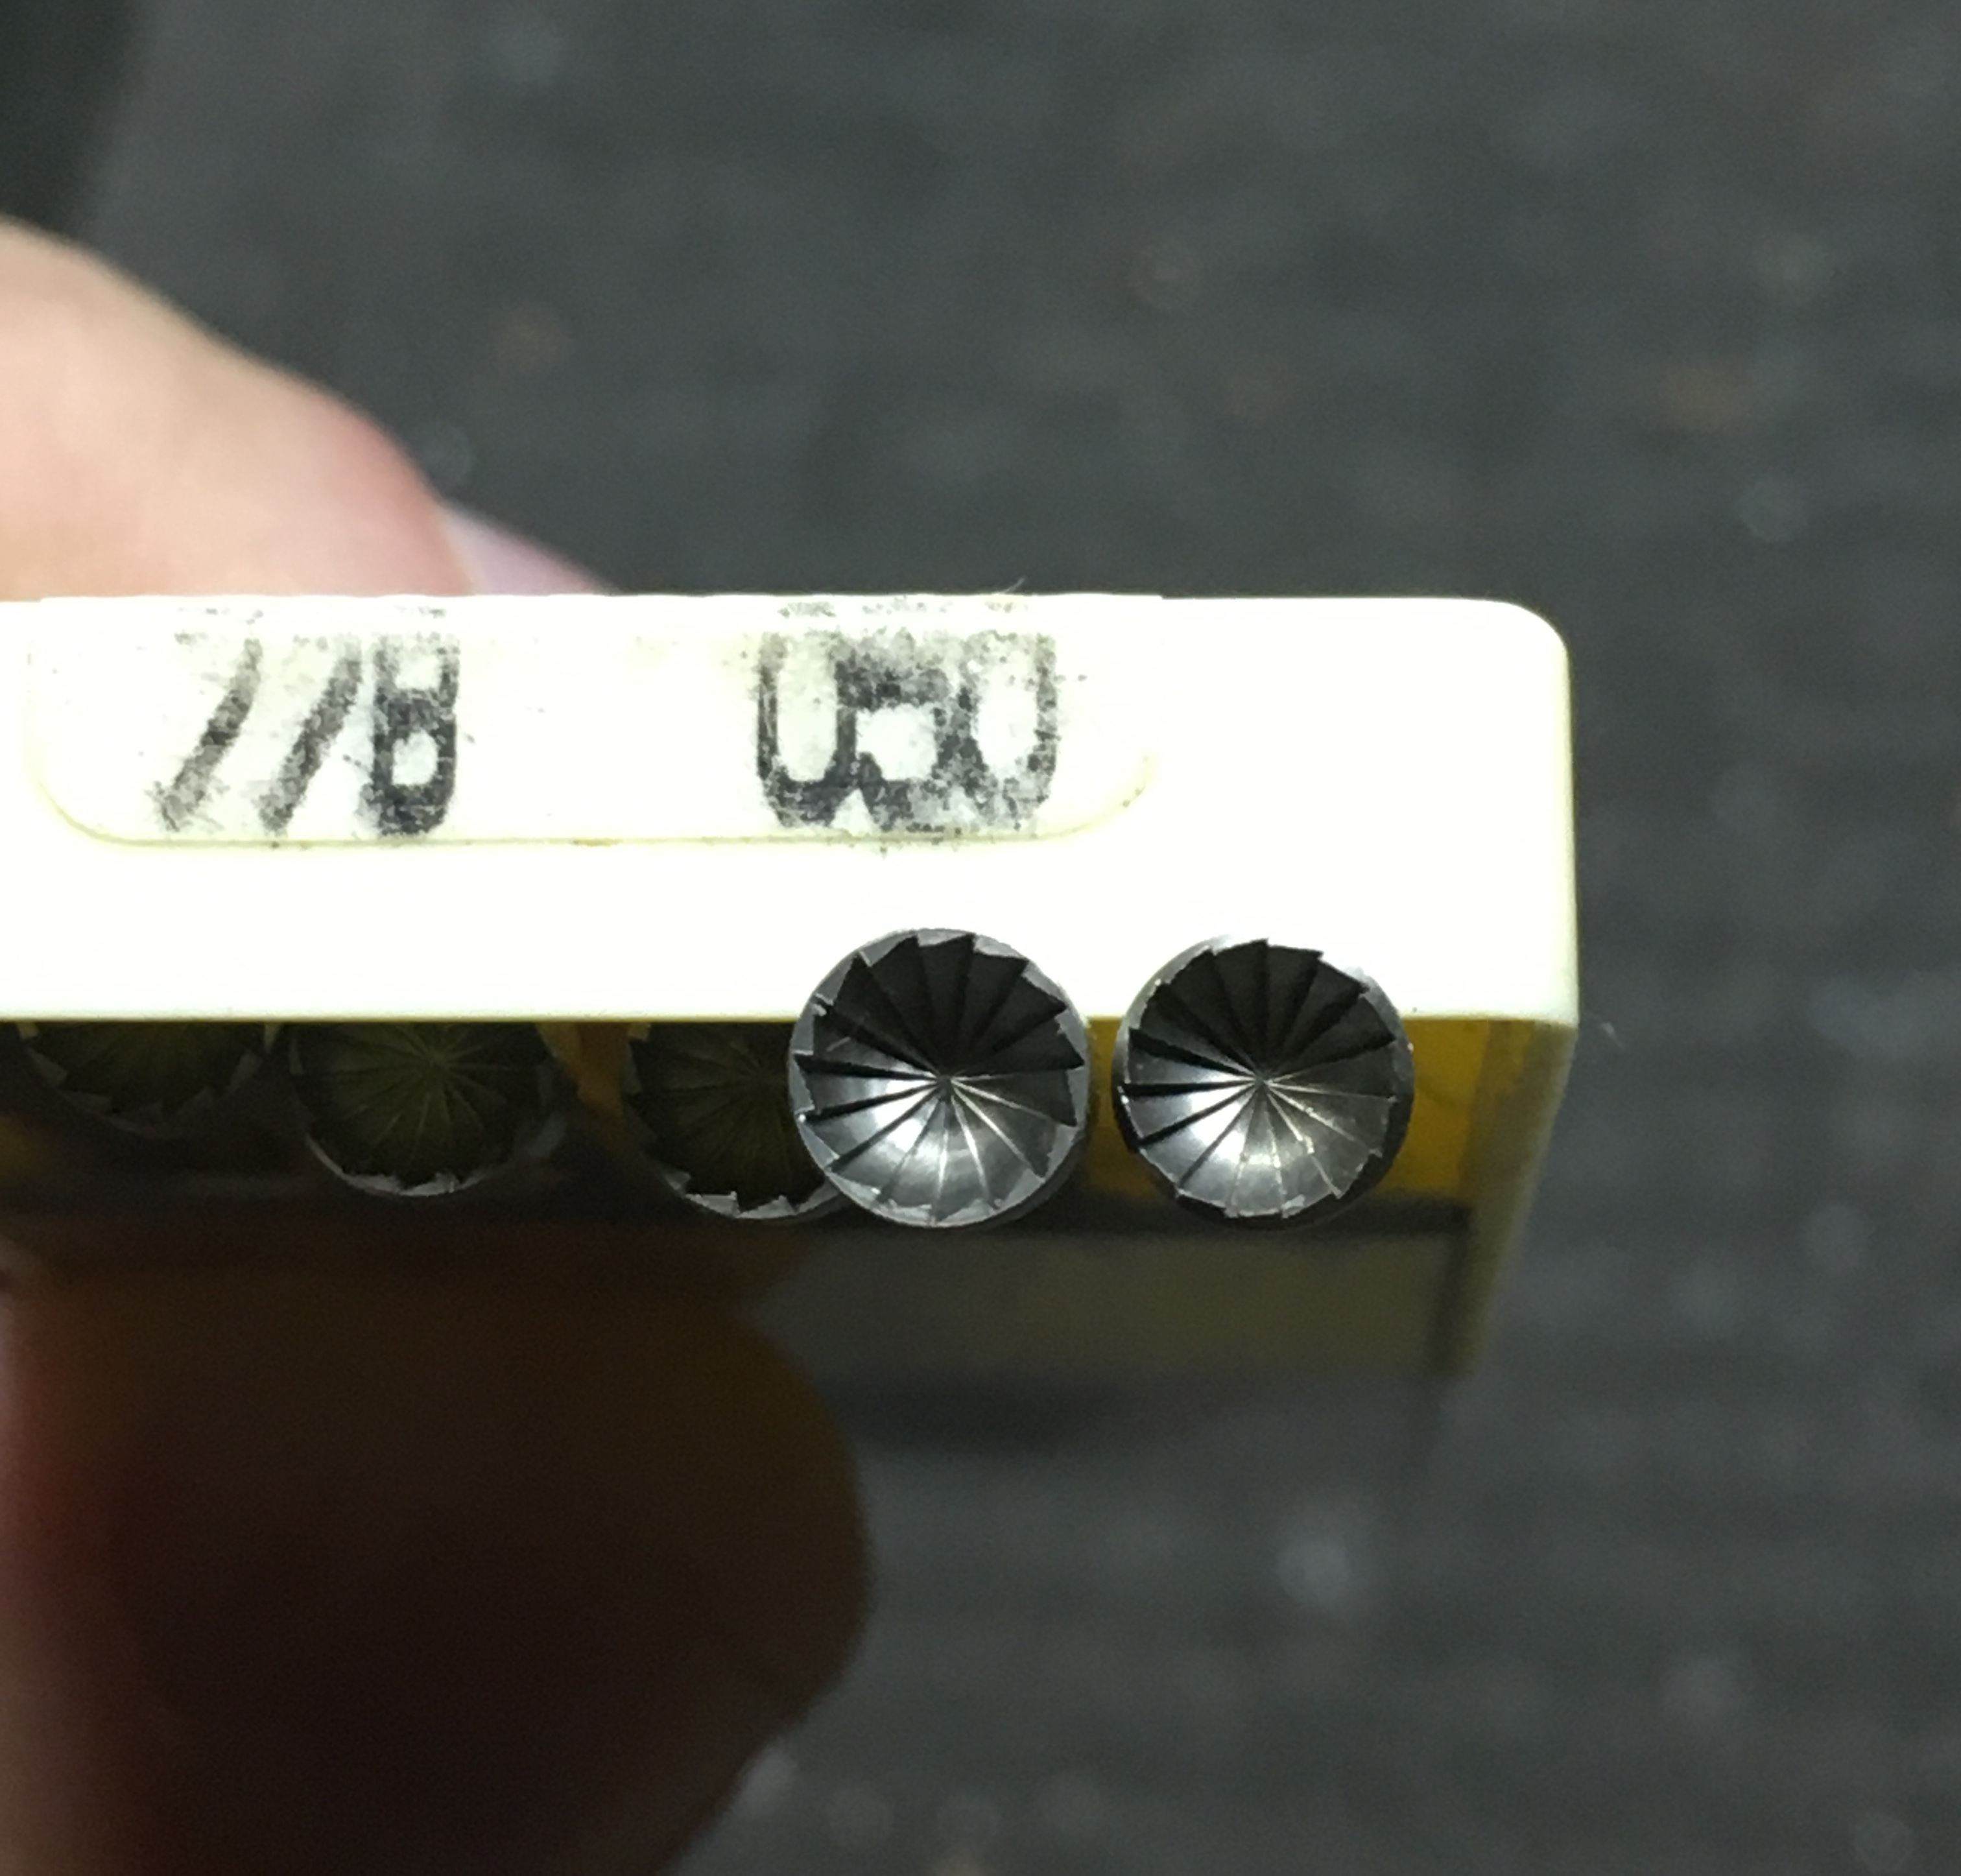
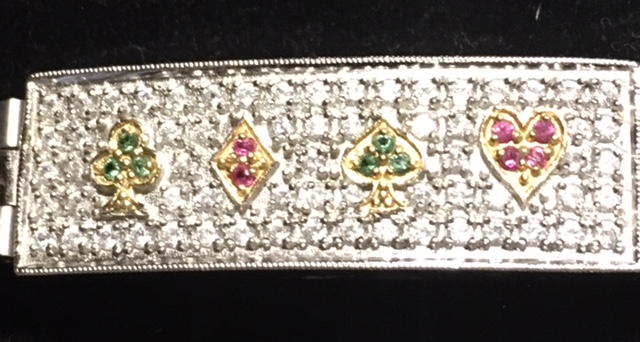
I am showing many photographs of different claw thicknesses and heights. From the ultra-small in a bracelet to the very large claws holding a Princess stone!
You are eliminating that unnecessary thick wall between the ‘teeth’ that the outer shell, this was preventing you in making contact to the inside of the claw!

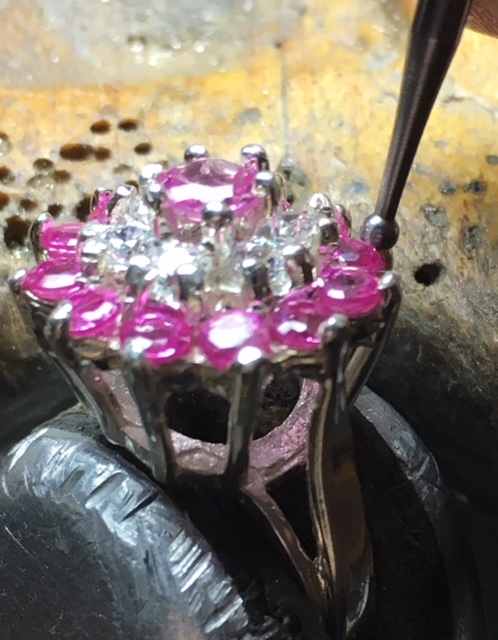


Examine these photographs closely, this additional “Tool Restructuring Method” will make your final setting so much faster & makes it look just…‘fantastic’!