Using 'Poetic Licence" I will reprint an article that appeared in the recent in the MJSA-May issue! I will change one or two words, from “Third person” to “FIrst person” only where necessary. I will also add one more photograph of my graver. This will be a very detailed technical essay. Many aspects of this essay was not printed, because of space in the one page of the magazine, pity!
Gerry Lewy of Gemz Consulting in Toronto has dedicated his life to perfecting the art of setting stones. “All through my studies, I’ve learned the importance of having a nice,clean edge on his settings and with the right tools needed to achieve that.”
In my practice I’ve relied upon a series of gravers to do my cutting work, with much modification. “Tool suppliers sell gravers, but they’re very, very thick.” In order for them to be suitable for my Bright-Cutting work, I must modify each & every graver before that graver even touches any of my metal.
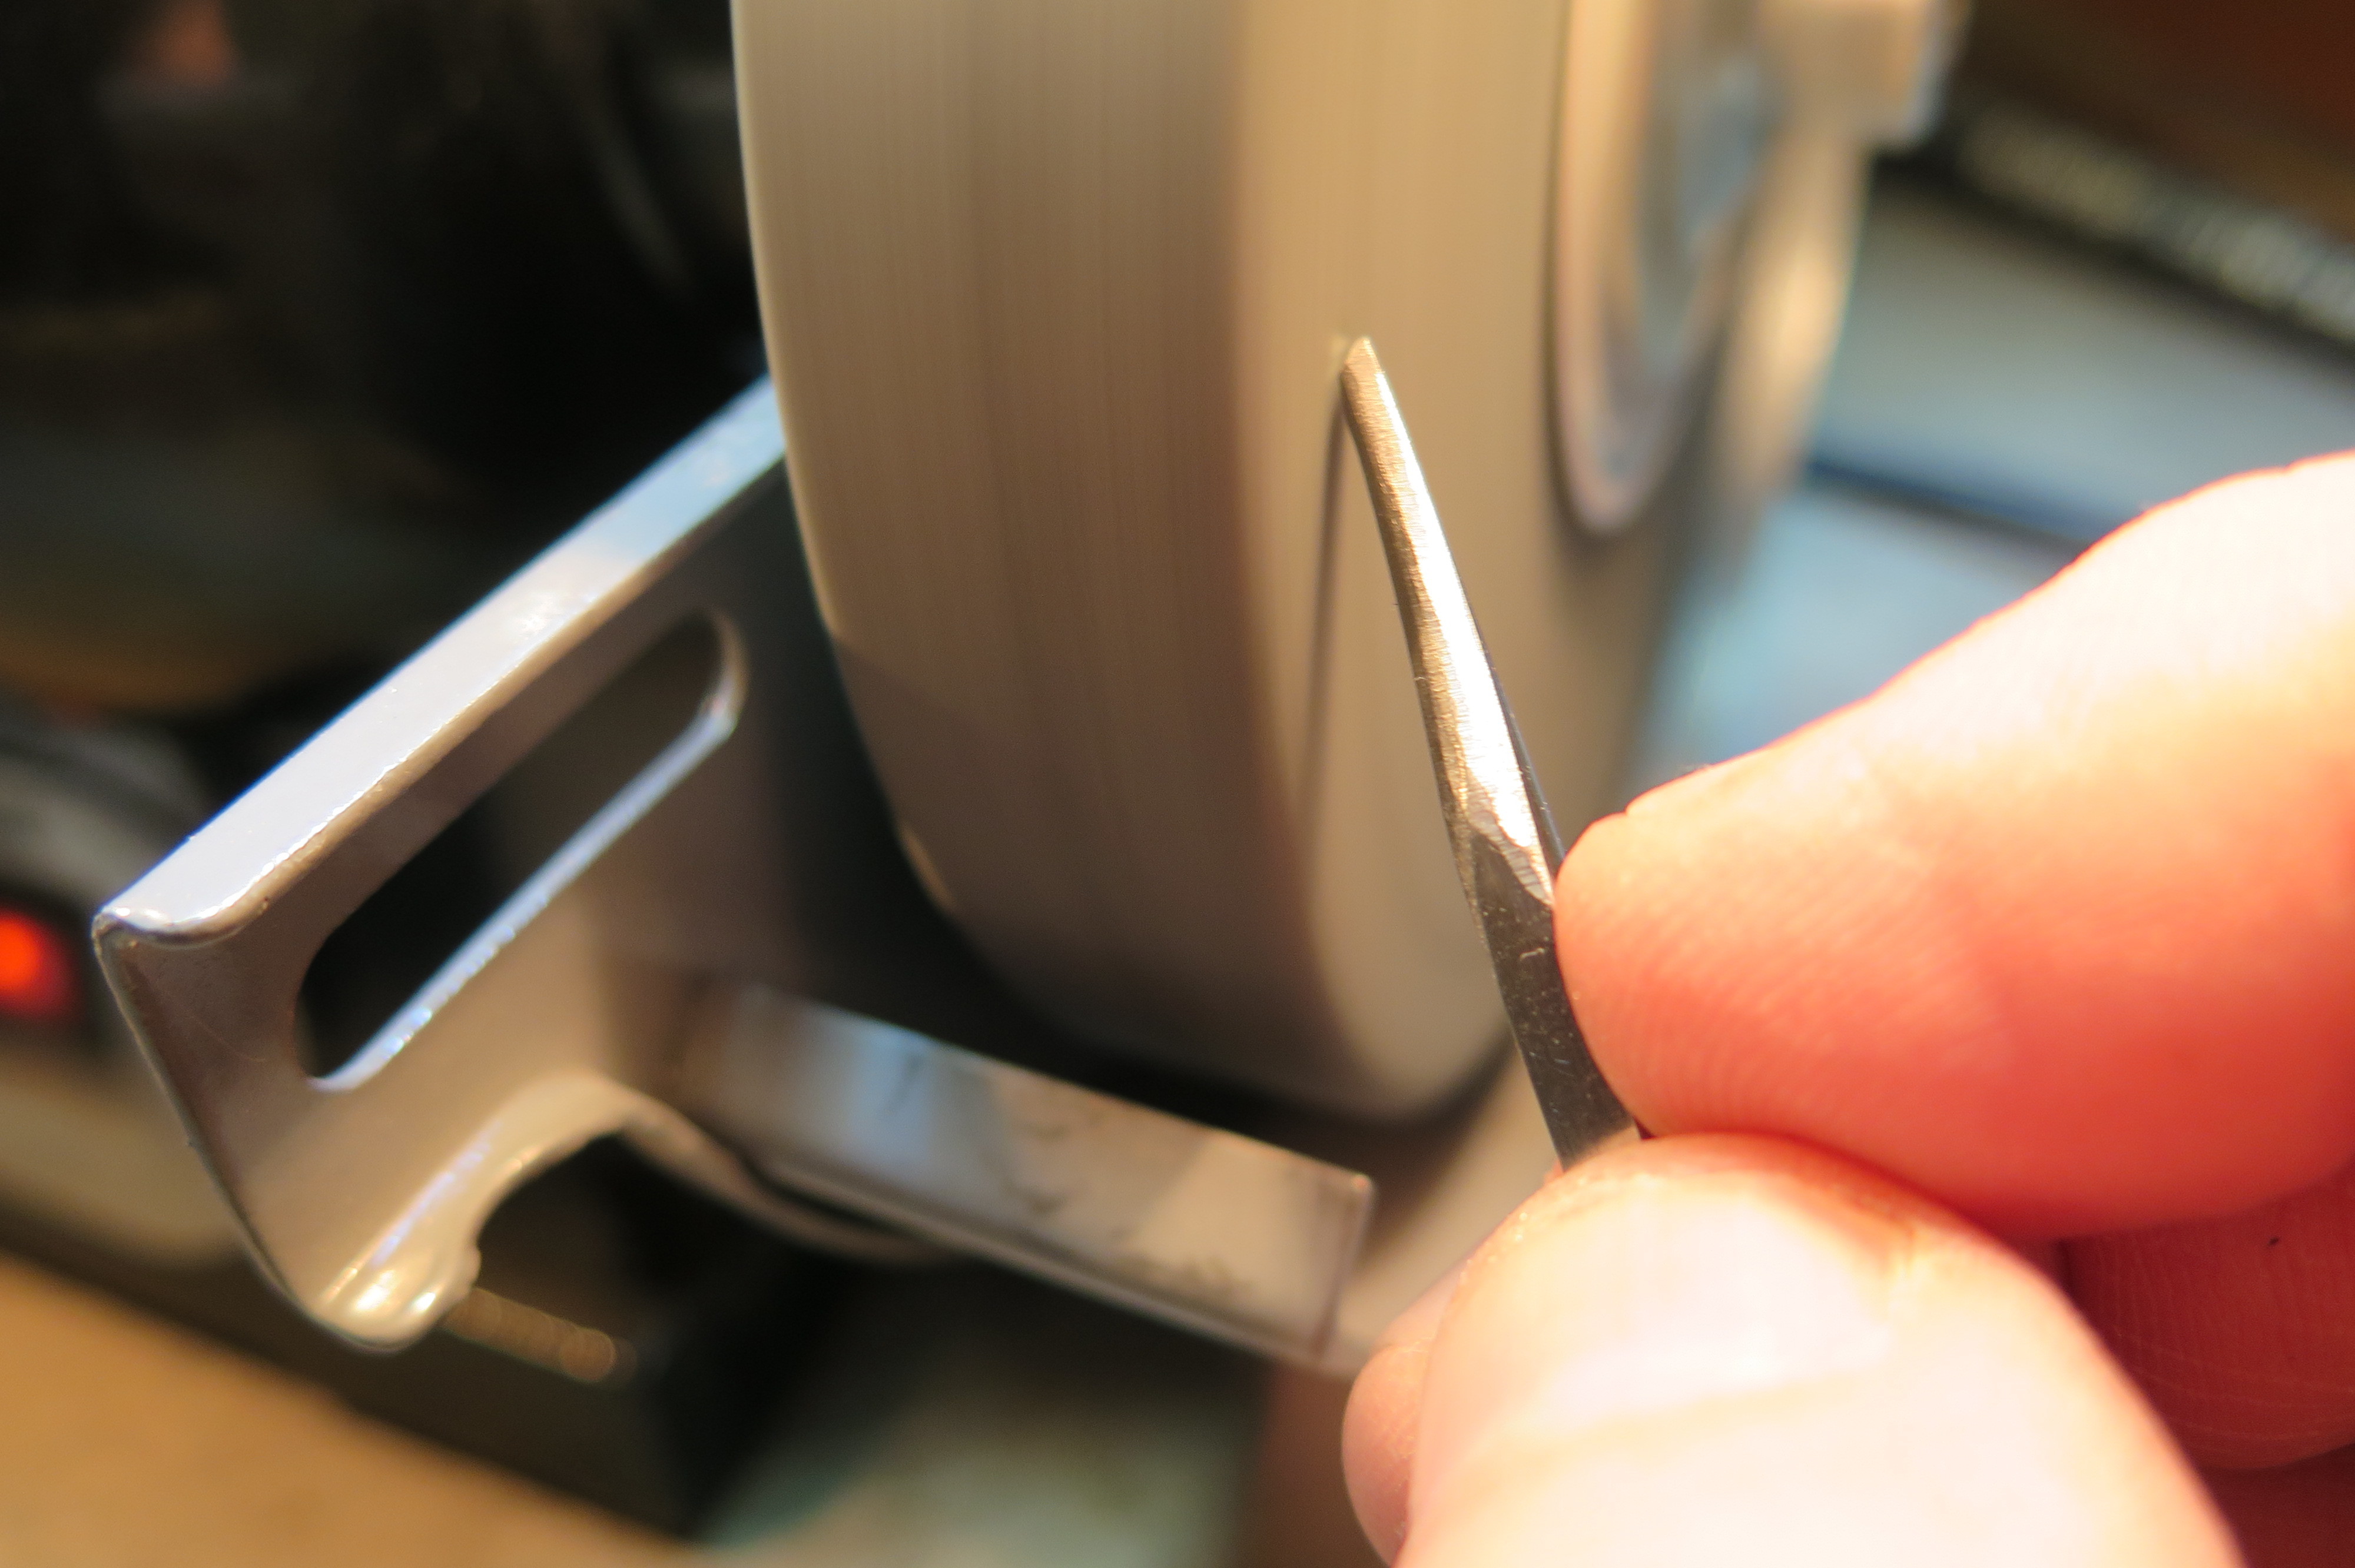
I start with a standard onglette graver (#1 or #2) & begin the shaping process. I begin with the bench-grinder because of the amount of metal that must be removed, I estimate to be about 50% of the material of that specific tool. I grind & shape metal from the tip of the graver to the highest point of the graver face, creating a sharp angled face
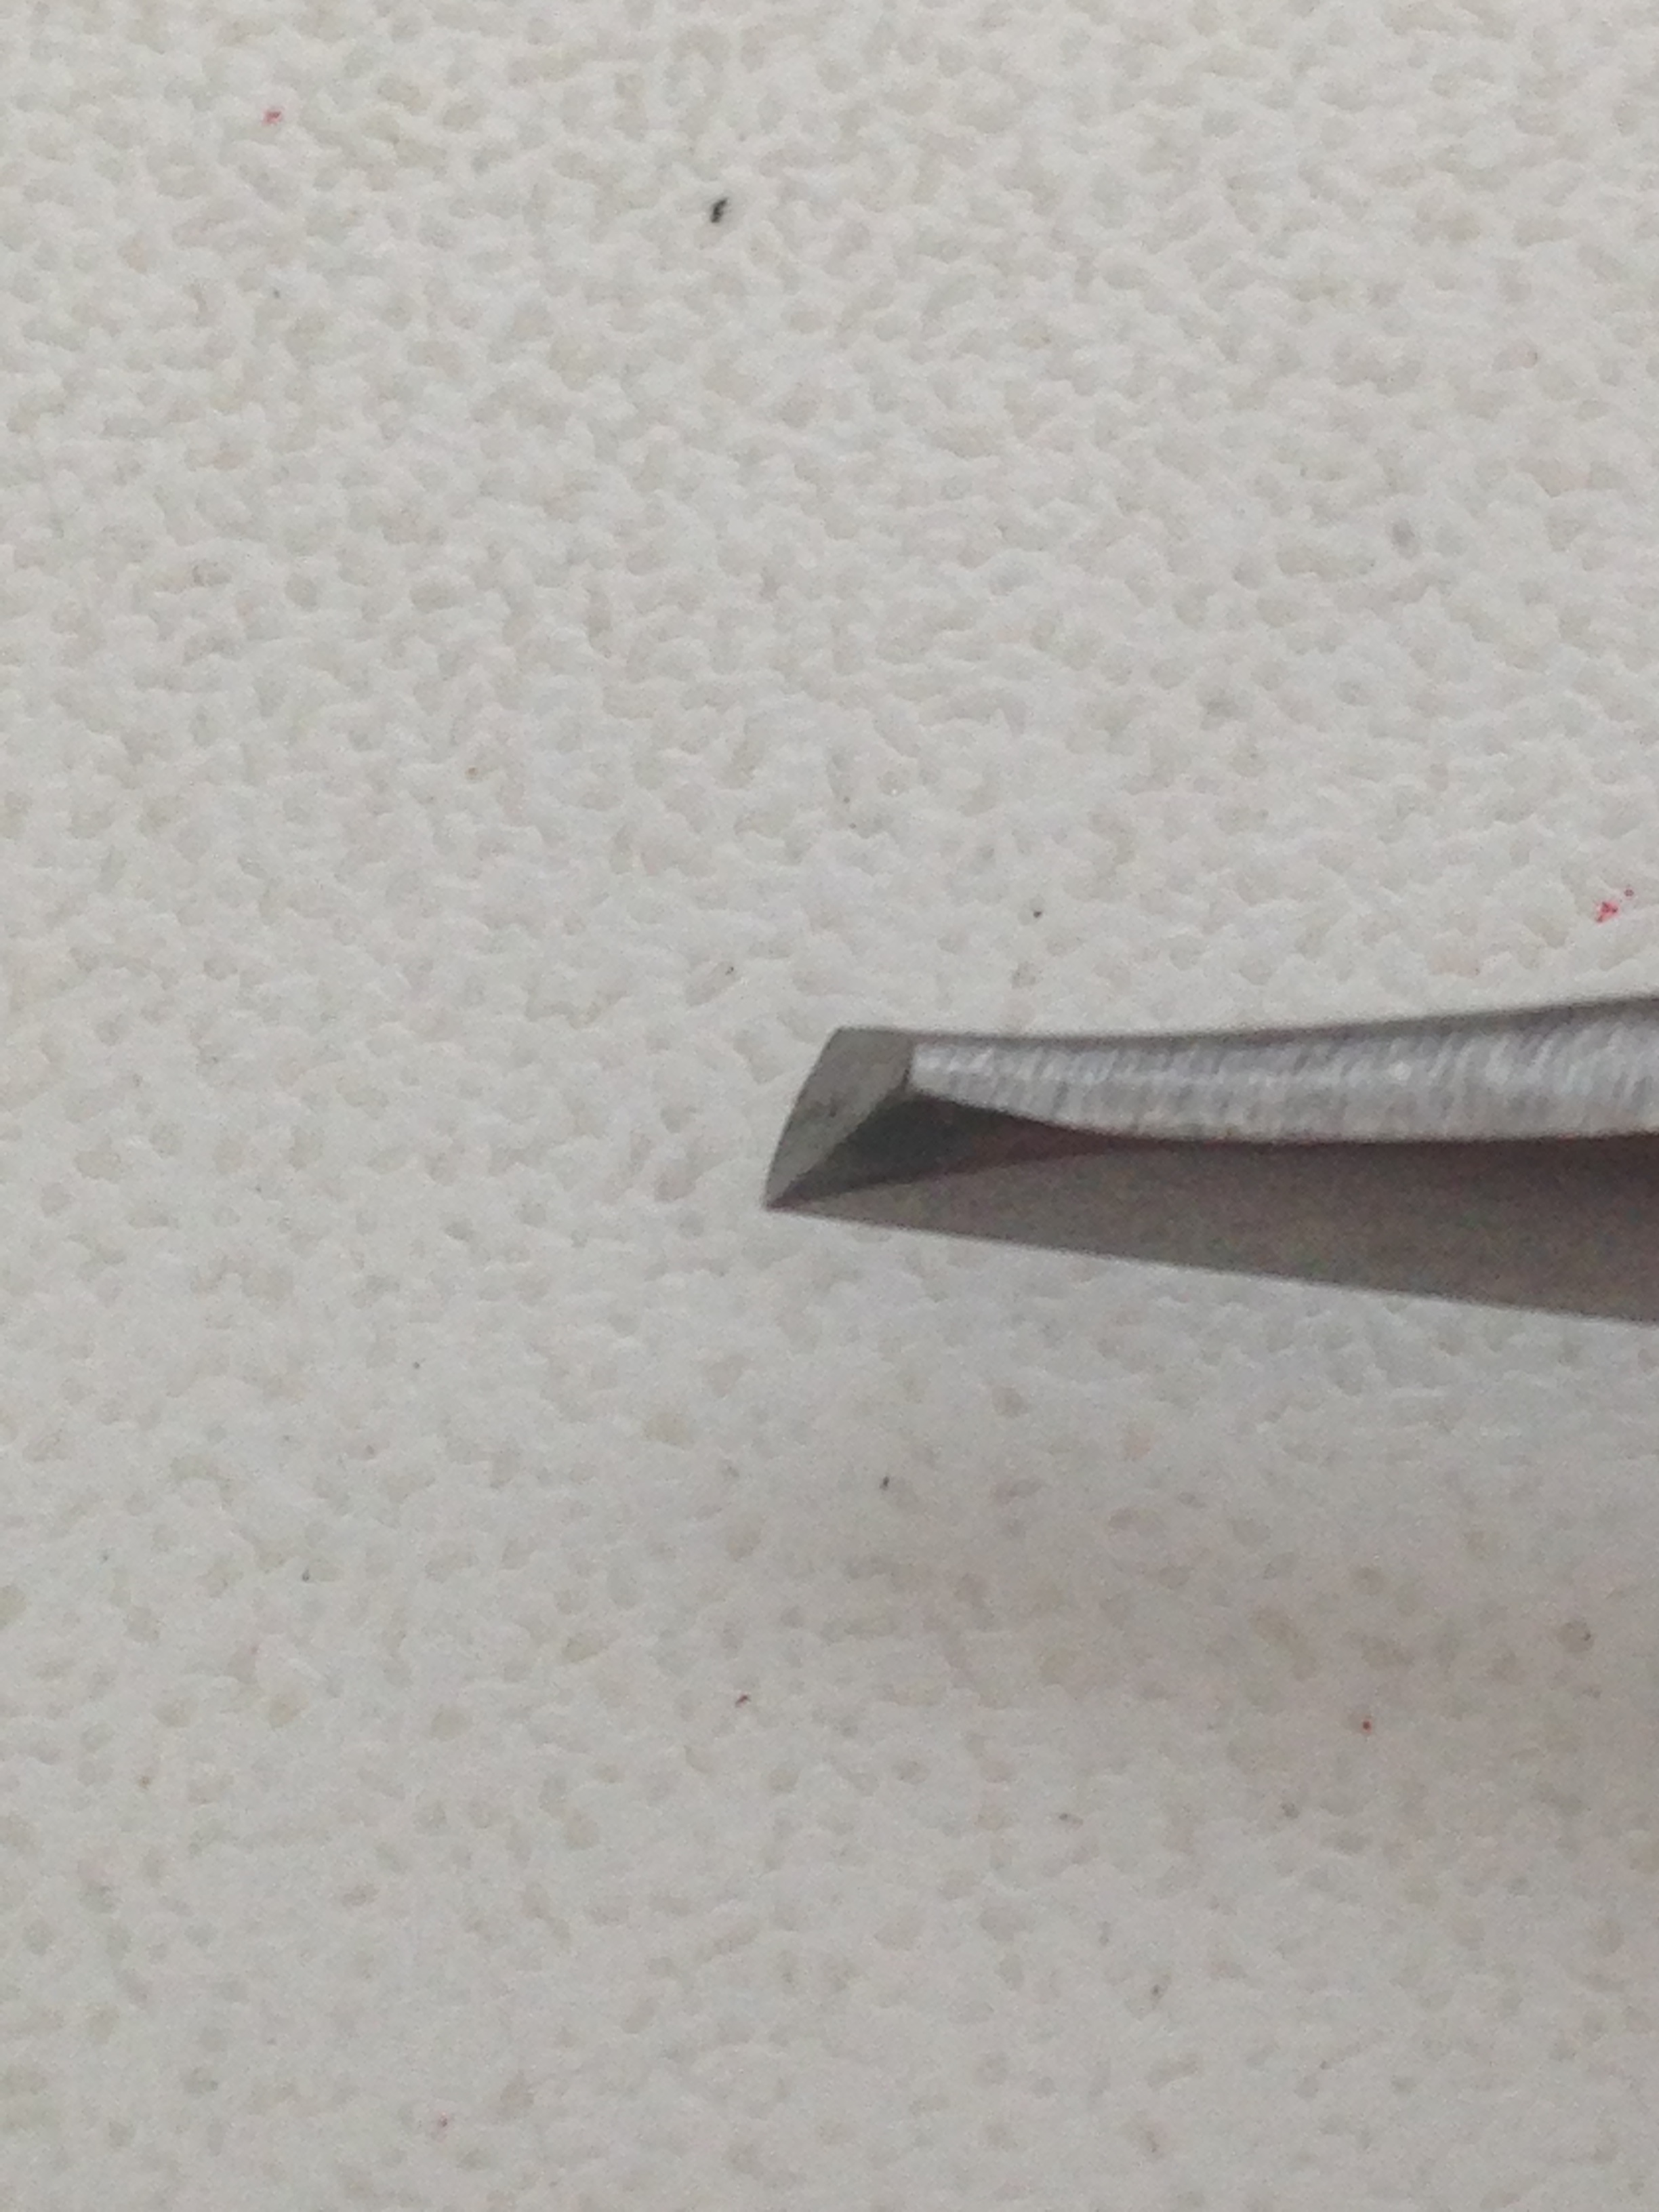
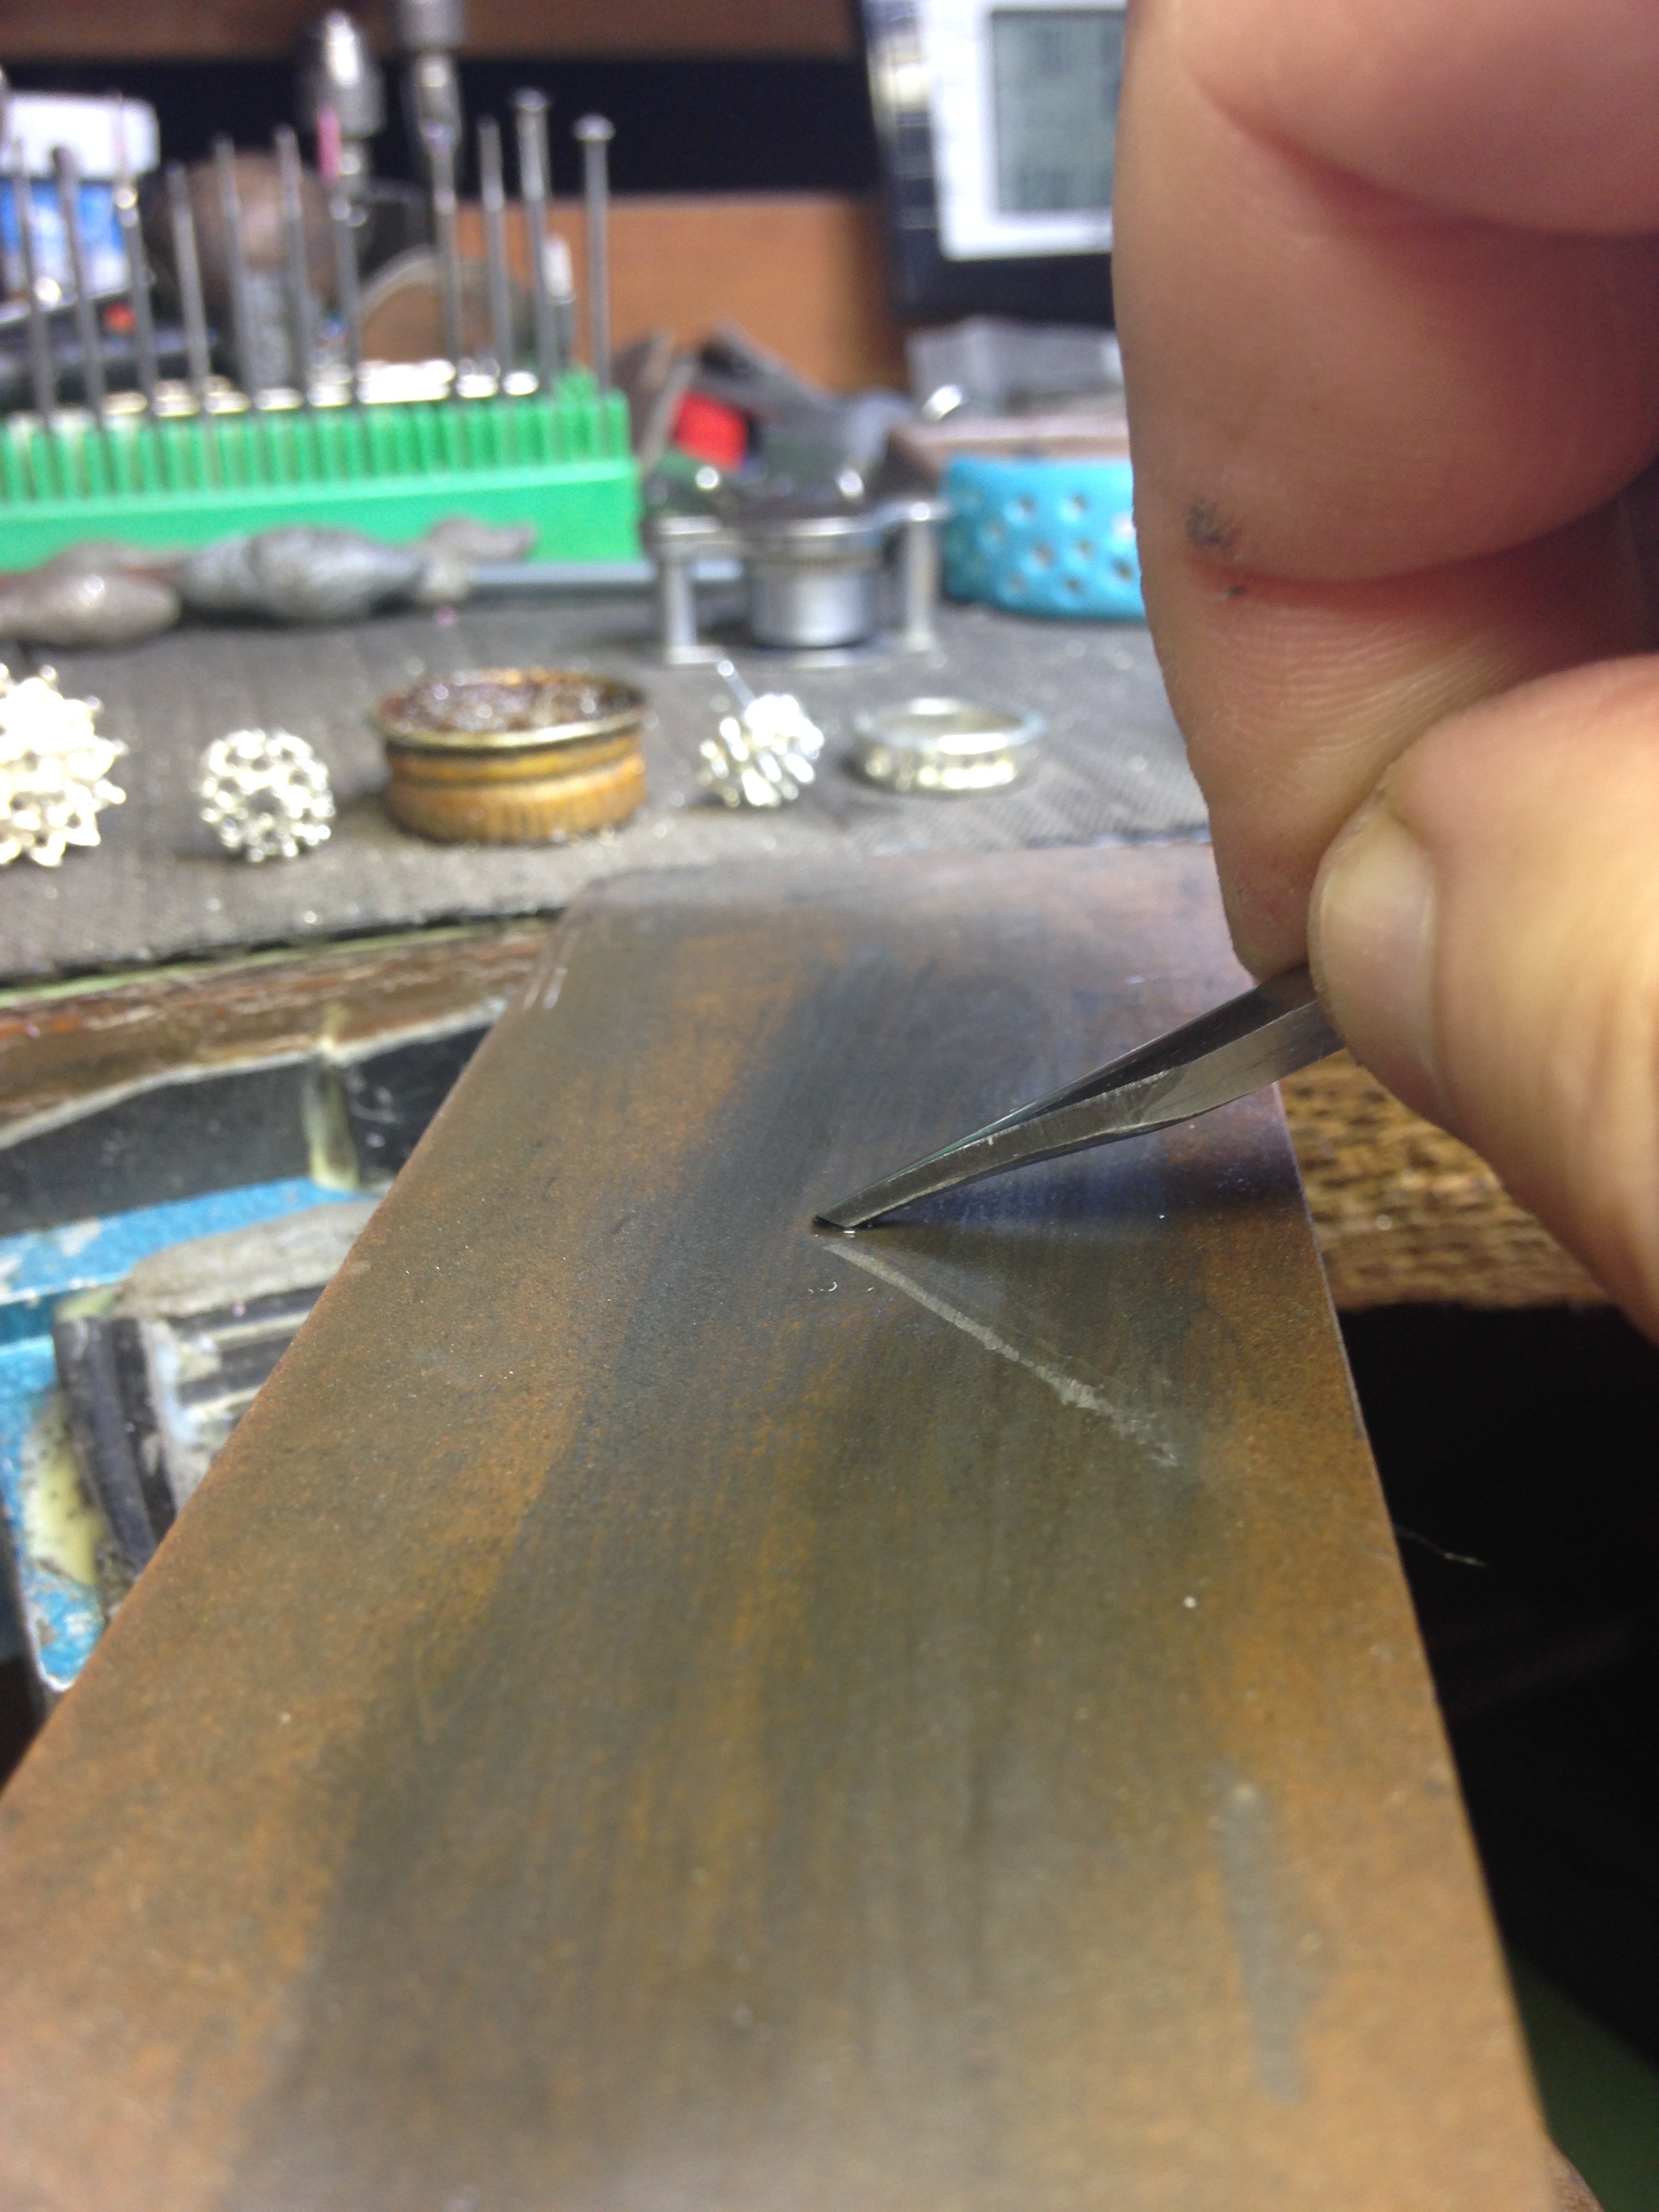
When the graver looks sufficiently shaped, I will use an oil-stone in making subtle changes & watching that new angle appear…(BTW, this particular process took me about 3-4 years to perfect during my apprenticeship). Not all setters are interested in this kind of exacting-reshaping & modifying process. They just want the ‘quick & easy’ method’. I turn this process into an exacting Art. I will go back & forth achieving an exact angle for what I need. I want & demand a specific angle so that the Right-Side of the graver will do the touching of the metal. The left-side will be then modified so that it won’t come in any contact with any diamond or gem-stone. This new shaped tool is now called a “Right-Sided, Onglette Graver, #2”. The graver will then cut a long highly polished surface, with no ‘faceting’ of the metal as it cuts so-o evenly. The result it has an almost a mirror shine!!..Seeing is believing!
After two or three continuous cuts, I will put my graver back unto the oil-stone & re-sharpen the newly angled surface. (The surface is always at 45 degree angle) Then again, the Bright-Cutting itself is again at a 45 degree angle!. I make sure the graver is sharp at all times, by touching it on my finger-nail, if it ‘grabs’ it, then I continue on. I use polishing paper grits from #600 - #800 and then a #1,200!
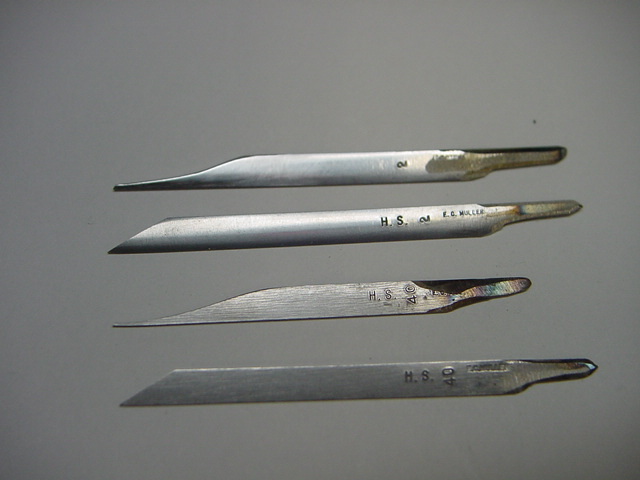
Hoping that this ‘revised MJSA-essay’ was not too difficult to read, but that’s what Diamond Setting is, full of minor & major subtle details to learn. The #40 (as shown) is a Flat Graver with a 1.2mm in width.