’Sharing of Beads’ is a misnomer or a half-truth!
"Difficulty Scale, out of 10" I have to give this process a definite 8+
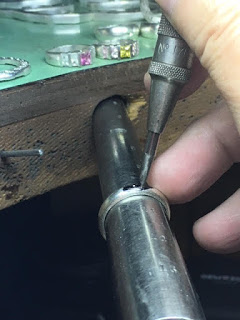
These (archived) photographs were taken at my setting bench 15 years ago . I had just no idea then I’d be writing about these techniques so many years from that time! When I learned these processes “Computer Aided Designing” was not in vogue or even used.
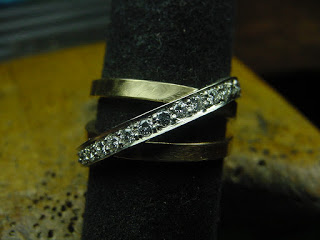
What we call “sharing of beads” is basically true but to a point! We intend to make Two Beads in between Two Diamonds. Everything starts off being nice and easy, it still is! But in this case, all of the stones are literally ‘girdle-to-girdle’ as they in their own allotted space.
I’m now displaying many (25) photographs that show this system of beading, but with a graver doing the preparation. I won’t go into details on how to ‘open a hole’ for each stone. It’s the very next step that is so now darned important!
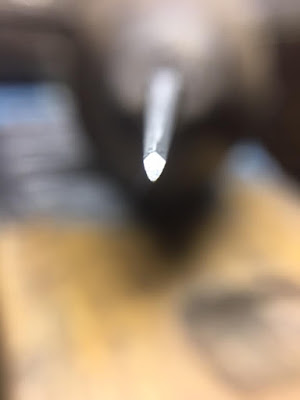
What tools are needed for this exercise? One size of a twist drill , just how small should it be? It should be no larger than 1/4 the diameter of the stone. In this particular situation, I am using a 1.0
mm twist drill
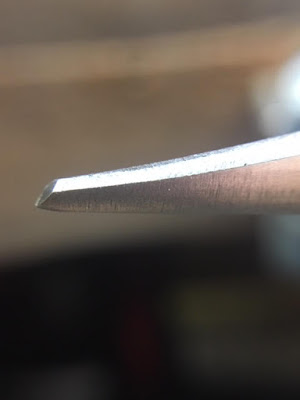
The next tool is my graver which is an Onglette #2 graver. Under the tip of the graver can be slightly rounded off, why so? (BTW, I use an Emery paper of #240 grit to 'round off the point of the graver). As I’m gathering the metal to push over the Crown Facets because of this ‘rounding off’, the graver ‘point’ will never break off during this process. Some of my many graver beading tools are made to accommodate the narrow or very thick beads in ‘sharing’.
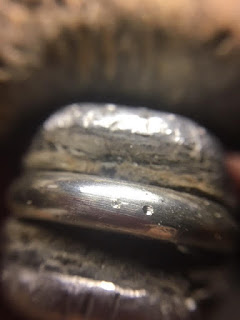
Remembering one very important point ; get your “Bright-Cutting” completely finished before you start the ‘Bead-Sharing’ process!
I have no intention in using a “Milgrain” tool on the Bright-Cutting edge . It appears to have the finish to look like a ‘covering’ of any errors in cutting. I personally abhor and shy away from this style of ‘finish’!
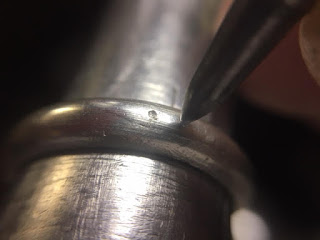
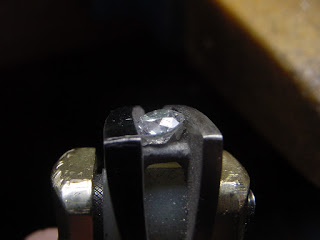
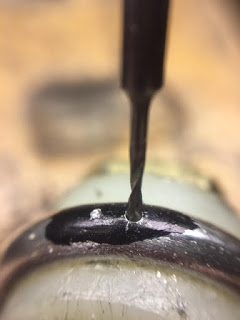
In this situation, you can see the beginnings of a hole, but the first indent is made by a ‘round bur’ and or a spring-action punch! If not, your twist drill will be running everywhere you don’t want it to go! BTW, I still use any coloured marking pen to give me a chance to see where the twist drill will be drilling, I hate shiny surfaces and it’s also a strain on my eyes!!

I will be using an Onglette #1 as this is just to start the initial “Rough-Cutting” . Once the highlights are completed, then the Beads are formed in these ‘earlier stages of cutting’.
Then once the beads have been ‘formed’ I will then use my Onglette #2 that is modified to cut only on one side of the graver.
The “Bright-Cutting” process is the highlight of any sort of Diamond Setting. Together ‘Sharing of Beads’ and the distance is why I suggested the Difficulty Scale is at 8, or even sometimes higher!
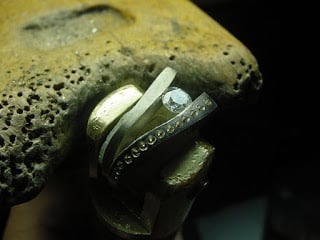
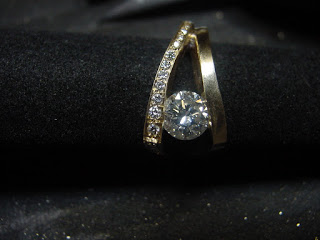
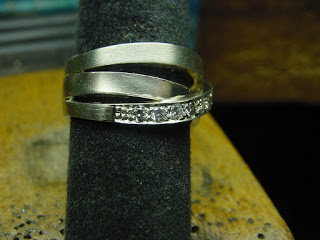
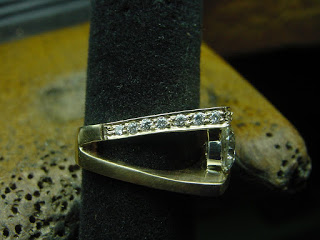
If you have a larger center diamond to set, this stone-setting comes FIRST! Even long before you start your ‘metal cutting’.
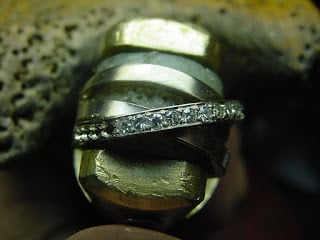
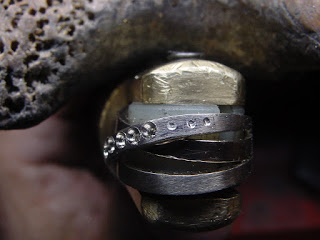
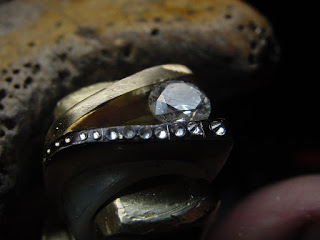
Get your larger diamond well positioned! This must be properly set and level, as the ‘Table’ of that stone must be no higher than the surrounding metal. Have the Girdle not to protrude beyond the two yellow metal bars been shown below.
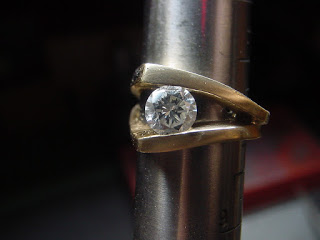
I’d even have space to now polishing the metal , once done, I’d be very anxious to proceed onwards!
I would be very cautious in making sure the stone is sitting flat & not in any way crooked.
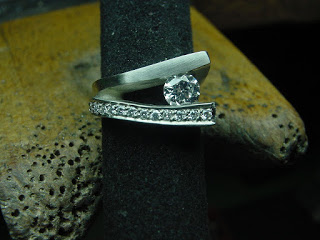
Measure each diameter of every stone , many times these varieties of diamond sizes will be carefully graduated. The stone size is ‘largest to the smallest’. Who gives you the choice of stone sizes? This is basically the designing of the metal strips or the customer’s (budget) wishes!
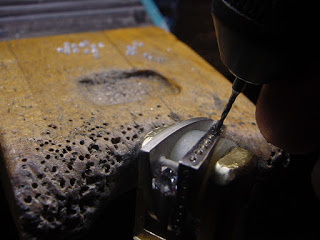
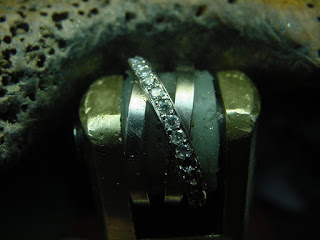
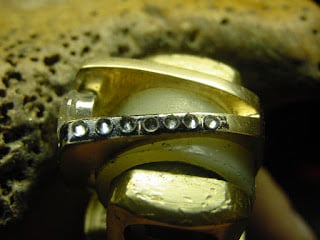
Here you can see that all of the ‘holes’ have been nicely drilled and now ready for the ‘cutting’. BTW, always and I truly mean ‘always’ oil your twist drill. Lubrication (I use “3 in 1” oil) is so important when the drill heats up and the drill might get stuck in the metal! OUCH!
To make sure the ‘spaces’ are in your control, turn the stone upside down on a thin layer of ‘Bee’s Wax’. You can now gently move each stone in according to the size and judge the separation by your eye-site. Take one stone away, scribe the metal surface! Then go to the next spot and then initiate the drilling for all of the stones. Scribe all at one time, then drill all of the ‘spots’.
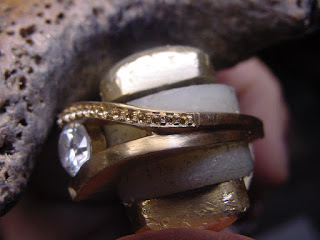
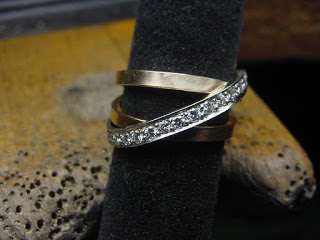
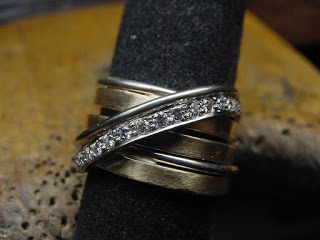
At the end of the setting strip for the diamonds, I’d add a few nice little “Decoration” with unused ‘beads’. I use a #006 Bud bur to create and clean where ever these ‘little beads’ are to be used.
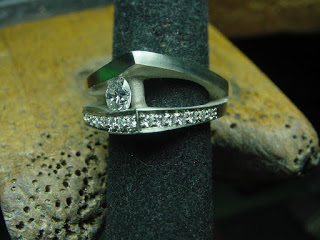
Whatever you do, just one thing is to keep the Bright-Cutting and other areas professional looking. This is including the end of the ‘cutting’ with a straight line as shown!!!
The pattern will look like this “:0:0:0::I” (Excuse my rough drawing using ‘upper & lower case’ keyboard strokes) But these photo’s help in this demo-exercise!
I hope that this ‘text & photographs’ truly helped you in this somewhat difficult exercise. I might suggest practicing every technique that I’ve just shown you. This process took me many YEARS during my 9 years of apprenticeship, then I had many more years of practising…OY!