I just purchased a rolling mill for my classroom. Any pointer or tips? I will be using with high school students.
Thanks
2 Likes
Hello,
perhaps make a sign:
- directing to always completely dry metal before rolling…(for example after removing from pickle after annealing)
- also listing what metals/ items should not touch rollers
just a few thoughts
Julie
1 Like
I think safety is key, especially with kids. Add to that sign all the safety precautions that must have come with the mill.
Alec
1 Like
Greetings,
Couple of things, born of years of teaching.
A) Get some canvas, and make a cover for it. Keeps dust, crud, and bored fingers off of it.
In a perfect world, rig up some system whereby the cover can be locked on. Keeps it out of action when you’re not around. Which prevents all sorts of ‘seemed like a good idea at the time’ projects from happening.
Out of sight=out of mind. Which is a good thing.
B) if you can’t rig the cover to lock, get a bit of chain and a lock, and lock down (or remove) the handles.
C) Make sure the top center gear can’t come out. If it can, make sure you know how to realign the rolls when some genius gets the rolls out of step with each other. Because they will.
D) find some open cell foam, like they use in couch cushions. Cut a strip that’ll span the width of the rollers, and make one that’s tall enough to tuck under the bottom roller, and another one that’ll tuck on top of the upper one, with enough height remaining to make sure it stays in place with the upper roller all the way down in contact with the lower one.
Then soak the contact area in 3-in-1 oil, sewing machine oil, or some other similar light oil. The idea is that the foam sweeps crap off the rolls as they turn, and keeps the rolls oiled, both of which are good things. Pull the foam off the rolls if they’ll be out of action for more than a week or two. Long term contact in one spot may be problematic, depending on the foam. If it’s turning regularly, not a problem.
Find and buy a can of LPS-3. It’s spray on rust inhibitor. Great stuff. Especially good for over-the-summer storage.
Comes off with WD-40, which shouldn’t be used for any serious oiling. It’s not nearly good enough for protecting the rolls in normal use, for example. (It’s basically kerosene, and evaporates away to nothing almost immediately.)
You haven’t mentioned what age group you’re working with. That has a lot to do with what you tell them, and what you show them.
Hope this helped,
Regards,
Brian
2 Likes
Great idea, thanks
I will definitely make a cover, get idea! Thanks for all the tips. I will be working with High School 10-12 grade.
I have nothing to add to the good advice given… but want to thank you for choosing to teach high schoolers metal arts. I myself had a great metal arts teacher in high school some 40 years ago who I still remember fondly. She introduced me to a natural ability I was unaware I had and then challenged me to attempt work beyond what was typical. Because of her I had the courage to pursue an apprenticeship as a goldsmith and have since enjoyed a long and very satisfying career. If not for her???
So thank you for being willing to do the same and open doors for some other young person. You’re doing a great thing!
Mark
2 Likes
Seconded. Many thanks for being willing to teach high schoolers. You’ve got them when the fire’s hot. I’m still grateful to the men & women who took the time to deal with my not-so-ocasionally over-enthusiastic questions and boneheaded ideas once upon a time. But for some very tolerant, and talented people, ghu only knows where I’d have ended up.
They will remember.
Regards,
Brian
1 Like
I’ll go ahead and third a “Thank you!” for introducing high schoolers to what has been the best experience of my life. My high school had only “Art” class, so it lead me to believe there was little more to the field than drawing and photoshop. I’m just glad I discovered it soon after.
Best of luck!
1 Like
Thanks everyone!! I have the best job! I love teaching to High School students. I am glad that my district gave me the opportunity to teach metals/jewelry art. I am writing the curriculum and have been doing this for a couple years. Every year I add to my program and continue to refine it. If anyone has any tips I am all ears. Again thanks for the feedback and kind comments.
My only suggestion is that if you have a student that shows particular promise, try to offer them some sort of independent study. I was a kid who really did not like high school but my jewelry/metals teacher saw natural ability and offered that independent study. I had to present her with projects, she’d discuss the problems and challenges, then give the go ahead. I made some very cool stuff, spent every spare moment in her class and ended up choosing a career right there in her class. Bet fond memories.
Mark
Every few months I change MY curriculum, even change the tool lists for my
teaching classes. Keep things up to date…Go easy on the high-school
students eyes, let them first practice on silver, using large claws/prongs.
Whet their appetite…keep the tool list low, don’t hit them with small
stones. use cz’s with large sizes…e.g. 5.0mm or 6.0mm stones…Keep
changing your designs…keep them totally excited! After a few weeks they
will be clammering for more!
Although I cannot speak for the soldering practices, as stone-setting is
my favourite topic! Just let them see how metal works and how easy it can
be moved over a stone… You are creating a new generation of jewellers, be
easy on them!
“Teaching IS A GIFT!”…Gerry!
Gerry Lewy
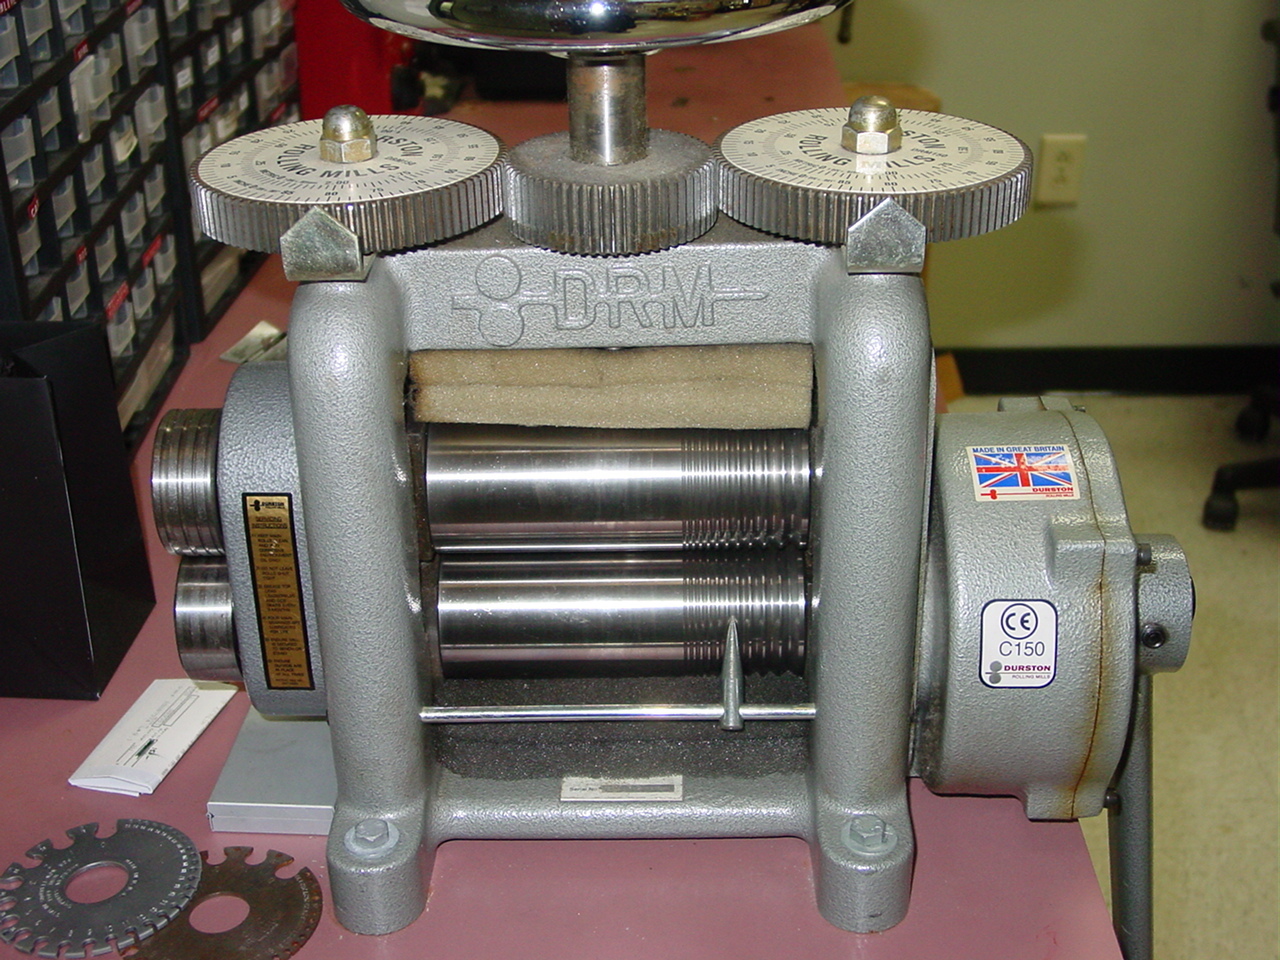
A little late to the party. Here’s a photo of my version of Brian’s tip. Foam rubber strips folded in half, oiled and inserted above the top roller and beneath the bottom one. Keep them damp with oil (not dripping) and the rollers will stay clean and oiled all the time. I use Break Free CLP oil.
2 Likes
I am also a little late to the party, but I am also a high school metal arts instructor at Lewis & Clark H.S. in Washington State. I would concur with all that has been said here about maintenance, safety, and protection of the equipment from misbegotten experiments by untrained/off-task metal artists in the classroom. Keeping the rolls from being scored, etched, nicked, rusted, or otherwise messed up is key to the longevity of having any precision tool. Mine is a Durston130mm Double combination rolling mill
I don’t have a canvas bag to cover my rolls (yet - thanks for the idea Brian), but I do use a bicycle cable lock to run through the cranks and around the handle so it can only be used when the “Master of Disaster” (me) wants it used.
In my many years of experience I have had students run all sorts of undesirable items through the mill - pen barrels, wax, and nails to mention a few. All rolling mills need to be cleaned on a regular basis and oiled frequently. I completely clean mine once every 9 weeks (sooner if it looks like it needs it), and I’m oiling it a couple times a week. It’s always an irritating odyssey when the rolls are messed up either by careless practice or intentional sabotage and then have to be cleaned. Wax is the worst. When the rolls get gunked up with wax or other foreign material, I get a piece of sheet brass with a perfectly straight edge and hold it up against the rolls at an angle so it becomes a scraper. Of course, this only works on the flat rolls. When the grooved rolls need cleaning I need to be a little more creative. I have used the corner of a plastic putty knife, or one of those plastic caulk spreading tools to get down into the grooves. Avoid using a steel blade putty knife at it could possibly scratch/score your rolls.
When I teach my students about roller printing, I always stress that object(s) used to make the imprint must be in a metal “sandwich” (for example piece of copper - imprinting object - another piece of copper, silver, brass). The design object should never touch the rolls. I know this is overly protective because some imprinting media like lace, or leaves aren’t going to damage the rolls. But when I standardize the procedure, and make sure they use it, the risk of damaging the rolls when harder material is used (broken saw blades, metal window screen, etc.) is almost eliminated.
Have a blast and let us know how it goes.
Mike Campbell