Practicing with gravers

Was: Classifying gravers

Hi Leonid:

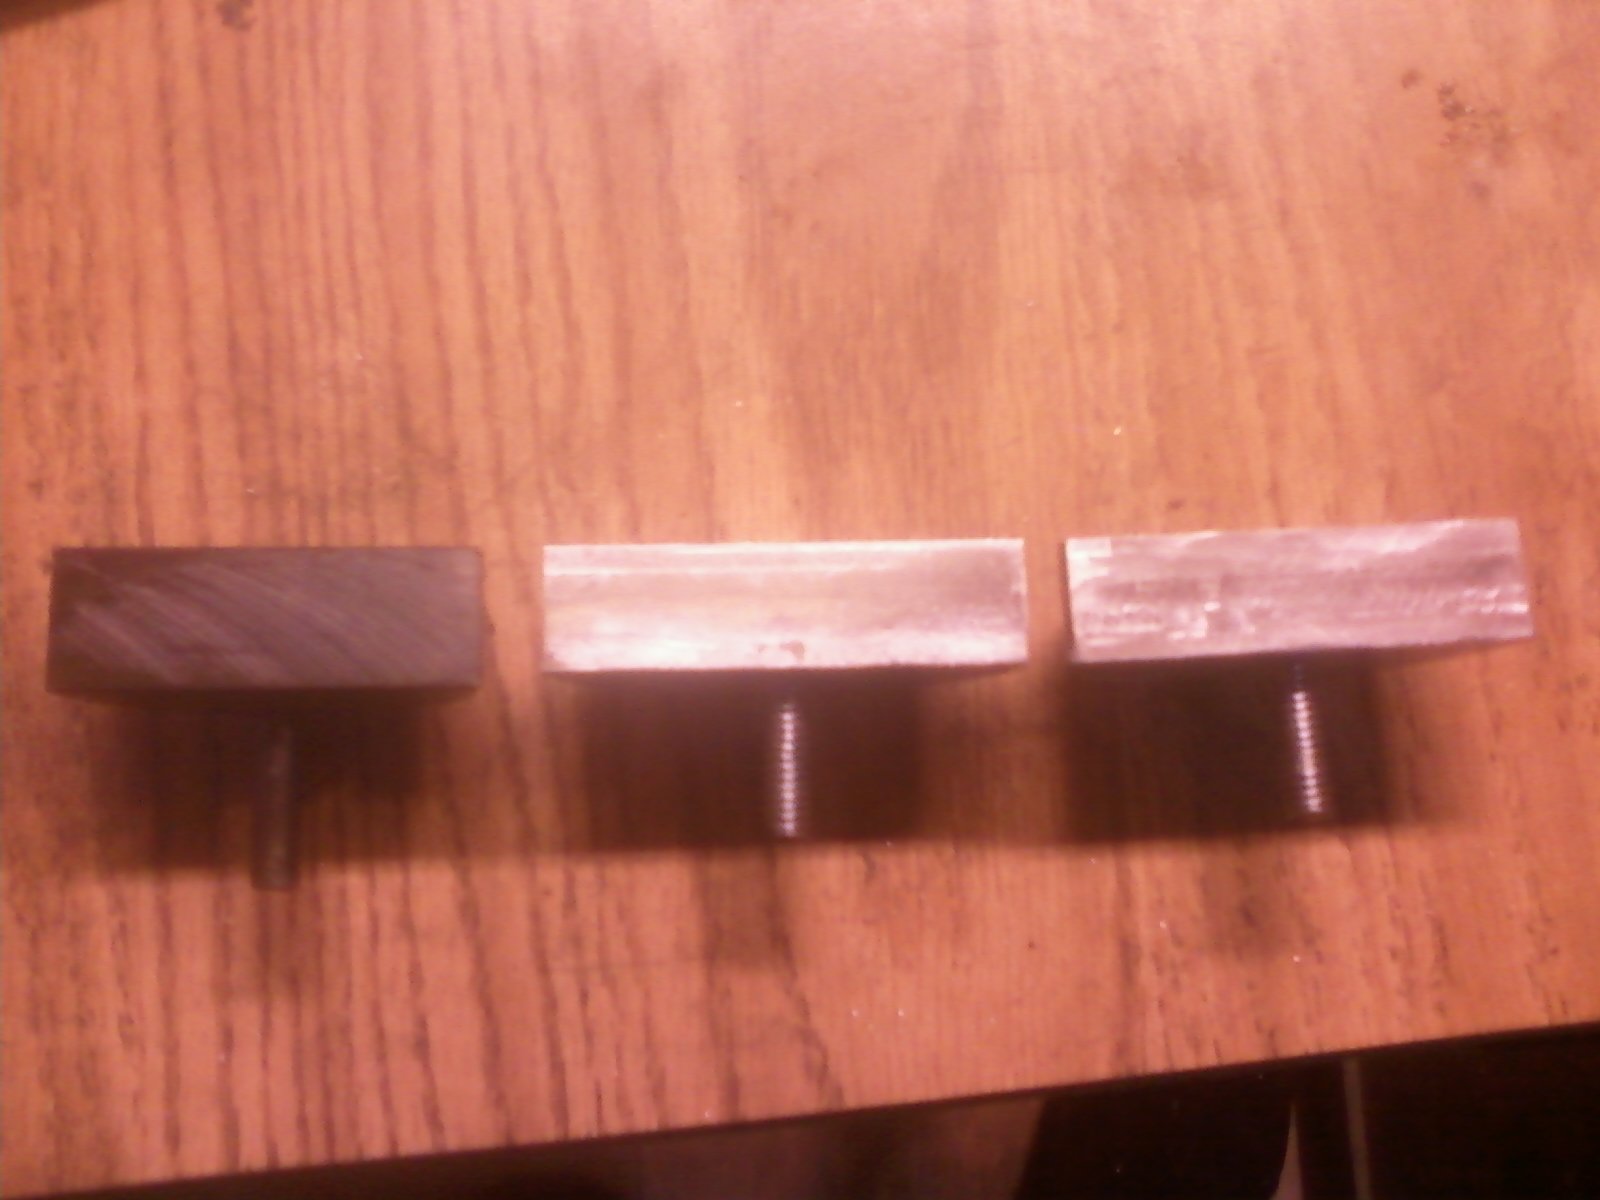
Thanks. As soon as I can arrange to find or recreate the missing jaw
of the vise you sent me, I will use it.

What happened was I was moving things around in the upper floor of my
outside shed, when tripped and dropped the ball (sorry!). I’m lucky I
didn’t break the floor! I was able to recover everything but one jaw
which shot across into a hidden corner which I can’t even figure
where said corner is yet.

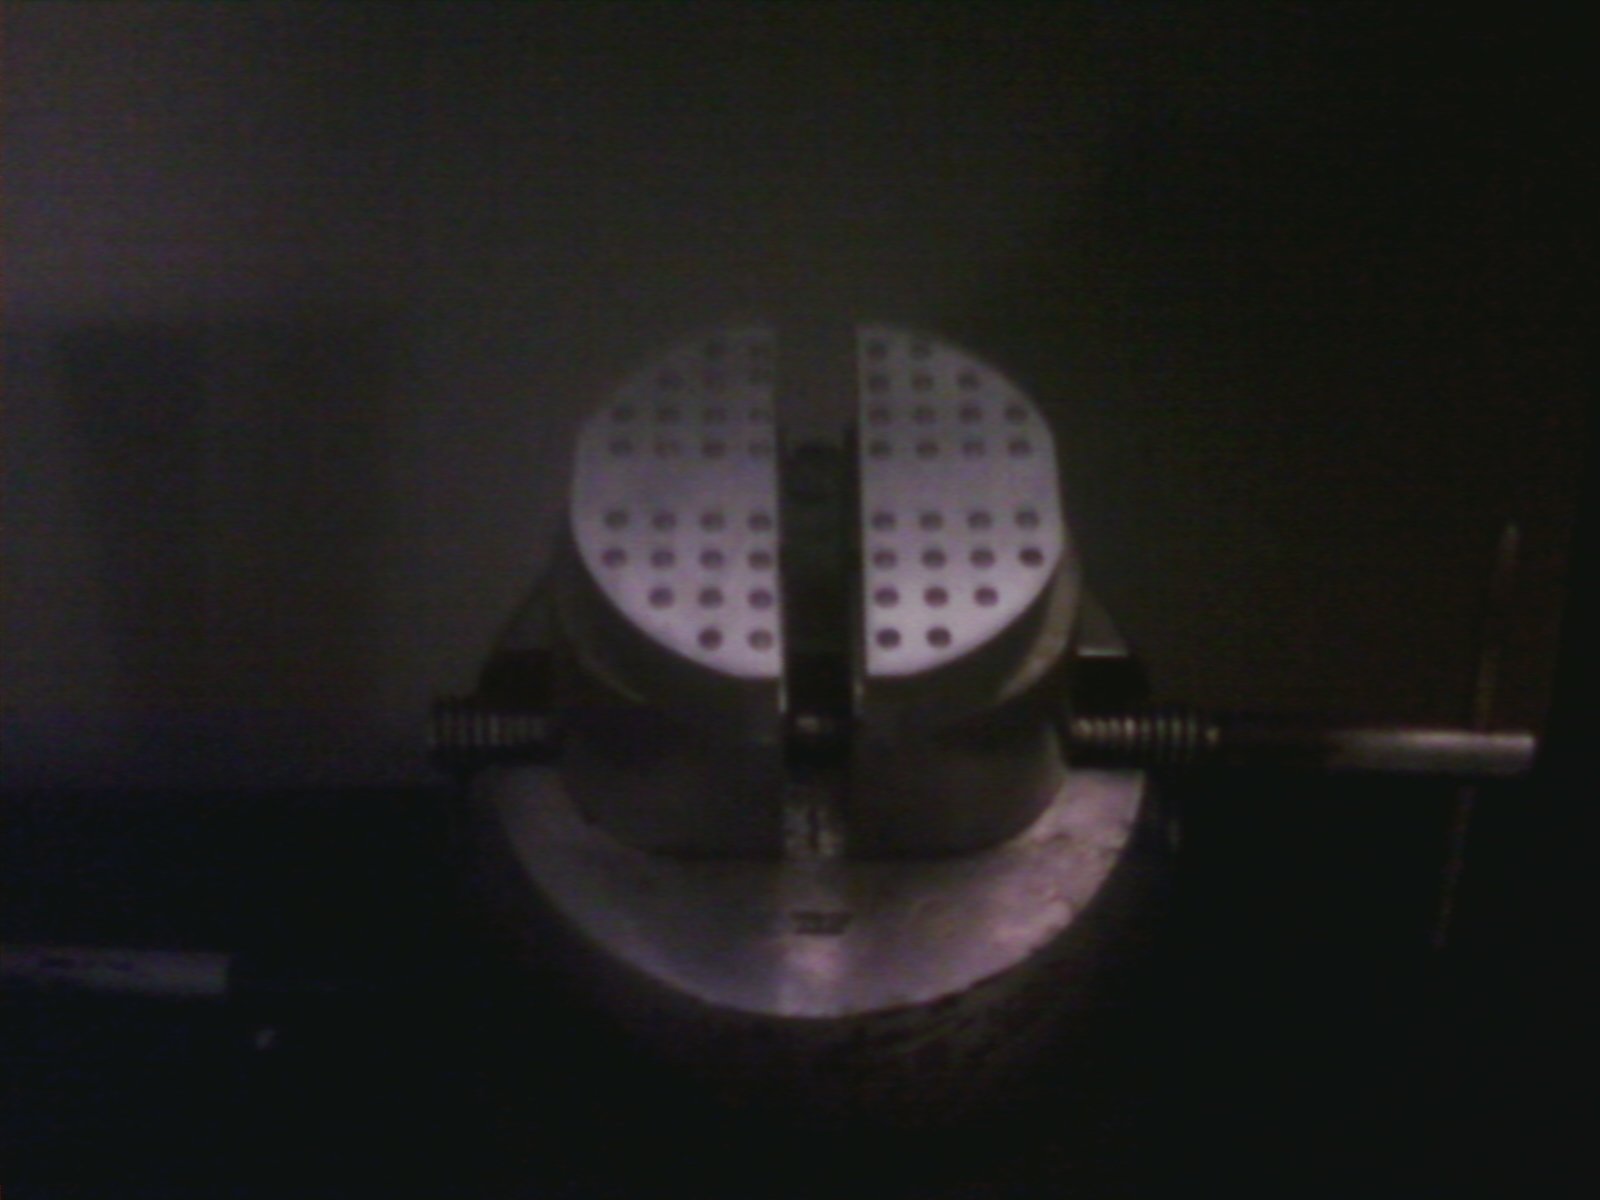
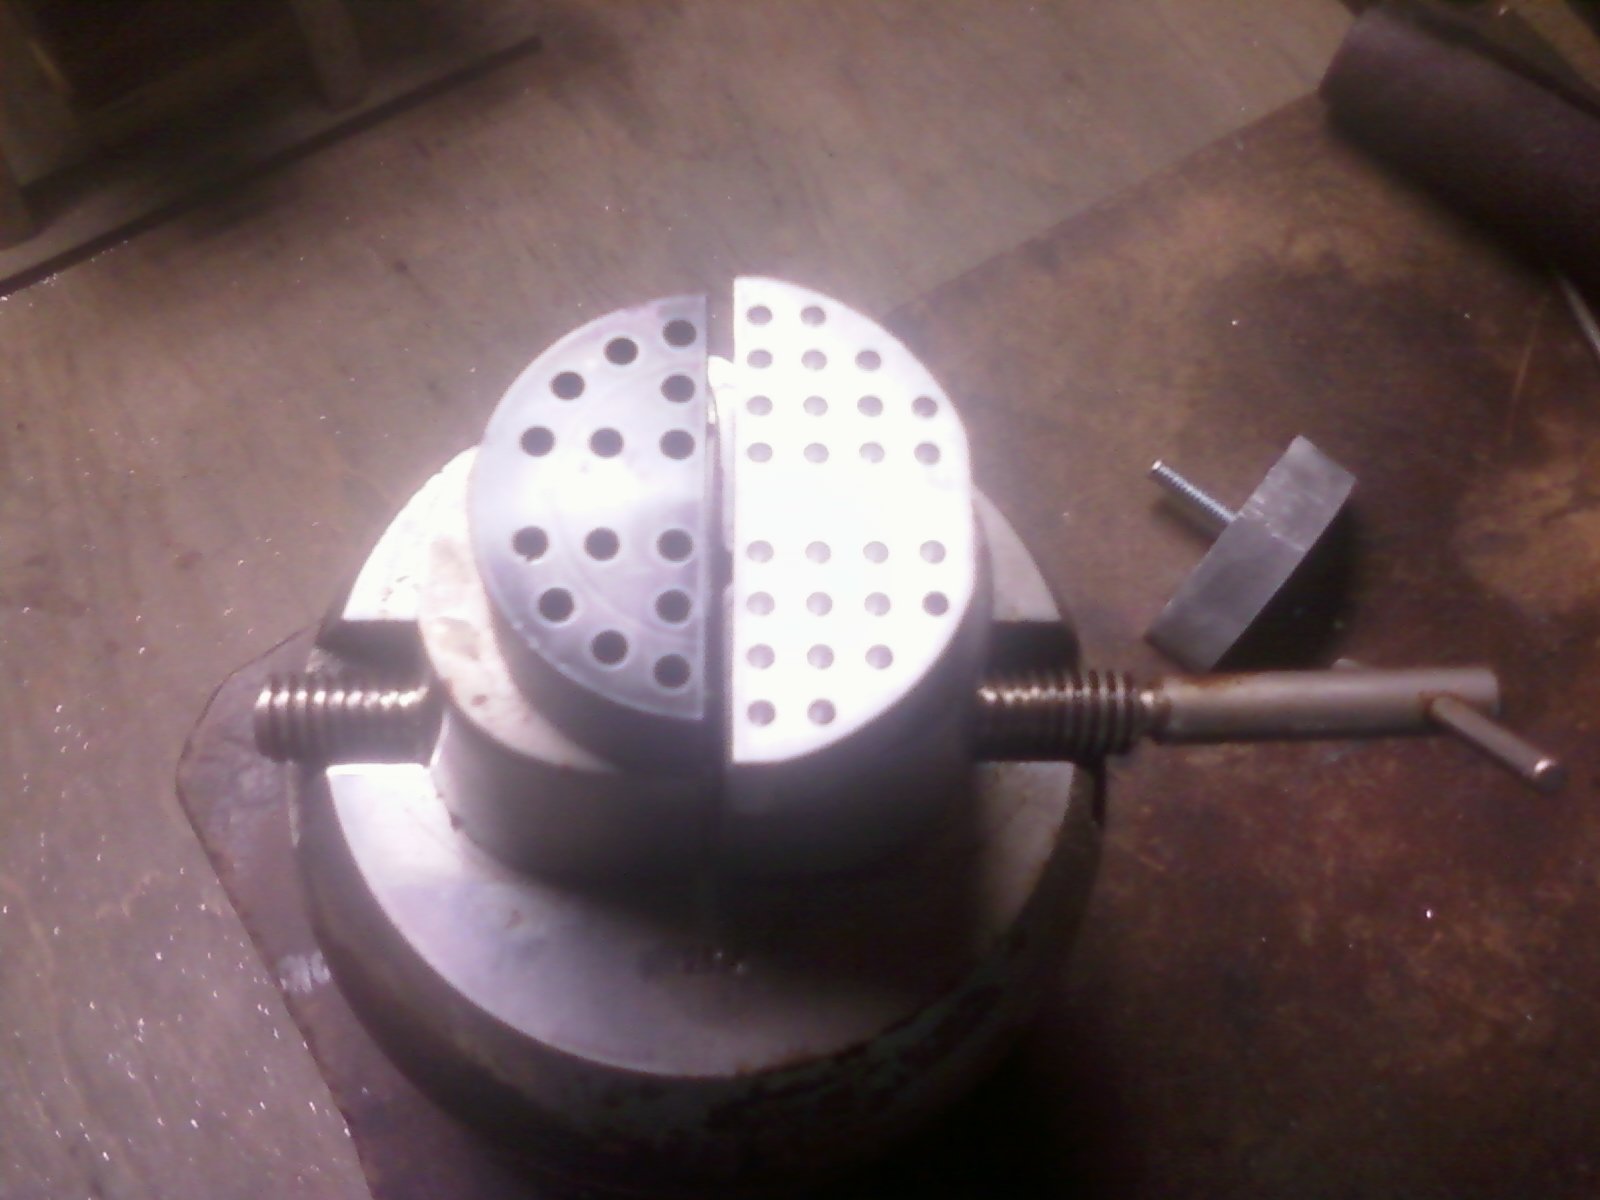
So I made a jury rig, i. e., the three axis mounting system. I’ve
played with it a while, I found I could actually walk around it since
it was mounted on a stool, and that’s almost as good for me as a ball
at least for rough practice.

When I tried to move gravers around on the metal, it wasn’t easy, and
maybe it was because I don’t really know what is supposed to be easy
or hard.

I don’t what how proper feel is defined.

I have some questions:

  1. Should the graver bring up no perceptible chip whatever? Should it
    just be a fine tracing without a chip being pushed in front of it? Or
    is the precence of a visible chip a symptom of using too much force?

  2. When the angle is too shallow I skip right off the metal, but if
    it is too deep I dig into the metal and can’t move it any further. I
    pretty much can’t make a regular line longer than a centimeter
    without getting stuck.

  3. About polishing the square graver. I’m making the working
    assumption that the jeweler had used the rough sharpening stone
    properly, so that I do not disturb his work on the graver, and went
    directly to the Arkansas stone.

So I scratch the “top” of the graver to make sure that is square and
polished, than I scratch the left and right hand sides.

Then I try doing the figure-8 movements recommended by The Art Of
Engraving for sharpening the rake, which do I understand correctly is
the place where the edge of the square is supposed to make contact
with the metal?

I don’t understand how the rake is supposed to make cutting easier,
where it really is, and how I am supposed to create it. The book
seems to be vague on this.

Thanks,
Andrew Jonathan Fine

1 Like
1) Should the graver bring up no perceptible chip whatever? Should
it just be a fine tracing without a chip being pushed in front of
it? Or is the precence of a visible chip a symptom of using too
much force? 

No, there must be evidence of cutting. There must be swarf (chip)
coming of the point of graver. The shape and condition of swarf is an
important indication of graver cutting properly. It must be curly and
bright.

2) When the angle is too shallow I skip right off the metal, but
if it is too deep I dig into the metal and can't move it any
further. I pretty much can't make a regular line longer than a
centimeter without getting stuck. 

That is correct. The first steps in engraving is to find the angle
where graver neither skips, nor digs. Sharpen graver face to 45
degrees.

Sharpen graver heel (rake) to 7 degrees. This created cutting angle,
which is face angle + heel angle, of 52 degrees. Graver should only
contact metal at the point. It should not ride the heel. Hold graver
like holding live bird - too light and bird flies away, too tight
and bird is dead. Push graver forward lightly. If it skips, raise
your hand a bit.

If it digs, lower your hand a bit. There should be some resistance,
but you should be able to overcome it just by holding graver between
thumb and forefinger. Engraving is about small movements, small
pressures.

Examine point often. Point breakage is common in the beginning.

About length of cut. One centimeter is too long. Length of cut
should such that you can maintain control over entire cut. One
millimeter is fine in the beginning. If one centimeter is required
than do 10 small connected cuts. Cutting straight lines is all about
that. Increase length of cut only when short cuts are done with
complete control.

3) About polishing the square graver. I'm making the working
assumption that the jeweler had used the rough sharpening stone
properly, so that I do not disturb his work on the graver, and
went directly to the Arkansas stone. 

Regretfully it is not how it works. Graver point has to be reground
on medium stone every time. The reason is that point area is subject
to a lot of mechanical stress. Point breakage is an indication of
that stress.

All that metal infected with stress has to be removed before new
point/edge can be formed.

Once again I am emphasizing importance of light pressure. The
lighter the pressure the less stress, the longer point last.

So I scratch the "top" of the graver to make sure that is square
and polished, than I scratch the left and right hand sides. 
Then I try doing the figure-8 movements recommended by The Art Of
Engraving for sharpening the rake, which do I understand correctly
is the place where the edge of the square is supposed to make
contact with the metal? 

Figure-8 is an advanced exercise. Mastery of straight lines comes
first, with curved lines to follow. Curved lines cannot be learnt
without engraving ball. In curved lines cutting, the graver remains
stationary or nearly so, and ball is rotated bringing metal to the
graver. Later in practice both hands are involved. In theory, all
curved lines should have well defined radiuses. The faster the ball
is rotating, the tighter the curve, the smaller the radius. By
engaging right hand to provide some cutting pressure it is possible
to make ellipsoid curves. For right-handed individual cutting must be
done counter-clockwise. Mastery of curve cutting includes breaking
any design into sequence of curves.

Do not worry about width of cut in the beginning. However, as you
progress, learn to rotate your wrist slightly while cutting. That
give width to the cut. That is were things become a bit dangerous. It
is during wrist rotation when control is lost and graver either digs
or slips. Light pressure and allowing graver to cut at it’s own
speed is the key.

I don't understand how the rake is supposed to make cutting
easier, where it really is, and how I am supposed to create it. The
book seems to be vague on this. 

I am not familiar with the book that you are using, but if that is
the case then throw the book in the garbage.

Get “The jewelry engravers manual” by Allen Hardy.

It is impossible to explain without pictures. I shall try to find
some time and do blog on this.

Leonid Surpin

1 Like

Hi Andrew,

As you are finding out, the IQ level you have to write the precise
computer code you can do, doesnt automatically equip you to be a
silversmith /jeweller.

However what your IQ does prepare you for is the ability to think
through your problems.

As many of us here have tried to advise you, dont try to do the real
work until you have run many test trials on base or softer metals.

So lets look ist of all at cutting edge tools.

Craftsmen use many sorts, from wood workers to lathe machinists to
engravers, we all have to sharpen tools.

different work requires different cutting edge angles.

Now as many metal apprentices have found out, trying to file metal
flat as in level, is in fact very difficult. you need a convex file
to do this.

the same applies to sharpening cutting tools.

thats why Stanley and others make a clamp to put your plane iron
into ,to ensure the cutting angle is correct AND flat.

the same applies to sharpening any cutting tool. when for example
grinding a lathe tool use a circular grinding wheel, not a flat
stone.

because the rake will be truly flat or even slightly concave.

Why do you think a wood plane is made the way it is? so you can
control the thickness of the shaving.

It was a development on from the adze, to get wood truly flat.

likewise it should be possible to make an engraving plane? to cut
into metal by just the right amount.

Ideal for long strait lines with the plane up against a guide like
apiece of metal. clamped to the work.

Such a machine does exist but on an industrial scale. its called a
planer.

Having sharpened your graver so the rake is truly flat, try to
engrave a simple cut, making a chip curl out from the graver front in
LEAD! nothing softer, bar wood of course. What your trying to do is
what a plane does with out the control of the plane adjustment.

When you can get a repeatable graved line in this metal, then move
up to aluminiun, repeat, then progress to copper, and finally to
silver.

Many yrs ago I was reading about money printing dies. These used to
be all engraved by hand, and the master engraver would come in to his
workshop and practice for an hour or so, to get his hand in, only
then would he take his graver to the steel he was working on.

Engraving to this standard takes a 7 yr apprenticeship assuming you
have the talent.

So despite your efforts the lack of results is quite normal.

Its good for you to explore all the different skills that are used
in this trade, you will eventually find one that your happy with to
get your production time down to a normal level.

Your wife and daughter would be very proud of you if you made a real
success of this new venture. Theres no reason why not!.

If you were my apprentice, after you had learned how to make my tea,
and clean up the w/shop id let you start with the simplest of tasks.
That would be using a hammer with a piece of 1/4in copper rod, anneal
it, quench, then forge it on a simple anvil into a celtic torque
shape. and yes id show you how I would do it first.

then have you repeat it. simple hand /eye coordination is the ist
lesson to learn. An easy task that shouldnt take longer than 20
minites. When you can do this well!! then id let you repeat it in
silver. As the technique is no different, forging is in fact a much
easier way of making things.

some of my products are make entirely with a hammer, and cold.
Quick, simple and profitable.

kind regards as always, Ted.

I don't understand how the rake is supposed to make cutting easier,
where it really is, and how I am supposed to create it. The book
seems to be vague on this. 

Andrew, the heel, or rake, on the bottom of the graver does a couple
things.

The first is that it causes the proper angle between the graver and
the metal to rise, so you’re pushing the graver slightly down more,
rather than paralell to the metal surface. This is not only easier to
hold, what with clearance between graver handle and the metal for
your fingers, but the increased angle also increases your control
over the graver. You slip a lot less, and the correct angle to hold
the graver is easier to hold.

The rake angle also increases, as Leonid pointed out, the over all
cutting edge angle. In gravers where a heel/rake is not use (like
knife edge, or florentine, and others), then sometimes the face angle
is ground to higher than 45 degrees, depending on the need at hand.

If the rake/heel face is small, then especially with square or
lozange shaped gravers, another effect occurs. If the heel is long,
or there is no heel, then when turning a corner or following a curve,
the bottom ridge of the graver can drag, damaging the upper edge of
the cut, leaving a scar. The heel/rake, by lifting the angle of the
graver, gets that bottom edge out of the way. This doesn’t help if
the heel is so long that it, itself, is then able to scar that edge.
For wider curves or straight lines, this isn’t an issue, but for
smaller radius curves, it is. For a better discussion of this, and
images, go to Steve Lindsay’s web site and look at his discussion of
his “parallel point” geometry, which his sharpening system produces.
The principals there are clear, and apply just as well to hand
sharpening gravers without his system.

Hope this helps. Oh, and re-read Leonids posts. Excellent and
accurate descriptions.

Peter

1 Like

Hi Andrew,

I pulled out my old copy of Meek’s book (no relation that I know
of), to see what he meant by “Rake”.

(For everybody else following along, for him, “rake” is just the
main face angle, relative to the body of the graver.)

There isn’t any particular “right” angle. It depends on what
material you’re going through, and what you intend to do. The angle
I use for cutting lines is quite different than the angle I use on
the graver that I use for cutting up beads. (There, I need a big
chip, so the angle is very steep. Miniature bulldozer-like, in point
of fact.) 45-ish is a good generic place to start.

I had some of the same "But wait! what’s the ‘proper’ angle?!?!“
questions when I started working with gravers. I happened to be in
school in London at the time, so I had someone at hand to ask. The
answer that sticks with me came from my setting tutor, Bob. (Unlike
his last name, which I’ve spaced.) What he said was this: “start at
45. If that’s too pointy, the point will snap off, and you’ll have
to sharpen it back. Which means you’ll probably increase the angle a
bit, just in aid of getting the point reground. If you do it too
much, it won’t cut right, and you’ll regrind, making it more pointy
again. Eventually, you’ll find a happy medium angle where it cuts
well and doesn’t snap. That’s the “right” angle. God only knows what
that’ll measure to.” Some of the best engravers I’ve ever seen
didn’t even own a sharpening jig. They just did it by hand and eye.
Couldn’t tell you what the angles were. (I asked.) They were just
"right”.

Think of it as a feedback loop. Too acute, and you loose the tip. So
you regrind, and inevitably the angle gets steeper. Eventually, it
gets so steep that the tool doesn’t cut right. So you make it more
acute again. And you oscillate back and forth between too acute and
not-acute-enough until the swings get smaller and smaller, and you
settle in on an angle that works for you, whatever it happens to be.

Unfortunately, that kind of skill takes practice. But the best way
to get that practice is simply to do it. Don’t worry about the
theory so much, and just jump in there and start cutting. It’s
totally antithetical to an engineering mindset, but it really does
work. Less theory. More cutting. There are actually a pretty wide
range of angles you can get away with. But you have to put away the
protractor and start cutting to figure this out.

Generally speaking, I agree with most of what Leonid said. (I want
this on record. It does happen occasionally.)

He’s right: you do need a very light touch to start with. The more
power you add, the more likely you are to snap your tip, and/or skip
out and bury the thing in your other hand. You WILL snap your tips
off. Get the highest power set of optivisors you can find, and keep
an eagle eye on your tips. If you feel the slightest bit of
scratchy-ness, take a good look at the tip, it’s probably gone.
Continuing to fight with it beyond that point is just begging for it
to bury itself in your other hand. Stop and resharpen.

When I finally broke down and bought a microscope, I was stunned by
taking a good look at my tips. I’d feel a bit of a funny drag, and
the cut wouldn’t be quite right, but still easily good enough.
Just not quite perfect. I’d look at the tip with an optivisor, and
it’d be fine, it’d still stick perfectly on my thumbnail, but if I
looked at it under 20x, it was plain that the very tip had snapped
off, and that was causing trouble. It was shocking how small of a
missing bit on the tip could cause problems. Buying that scope
caused a quantum leap in my sharpening technique.

One thing about the Meek book to remember is that he was a gun
engraver. Which means that everything he’s talking about is focused
on chopping through steel, a much much tougher material than gold
& silver, and most especially fine silver. (I’ve engraved fine
silver. Nasty stuff. Sticky and gummy. Go with sterling if you can,
it cuts much more cleanly.) For precious metals, especially as a
beginner, you don’t need the hammer engravers he talks about. Just
set that whole discussion to the side for later.

I would look at the section where he talks about clearance angles
(Heeling, for the rest of us) starting on page 34. Just keep in mind
the heels he shows are MASSIVE. I’ve got to hope that those
drawings were exaggerated for clarity. They’re way, way too big.
Most gravers that are heeled and intended to cut curves, have heels
that are so small you need a good optivisor to see them clearly. The
bigger your heel, (clearance angle facet) the less you can turn.
With heels like he shows, you’re stuck pretty much in a straight
line.

My best advice is simply this: grab some scrap copper, and start
cutting. That’ll tell you much more than any of us ever could.

Regards,
Brian

1 Like
Many yrs ago I was reading about money printing dies. These used
to be all engraved by hand, and the master engraver would come in
to his workshop and practice for an hour or so, to get his hand in,
only then would he take his graver to the steel he was working on.
Engraving to this standard takes a 7 yr apprenticeship assuming
you have the talent. 

Let’s have some perspective. Engraving printing plates is highly
specialized discipline. Ornamental engraving has more relaxed
standards. It is absolutely true that mastery of anything takes years
of practice. However, it is not always the goal. It is possible to
produce passable level in a few months of practice.

The most important is to practice without worrying about length of
training.

Japanese have a saying which is translated to " Do not be concern
about results, but enjoy the process. From good process good results
shall follow. "

Leonid Surpin

1 Like
These used to be all engraved by hand, and the master engraver
would come in to his workshop and practice for an hour or so, to
get his hand in, 

Ted says some good stuff for Andrew and others interested. I’ll say
a couple of things. “Real” engraving is one of the most difficult
skills there is. It’s just a piece of steel, a handle and your hand
and eye coordination. And an engraving block hopefully and layout
tools and such. The graver needs to be unimaginably sharp, and your
hand control has to be finer than most people can even grasp. It’s
hard and it will take some years to get any good at it at all. To
expect to pick up a graver, whack some sort of edge on it and sit
down and do real work is just not realistic.

Gravers have many other uses, too. Theyare chisels if you want to
use them that way. And the other side of this thread - “classifying
gravers” is simple - don’t worry about it. Here’s a job, this is the
right tool, use it.

I was stunned by taking a good look at my tips. I'd feel a bit of a
funny drag, and the cut wouldn't be *quite* right, but still easily
good enough. 
Just not quite perfect. I'd look at the tip with an optivisor, and
it'd be fine, it'd still stick perfectly on my thumbnail, but if I
looked at it under 20x, it was plain that the very tip had snapped
off, and that was causing trouble. 

Thanks, Alberic, for this comment. I will look with my 10X loupe
from now on when I get that “not quite right” feeling through my
graver. I think that this is an all-too-familiar feeling for me,
which will be very good for me to address more diligently. I do
decorative scenes in sterling, for the most part, so there is a lot
of forgiveness in the design process. The worst errors show when I
start digging too deep, and one part of the design gets way too heavy
and dark looking after being patinated. Of course, I have learned by
now how to burnish a light scratch out by pressing the metal along
the sides of length of the scratch with a hand burnisher.

M’lou

Hi M’lou, Alberic, Leonid:

I only have a 10X Optivisor, so I can’t see broken tips yet.

But before I could even practice with a graver, I had to get my ball
vise fully operational. I lost half of my pair of vise jaws which
went with the ball vise, during a move a couple year ago.

A couple weeks ago, I resolved that I would have the essential
equipment necessary to begin practicing engraving, so I could learn
how to do it correctly. I therefore began creating a new pair of vise
jaws.

Today, I finished that project. I created a new pair of vise jaws out
of aluminum, using my CNC mill, my drill press, a 1/4 inch and a 1/8
of an inch endmill, a #7 drill bit, a 1/4 inch 20TPI tap, and a
couple 1/4 bolts whose heads were sacrificed to make shafts.

They’re not IDENTICAL with the original version. There is also a 1/8
inch gap when the screw is fully turned so they don’t quite close.

But they should serve the purpose. I hope. Of course, I have to make
pins, but worn-out bits with 1/8 inch shafts could be sacrificed for
the cause and cut to fit.


Onward!

Andrew Jonathan Fine

But before I could even practice with a graver, I had to get my
ball vise fully operational. I lost half of my pair of vise jaws
which went with the ball vise, during a move a couple year ago. 

Links are not working, but I am sure you did a good job.

A lot about engraving ball is optional. You can start practice by
cementing a piece of copper to piece of wood using chellac.

The wood can be held in engraving ball by 4 wooden dowels fitting
into top holes.

Jaws, attachments are conveniences and not necessities. They could
save time under some conditions, but almost any work can be done
without them.

Leonid Surpin

Hi Andrew,

I know this is going to tweak your engineer’s soul, (and make the
people who know me personally howl with laughter) but don’t sweat
"perfect knowledge". It isn’t important that you have every widget,
and that they all be perfect. All you really need right now are a
set of four pins, to hold flat plates down. (My first ones were made
out of scraps of brass TIG rod.) The other widgets are for holding
other shapes and forms. By the time you get the point where you can
handle the sorts of things those widgets hold, you’ll know enough to
recognize what they’re for.

On the simple pins, it helps to take a triangle file and file a very
small “V” across one side, up near the very tip, so that the “V"
grabs the edge of a plate of metal pressed up against the side of the
pin. (width of “V” about .060”) This is helpful, but not required.
Obsess not. A simple bit of brass rod will work just fine to start.

This is exactly backwards of the way many engineers are/were
trained. You were probably trained such that theory begets practice.
In this case, practice begets and informs theory. Don’t try to come
up with a theory of engraving yet. You don’t know enough. Just sit
down and practice. Do the engraving, and eventually you will have
enough experience to begin to form an accurate theory. But for now,
just do it.

Are you familiar with the Zen idea of “no mind"or"No intention”?
That’s where you need to be. Take the engineer part of your head,
and chuck it out the window. Just engrave. Cut lines. Feel the cut.
Once you have something faintly resembling control over where the
lines go, then you can begin to think about it.

Many parts of metalsmithing are very zen, and engraving is one of
the most cerebral, in a very odd sort of way.

It’s sort of like chess: you can learn the rules in about an hour,
but it takes a lifetime to master them.

Regards,
Brian

1 Like

I was taught to test your engravers sharpness to simply push it
across your finger nail. if it digs in it is sharp if it slips it is
not. I know the ladies out there will not like the effect it has on
their nail polish but us guys don’ t have that concern… :slight_smile:

I was taught to test your engravers sharpness to simply push it
across your finger nail. if it digs in it is sharp if it slips it
is not. I know the ladies out there will not like the effect it has
on their nail polish but us guys don' t have that concern.. :-) 

Won’t bother me I don;t wear makeup in the shop lol Teri

I was taught to test your engravers sharpness to simply push it
across your finger nail. if it digs in it is sharp if it slips it
is not. I know the ladies out there will not like the effect it has
on their nail polish but us guys don' t have that concern.. :-)

hey Vernon!

that’s hilarious!..your comment made me realize that I learned this
behavior new 44 years ago and I never even thought about
before!..must of just gathered the habit from hanging with all or
some of the serious journeymen around me on the East Coast, way back
when…

In the blink of an eye, I was transported, like a Deja Vu
experience, …real strong memories. like I was there again.

And then I blinked again. and I’m staring at your post about what
seems to be a time-honored tradition which passed along(or picked
up) to the newbies someway somehow!

I can now ID the incredible Diamond Setter fro the mountains of
Peru, Teodoro, as the source of my engraver/fingernail unconscious
habit 44 years ago!

absolutely priceless!..

Thanks! :wink:

Marko

I now wear polish all the time because I hate the ugly look of my
naked nails. This is a big PITA for gravers, though I suppose i
could whip off my shoe. Is there another readily available test? A
piece of horn, perhaps? A certain kind of plastic?

Noel

The links to the pictures from the message I sent were broken, here
are the correct urls


I remember when I was taking a GIA Advanced Stonesetting workshop 20
years ago, one of my classmates was a rather conceited young woman
with long, bright red nails. As Jurgen Maerz was explaining on how to
sharpen gravers and test them on your nails, I was merrily (and
rather gleefullyat that time) testing my gravers on my thumbnail. The
young woman said, I’m ain’t using my nails, and I thought, what a
brat, and didn’t have much opinion of her. If you are a jeweler, you
are going to sacrifice your nails, and forget about manicures! Never
had one, probably never. Idon’t care - I like my battered nails.

Joy, with a whole new assortment of wounds from a cabbing machine and
sheet metal.

Practicing with gravers

Alberic

I had a good chuckle at your comments to Andrew and tweaking the
engineer’s soul. I really told a student to stop overthinking and
just play with the metal. Turned out she was a retired family
counselor, so she was very cerebral. I had an grinding/manfacturing
engineer today in class, and he said he could tell I was a natural
engineer. I’m trained in jewelry/silversmithing/jewelry repair, yet I
spend so much of my time thinking how to put things together and how
it works. But on the other hand, I know my metals so well, I know how
it behaves and that’s when I have to tell students who overthink t
relax, just go with the flow. Some of the jewelry processes require
you to loosen up and let it glide as you work instead of fighting the
tools/materials. I can go into a Zen state planishing for it’s
repetitive and soothing to the soul.

Joy

Is there another readily available test? A piece of horn, perhaps?
A certain kind of plastic? 

Nail test performed correctly does not leave any marks.

Nail should be held vertically and graver point should lean against
it.

The only factor here is graver’s weight alone. If graver does not
slide, it is sharp enough.

The test can give false indication. Commercial gravers are softer
than they should be and leave burr after sharpening, even after
Arkansas stone. This burr can simulate sharp point in the nail test.
The test should be done after polishing to see if graver was
over-polished or not.

Leonid Surpin

You might try finger polish remover on the one thumb nail you use to
test the engraver on then re polish it when you finish. Or try a
piece of horn. might work…

Most people I know like my jewelry much better then my finger
nails:-) so I keep making more jewelry and then they are too busy
looking at my jewelry andthey don’t notice my nails anymore:-) Make
more jewelry and love what you do