…hmmm…would the answer be?..that the center was pierced out, and then the underside of the scored lines were filed into “V” grooves, to remove metal, so that the 8 scored lines/ corners could be folded downward…?..just contemplating this…
Julie
…hmmm…would the answer be?..that the center was pierced out, and then the underside of the scored lines were filed into “V” grooves, to remove metal, so that the 8 scored lines/ corners could be folded downward…?..just contemplating this…
Julie
Are you asking Jim if he did it differently than it is done in this video? Starting after 3 minutes into the video:
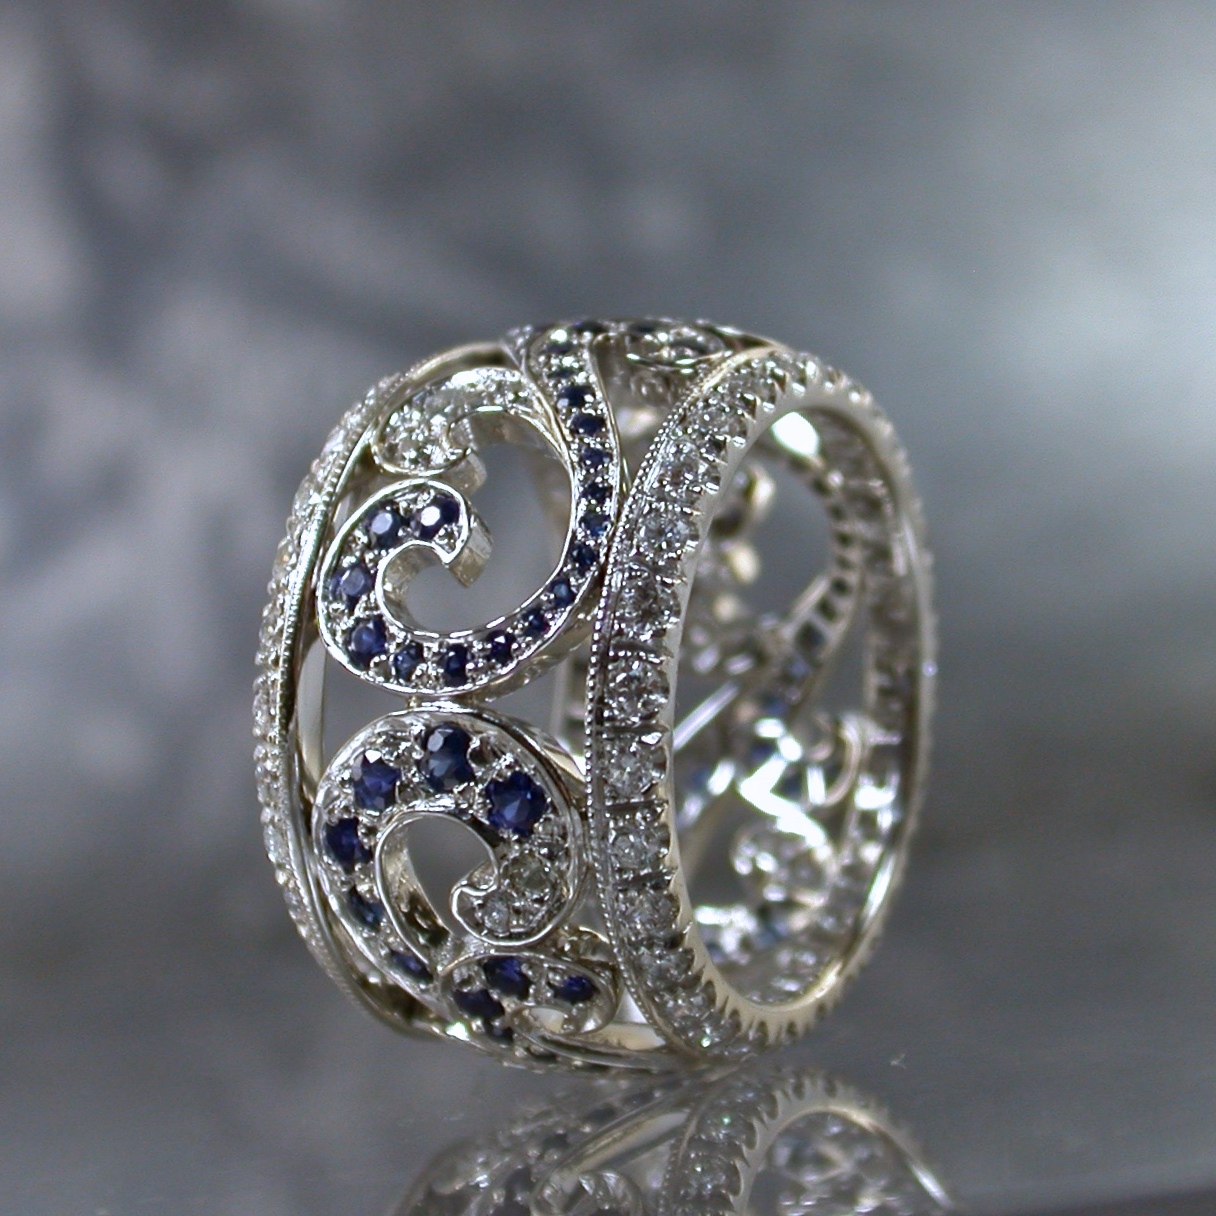
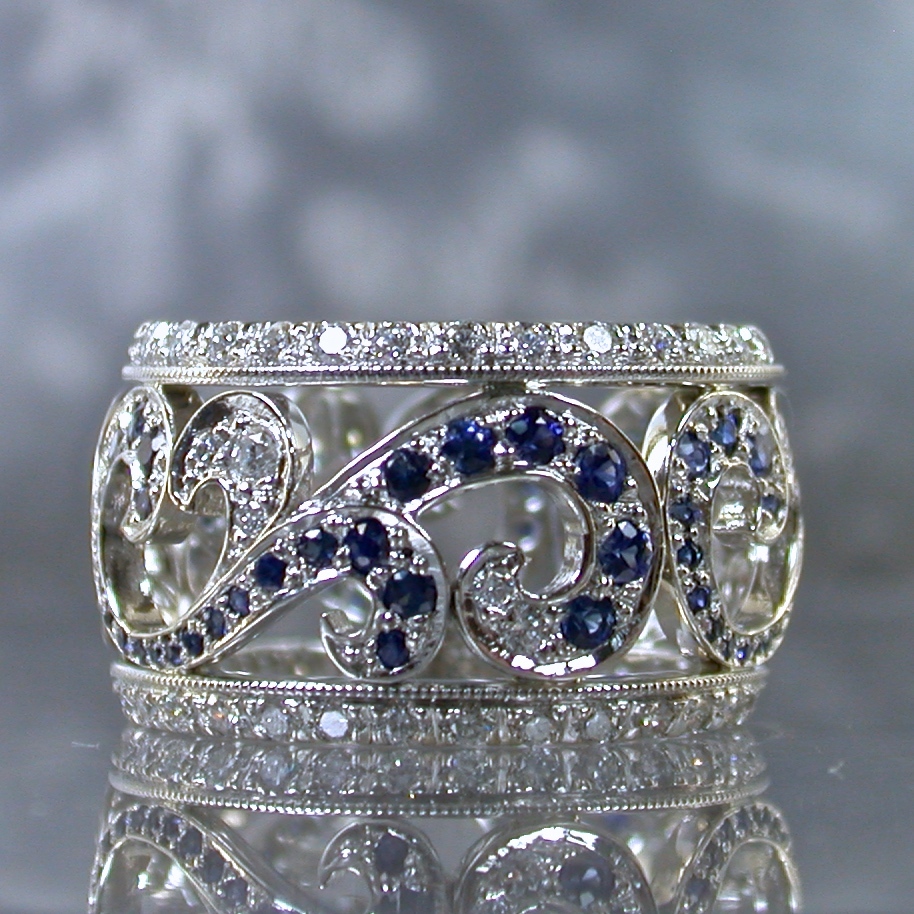
In this ring, is the fishtail setting technique that Gerry mentions, used specifically to repeat the idea of movement created by all the swirly design elements? Or is this technique used specifically for stone security on the slope?
In Jim’s photo, it doesn’t appear to be scored. It looks like it is cut, …unless he scored it with a cut-off disc. Now that would be scary!
Hi Betty2. That’s funny that you posted that video. That was the exact clip I had in my mind when I asked that question! It’s quite time intensive, but you get clean, straight folds resulting in that “base of a pyramid” look.
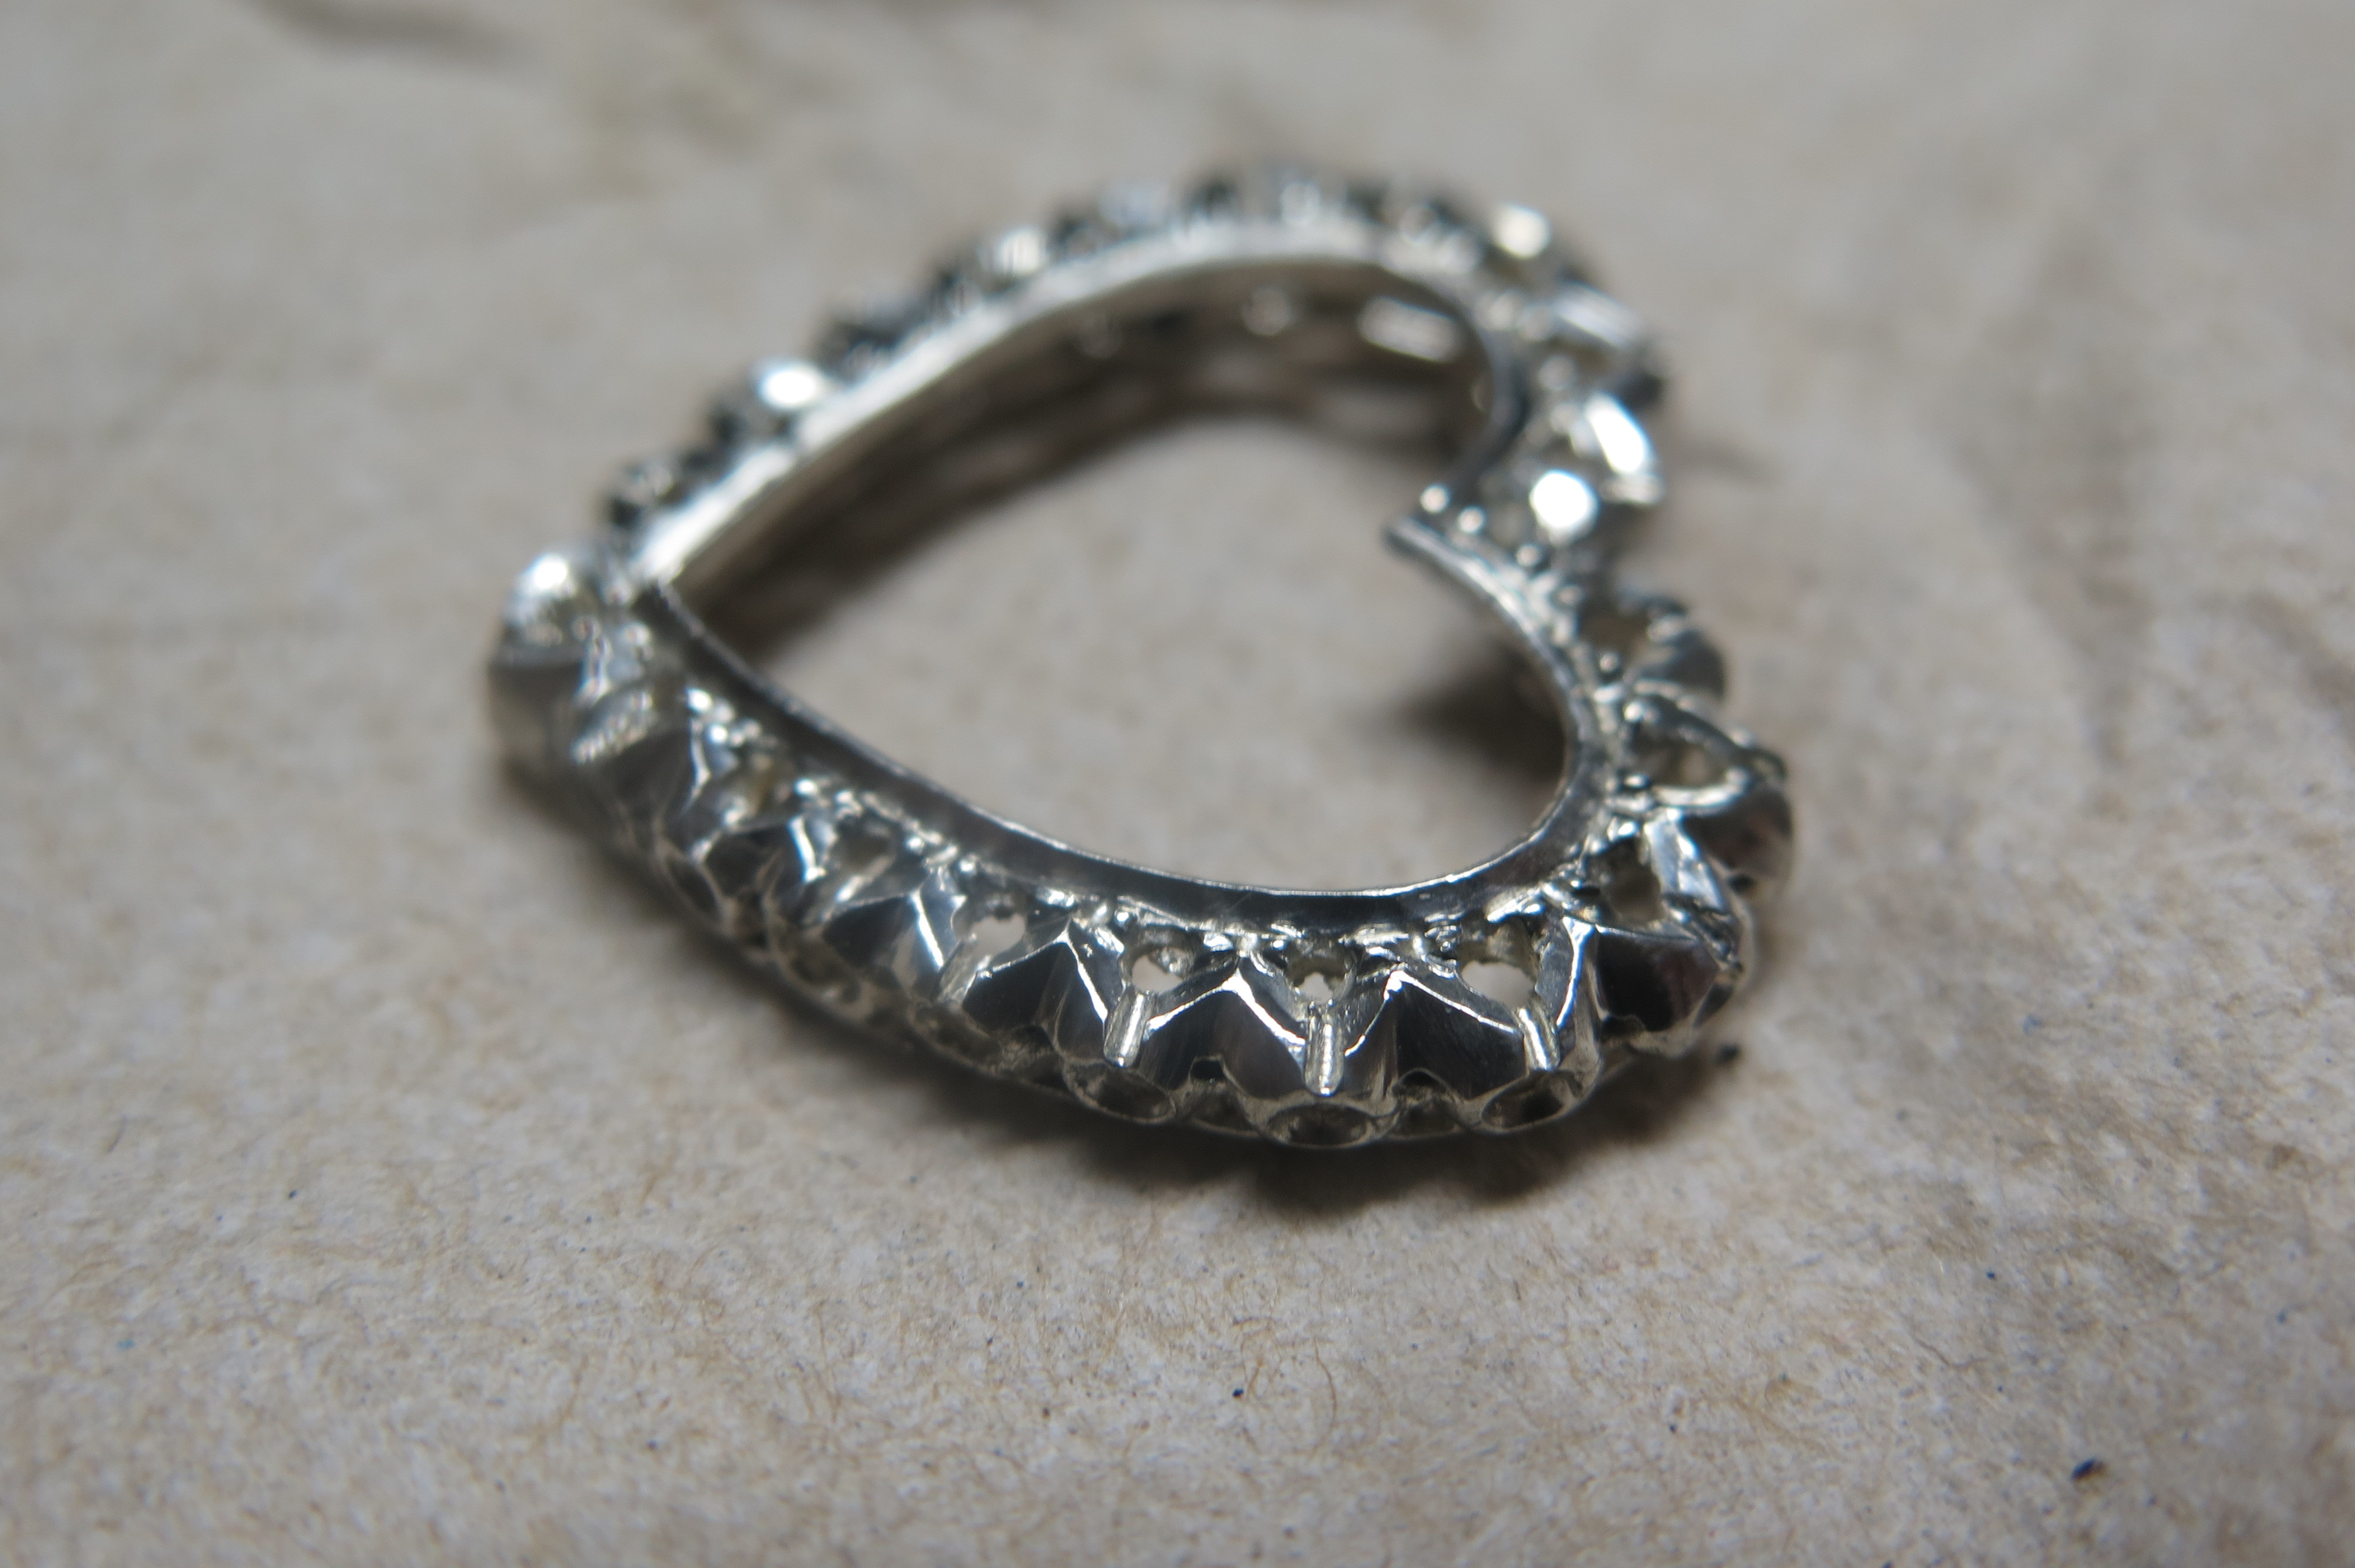
For something smaller like this setting, I saw that Jim either engraved or cut 8 lines where it was later bent. Given that it started as a complete square and not more of a “C” shape like the video (so that as it’s folded the two ends meet up), I’m having a hard time visualizing how you could fold it and get straight lines without using some sort of punch. Standard round dapping blocks would’ve rounded the flat surface and trying to just use pliers and bend it seems like it would be its own set of problems since the entire form is already connected to itself (bending one side would likely raise the opposit, etc). My best guess would be to use a dapping block to get the general shape and the reflatten each section, but that seems needlessly tedious… . Like an infomercial “There’s got to be a better way. . .” 
Wow…
Lots of thoughts here, but
Simply, I cut each line to within about a mm of the center.
(10/0 bade) flipped it over and back cut the lines with a graver (deep “V”, Cut a line around the octagon with a graver (kind of like doing box work) and folded, nipped and tucked a bit with the saw, used a protractor and calipers to check symmetry. When it was as close as I could get it, I welded it all back together then filed to get crispness back.
.
Hope that helps a bit.
Thanks, Jim
Hi Betty,
I use Fishtail a lot because I like the openness, more stone exposure.
It’s very secure, the prongs are below the table of the diamonds so wear isn’t a problem.
.
And Gerry, Thanks,
I appreciate your sharing your skills,.
Thanks for noticing that detail.
Best,
Jim
Thanks Jim. I think I understand what you are saying. Assuming I’ve understood it correctly, that seems like a practical approach to it. I’ll have to give it a try one of these days. Thanks for explaining that!
There are so many various techniques out there that I wish I understood better. . . it’s nice to knock one off the list on occasion 
Hi Jim & everyone on Orchid.
I’ve been thinking of something in Diamond Setting that is extremely difficult to create. In fact, I equate these two Bright-Cutting styles almost like “Advanced University, Post-Graduate Course in Bright-Cutting”
“Fish-Tail Setting” is on my own “Gerry’s Difficulty Scale of 36”. Ten (10) is difficult, but this is way over the top at 36!
All I use are three (3) gravers Onglette #1, Onglette #2 & a Flat Graver #40 to create this Art-Form. If a student wishes to learn how to construct these two intensive labour styles right from the beginning. All I ask is that each setting pattern will take approximately 1-2 days EACH! The only prerequisite is that person should have some prior knowledge on how to use a graver!!
The next pattern is simply named “Cut-Down” it is aptly called that, as the graver cuts down to and beyond the edge of the ring. Do you see any normal looking ‘beads’? There are beads but using another technique to make a wire-bead & secure the four corners to literally hold the stone…from that point the graver cuts further out & beyond the edge of the shank. This Difficulty Scale is off the chart.as I would give it a basic 50…a.k.a. OUCH or OY!
…Being a Diamond Setter is great fun, don’t get me wrong, I simply enjoy writing & working at my private bench & passing on to you all about this Art-Form.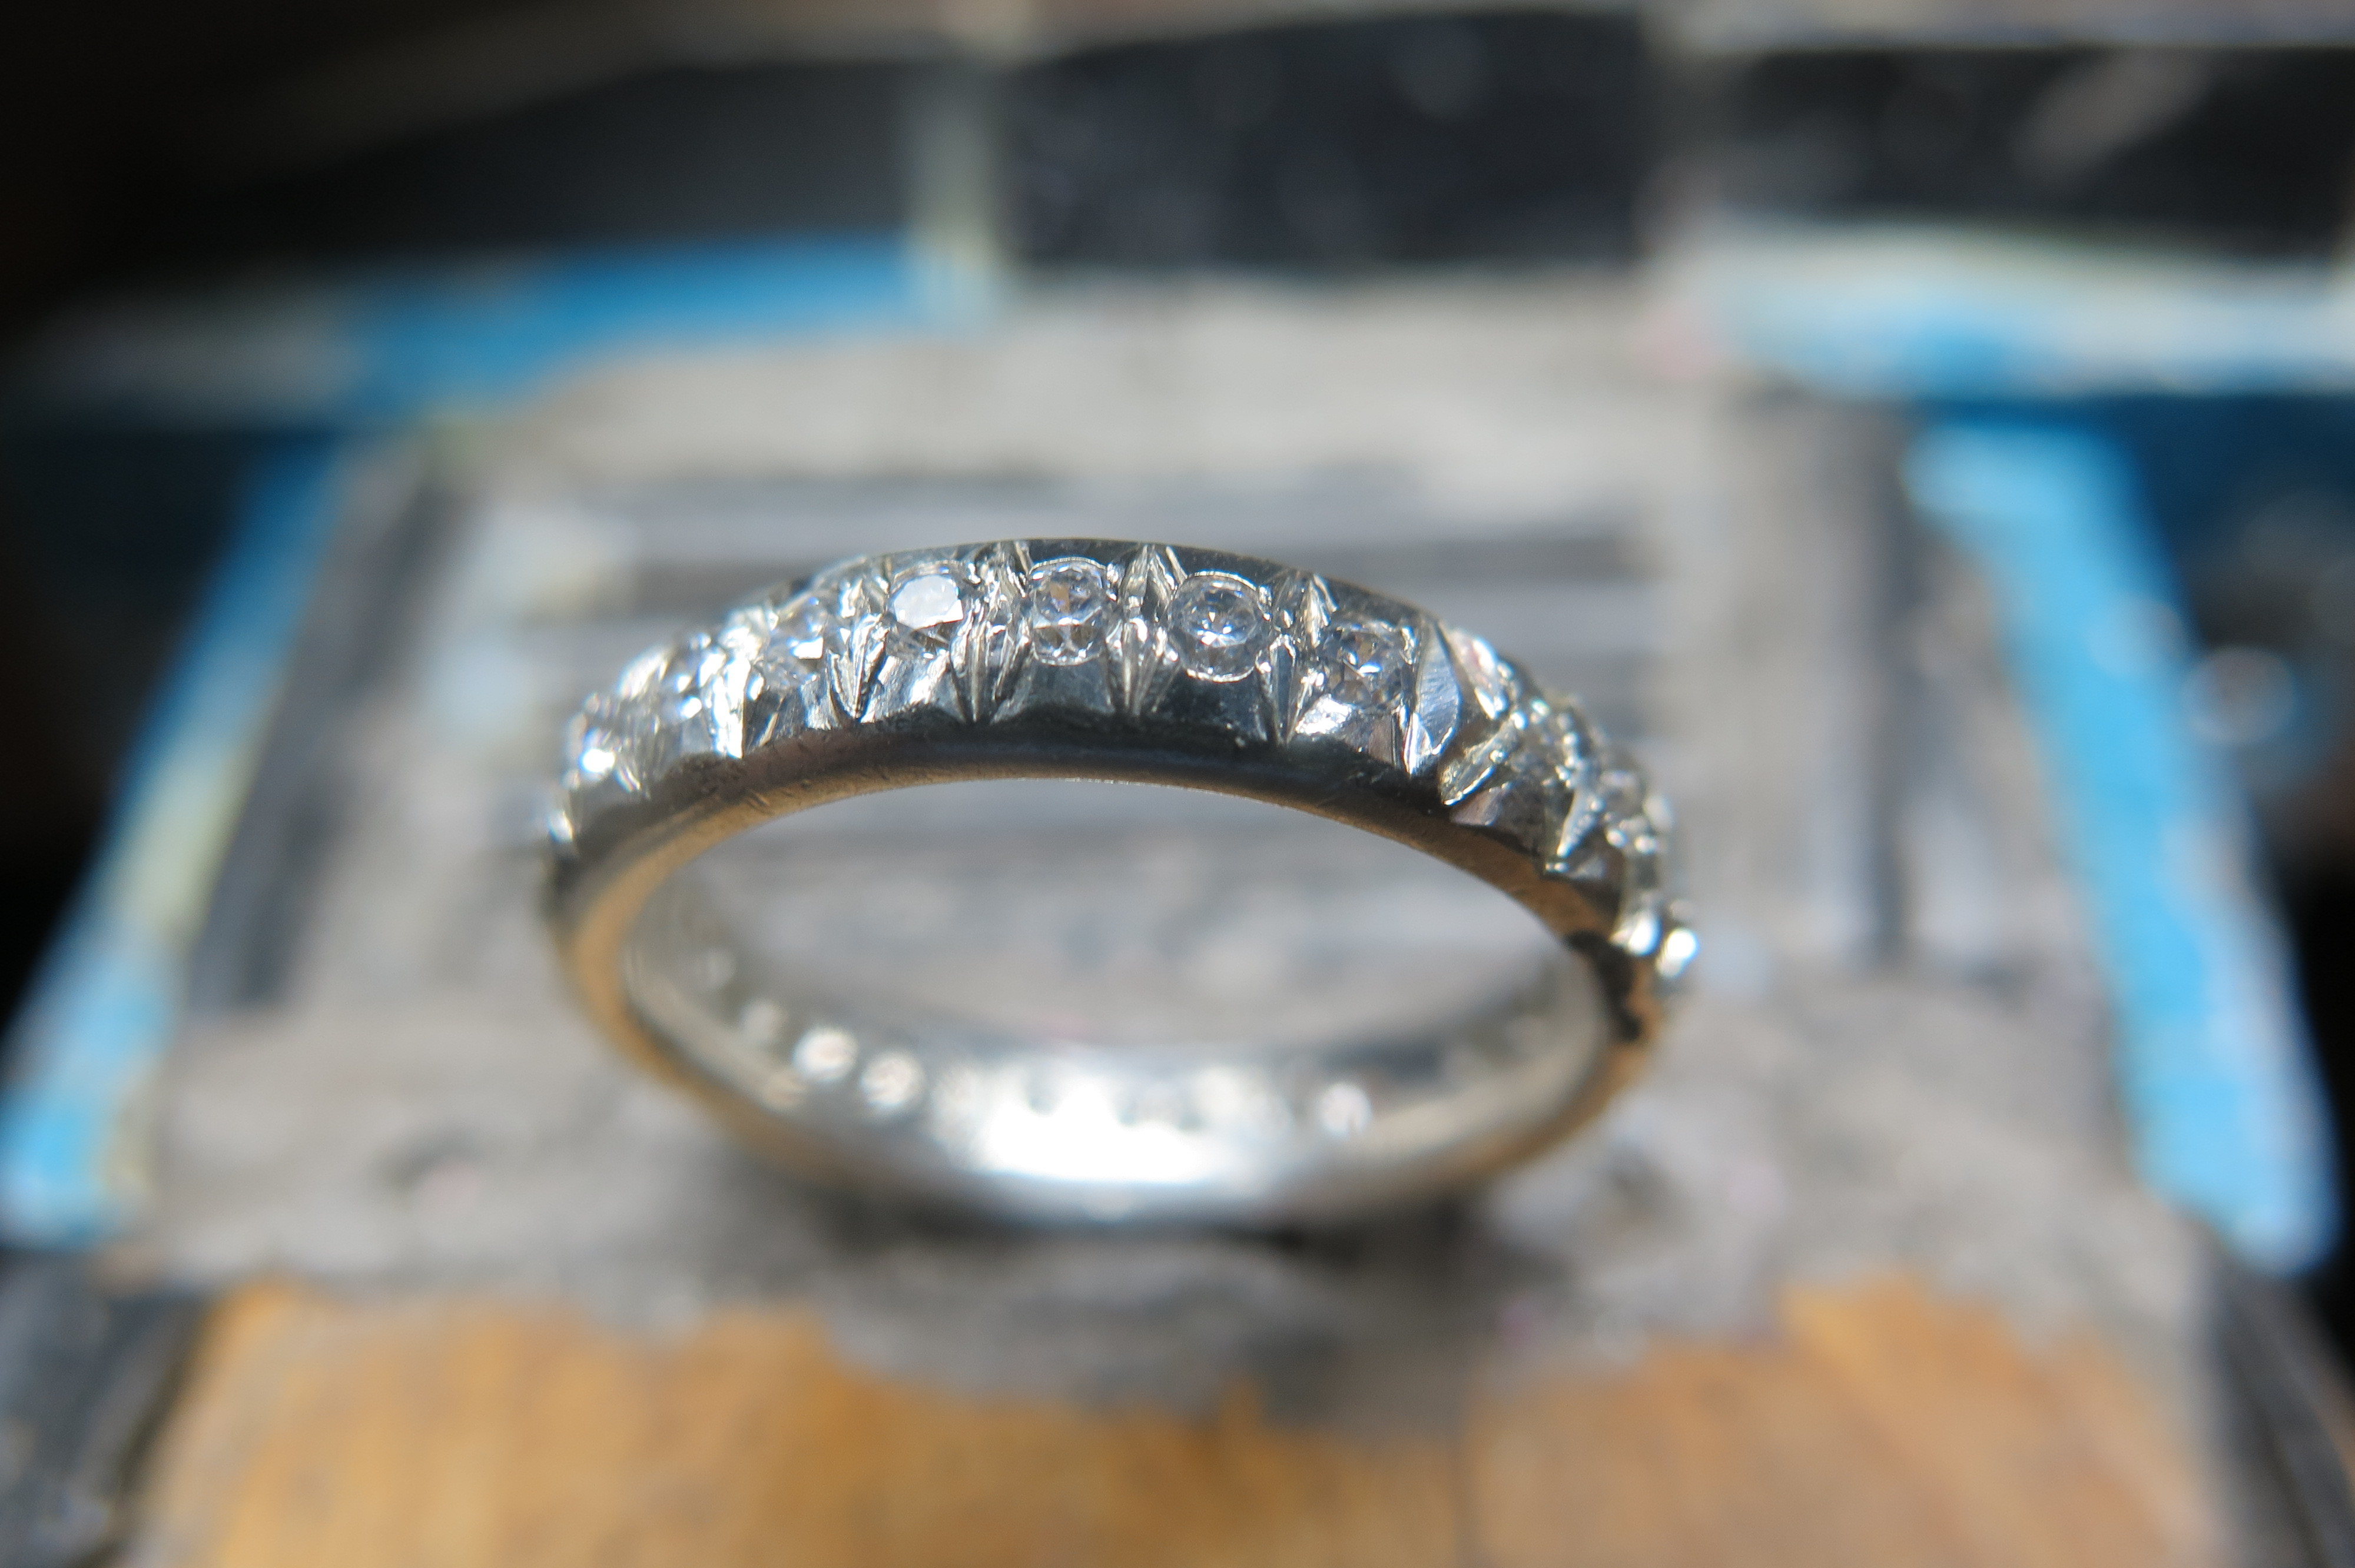
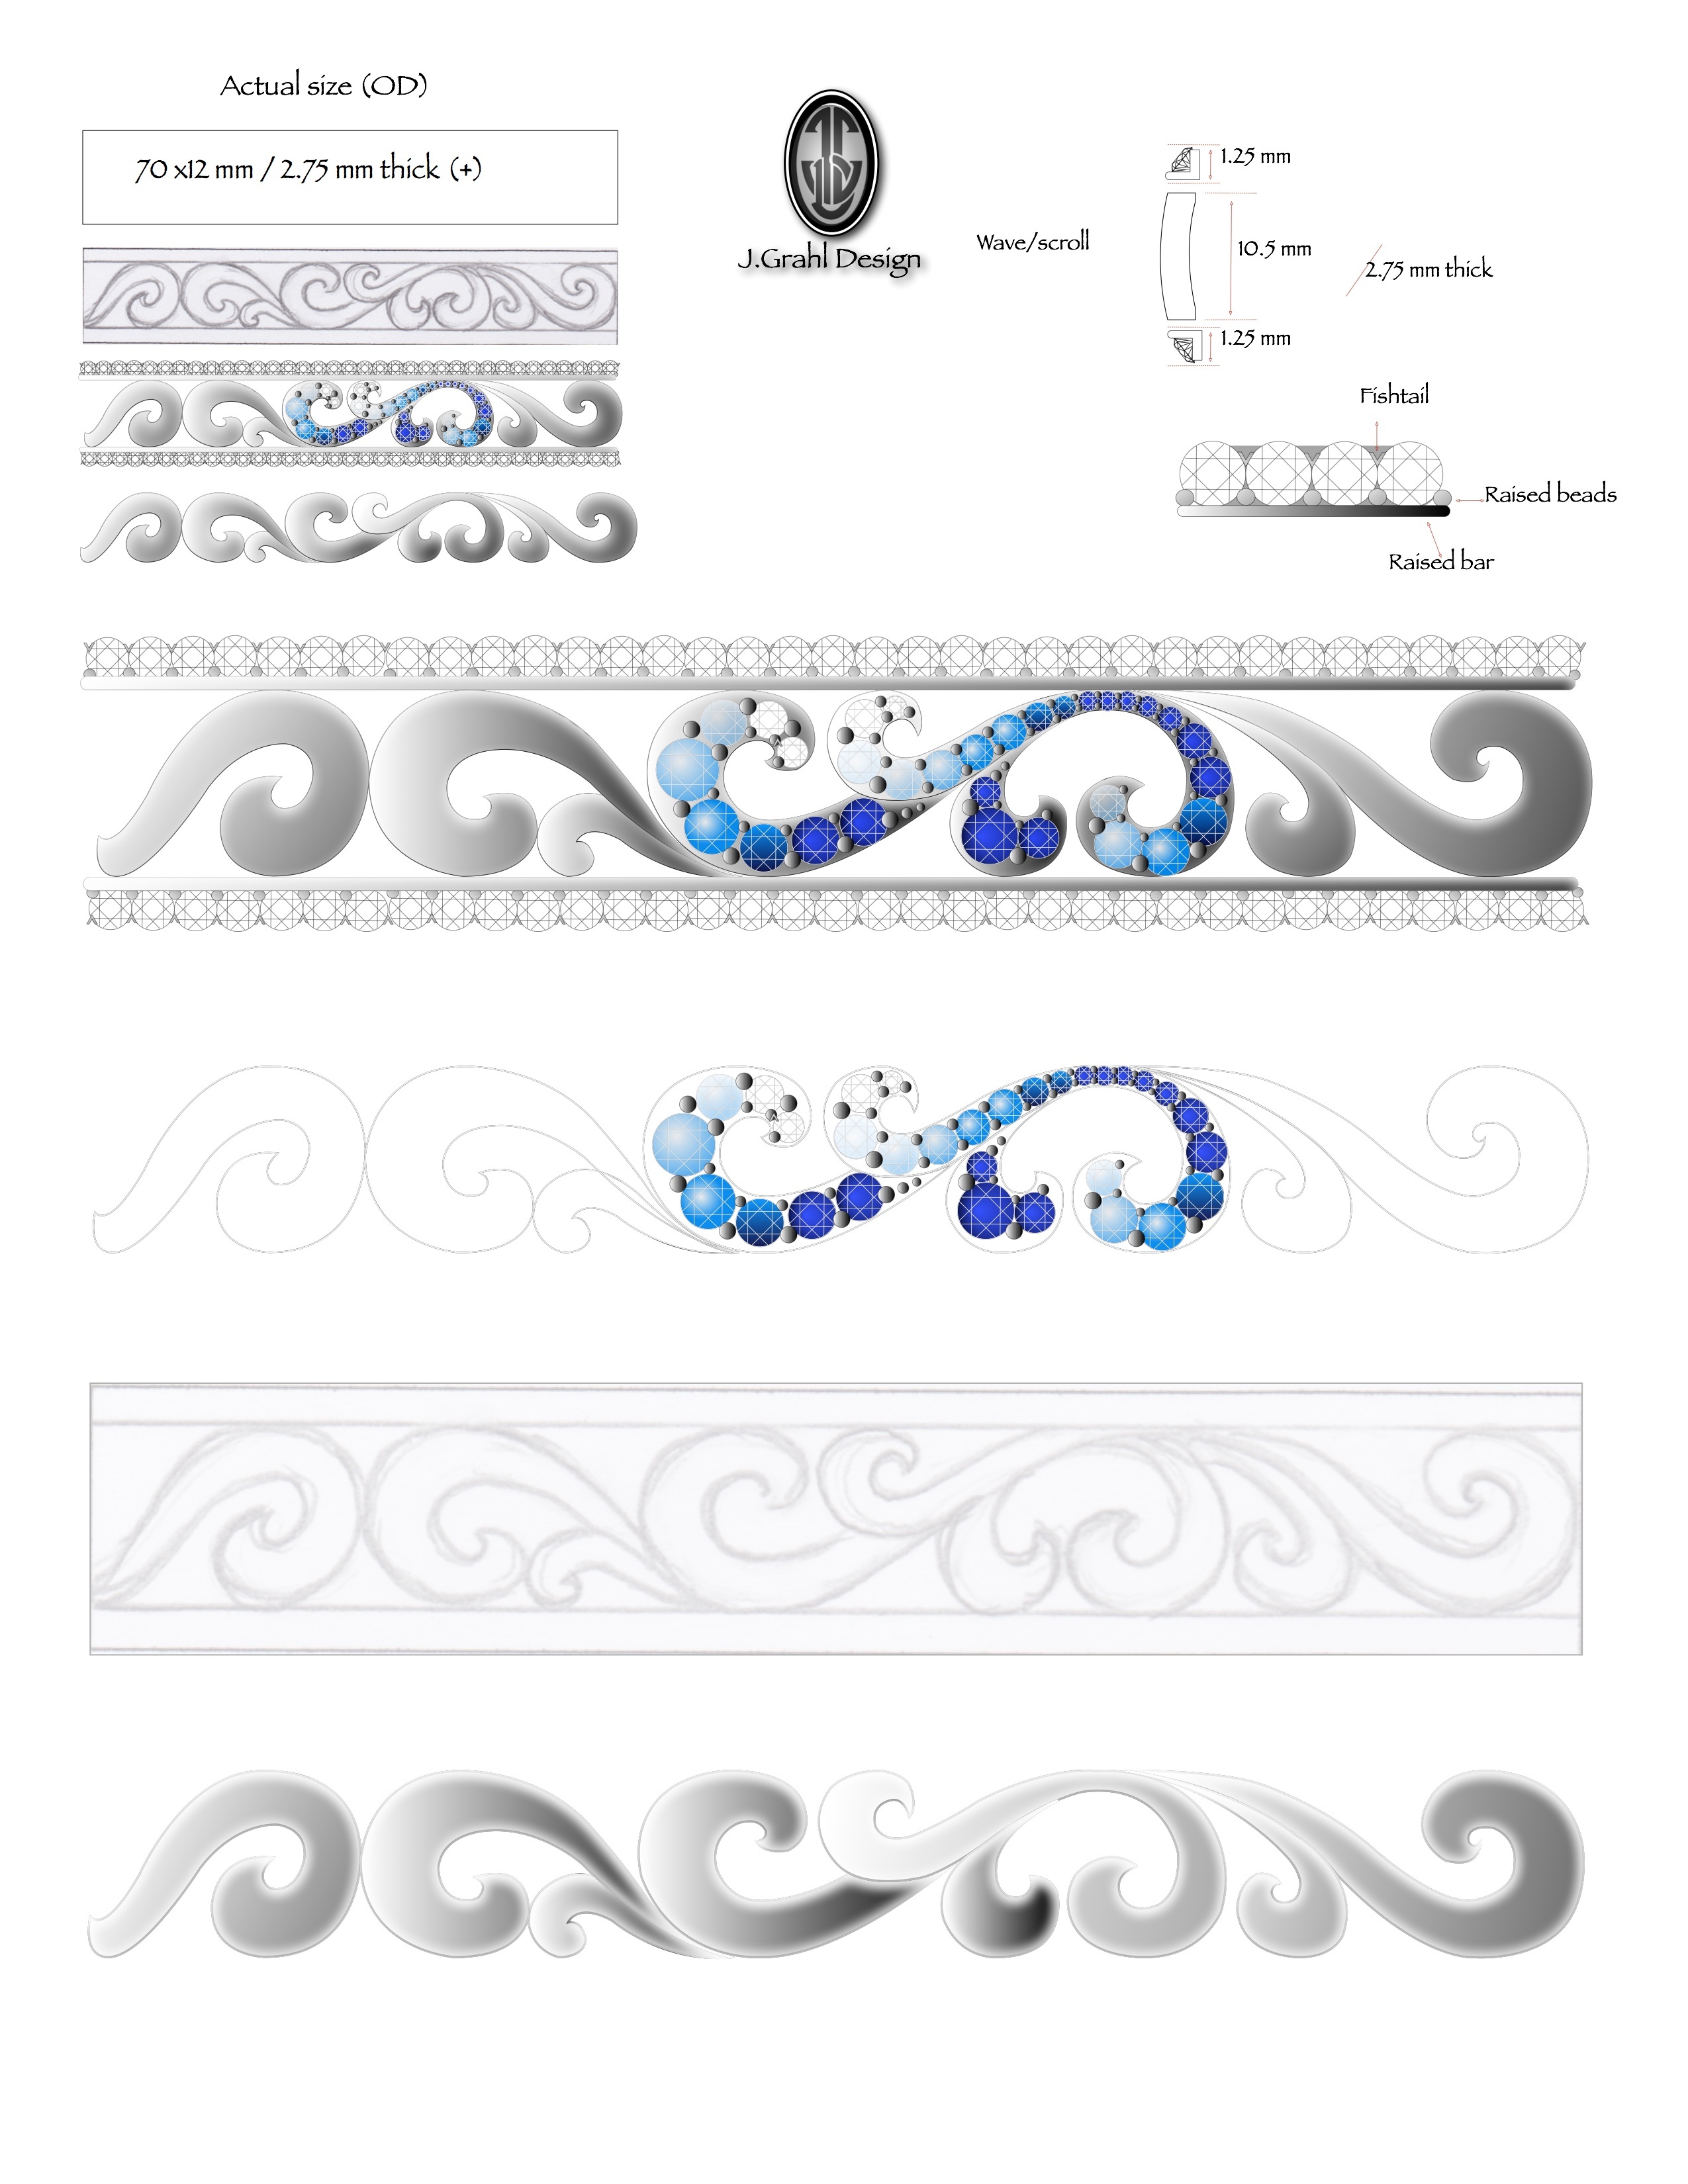
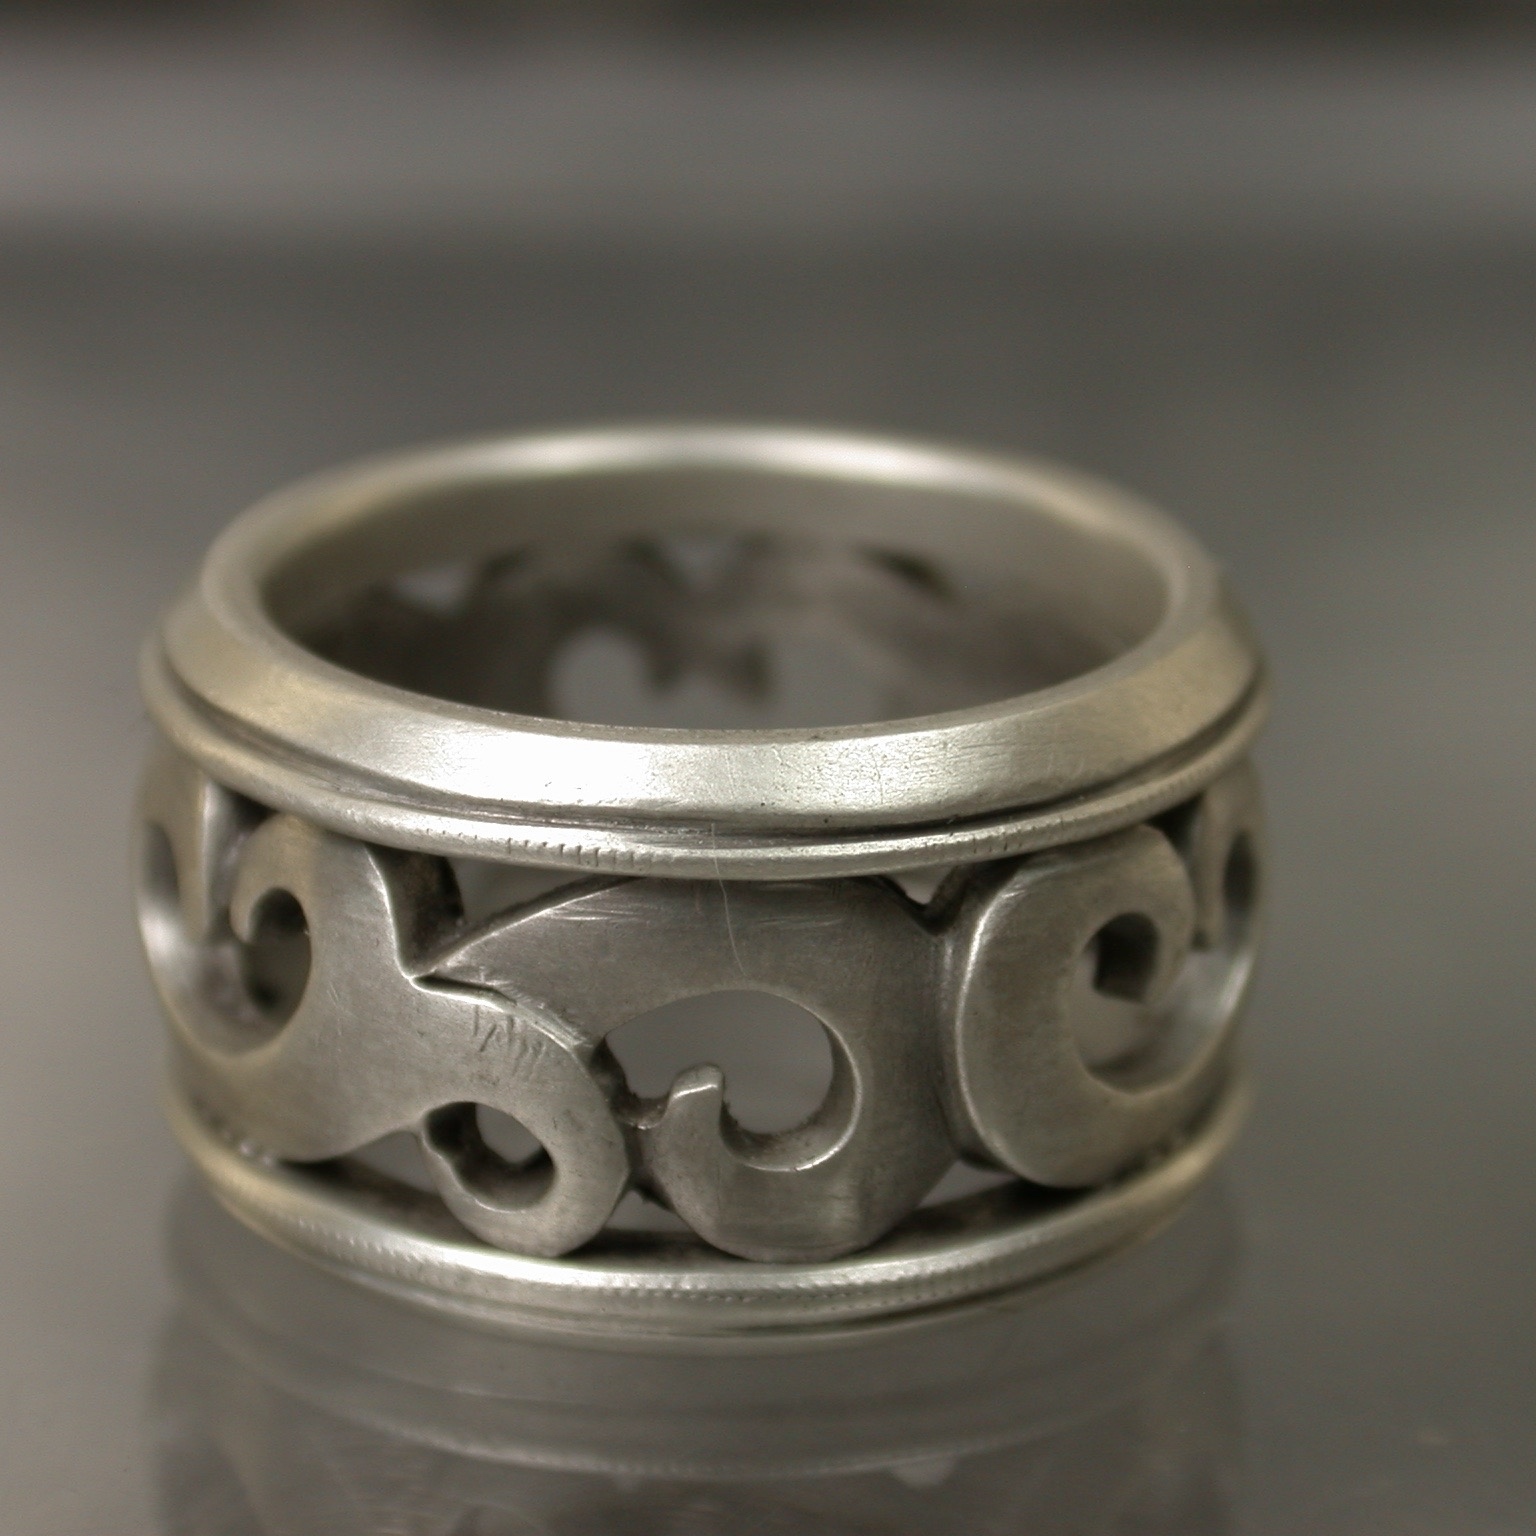
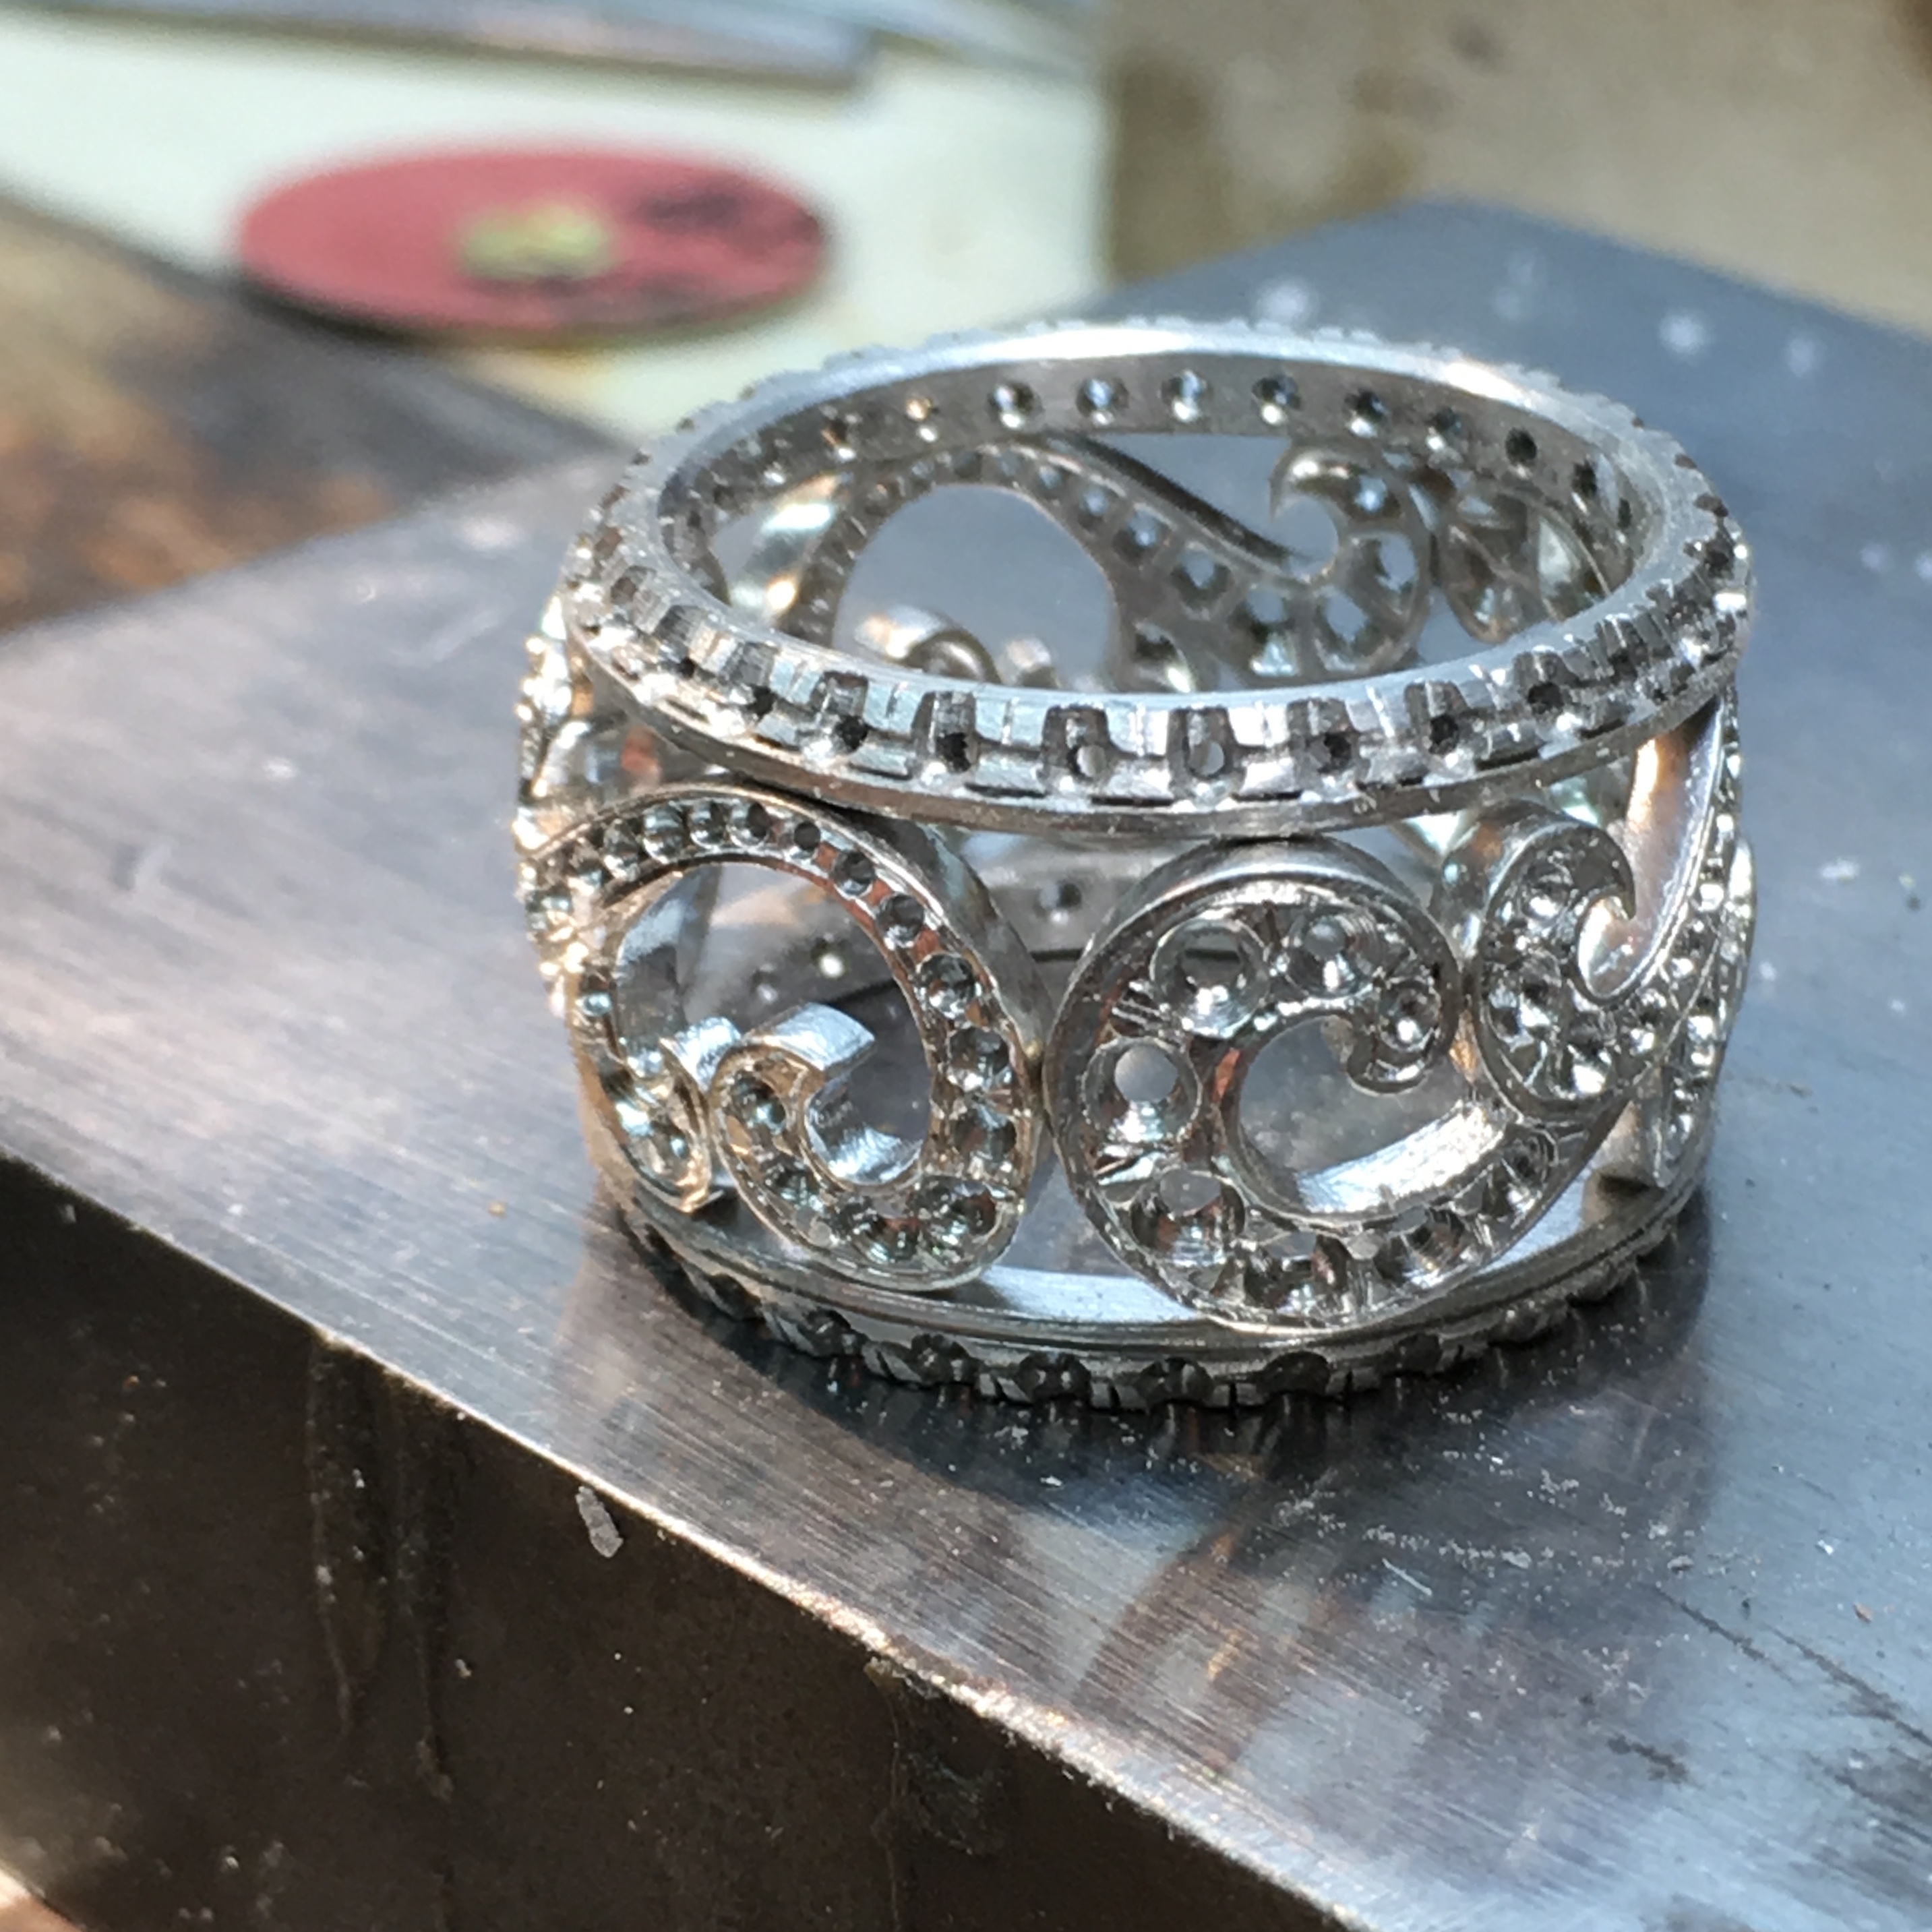
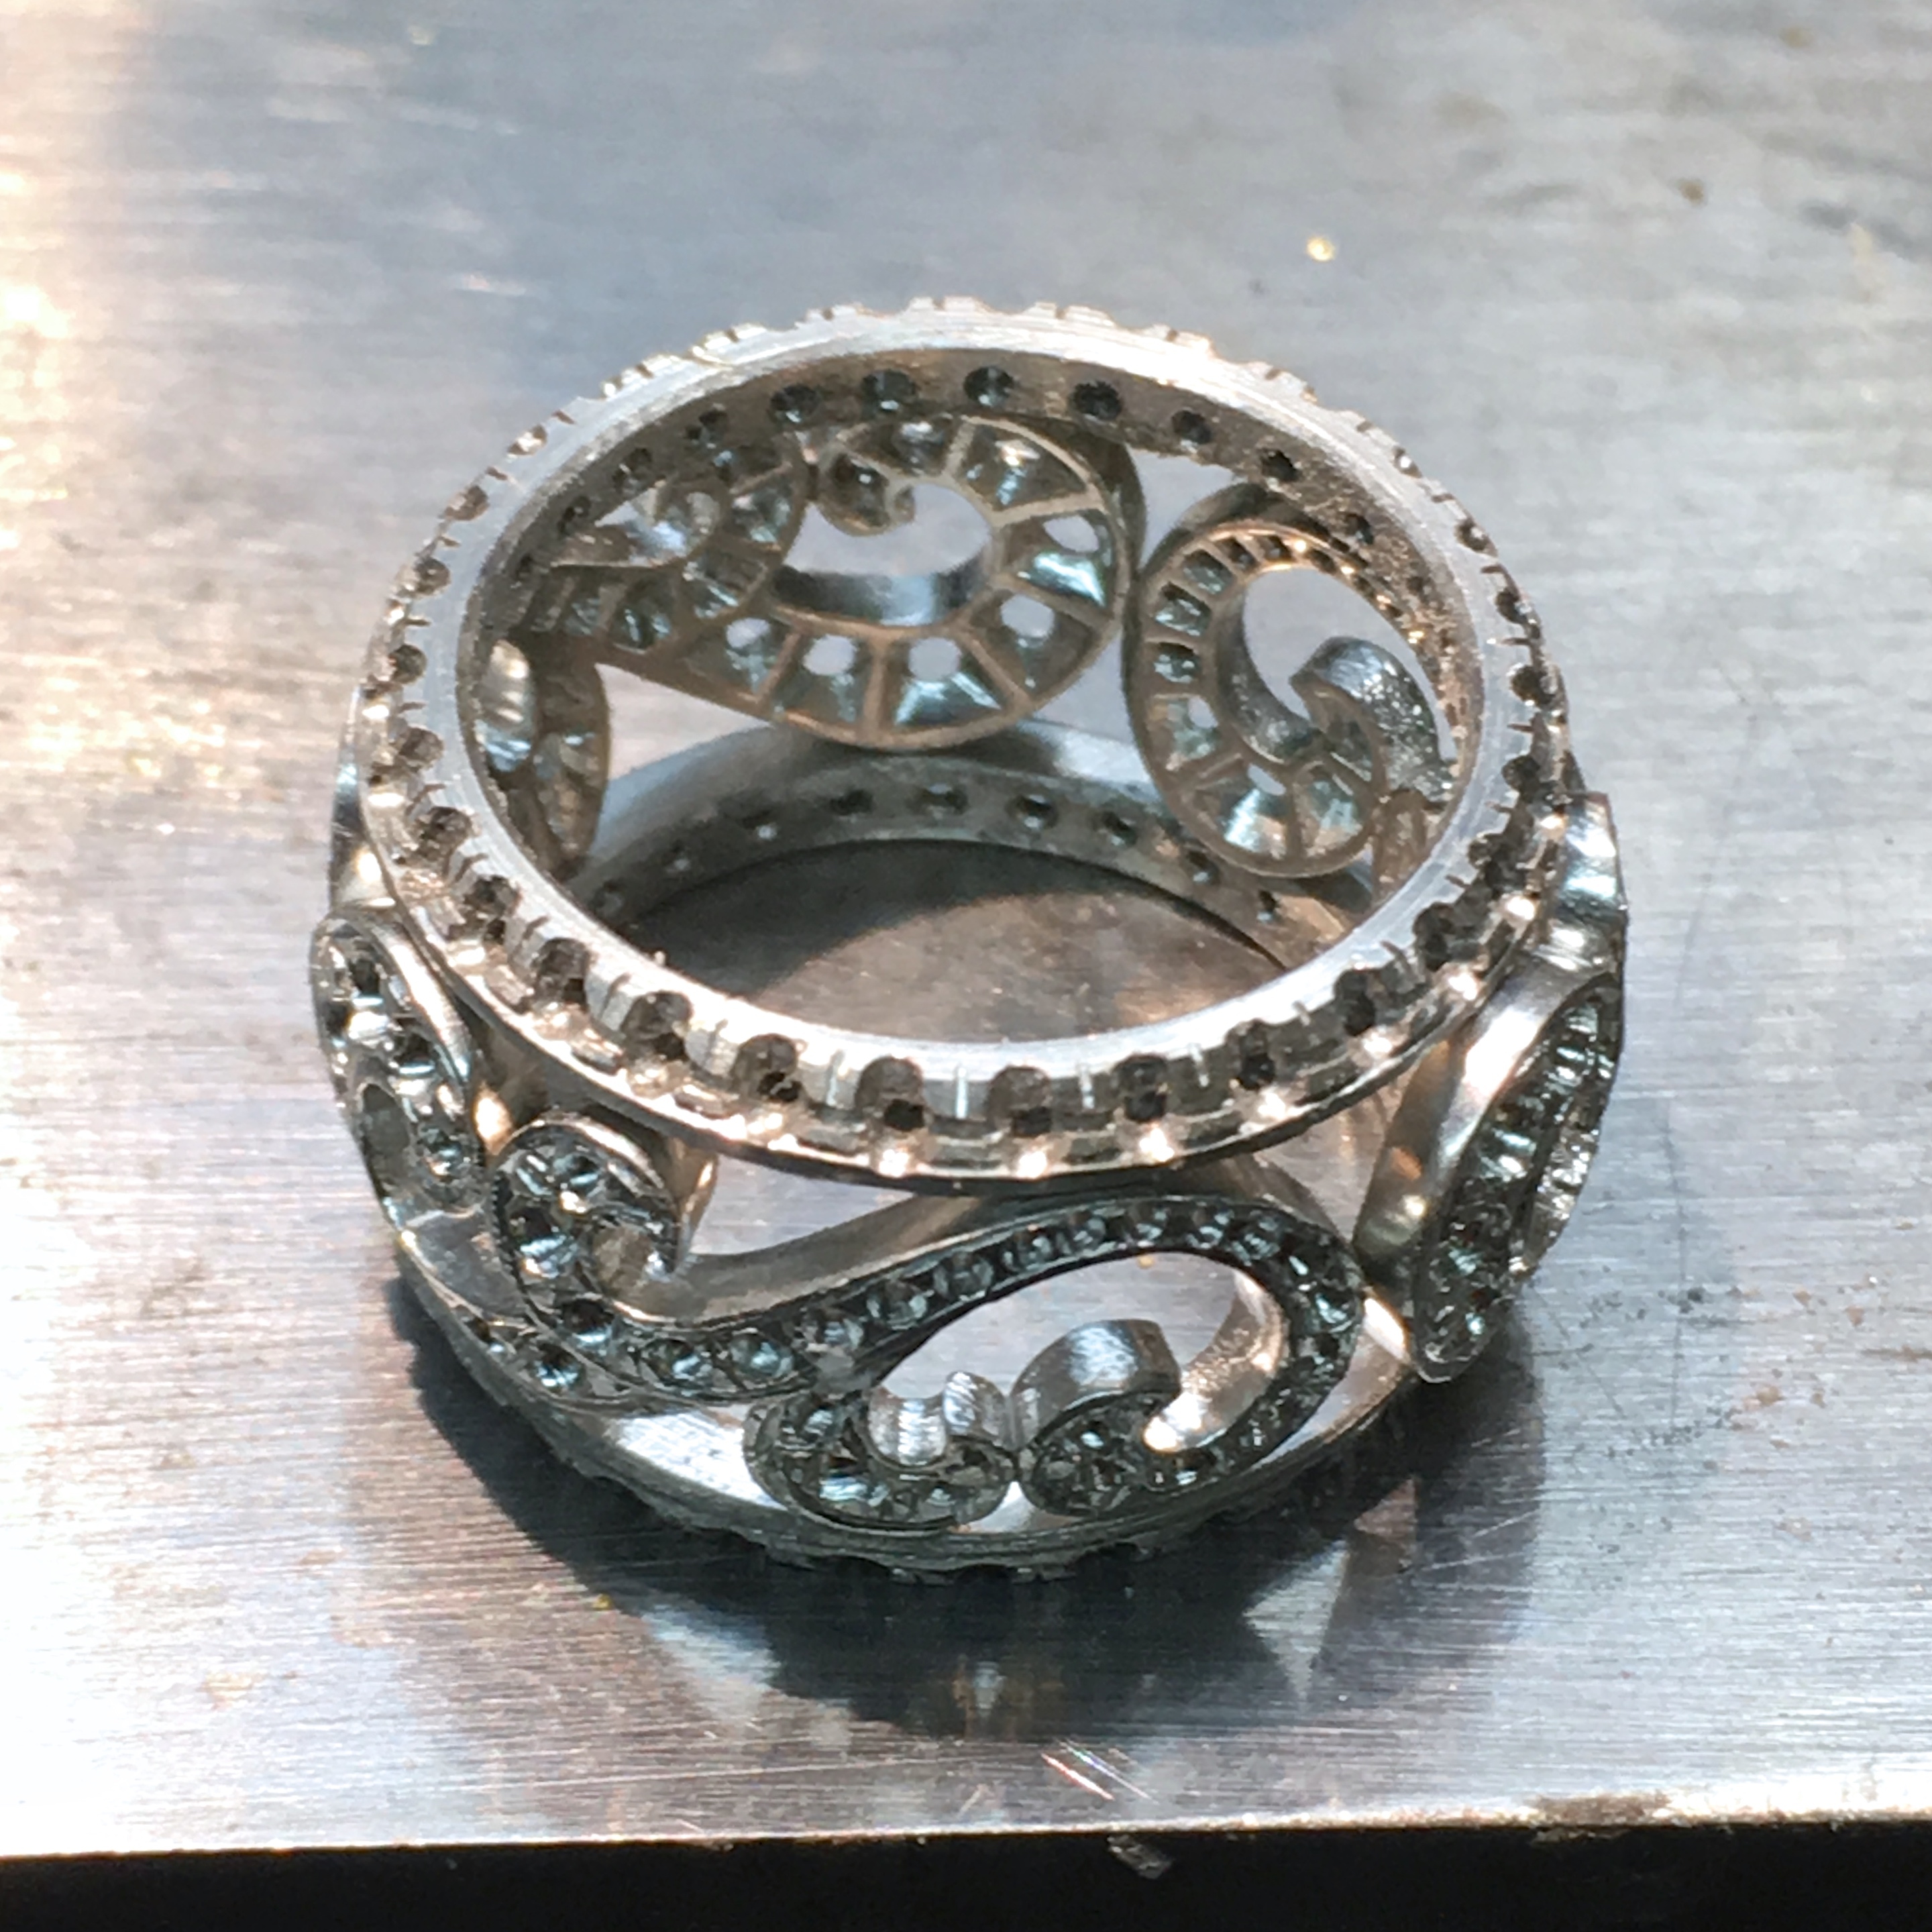
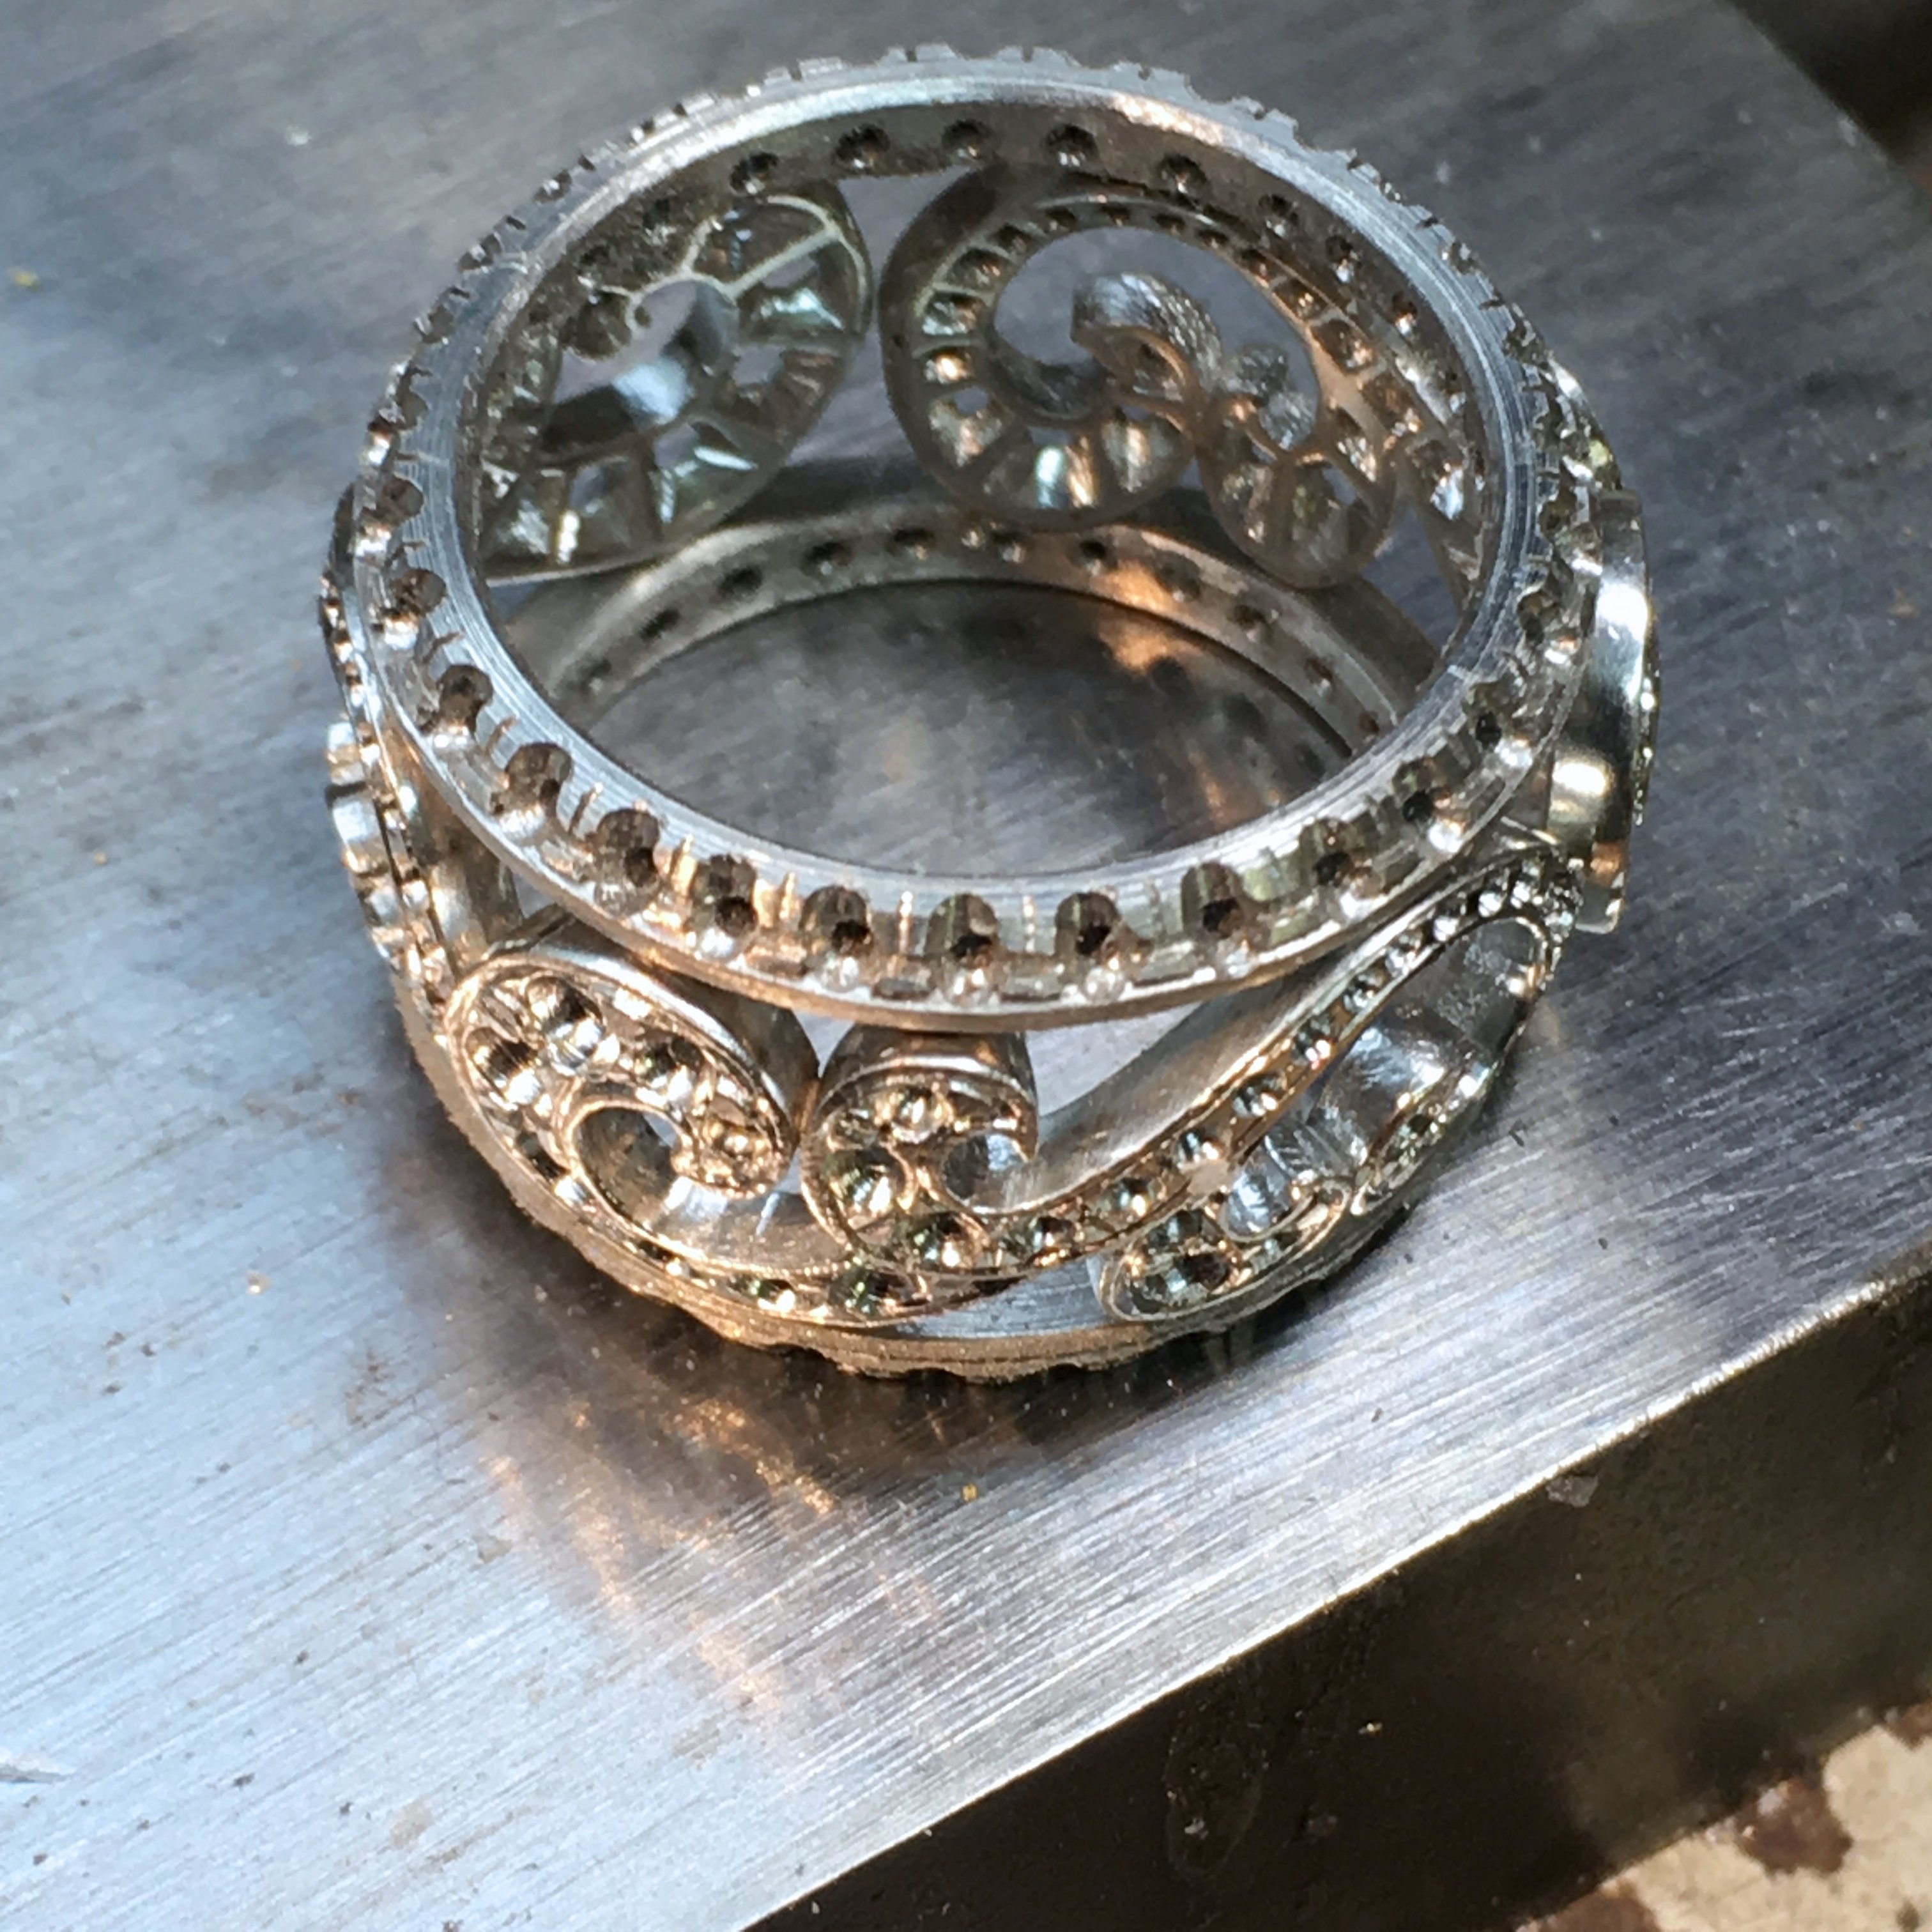
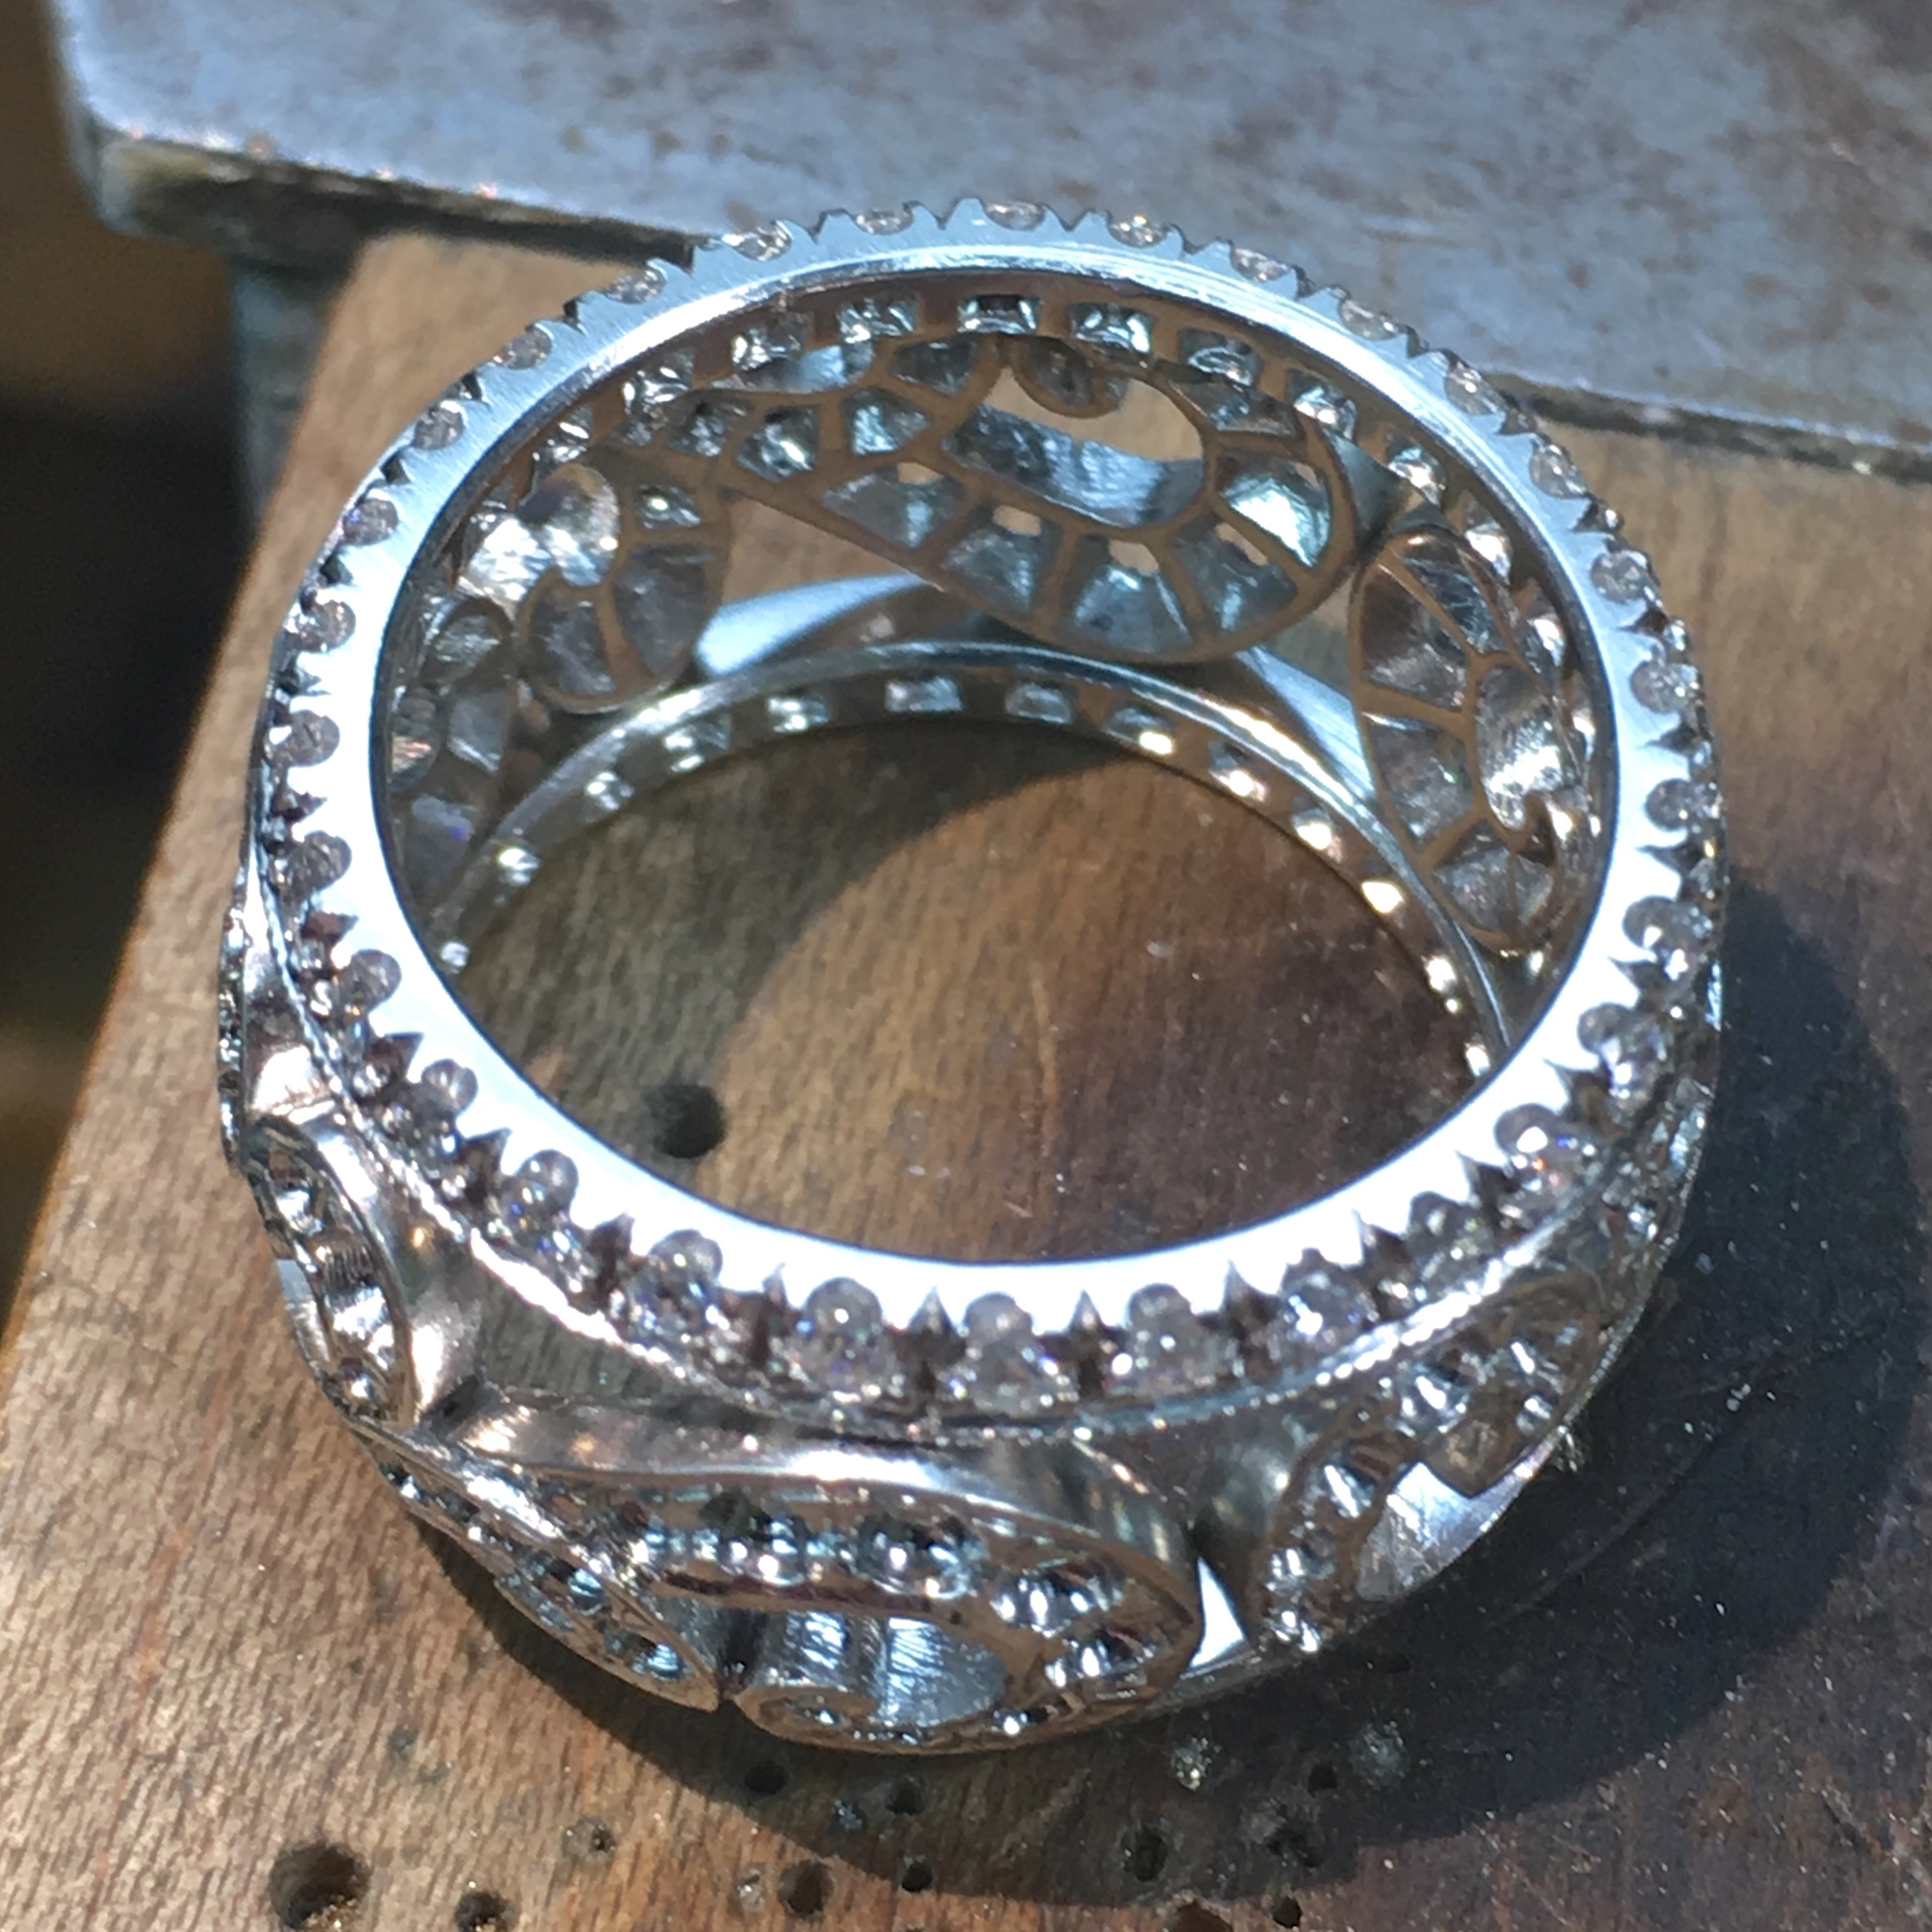
“Oceana”
Hi,
The description of this piece is in the Art & Jewelry of J.Grahl Design (too long…) Gallery.
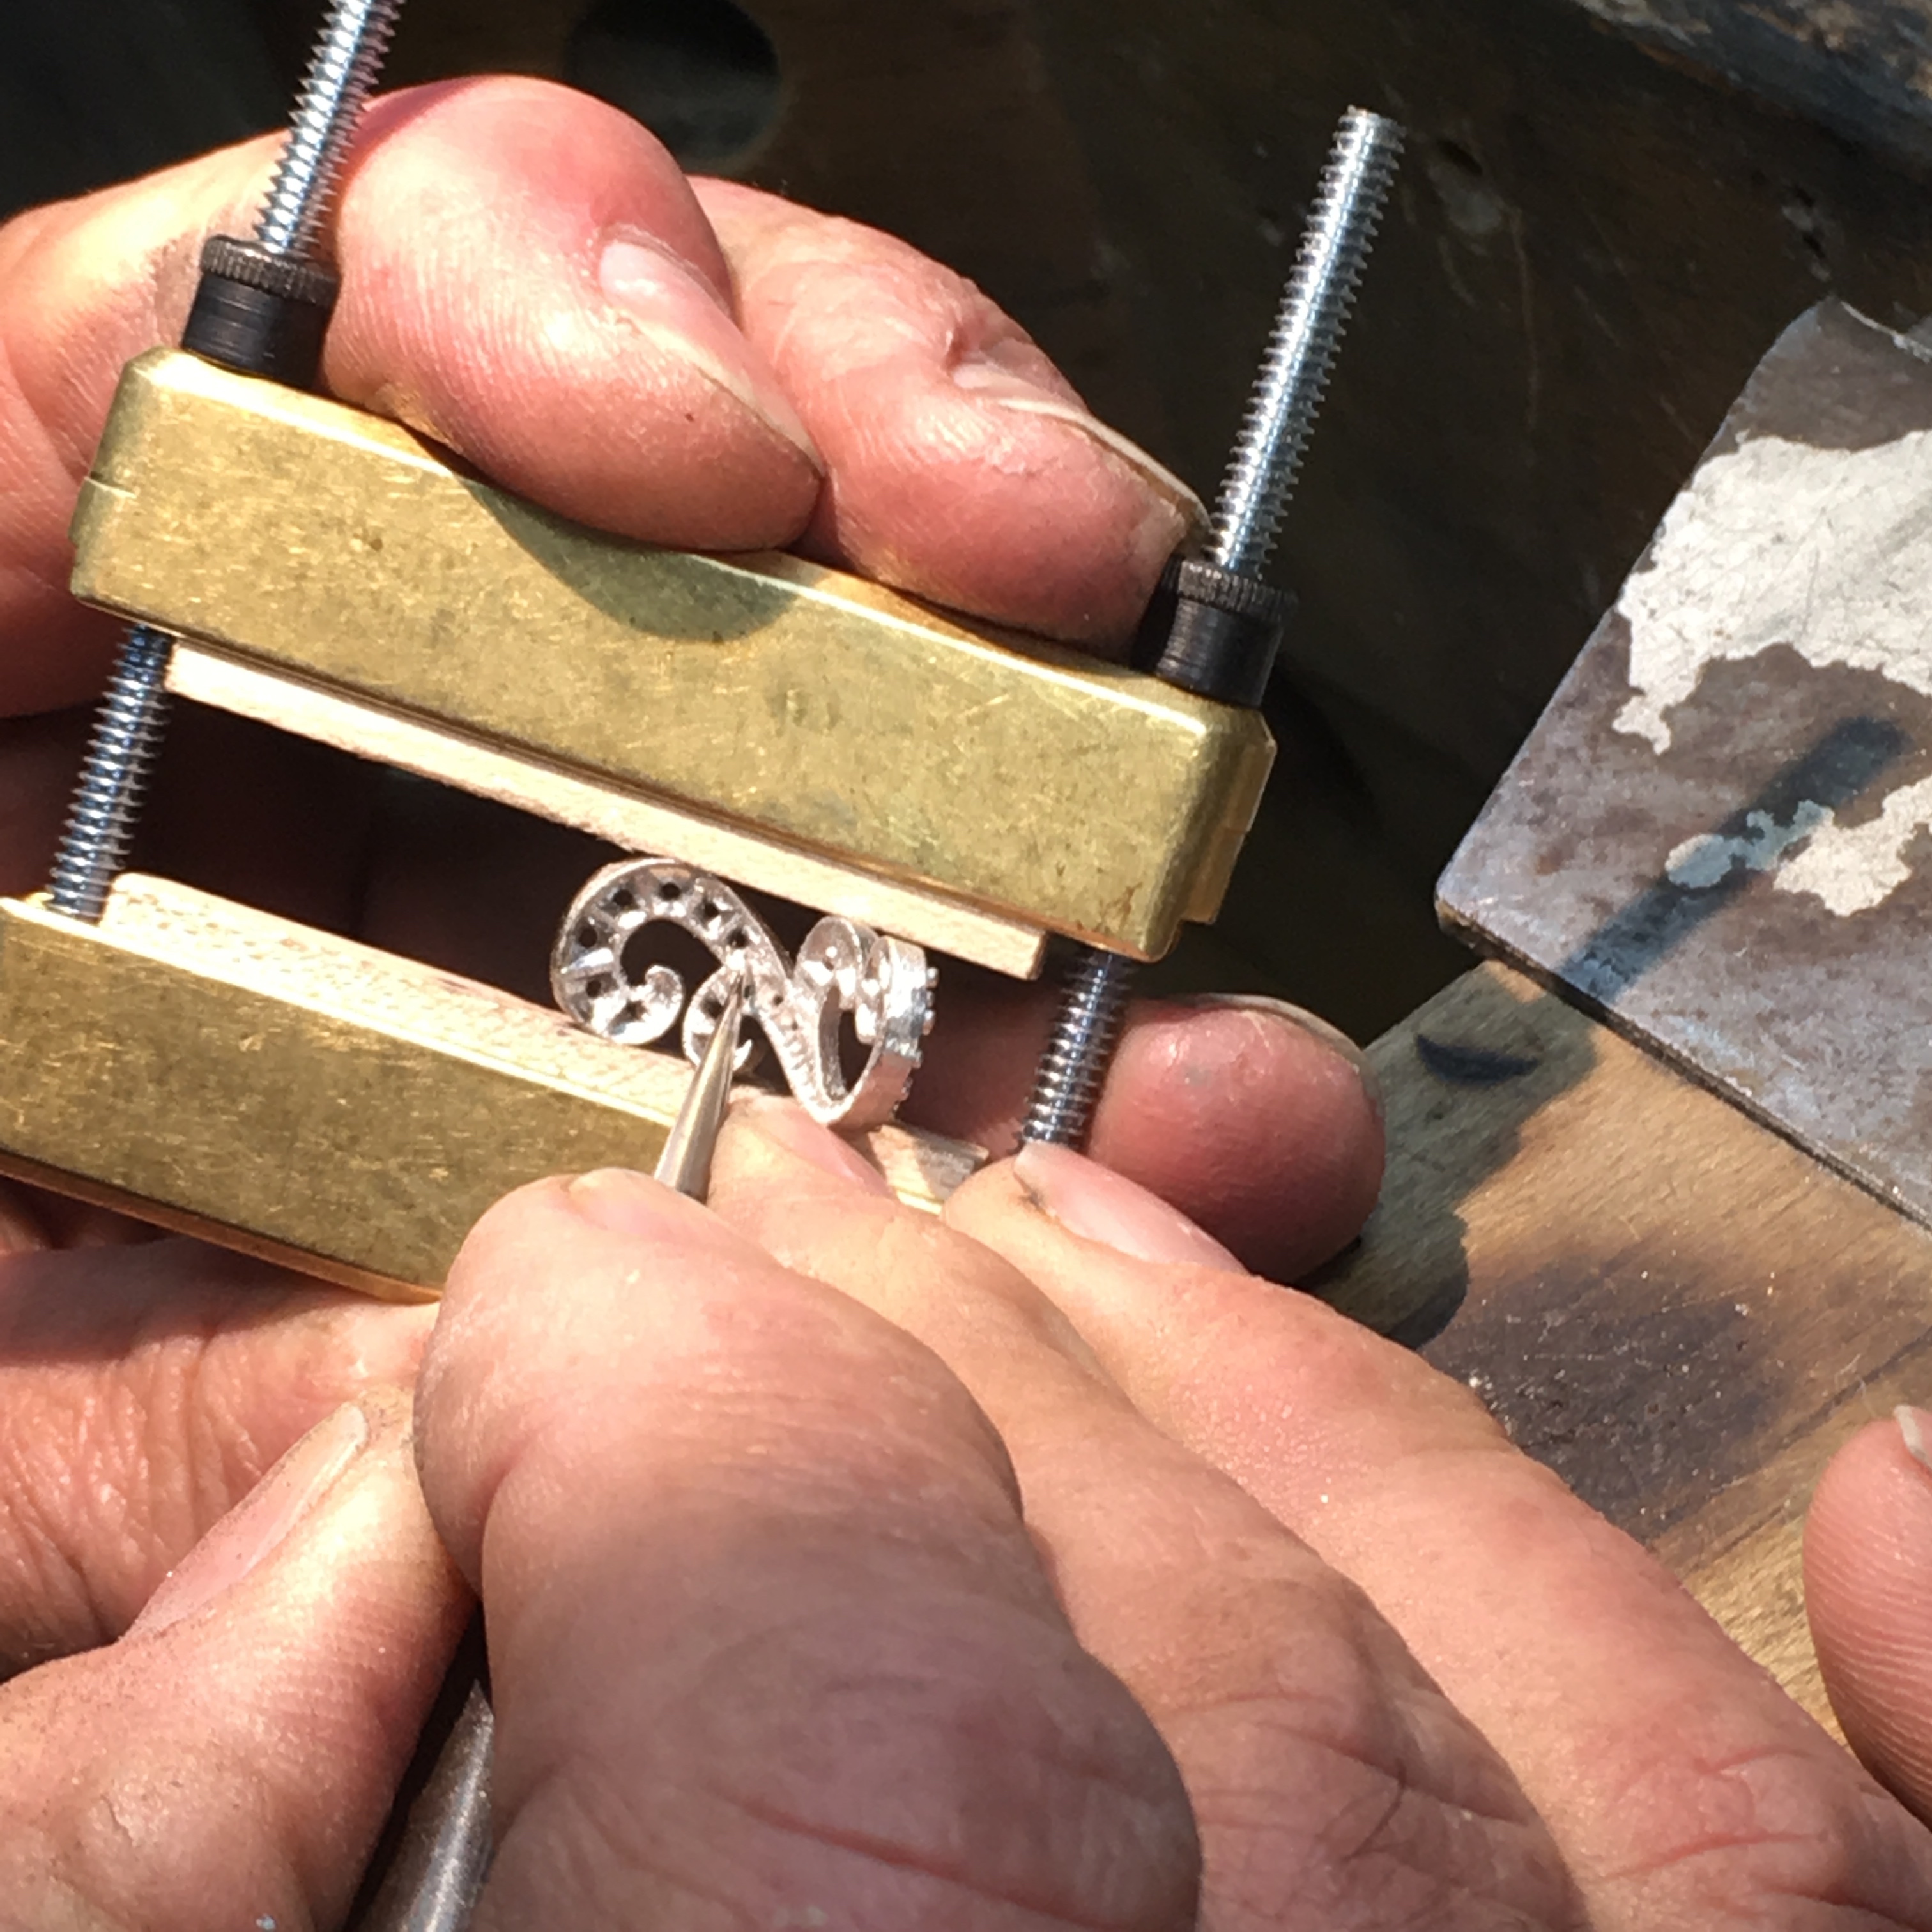
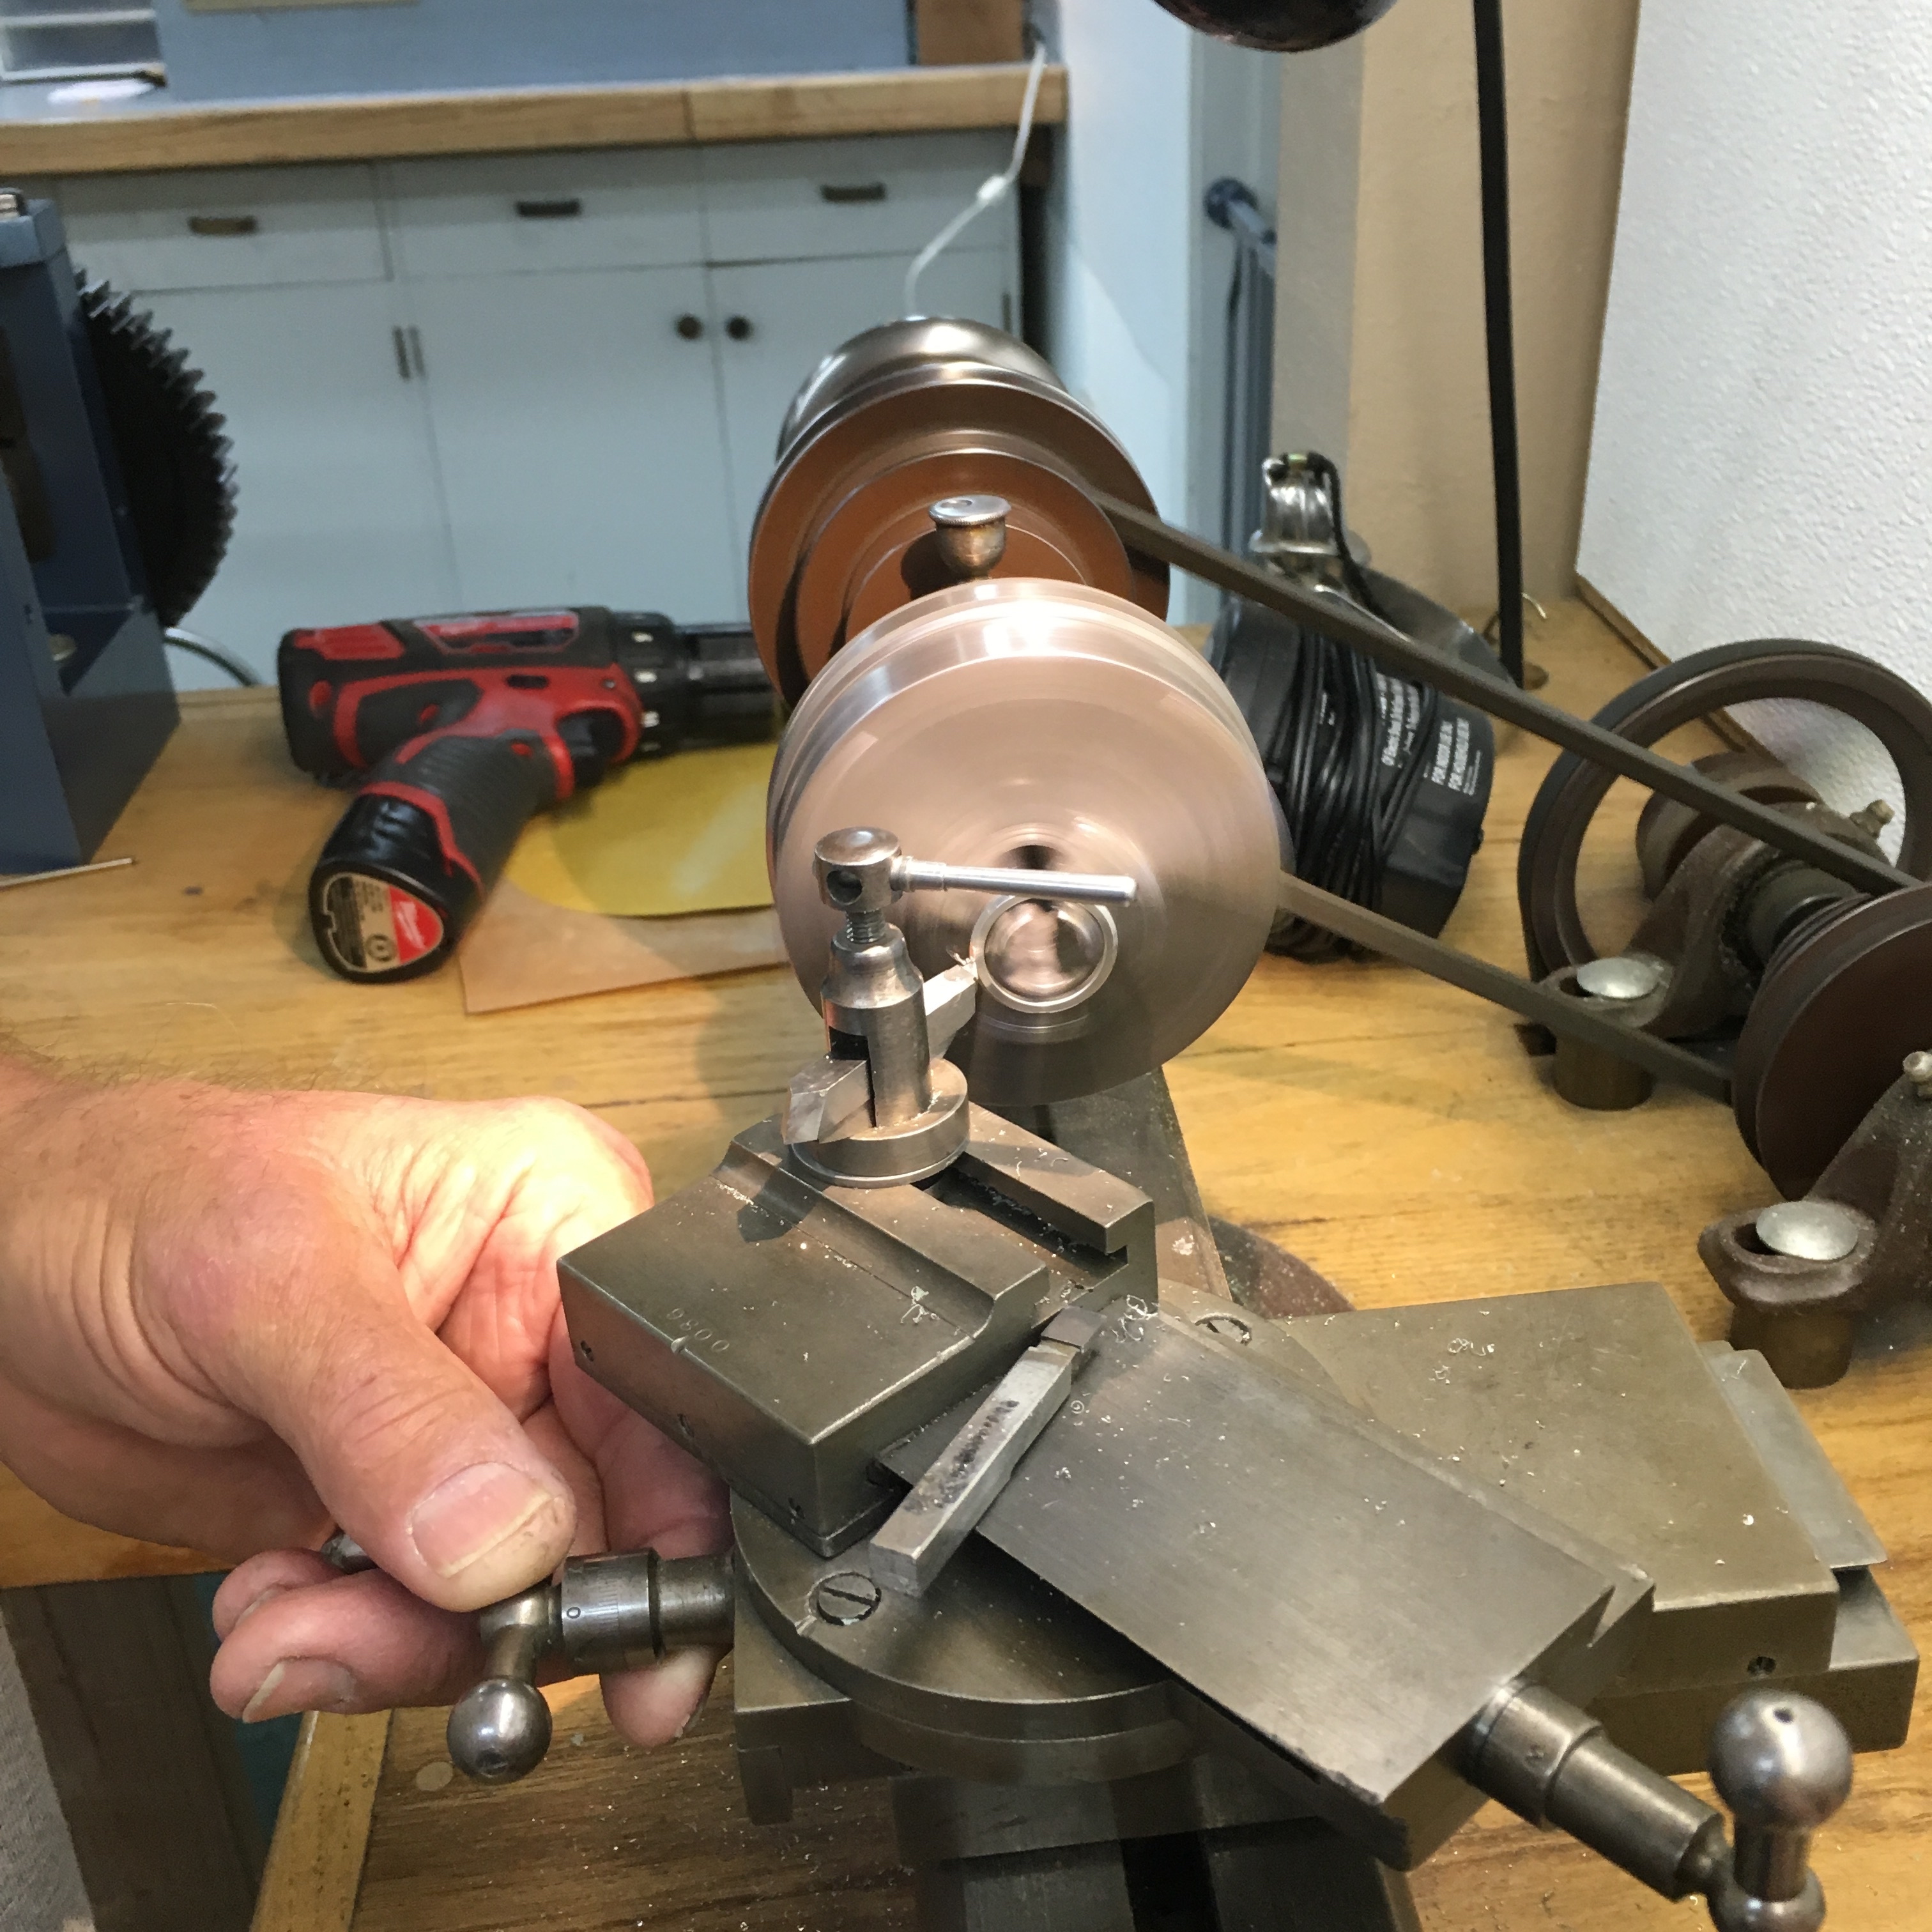
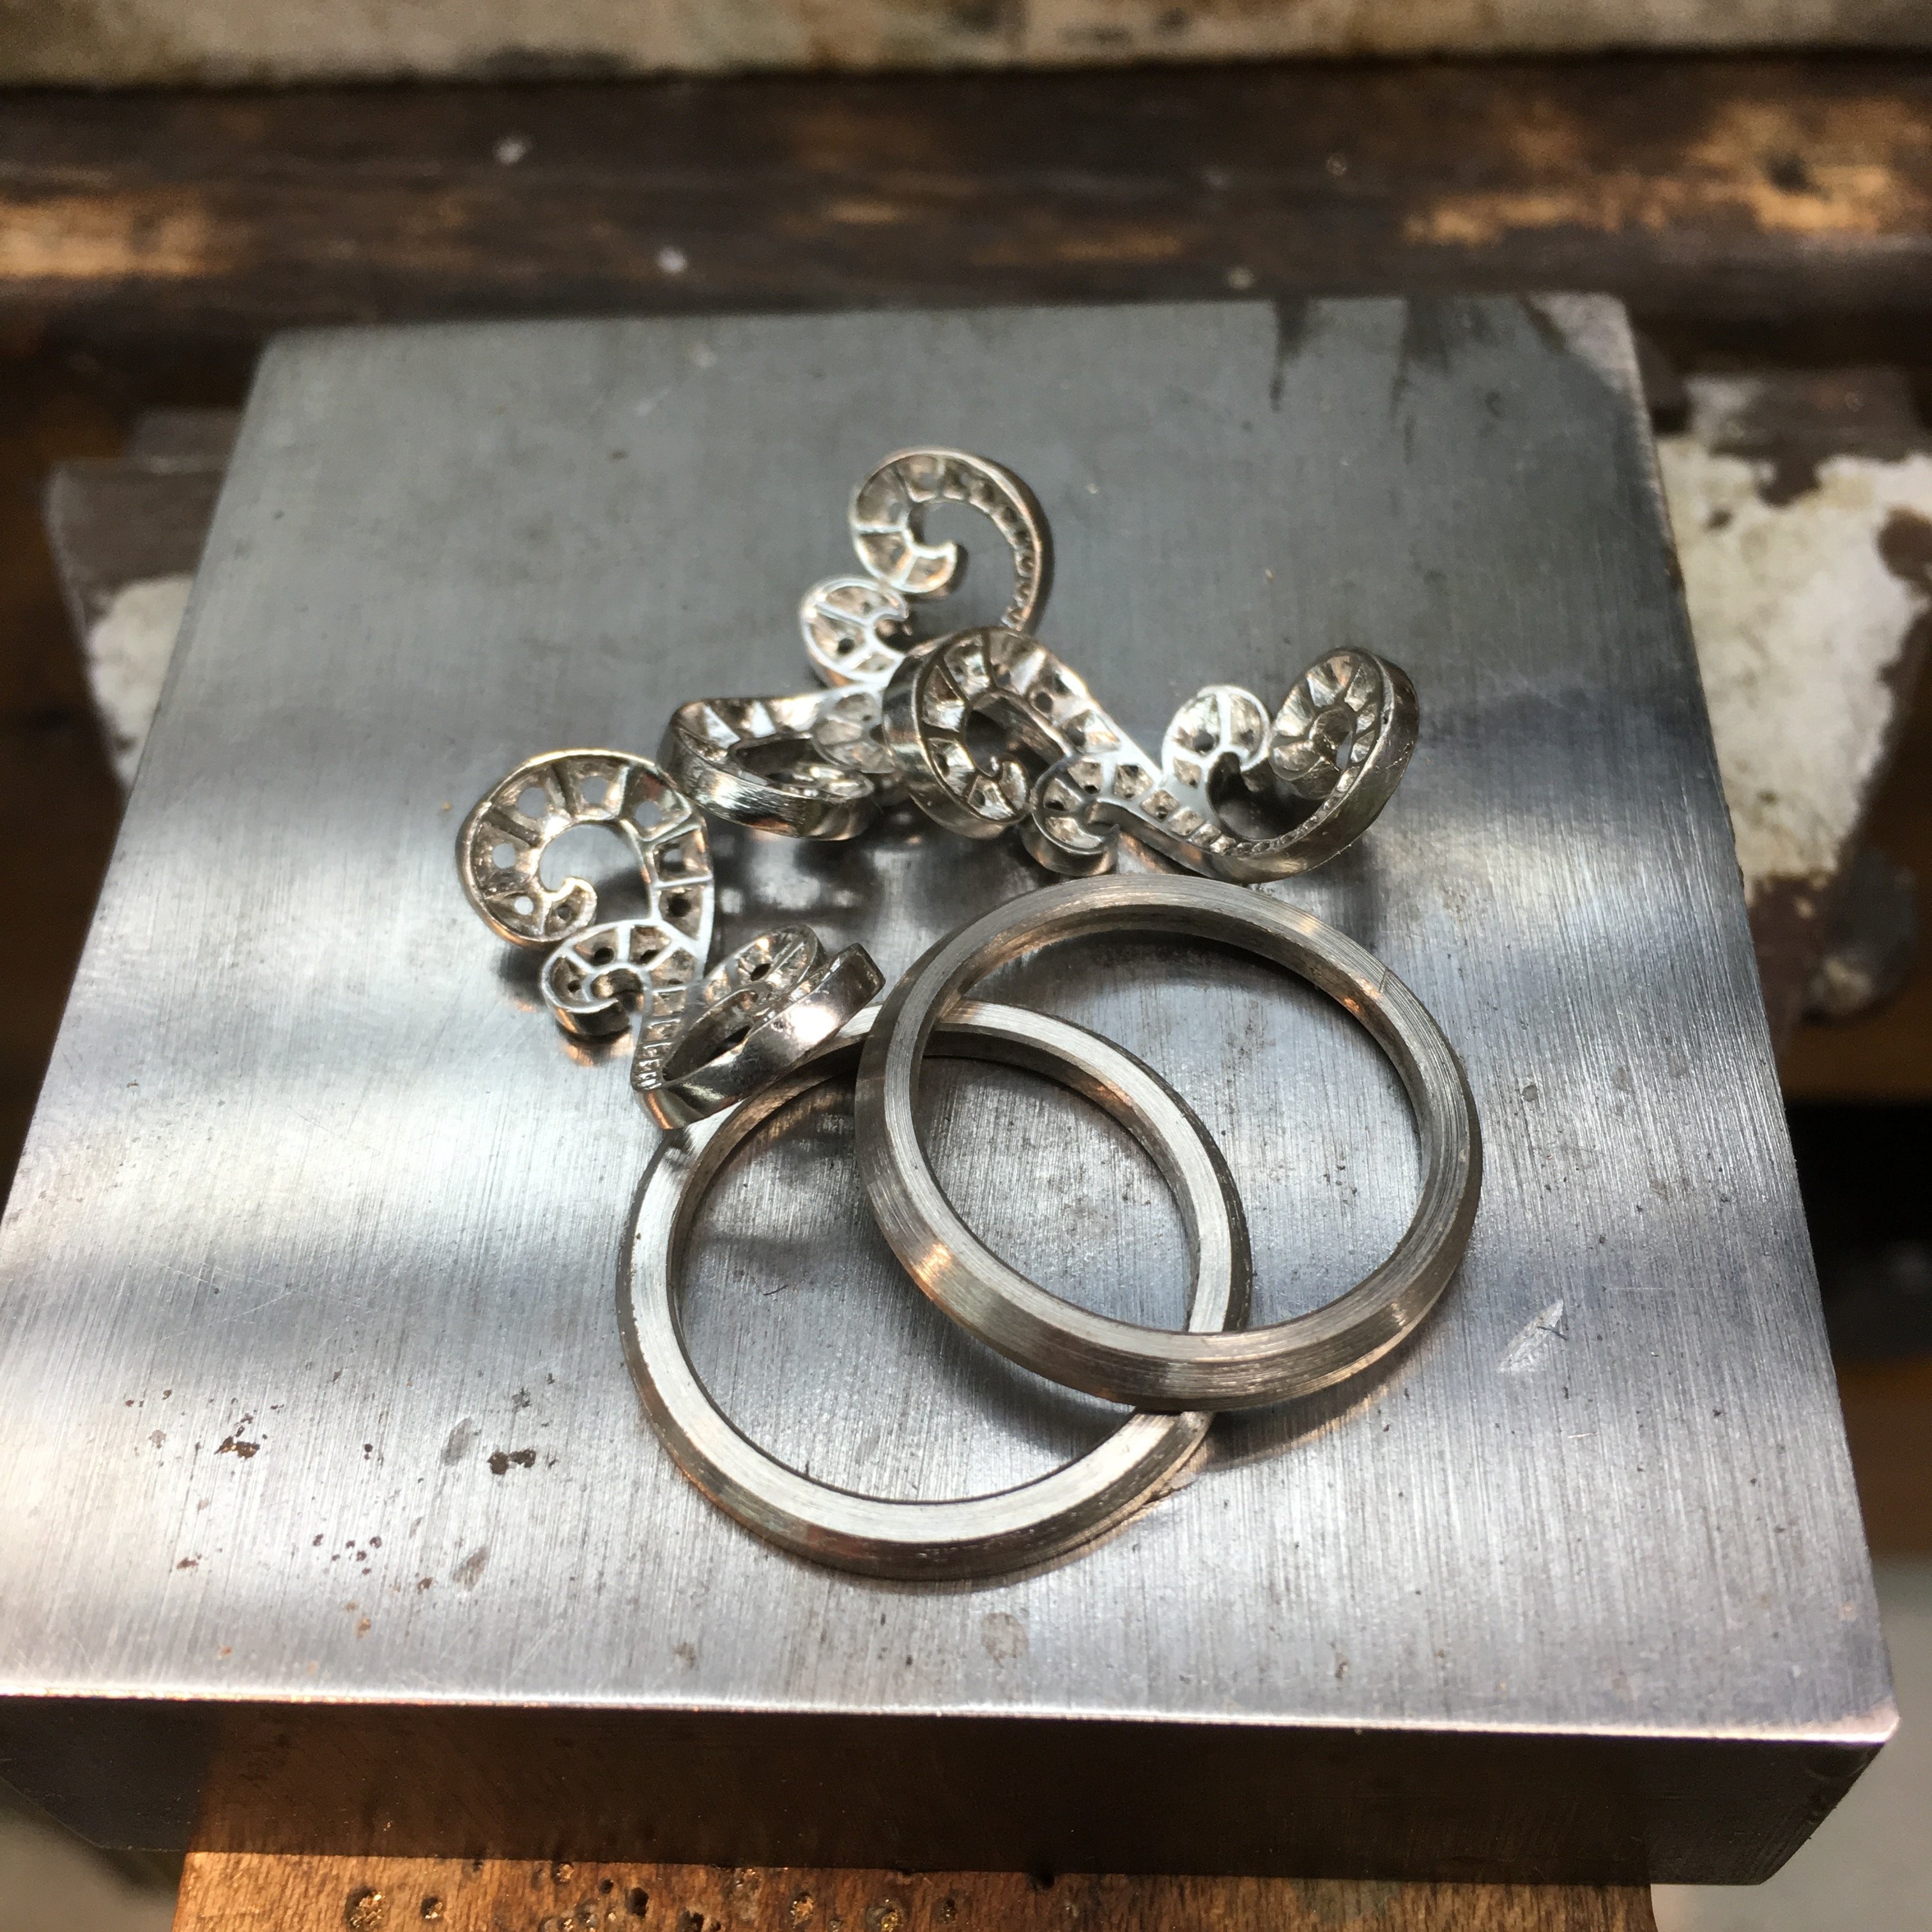
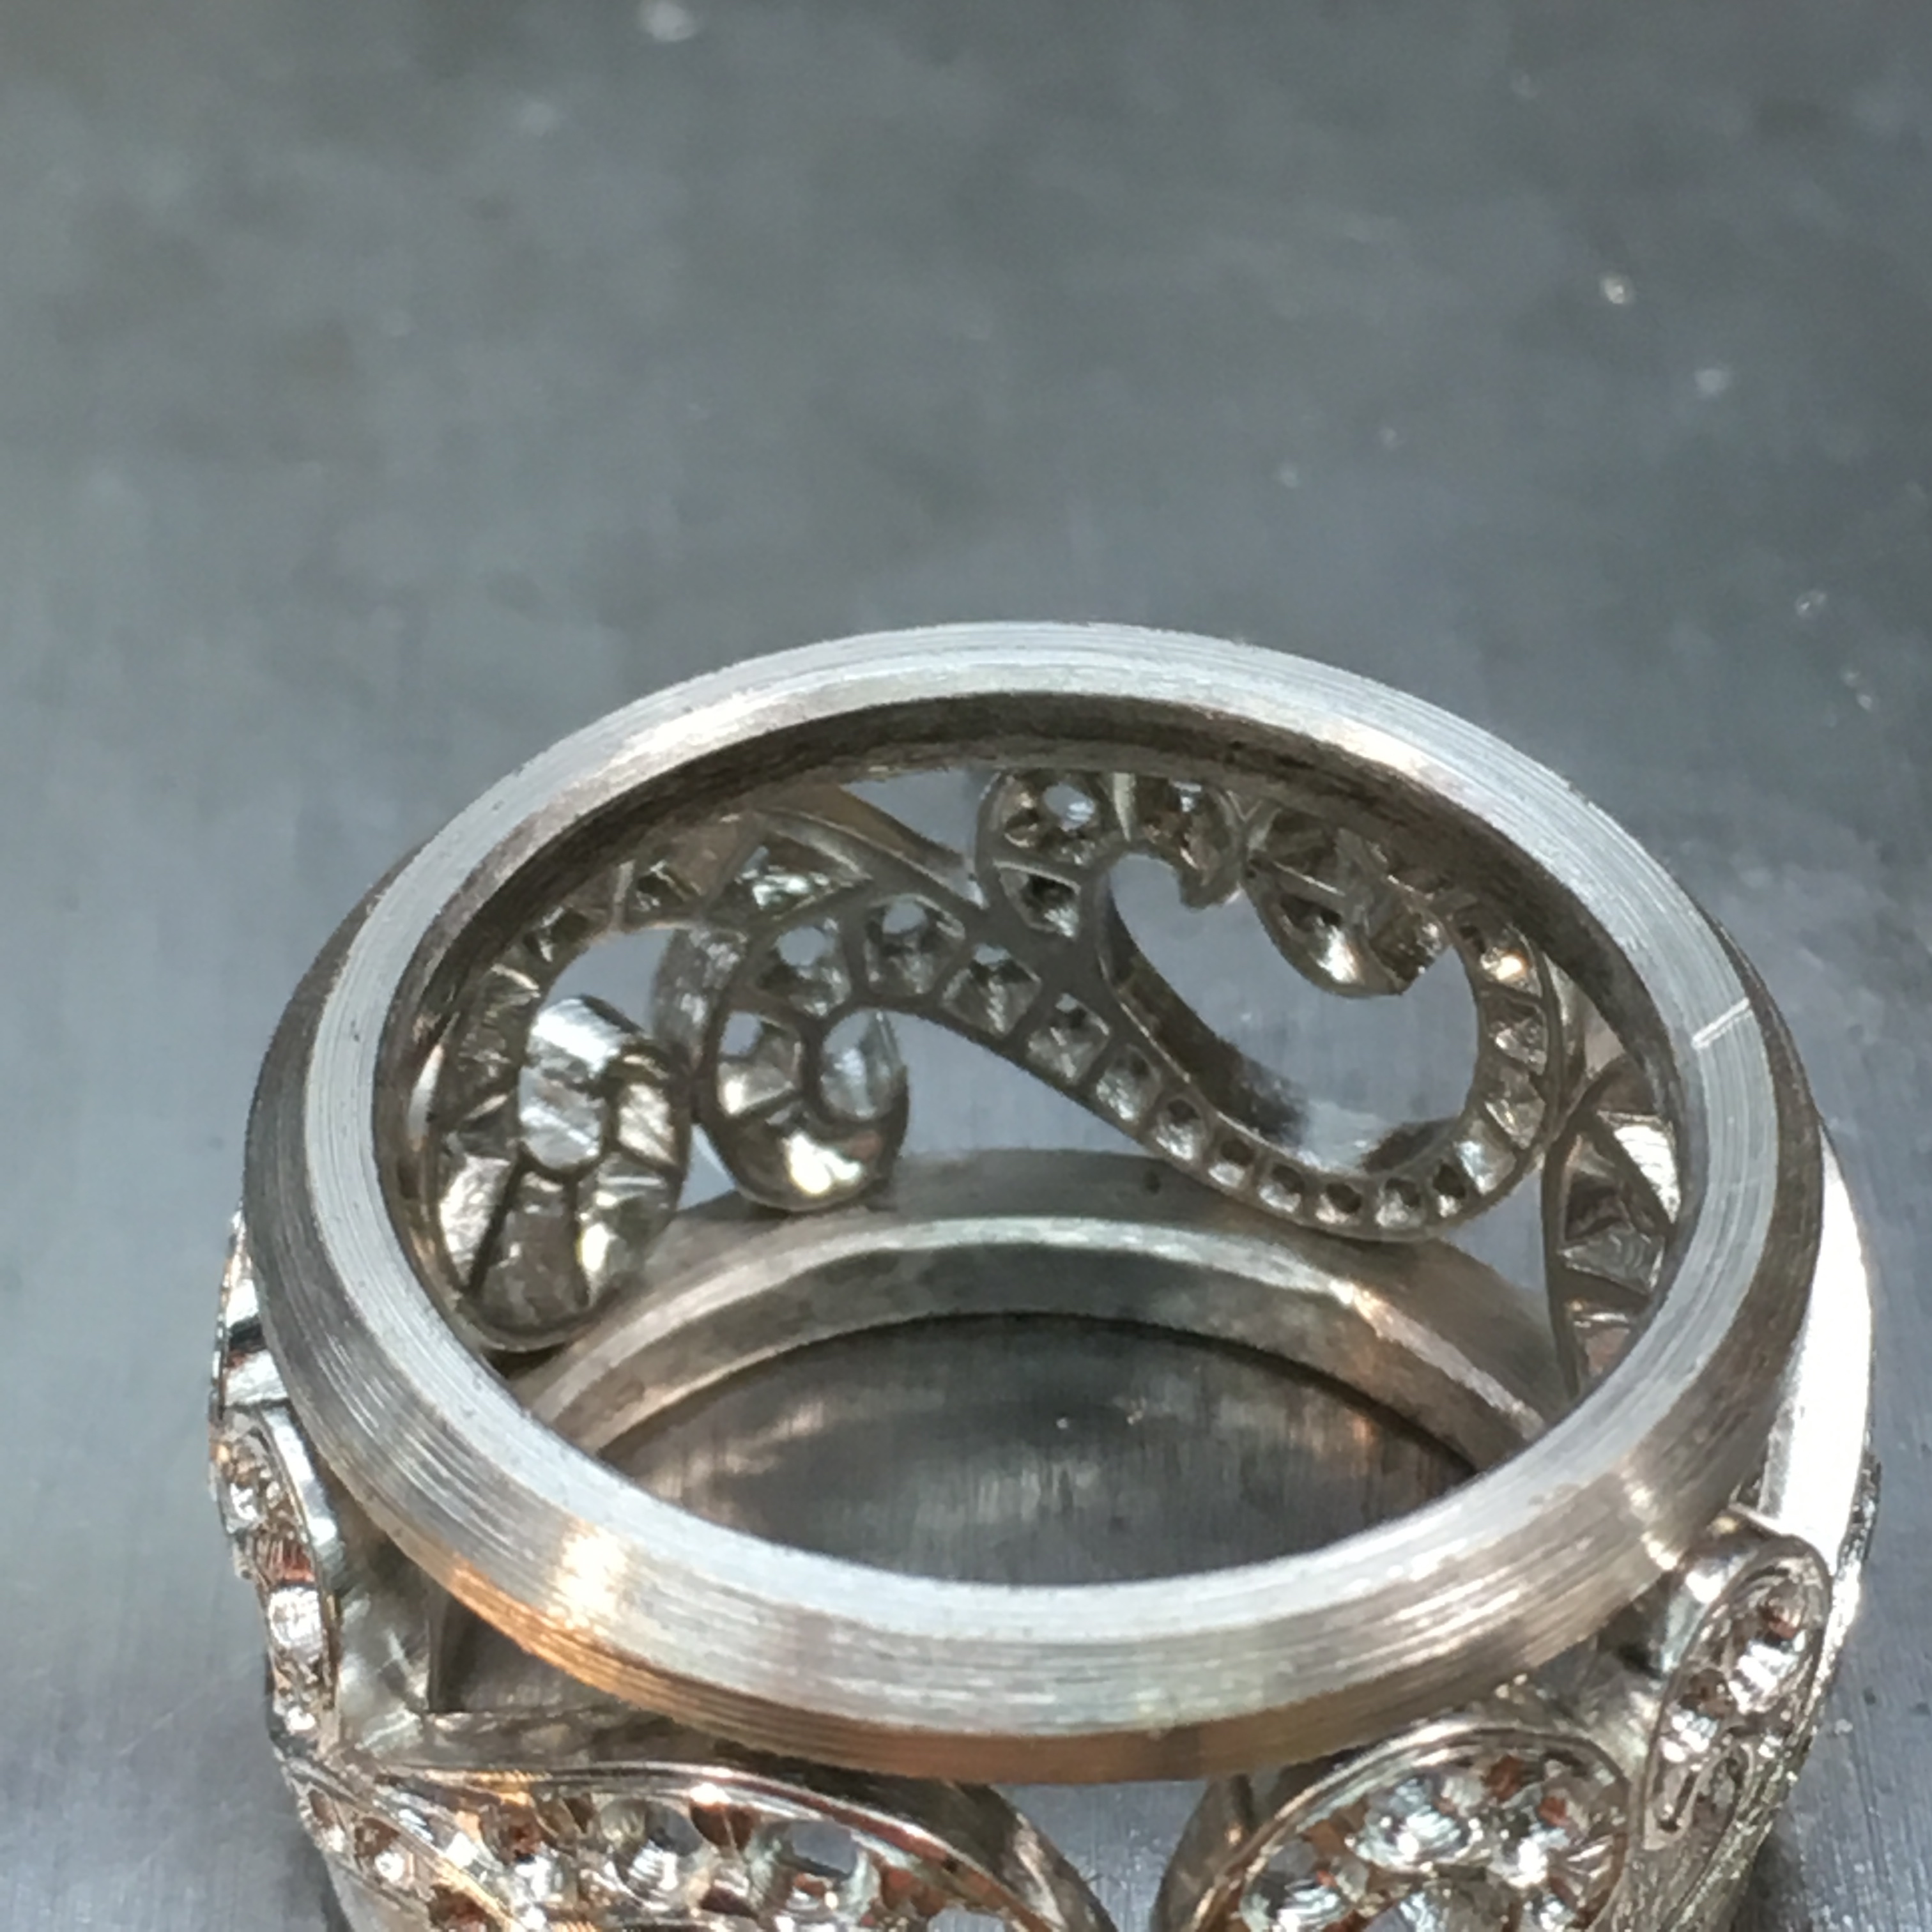
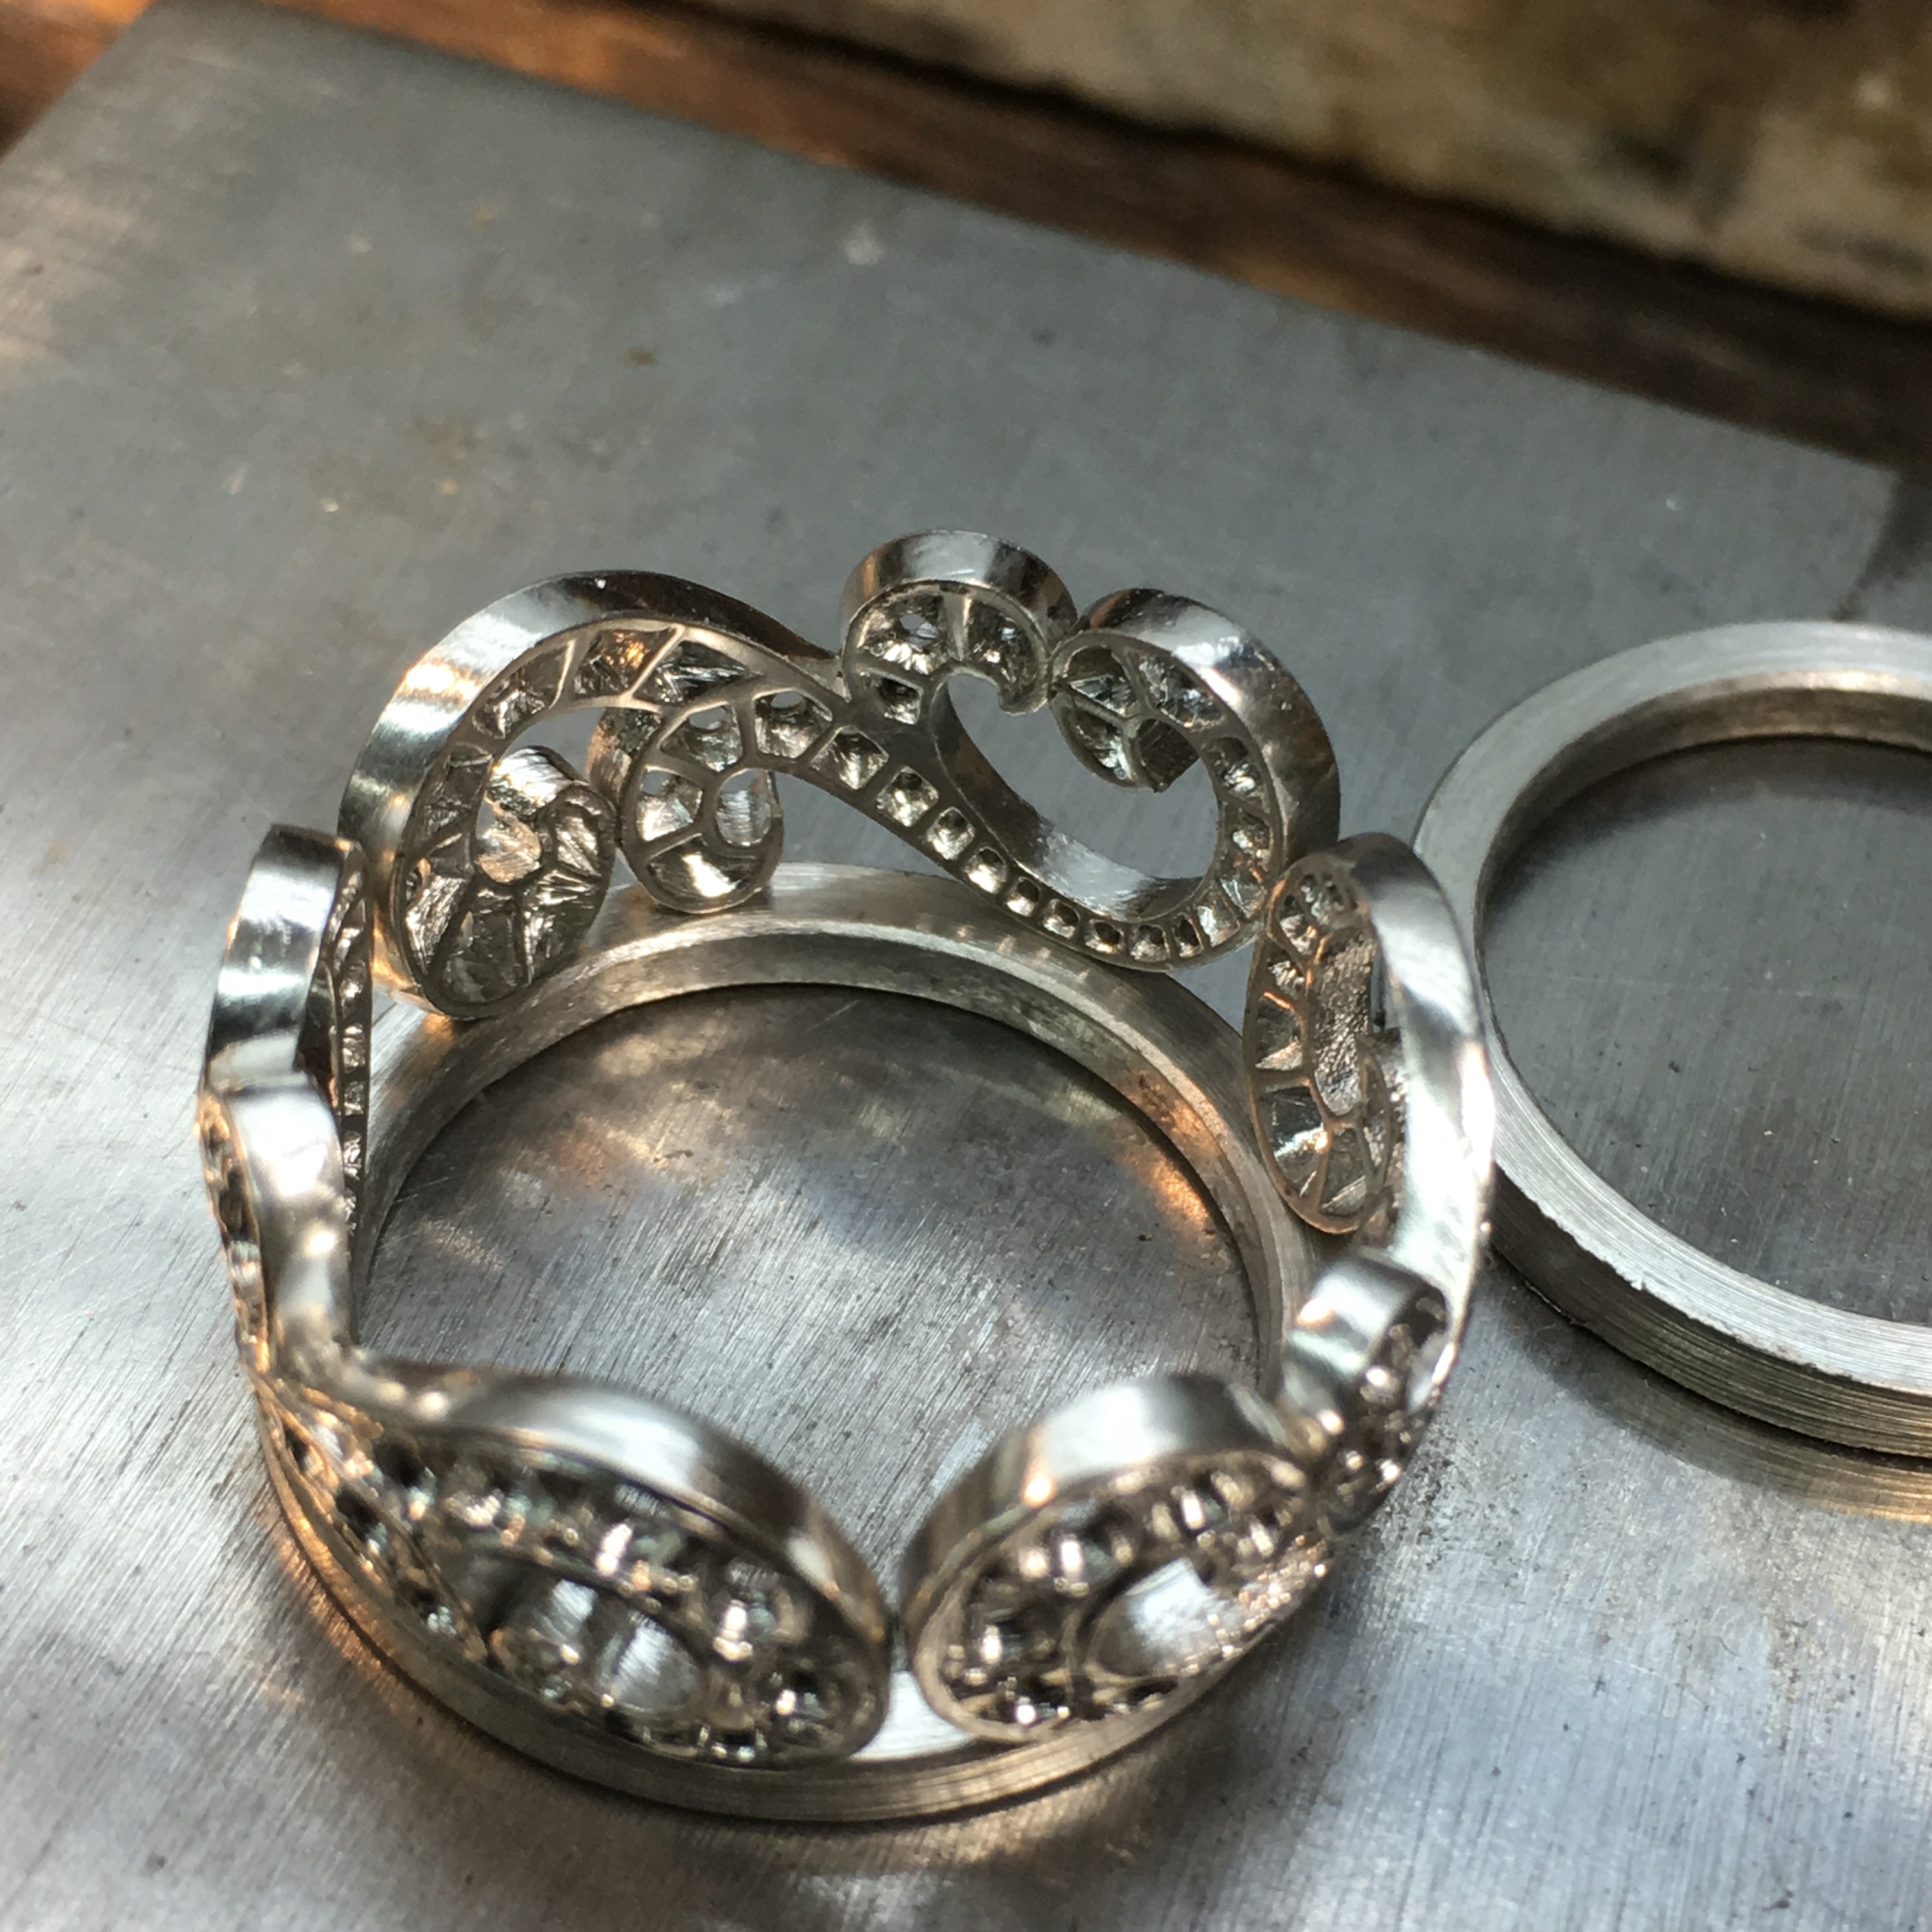
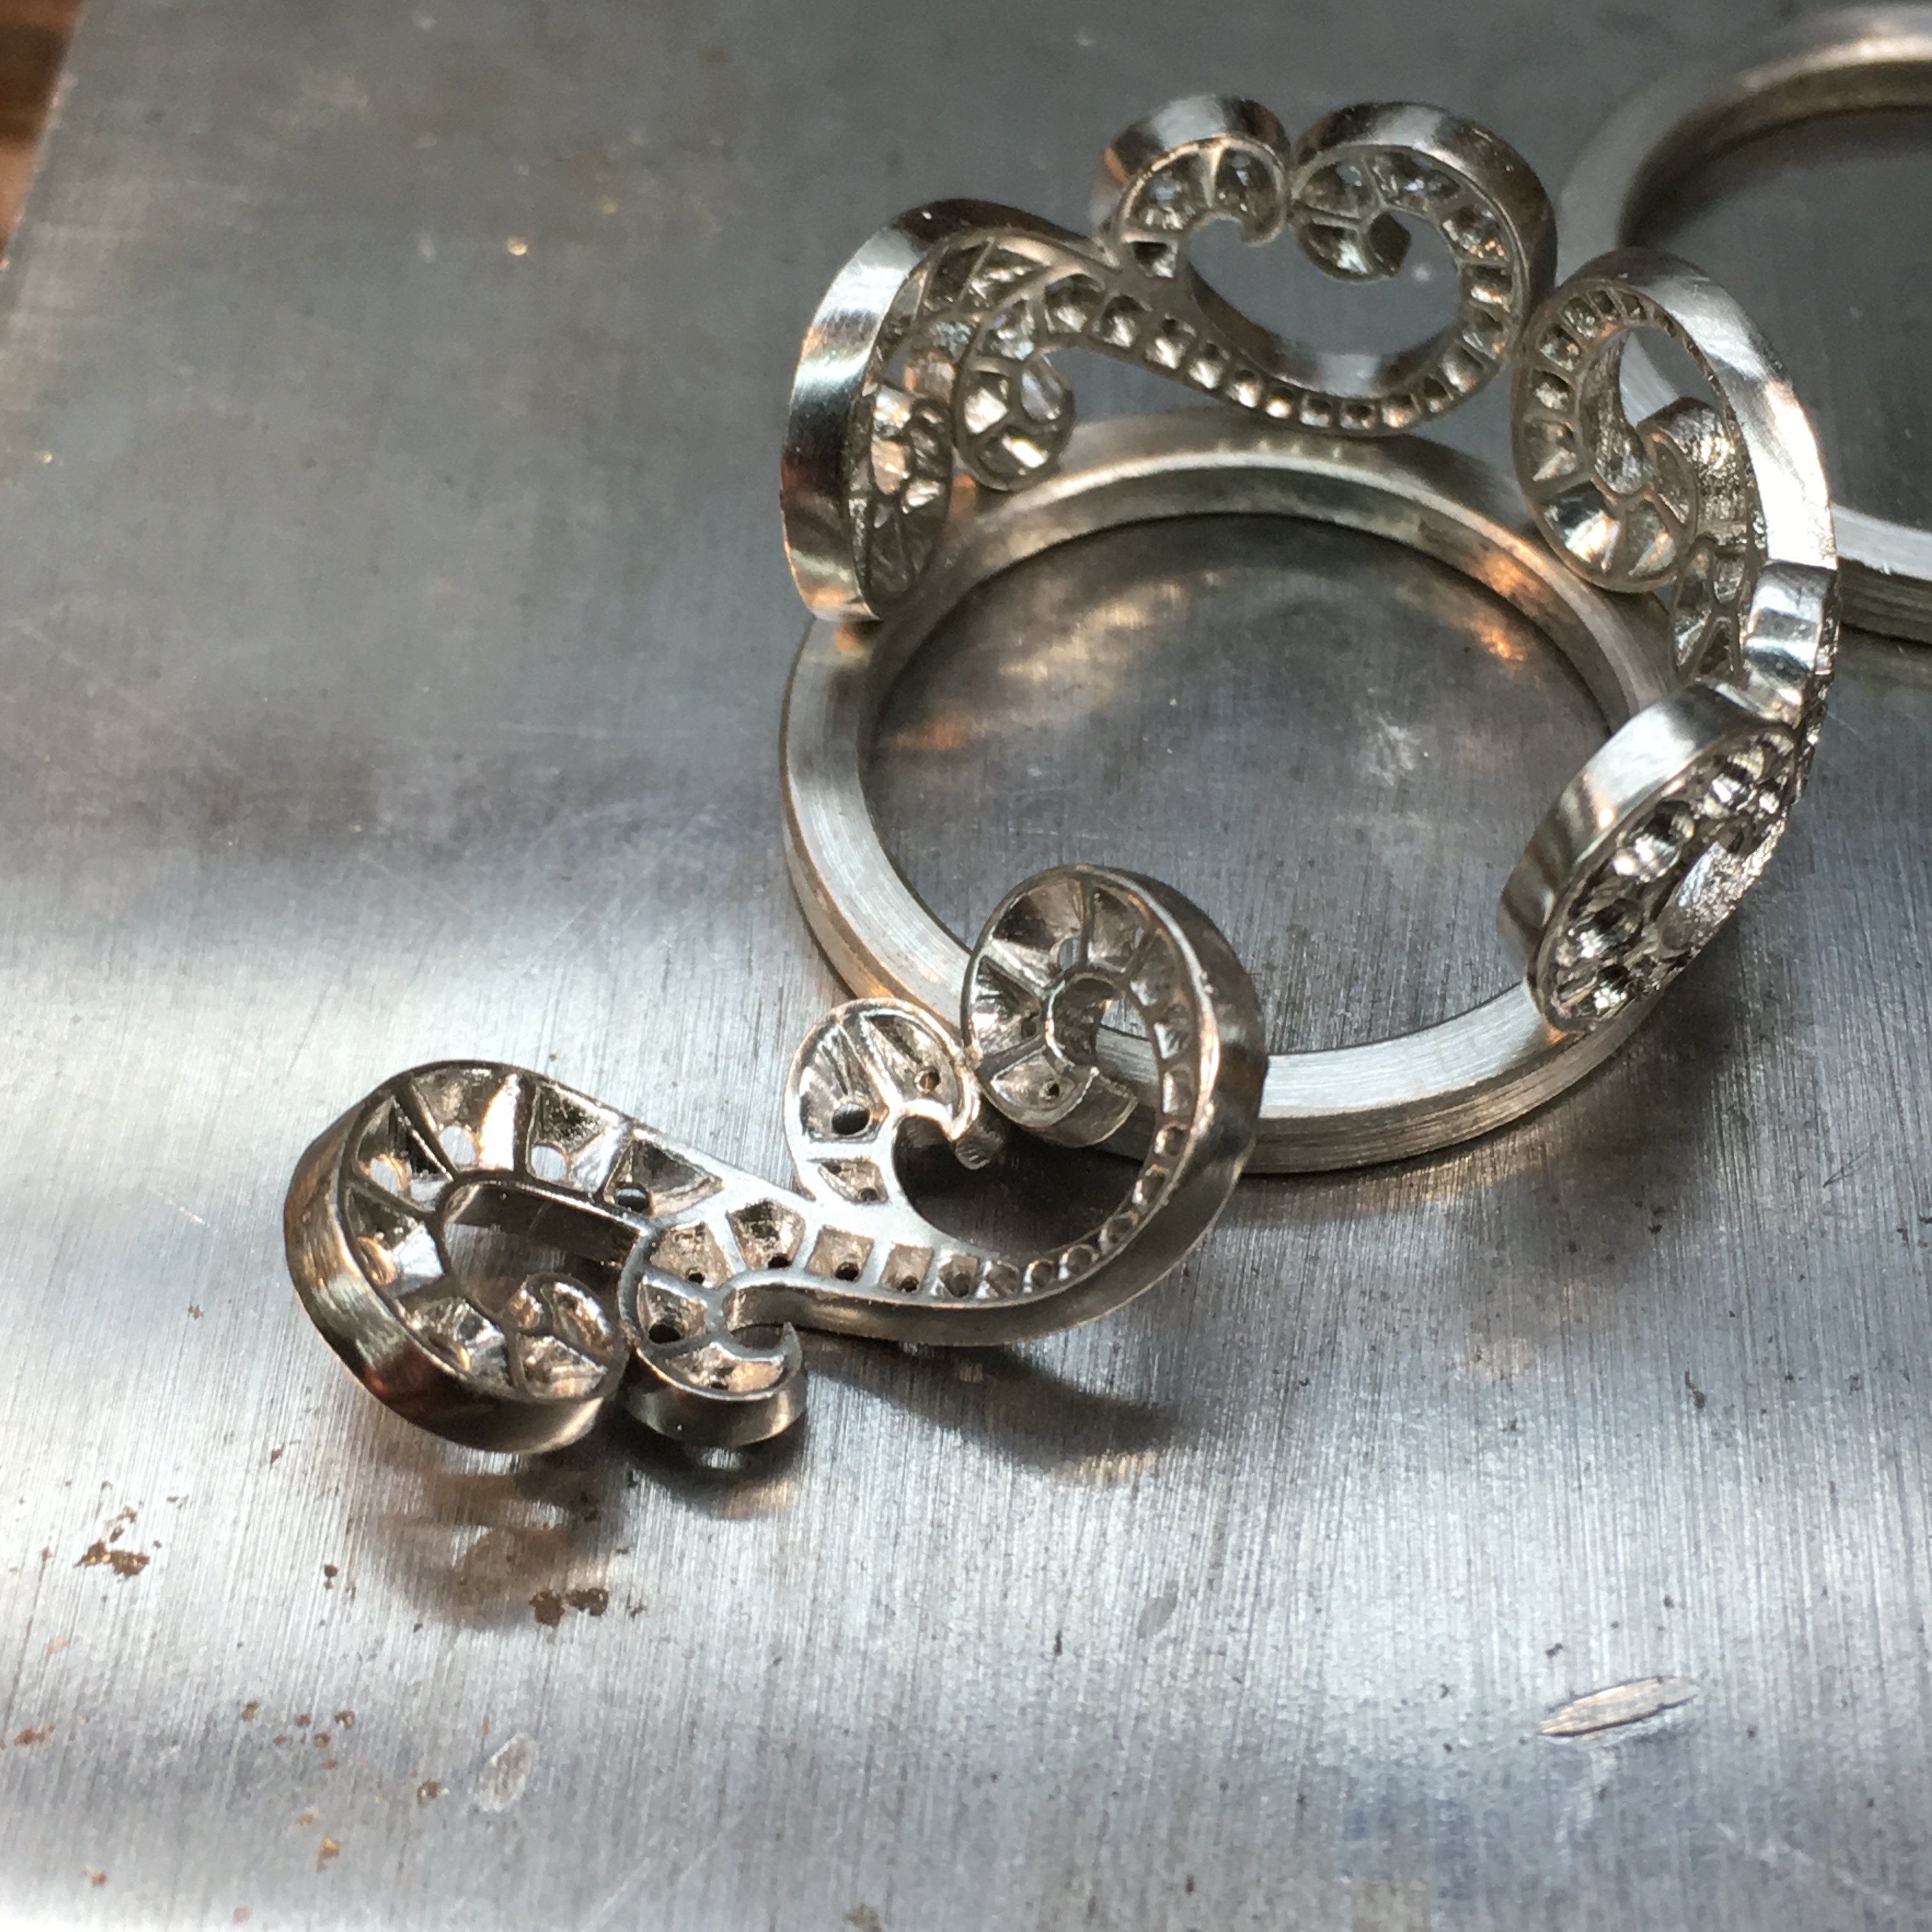
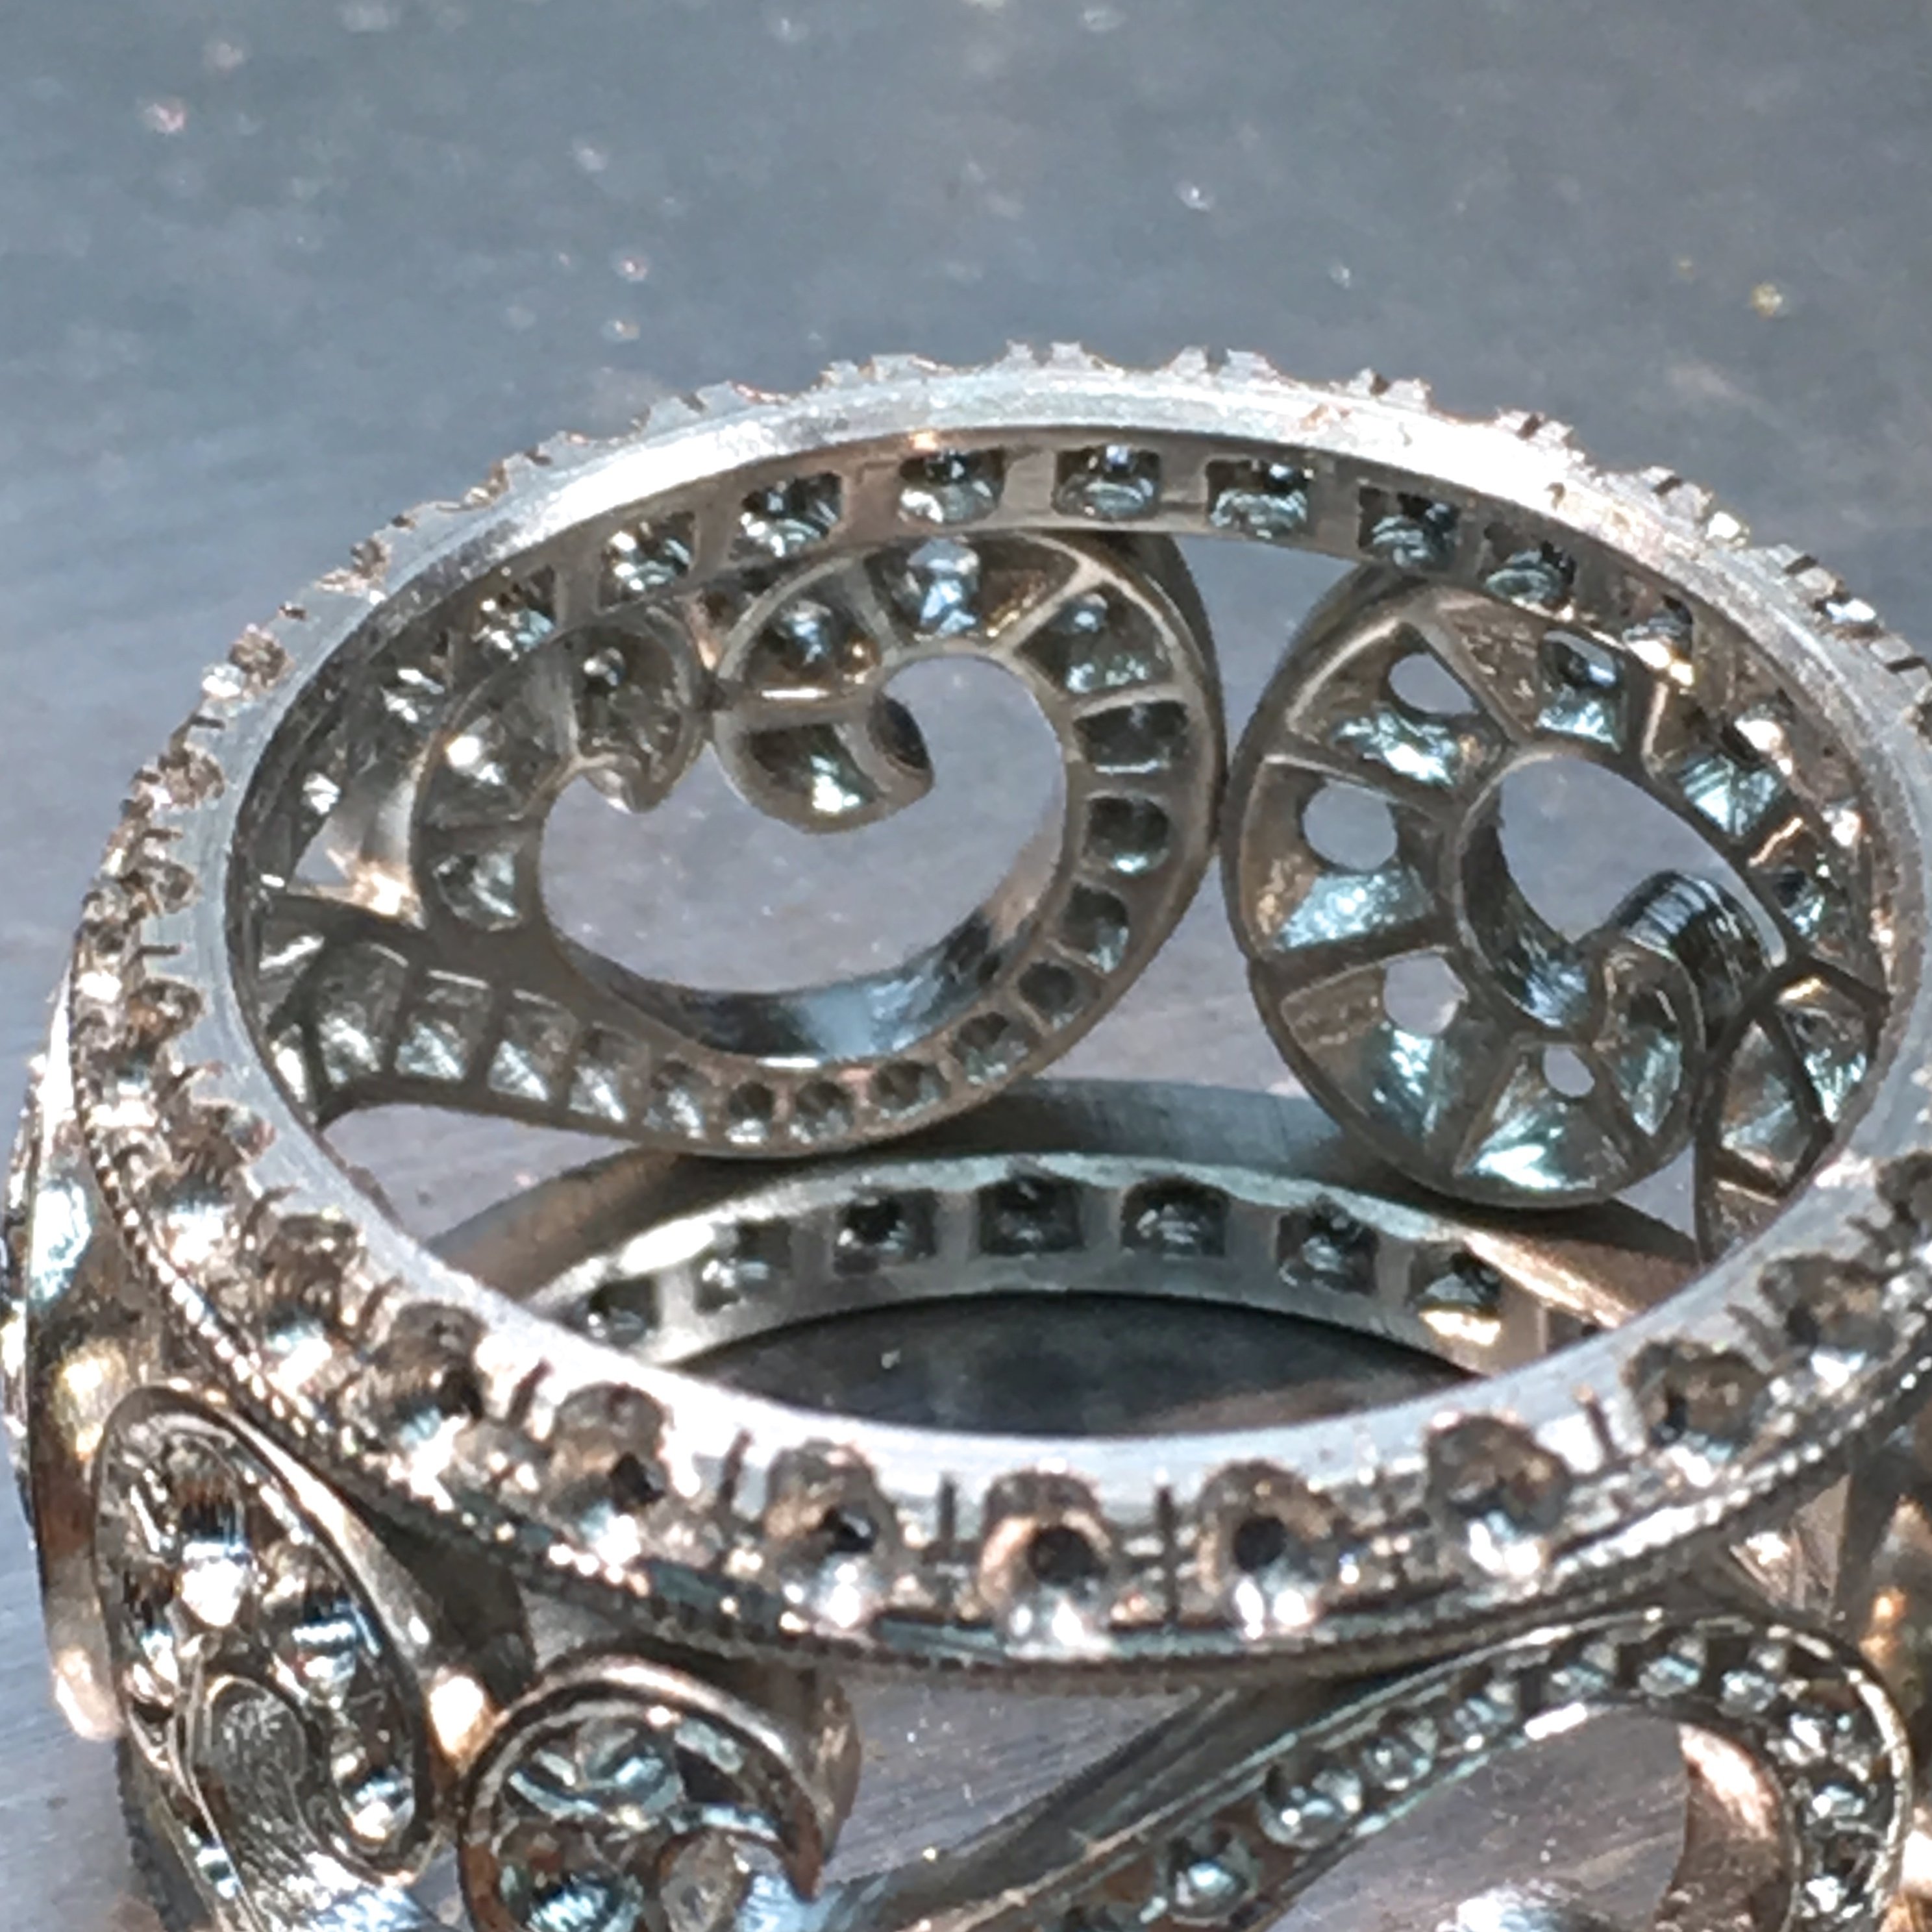
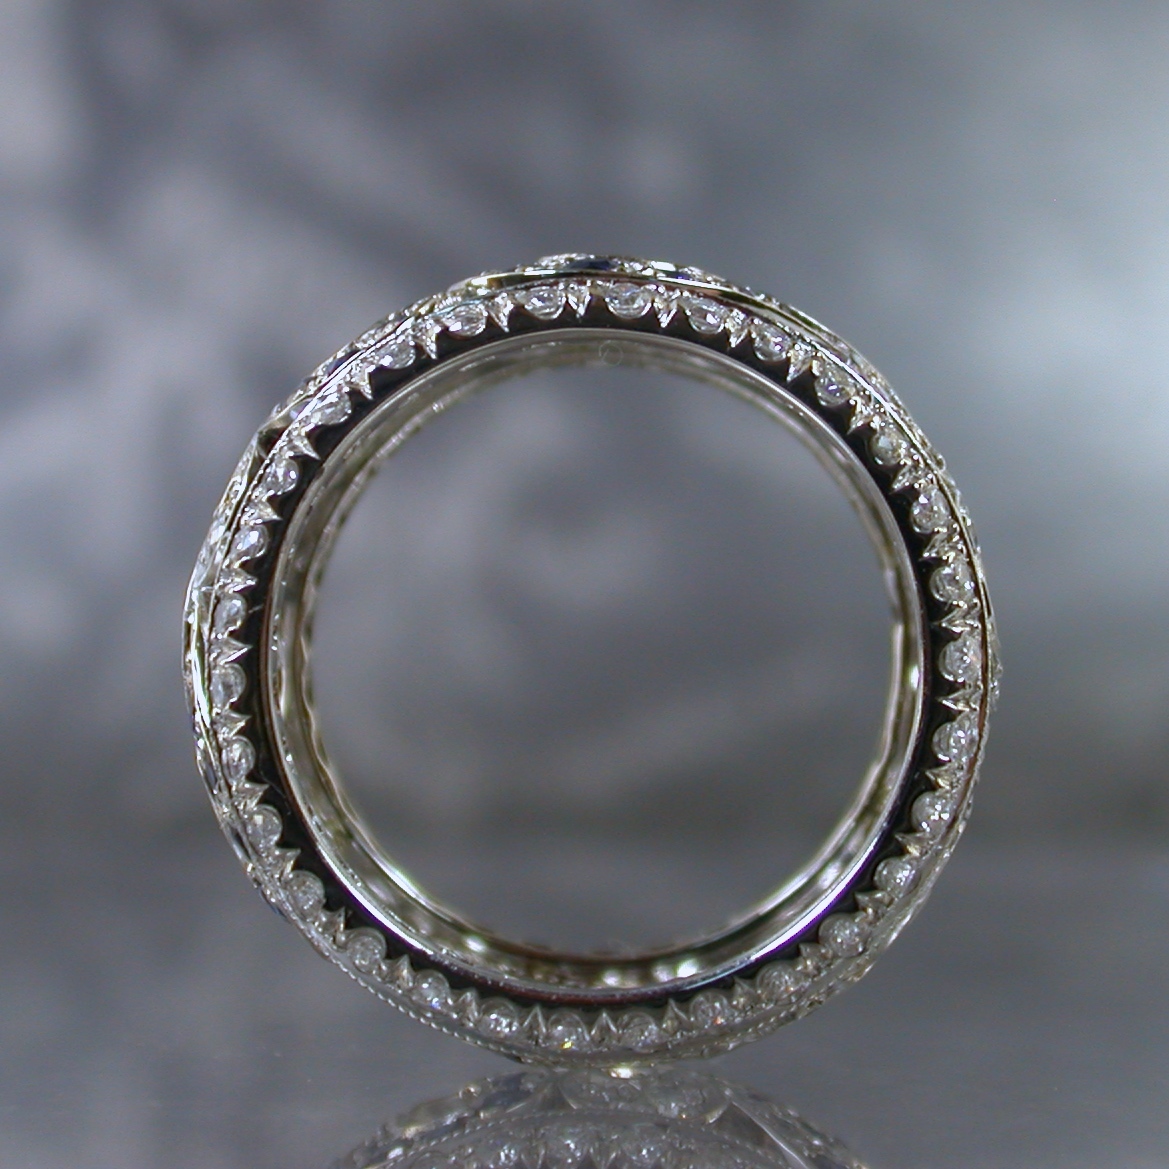
The following is a photo montage of some of the steps involved in the creation
It starts with a rough illustration of the concept,
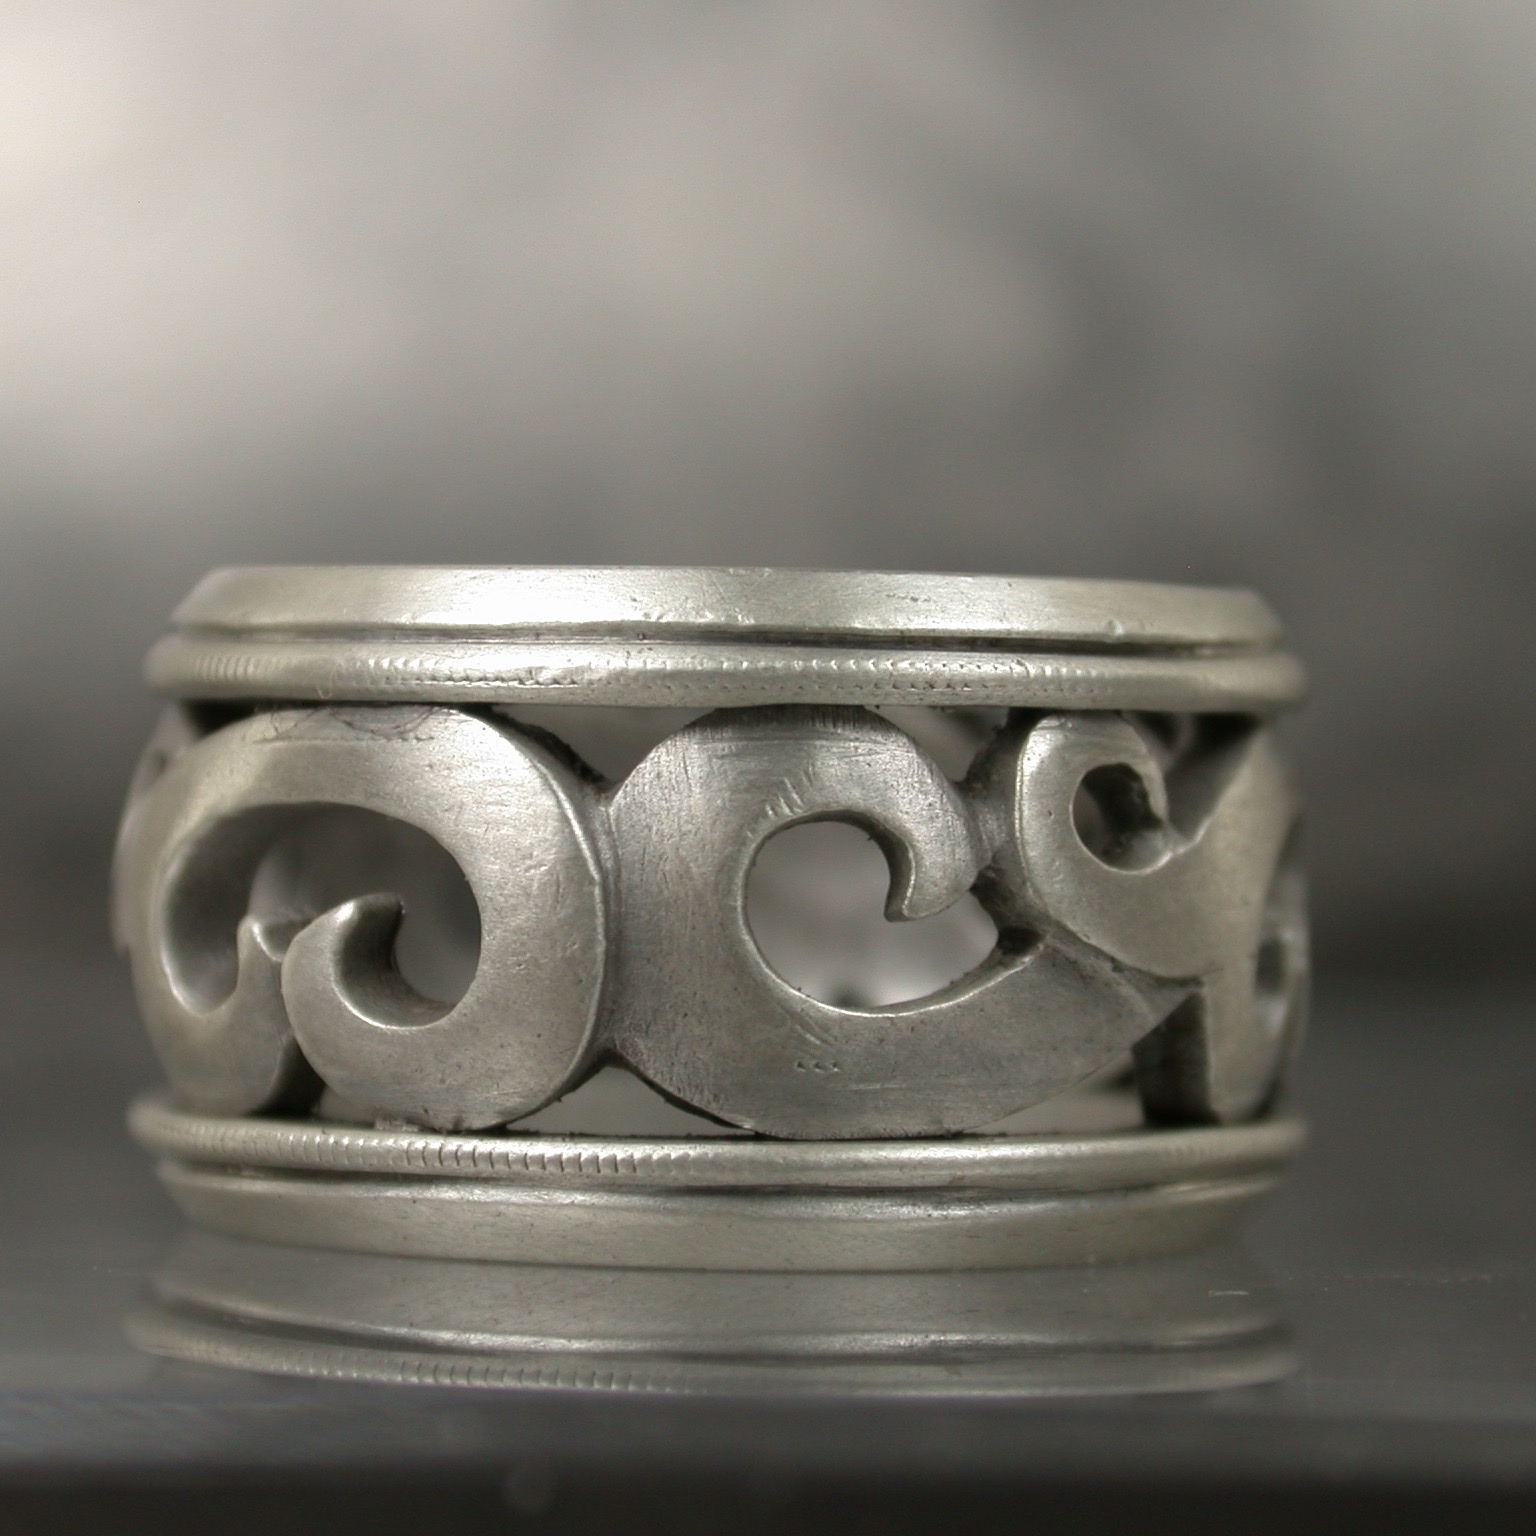
moves into a hand carved and fabricated prototype in sterling.
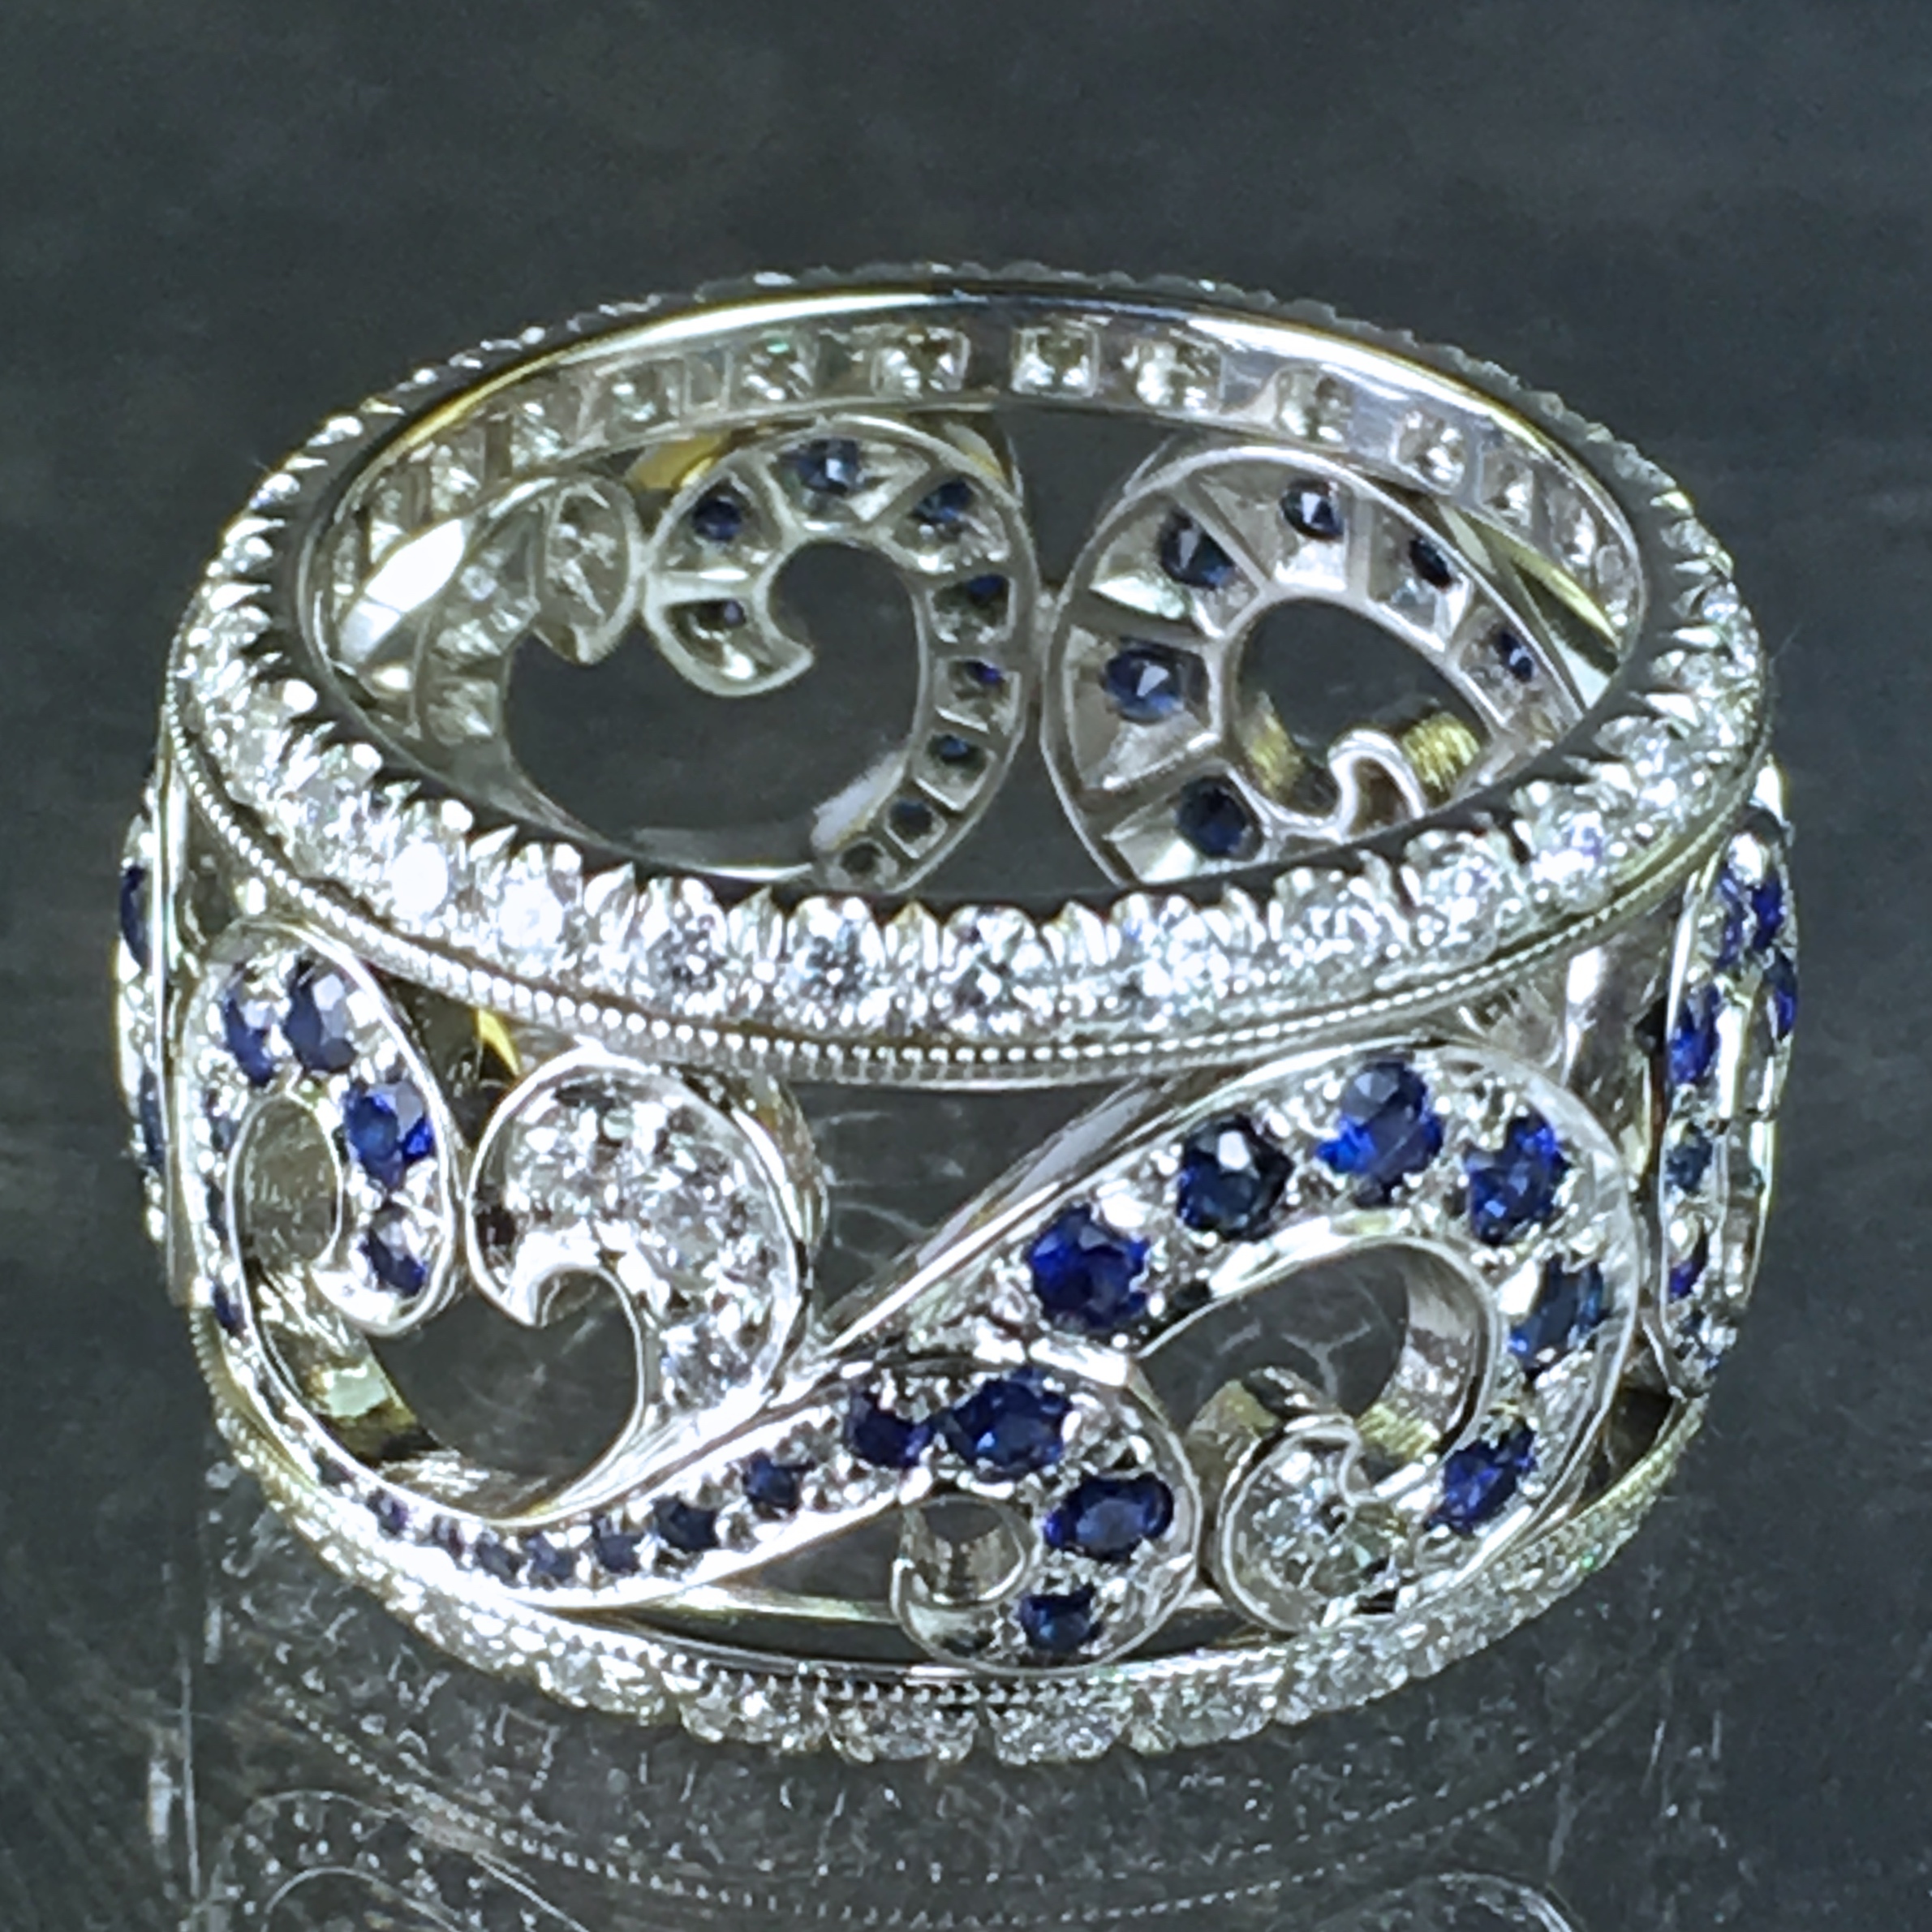
This allowed the client to wear the ring for a while as the design was being refined and the platinum work created. There are three elements (the wave / scroll form) that were done partially in cad, the outside diamond set rims are fabricated from scratch.
More to come here.
Enjoy,
Jim


Hello Jim,
As always, it’s a delight to see the process by which you created the “Oceana” ring. Glad you showed the sterling prototype. It reveals the various depths of the metal without the stones - a critical component I suspect.
In fact, I really like the Sterling piece! It would be something that could be worn comfortably indefinitely…a characteristic that means a lot to those of us who tend to wear a piece for weeks at a time.
Thanks for sharing,
Judy in Kansas, where rains have rejuvenated the seedlings and grass. Cooler temps too! Have finished potting in preparation for my garden club’s plant sale.
Thanks Judy.
The silver piece really helped establish the comfort level for the client, not everyone can wear a 13mm wide ring. and though the materials differ, the two rings were very similar in weight.
Jim,
warming so. Cal, off to surf Mex for a few days…all’s green & well…