Suppose you get a decent looking new casting and somewhere the line you find that there are numerous problems with the metal casting. How do you work around this problem?
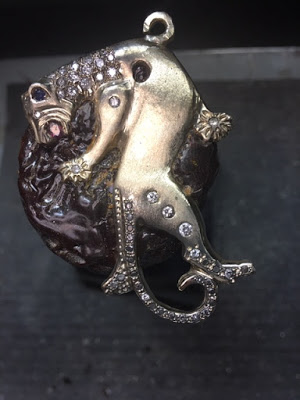
I did and the ‘rest is history’. I also changed the whole appearance from a piece of metal into a great looking and unusual pendant.
In this pendant that I was given, had an estimated 5 different sizes of diamonds, I had to work with them throughout the whole project. Go to my blog and view the newest diamond setting essay that has just been posted, of course with many photographs!
"Finished Winged-Pendant, from a rough casting, but with many problems!"
What tools did I use?
1)High-Speed Steel ; Flat Graver #40.
2)Onglette #1 graver : that is used for only ‘rough-cutting’ any lines used prior to all “Bright-Cutting” processes.
3)Bead-Raiser: this is a basically a Round pointed shaped Onglette #2 graver.
4)Bead-Burnisher, used for ‘rounding the tips of all beads’.
5)Bud bur ; only if the need to “move a hole” is required…(read further on this method).
Difficulty Scale? I estimate this to be about 7 => 8 on a scale of 10.
Days in creating this finished pendant? 7-10 days (one or two hours at a time)
How many years of experience needed in this project? …too many…:>)
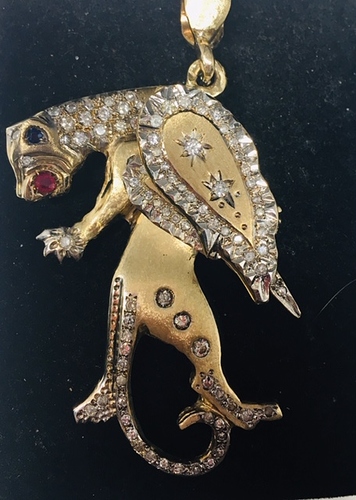
A client came to my ‘home-based office’ and presented me with an unusual project, I looked at it and I thought, this looks like the “Winged-Lion”. He wanted to put some diamonds into this 10 karat, 55-gram pendant and asked could I do him a favour in “making it look better than it first appeared”.
I asked him " Could I use this project as a new topic for my blog? " He 100% agreed! I always ask permission first! I then mentioned that he could examine the essay along with the multitude of other photographs prior to the posting of this essay. I don’t want any legal problems after spending many hours & weeks and the long hours at my setting bench and preparations in writing this blog-essay.
This first photograph (many to follow) just how the basic frame, minus any ‘wings’ not yet attached. The first casting had no holes anywhere but only an empty frame. I started to think as to what is needed to make this a wearable pendant!
Being a Creative and a Diamond Setter has its merits in creating this unusual pendant.
On the leg, I used a “Gypsy Setting” technique, “Beads” were not in my portfolio on this part of the ‘animals anatomy’.
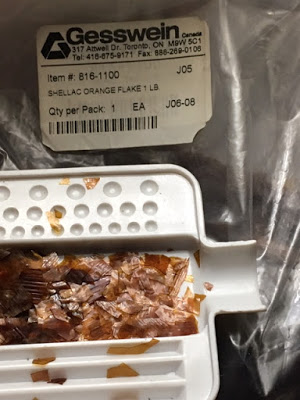
I prefer to use only " Flake Shellac " on my 'wooden shellac-stick’ to hold my setting projects, why so? I’m so very comfortable in using it, plus the wooden stick is also easy to hold for and after many hours!
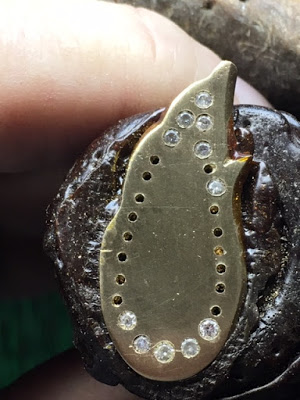
In this photograph, you can observe where the largest of the diamonds are being placed. I believe in selecting the diamonds, I had an estimated 5 different stone sizes to work with. Just in this one “wing”, there were 5 sizes, now multiply that number for the other areas of this winged-pendant!
I decided, as always, just think where the beads will be placed further on. This is so important in the overall design and pattern of setting stones!
“This is not time wasted, but time saved!!”
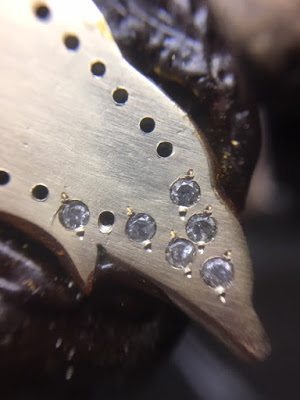
I thought of another pattern in diamond Setting and that is a “Cut-Down” setting design. You can see that the “inner curve” has to be just exactly in the alignment of stones. If one hole is slightly out of alignment, I can easily ‘move’ the hole at the beginning of the drilling process!
=> I used a “bud-shaped” bur to ‘lean the bur’ to one side of the hole, hence, I can literally ‘move’ that one hole in any direction that is needed.
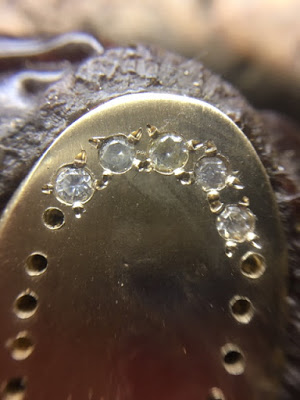
Already you can see how the " Beading Raising " process is starting to take place. The balance of the stones will be now smaller. I’m emphasizing the overall effect, even in these earlier stages of the setting of the stones.
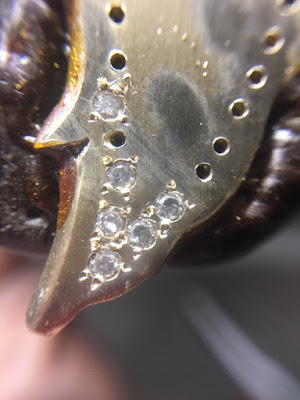
I’m now into the final stages of using any stone size that is given to me. I’ve set the biggest stones and the rest are just ‘filling in’ stones.
I’m even ’ Bead-Burnishing all of the beads, even at the very early stages prior to any aggressive Bright-Cutting. Select a bead-burnisher that is larger than that bead!
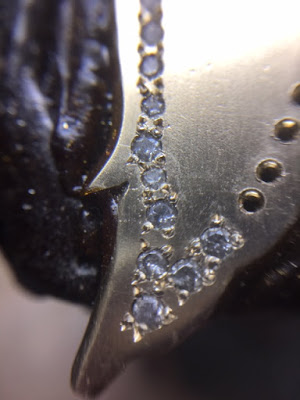
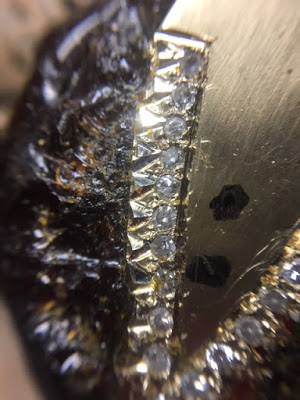
Here is the finished " Cut-Down " effect & pattern. You can observe that I’ve even cut a “Bright-Cut” line on the inside the row of stones, I used a rough-cutting #1 Onglette graver for this process.
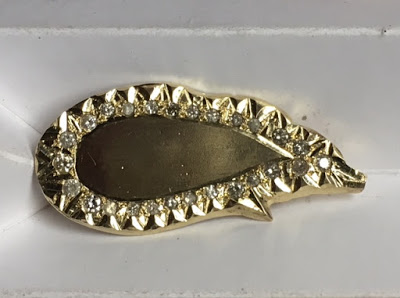
I don’t approve of any empty spaces, I marked in ink, just where the next pair of stones will be set.
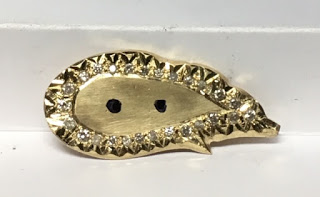
As I had two 'wings to work on, I already had an idea as to where the stones would be placed on the lower ‘wing-plate’.
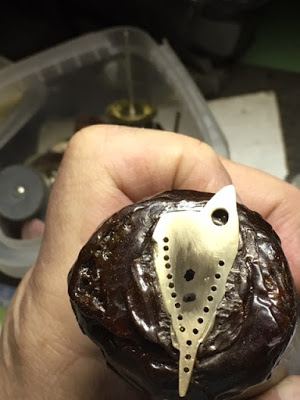
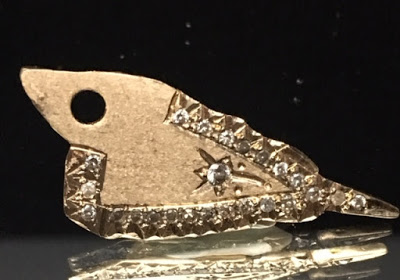
The question now is what technique & pattern could I be using to set the inner diamonds? I decided to use a “Star-Setting” pattern. I outlined (with my black marking pen) where the lines will be cut!
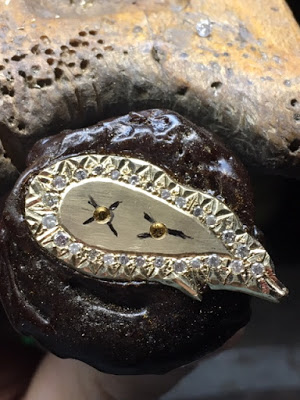
On both of the ‘wings’, I chose to be creative (again) and to use every possible pattern in my 60 years of experience as a setter, to make this “Winged-Lion” look more interesting than when I first received it.
At every opportunity, I chose to use my “Cut-Down” pattern to make the edges look like ‘feathers on the wings’.
I used a modified “Star-Cut” pattern but using as much space as I had available, but without making the empty space look too ‘busy’. The large hole in the center top is where the ‘two wings’ will eventually be joined together.
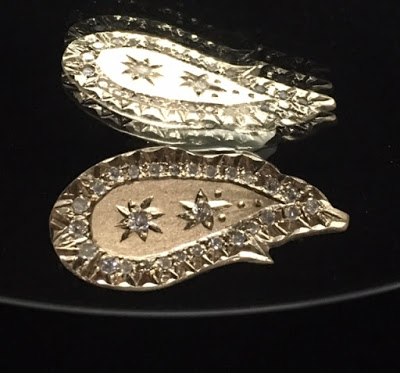
I n this photograph, I used a reflecting mirror, hence “two images in one” picture.
Now you can see the final stages of the “Winged Lion” and the two wings that will rotate. As I had so many more stones to use, I decided (with my client) to set more diamonds in the neck, tail, legs and feet.
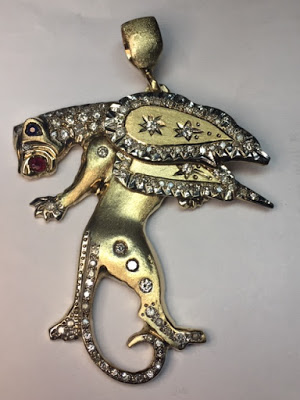
Now you can see just how the (almost) finished pendant looked after the Rhodium plating was applied!
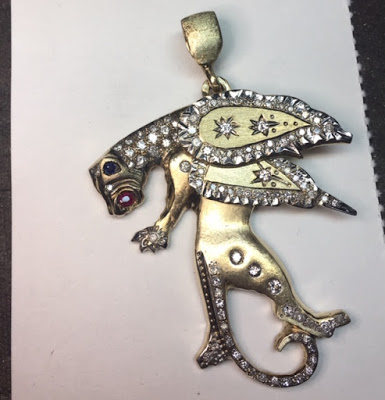
As the two wings were moving against each other I noticed in horror that there was a groove being cut into the lower wing. After the initial shock wore off, I realized that the top “Star-Set” diamond Pavilion was much deeper than the top wing-metal. The Culet of that stone was cutting a groove into the lower metal plate, each time it moved over the plate! . OUCH!
How did I overcome this problem? I just ‘scored’ a little groove into the metal just where that ‘top diamond’ was touching!!! Now there is no chance for that ‘top-diamond’ to ruin the ‘finish’ on the lower plate.
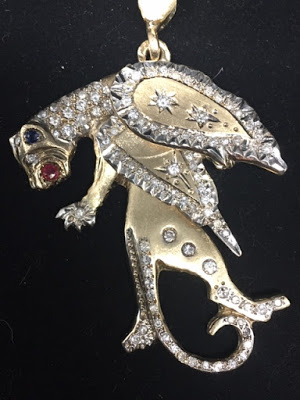
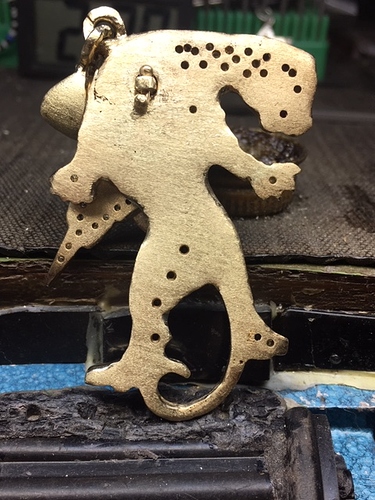
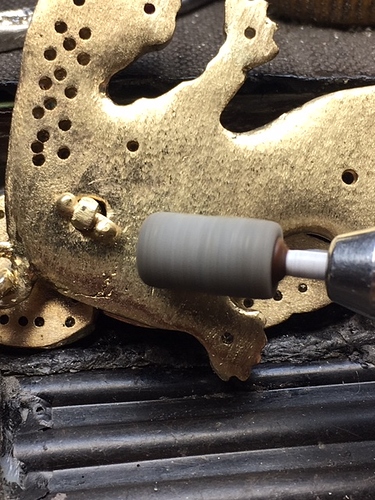
As this casting had numerous pin-holes all due to the improper casting, I used a Corundum, rotating wheel and ‘roughened’ the surface.
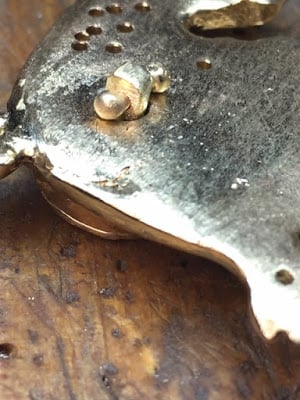
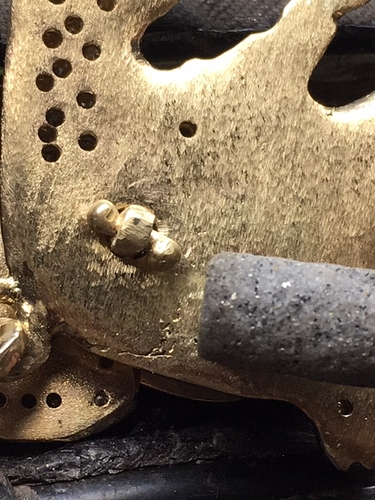
Another point is that to solder all of the pieces together I wouldn’t have any chance of any of the ‘wings’ to easily move. My jeweller decided to use a ‘post & rivet’ approach and this can be seen in the next few photographs.
All of the underneath holes were ’ counter-sunk ’ to make all of the holes uniform in their overall appearance!
Here you can observe the multitude of pin-holes that I had to contend with. The Corundum wheel just ‘moved’ the metal and covered the holes…:>(
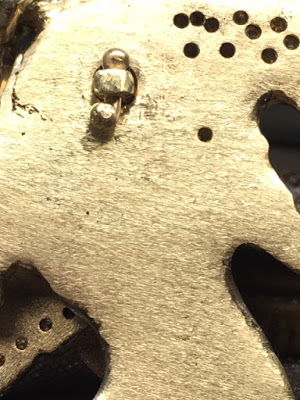
Here is a close-up picture of how the “pin & post” looks, interesting technique?
