Hi Aggie!  in fact at home my hubby was the one who was tidying things up, I’m the messy one
  !
!
Great idea. Do you think I could use (after prepping the toothpick of course) pumice powder? I’ve got some. Thanks a lot! (I walk barefoot or wearing socks…)
hi!
i am a bit confused as to what i am seeing…
on the copper baseplate, there are darker areas within the cutout spaces…that are the same shape as the cutout…and then, there are brighter areas, around these darker shapes, closer to the cutout walls…
if tumbled after assembly, the dark shapes would be brighter…tumbling media reaching that area, while not reaching closer to cutout wall…
or…are the darker areas from the polishing compound? polished after assembly?…whereby the compound did not reach close to the cutout walls…if so, then yes…consider what you can use, to polish it off…medium felt point/ cotton swab/ toothpick with rouge… in flexshaft…fine silicone abrasive points…medium or soft end brushes with rouge… compound buildup can be tenacious/ hard…i wonder if a little mineral oil on cotton swab would loosen it up…
then there are some rounder dark spots in the baseplate as
which look like firescale/ stain, but should not be, since the piece was assembled with rivets, not soldered…so compound residue?
may i ask how you polished/ finished this piece?
perhaps, i might suggest one option for future…
i would polish the components completely, separately, and then assemble…?
i would polish the backplate
then polish the cutout, after soldering the setting
then assemble together
sorry for the confusion, i am so interested in learning about your process…!
julie
1 Like
Hi Julie,
Yes that’s exactly what I did: polished and tumbled both plates separately; then assembled; then re-tumbled after riveting; this must have been my mistake. I then set the stone as I thought I’d find a solution after setting and could not tumble it again, assembled, since it had caused that dirt. I didn’t polish it afterwards because when polishing the copper at the very beginning I got strange marks on the copper. So tumbling and polishing (with my motor) were out of question! So I think I will try the solutions mentioned above…
hi!
ah ok, so the darker areas were created (by the tumbling media) when tumbling the piece assembled…
what tumbling media did you use?
if you used pyramids or cone shaped media, due to its shape(?), the media was only able to reach the center area of the cutout area, , but not closer up to the walls of the cutout…?
if this is the case, the darker area should be brighter/ lighter…if you used pyramids or cone media…?
what media did you use?
hmm…or!…did you use a (walnut?) shell or corncob impregnated with rouge…?
that might leave the compound residue on the surface…
interesting!
julie
1 Like
Hi Julie,
Thank you very much for your interest! I used a stainless steel shot, new, a mixture of pins (1,5 x 8 mm) and 2,5 mm balls. Now I think I should have used - maybe? - ceramic shot. What seems strange to me are the polished areas in the cutouts (copper), at the periphery while the center of the cutouts are dirty. I thought it should be the contrary. I still can’t figure that out!
1 Like
hi!
haha! i thought the same thing! i wrote it, but erased it!
that is what is confusing me too!
ok, so, was the dark area there when you finished polishing with flexshaft, before you put into tumbler?…
if so, then it must be polishing compound…which might be able to be removed with abrasives of some sort…i feel like a paste…or! maybe…die sinker rifler files (love!)
if not, then it was created during burnishing action of steel shot in tumbler…?
…tumbler with steel shot does not remove…it only burnishes (pounds down and compressed surface of metal) it does not abrade and remove…
so then there would be nothing to remove per se, but rather something to “change the look of, some how”…ie: add a texture…abrade…patina…etc…
a mystery!
julie
hi!
i forgot what would probably be my first “go to” for this situation!
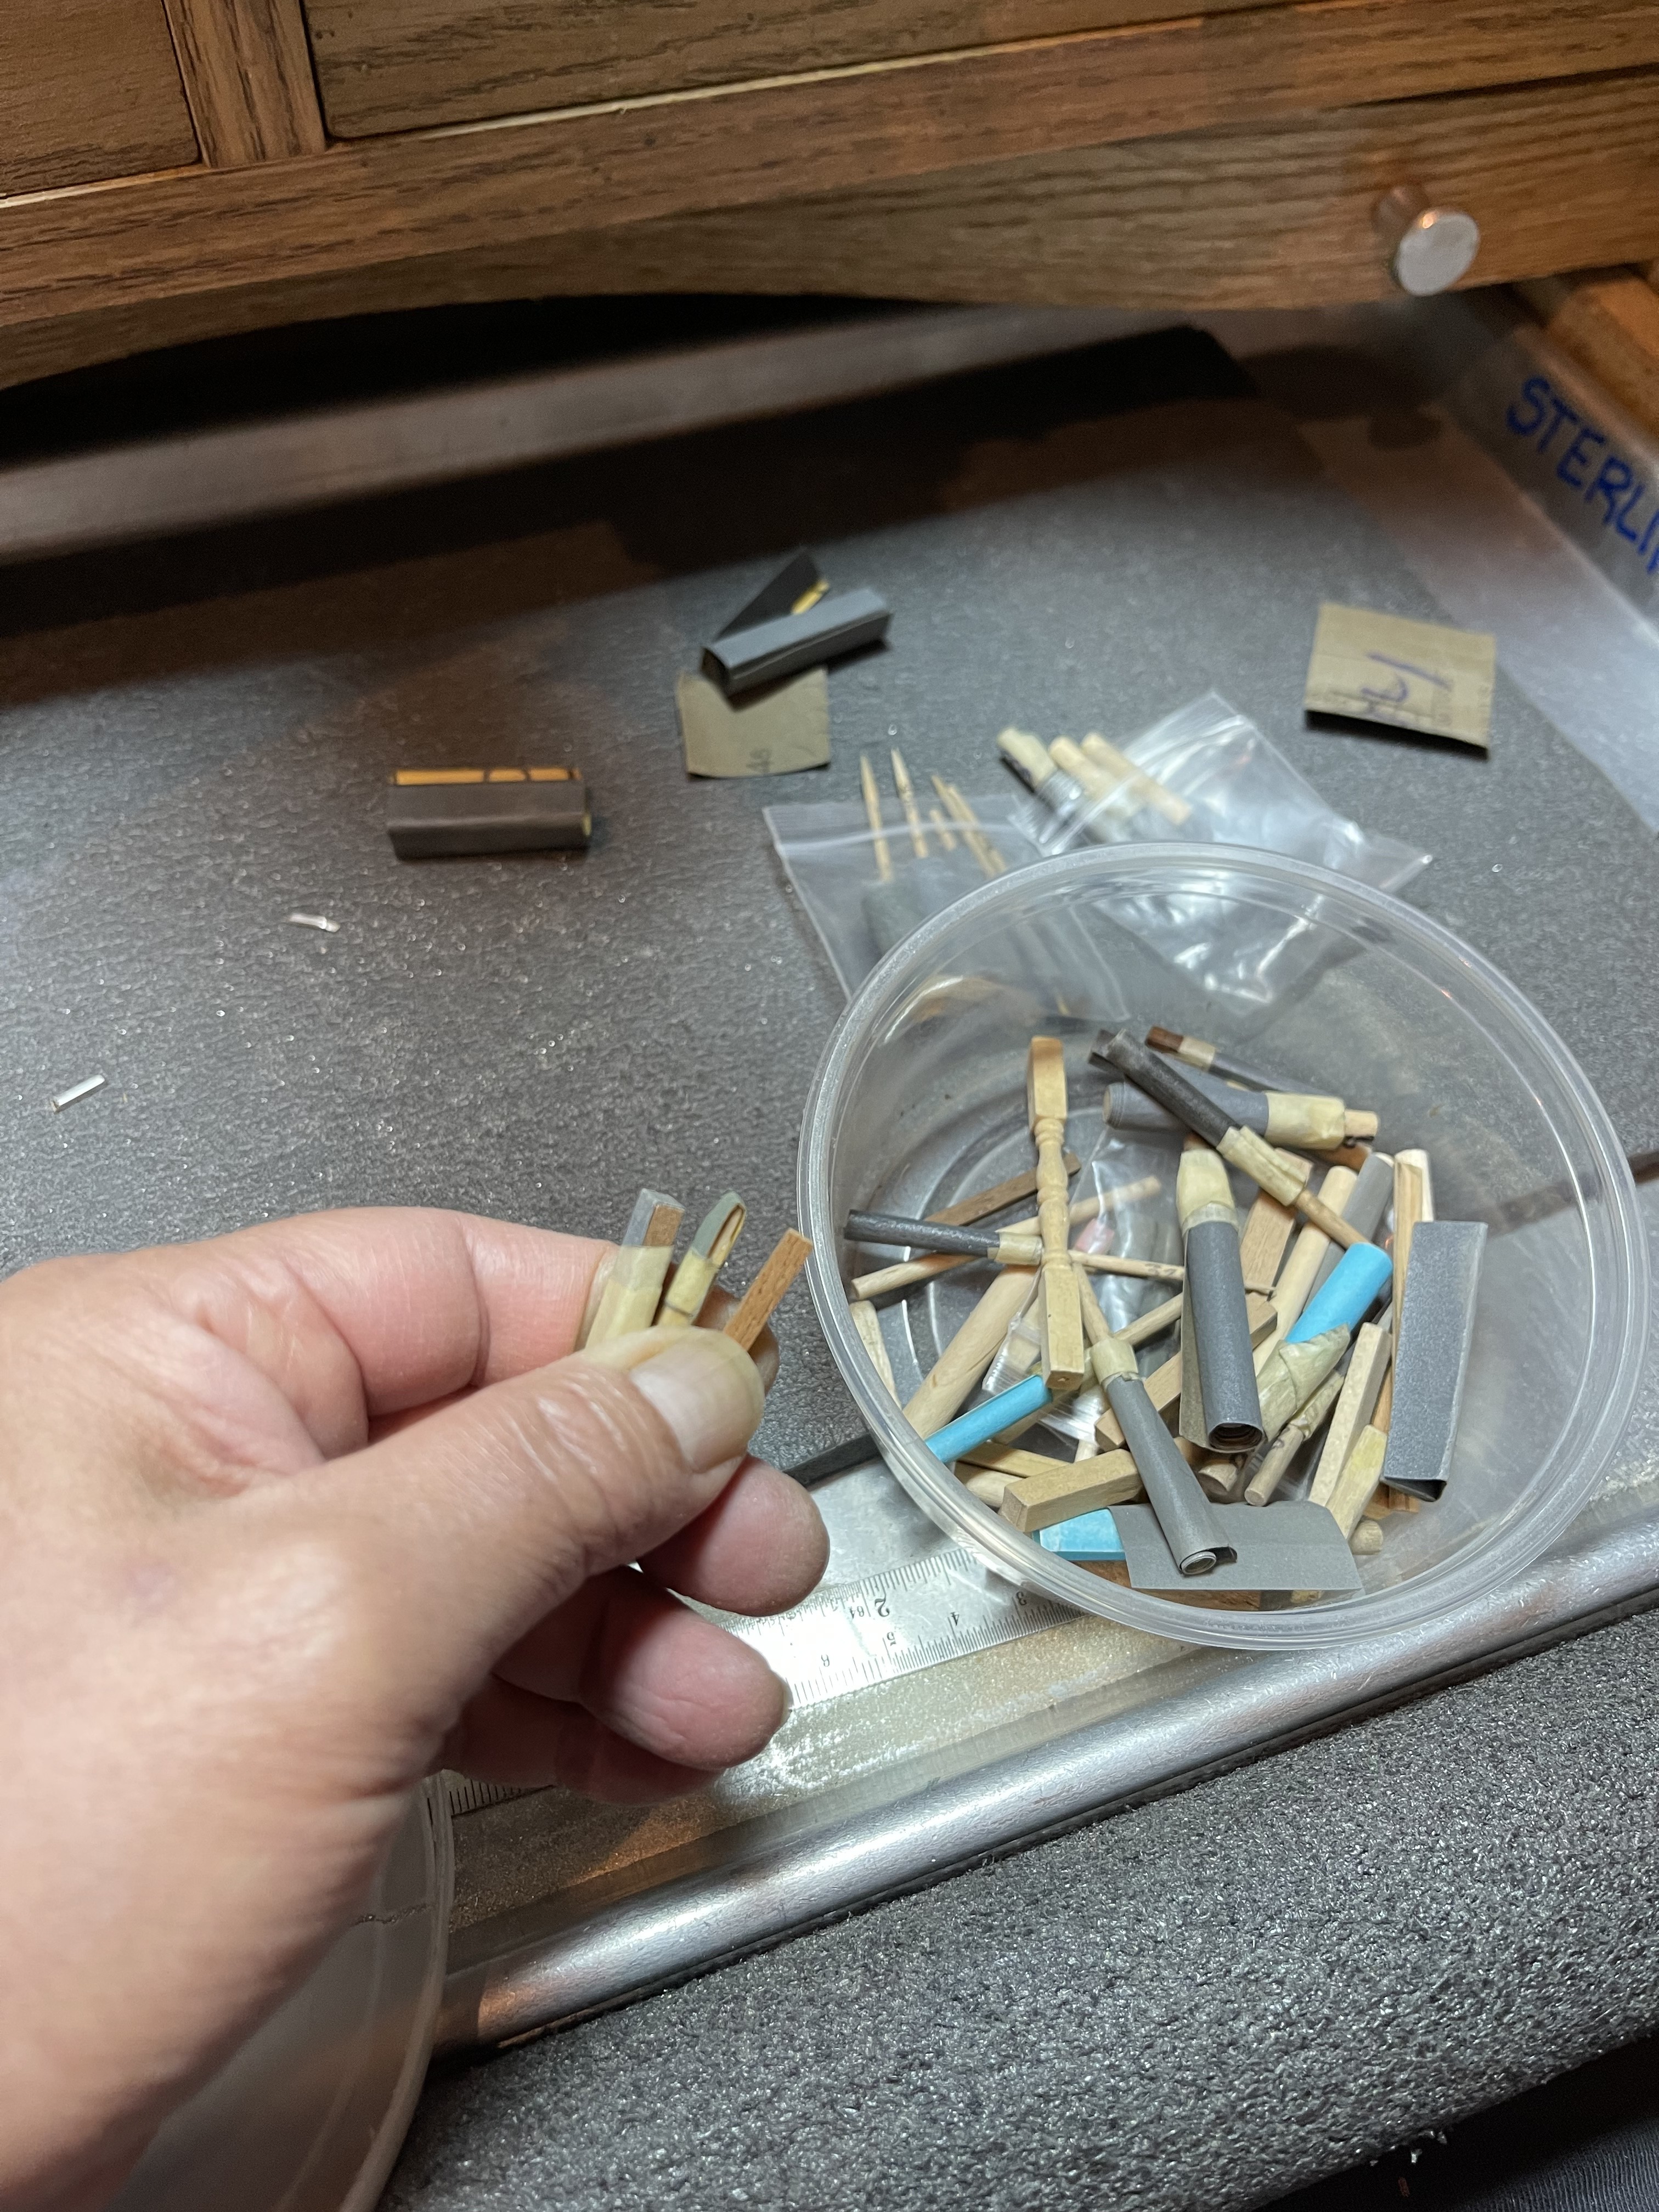
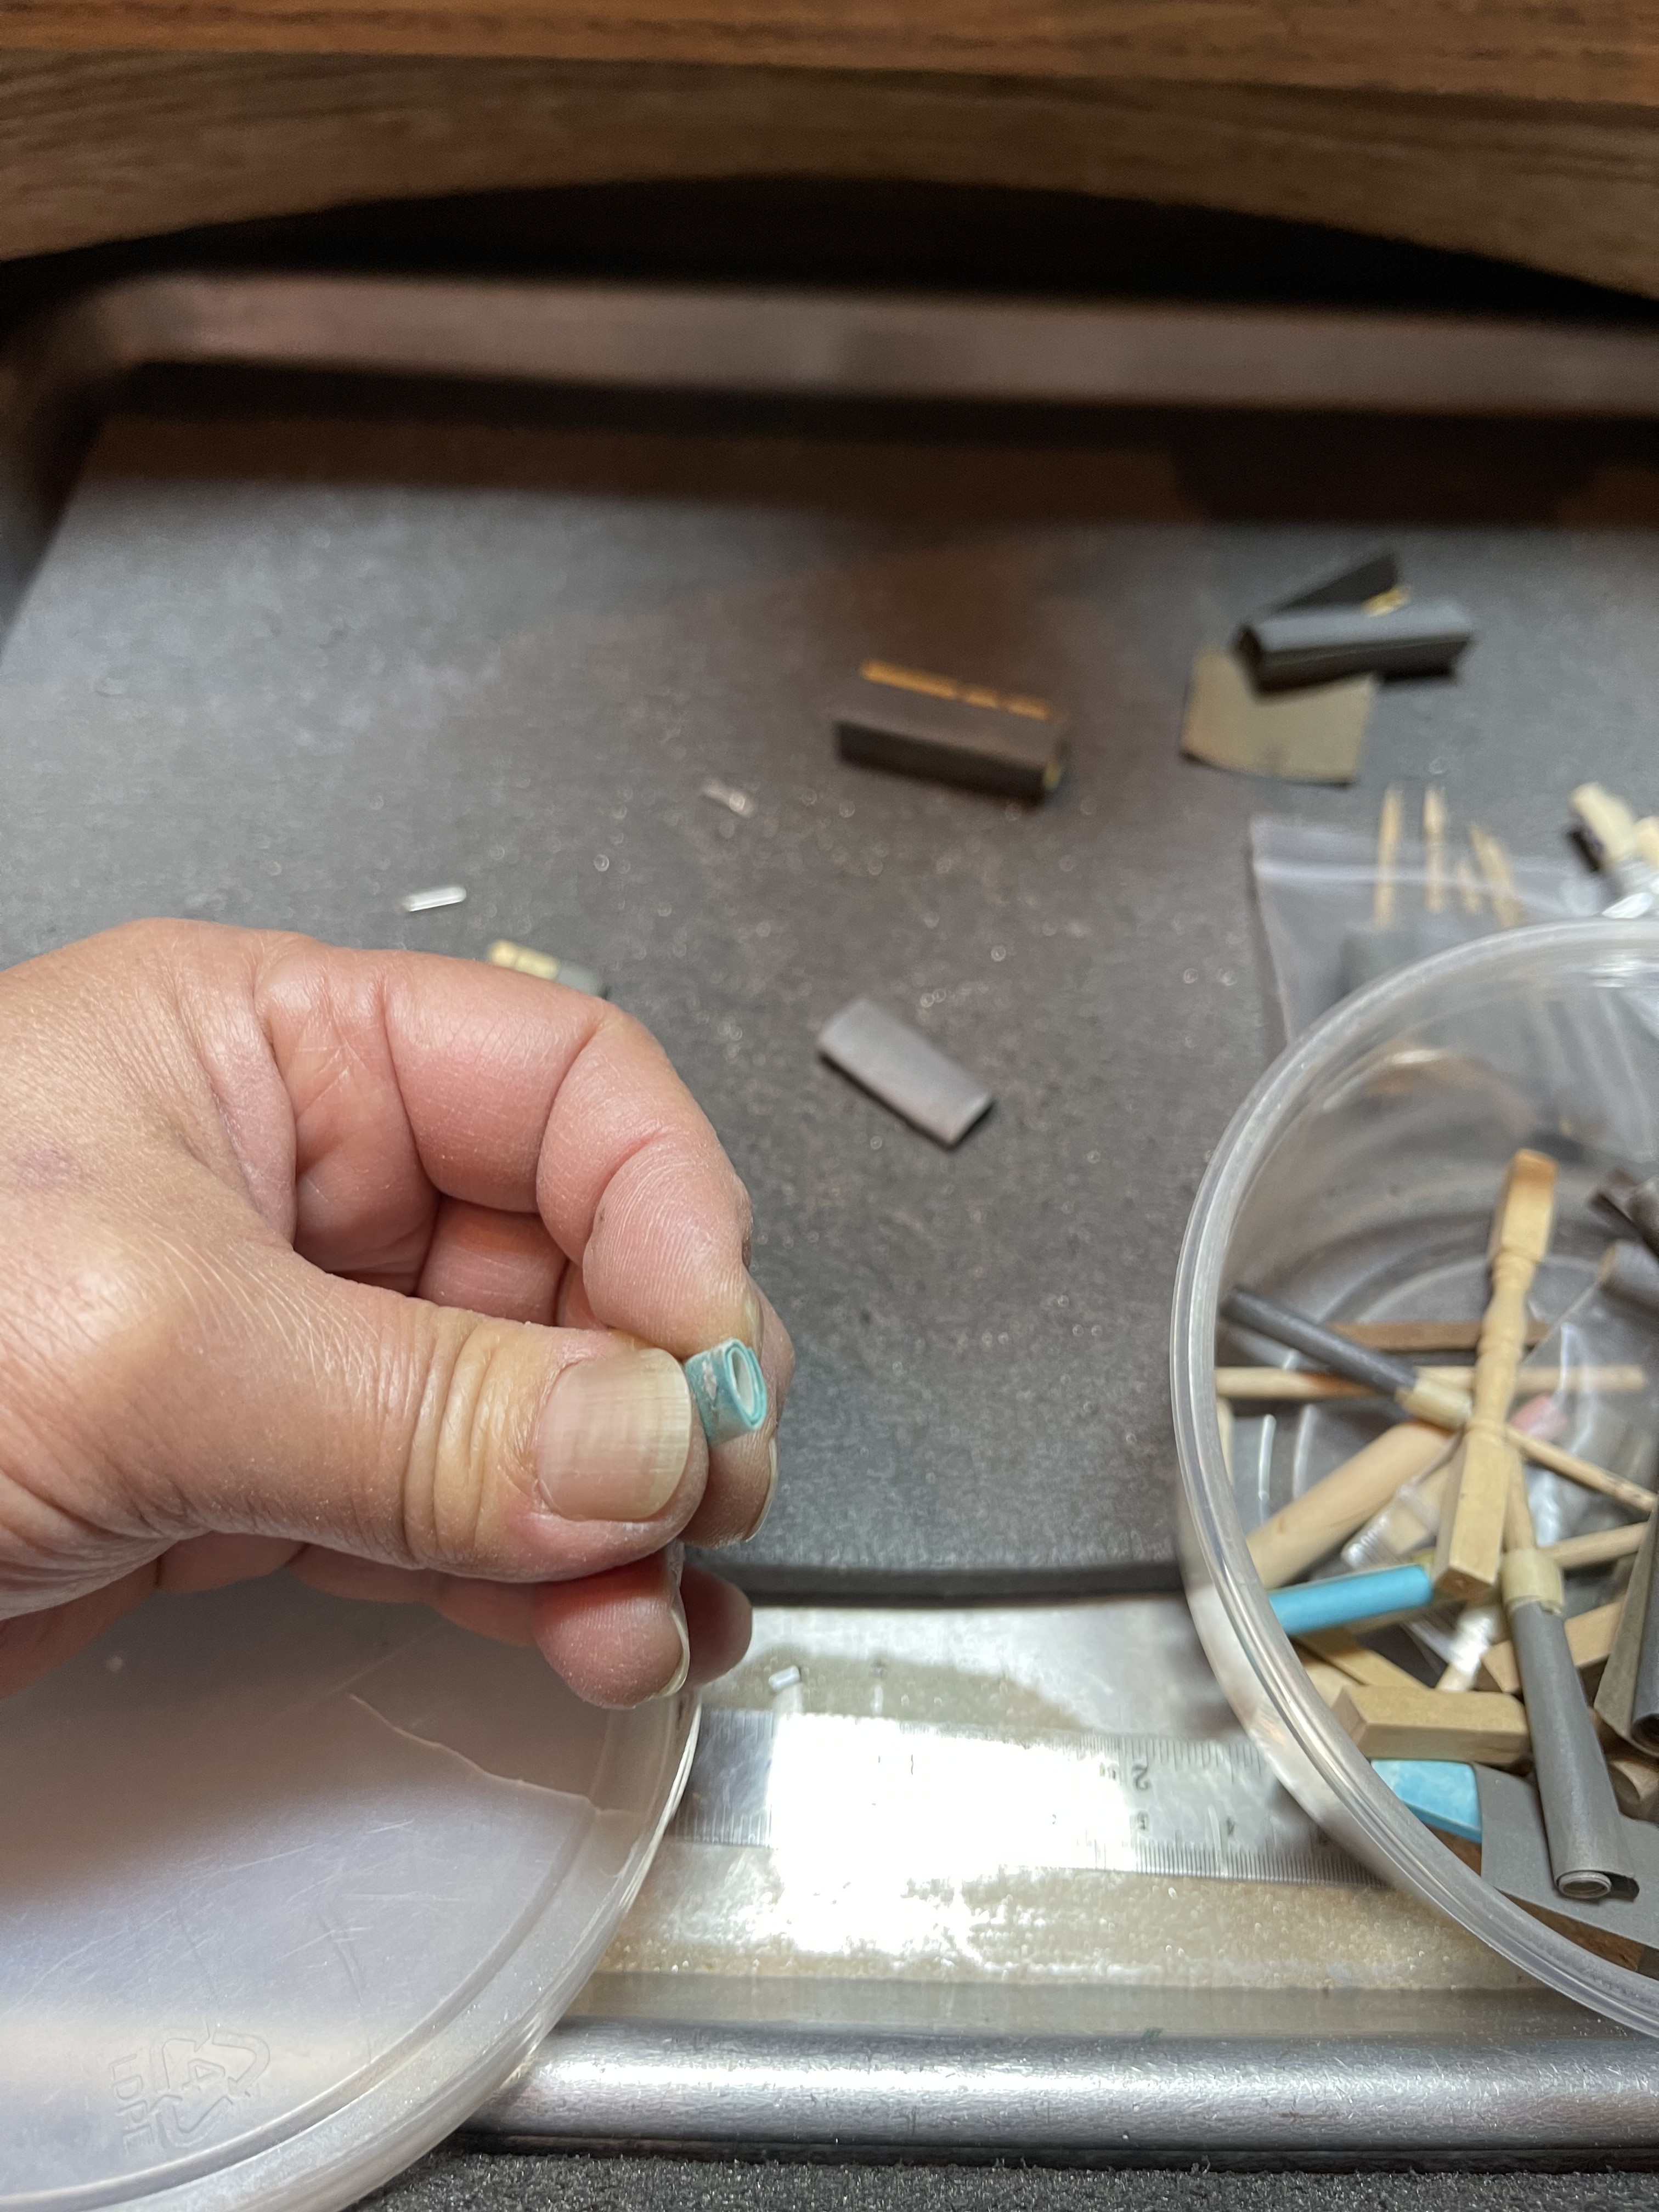
tiny folded pieces of abrasive paper
just folded to achieve the neccessary firmness/ end nub thickness…or wrapped over the end of a hard or soft(balsa wood) piece of wood strip (from hobby shop/ home depot)
tedious…but usually effective without being overly aggressive…
kind of meditating! i use this method all the time…


2 Likes
What ever works. The size of containers that our local wood working store had, has been given out in film sized containers to about 40 people so far, and I still half a container full of 3 different grit sizes. I once thought about ground up spices that have gotten old. Like I said, what ever works. Just don’t cook with the spices aftwards.
Aggie
Christine, a thought just came to me. Yes I do think once a decade. I do a lot of copper work, but not in jewelry. One thing I found out real fast is water spots it like it has the measles. You need to dry it off quickly after it gets wet or it will have those darker spots. I think again twice this decade, that the water has enough minerals in it that it is causing a bit of patina as it dries. Yes I use paper towels. They get used until they fall apart. After they get soaked from drying the copper ornaments, I hang them up like clothes on a clothes line. Another thing my hubby gripes about.
Aggie who has two cats sound asleep in my lap below the laptop.
1 Like
hi again!
ok…i was just thinking…you used “new”stainless steel…
i forget…should stainless steel be run thru the tumbler with burnishing solution (did you use burnishing solution?)…and scrap silver for awhile…to “break it in”…?…
i believe porcelain needs to be “broken in”…
if you did not break it in, i wonder if that caused the discoloration…the solution gets pretty grey/black during break in…if i recall correctly…?…
julie
1 Like
Aggie,
You’re too funny! I will try to remove these spots with paper after soaking the piece in distilled water. Maybe this kind of water will do the job. Who knows! Since the “dirt” was deposited during tumbling. Sigh!!
Hi Julie!
I had let the tumbling solution work in an empty cycle, with a burnishing solution . Now I don’t know if it might be that? Indeed I didn’t use it on scrap first… oh too bad… too late! 
1 Like
Hi Julie, lovely piece. Looks like you have put a lot of work into it. This is just a thought… copper will oxidize very quickly so you are probably not going to achieve a long-lasting bright finish on the copper backplate even if you find a way to clean it up today. Have you thought about using a blacking agent to achieve a dark (but consistent) patina on the copper and then repolishing only the pierced silver top plate so it is bright against the patinaed backplate. I realize this probably isn’t what you visualized…you will end up with bright silver against black instead of bright silver against copper.
2 Likes
whoops … addressed my last message to “julie”, should have addressed it to Indira8330
Hi Melissa,
Sorry - your answer was not forwarded so I read it only now. That’s a good idea - in fact I realized it’s brass and not copper! Which will be even more horrible when it oxidizes. Thank you very much for your idea - haven’t with it much do it’s still in the same state but I will probably do as you say! Will give it a nice finish  Thanks a lot!