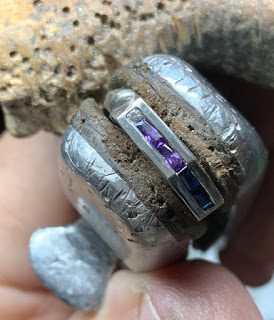
In this latest essay, I decided to set long (4x2mm) Baguette stones in a row. The metal setting was originally made for round stones, but I decided to change that for long stones, just to make things more interesting! I hope that you find this essay an interesting read.
Channel Setting “LONG Baguette” stones!
I’m dealing these says with the most difficult ‘odd-shaped’, gems in my inventory of “Fancy-Cut” stones. We’ve explored in previous essays “Princess stones” and now I’m going to demo “Channel-setting Long-Baguette stones into a piece of metal”. This pattern was made originally for round stones and I don’t believe staying with the regular styles.
The Scale of Difficulty is at 8 out of 10!
The following techniques are similar in nature to a “Princess” stone setting! When you are wanting to set this shape of a Baguette stone, some conditions might seem rather difficult, but not to worry! I’ll guide & help you (to the best of my ability) to overcome these few problems.
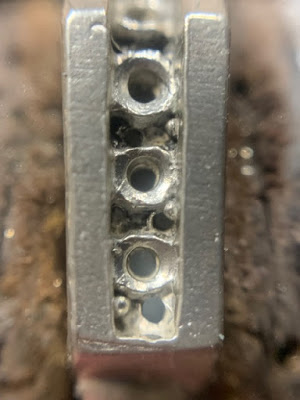
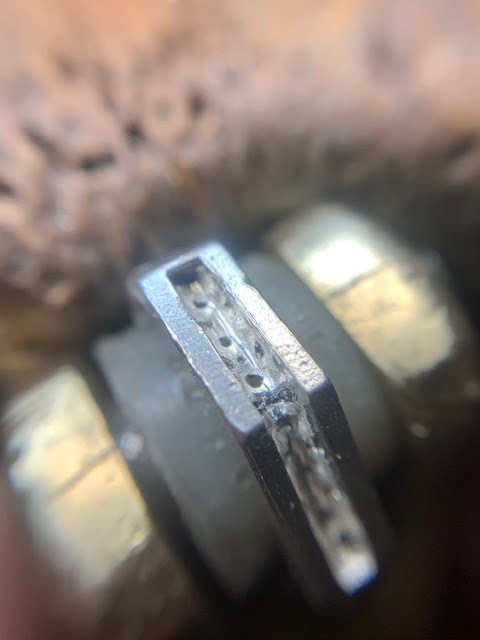
What I found was just a piece of silver that needed a good cleaning. This ‘irregular’ shape has openings for 8 round stones, but as I said, it needed to be greatly improved this time for Baguettes.
Since we are now working with Straight Baguettes this time. I’m not too worried about how the inner recess for setting looks. At one point, all of that metal will be greatly removed!!!
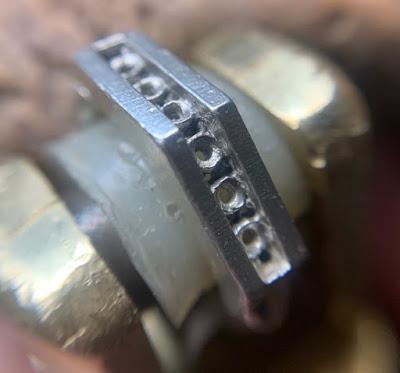
I will be rotating this clamp little during the setting process. My aim is to keep the setting position of the channels, horizontal or flat.
If there is any deviation from the ‘flat angle’, you’ll be having some difficulty in having access to the inner channel walls, got this?
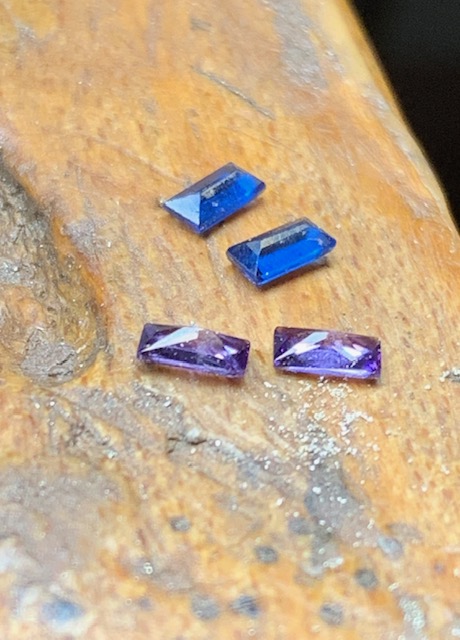
I measured the two stones, for their lengths and (of course) their width. If some of these stones are too wide, I can utilize the thicker channel walls to allow for the wider stones.
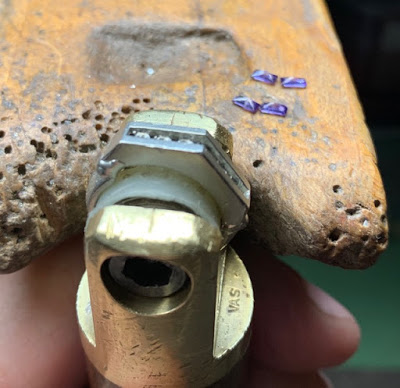
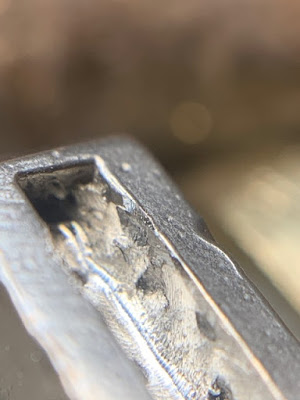
After measuring the 2 ‘in-line’, baguette stones, I decided to ‘remove’ all of the inside metal. I prefer to use bud-shaped burs to do the cutting & removal. I just wanted to get all of the metal away from where the two Pavilions will be soon resting.
Using a loup and examined that the channel-corners are now free of any metal.
In this process, a bud-shaped bur is now being used to make a bearing cut. The size of the bur must be larger in width and also wider than the Girdle of the stone!
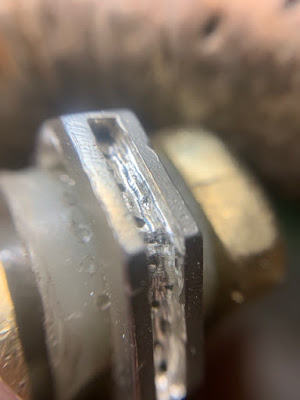
Please do not use any round bur in the delicate process as the stone is actually flat or horizontal. Round burs cannot make that flat-line bearing with any form of accuracy.
Even I wouldn’t use a round bur, so why should YOU?
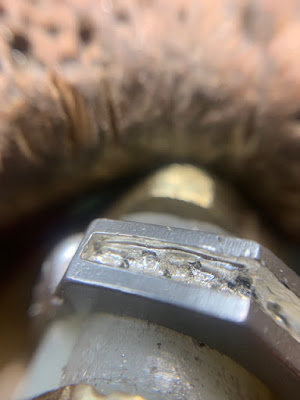
In this photograph, I did use a round bur. But just for one purpose, that was to cut a corner hole where the Corner of the stone will be resting but never touching!
As you can see I am using a larger bur size. It’s not the size number, but just that the bur must be larger than the Girdle!
This might be a tad difficult to see, but I did use a round bur, right at the corner!
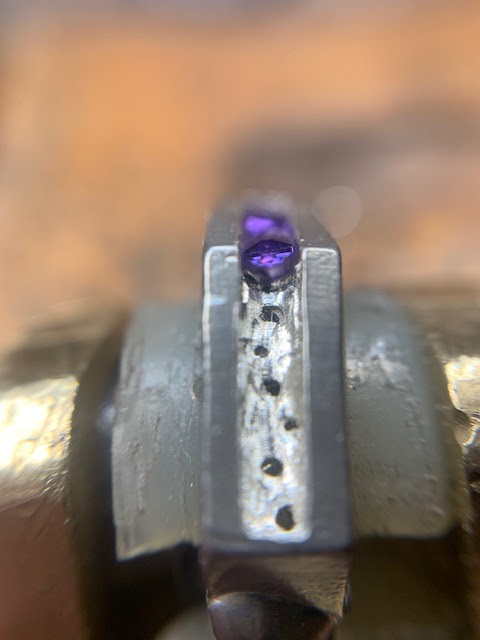
I placed the stone against the inner walls, just to see if the stone will be easily set. Another point is to see if the Pavilion will going to be clear of any metal. If the metal is too shallow, then again remove more metal in the centre of the channel,
There is such a wide variety of “Girdle” thicknesses, this is quite ‘normal’ when buying synthetic stones. I usually buy the ‘thinnest’ stones for setting jobs of this nature.
Make sure that the new “Girdle-bearings” are wide enough for the stones. Plus that the “Culet” of the long stones are NOT TOUCHING ANY METAL!
When you are making the bearings for the stones where both of them together will ‘meet’.
Do not make the new bearing extend BEYOND the spot where that one stone will rest! Just STOP at the point as shown!

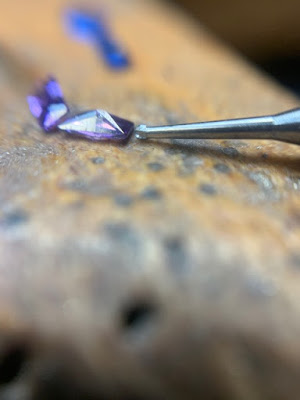
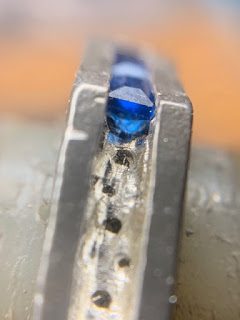
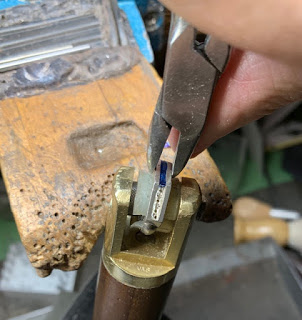
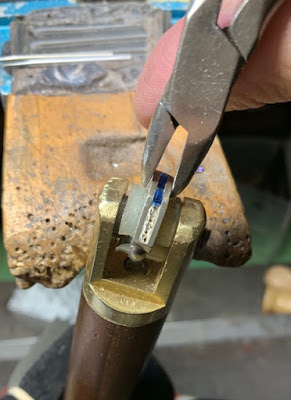
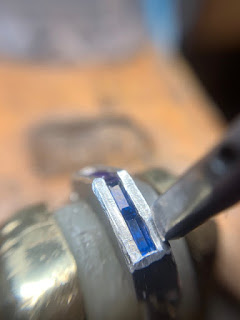
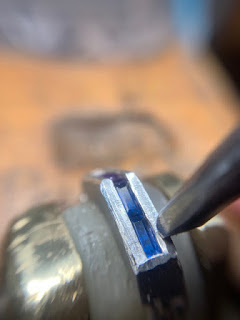
Place the stones into their new ‘home’ and use a pair of smooth jaws of your pliers and GENTLY squeeze the two side walls GENTLY together …Should I repeat that one word " GENTLY "?
Do this same procedure for the other two stones.
I found that on one side of the demo-top, I had ‘extra’ space. Since I don’t use any torch or high-heat near these stones to fill in the gap, I thought of putting one extra 3.00 mm in that space, that too was tightened!
I’ll repeat this, GENTLY, bring the two channel sides together! This just enough to keep the 4 stones from moving.
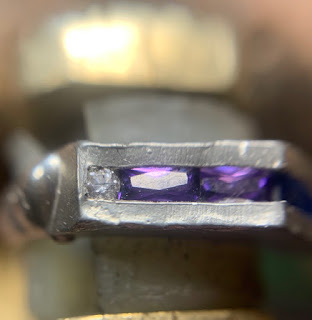
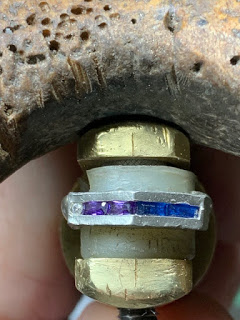
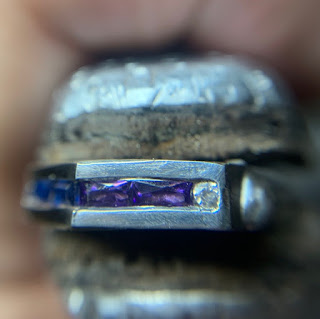
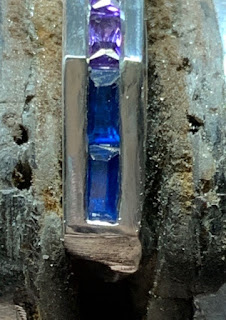
It appeared to me afterwards that the Amethyst stones were too short than the Blue Sapphires . An extra opening allowed one round stone to be set, so in it went…:>).
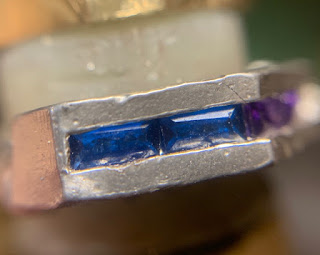
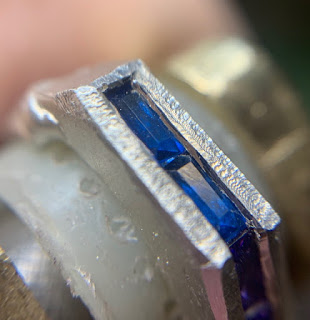
Here is a photo with all the stones nicely set and now ready for the hammering!
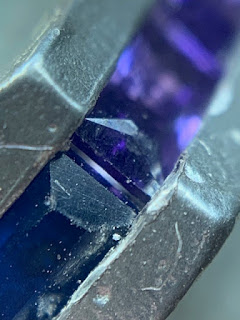
Can you see any large spaces in between the two stones? There aren’t any and there shouldn’t be any! But some times I will allow a little opening (as seen) but this allows for any vibration due to the hammering if the two stones hit each other…’ good-bye stones’ and breakage will occur!
All of the 5 stones now nicely secured and not going to move (hopefully) anywhere!

I’d like now to start the Reciprocating Hammer to do its job. That is to properly tighten all of the stones. Don’t let the 'Hammering-Anvil" get too close to the leading front edge. We need this for the next step and that is Bright-Cutting the " inside, front edge ".
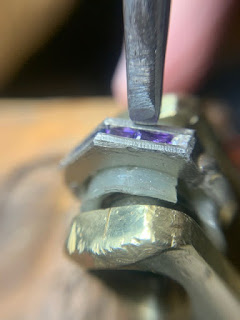
Hold the hammer anvil at a 45-degree angle ‘leaning away’ from the stones.
Hold your Flat Graver #40 at a 45-degree angle and “GENTLY” cut the metal, as shown!
Do this same Bright-Cutting on the other side, as shown!
If the stone or stones are set too high in the Channel, the opportunity too Bright-Cut will be greatly reduced, as shown here . The only solution initially is to set these stones initially much deeper but nothing can be done now!
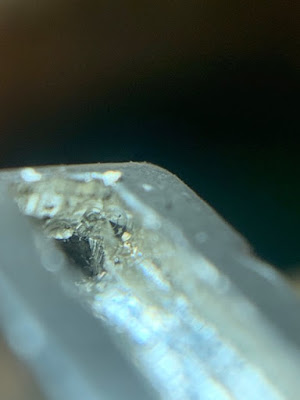
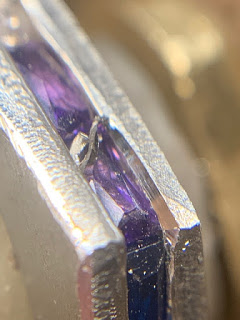
As you can see that these stones are not polished & cut accurately. This again is sometimes quite ‘normal’, genuine stones won’t have this situation to contend with. This can be quite annoying when you are attempting to Bright-Cut.
To review some important notes!
When you are actually hammering, you should have your anvil sitting on the metal with the width as shown!
In this position, you will be getting “deep gouges” in the metal and removing them will be very, very difficult.
Remember to place the hammer-anvil ‘leaning away’ from the edge of the stones. You are in all actuality “pushing” the metal towards the stones, not “over”.
*Keep the pressure on the “lightest setting” on your hammer. DON’T BE TOO AGGRESSIVE or you might break the stones and squeeze the metal over the edges. The result is in no thickness of the metal to Bright-Cut.
Here are the finished results on this kind of setting.