Solder that won't melt

I clean my sheet solder with a green scrubber before clipping and cut up several projects worth at a time in the three solder strengths. This works fine for me as I use up the solder before it tarnishes much. However, I had a years hiatus and when I came back to my studio the solders were unevenly tarnished. I did not think much about it until I was having hit or miss instances of the solder not melting. After about the third project I realized it was the different degrees of tarnish that was giving the sporadic results. I poured my solder chips into a plastic tea strainer and pickled them. The problem was resolved.

.

I’ll throw my $.02 in here on the side of cleanliness, fit and heat management as well. Solder not melting is usually confirmation of a situation I know I’ve rushed or created poorly in some way. The only thing for it is essentially starting over with the joint after slowing down and a big deep breath or two.

As Don in particular says, joining metal elegantly and efficiently is a real art that is as worthy of deepening your practice as jewelry itself. I’ve also been joining metal for 40+ years and I still feel like a beginner at least 1/2 the time. I love Don’s notion of a ritual and the sound of the torch as a temperature cue.

My suggestion is to explore the art of soldering and see where it goes, what kind of ritual develops for you. Might lead to entirely new things.

Apologies for repeating concepts that are familiar to experienced Metalsmiths.

In general, when solder just balls up and does not flow, I have found that more heat is needed. To be honest, I have not experienced flow problems with badly tarnished solder if the joint has been properly flexed and enough heat has been applied. If the piece is regular Sterling, that means the whole piece must be brought up to uniform temperature. Argentium (AS) is more forgiving of the need for heating the entire piece, as AS acts more like gold for soldering purposes.

Mention has been made of covering solder with a Sharpie. VERY useful. Do it immediately upon receipt and be sure to cover both sides of sheet solder. Use different colors for each solder type. Should you be unlucky (or clumsy) enough to spill all those little bits, different colors help with differentiation. Been there, done it, burned the T-shirt!!

Judy in Kansas, who has been busy clearing the dead vegetation from the garden and beds. Setting records of high temps here. Probably can plant a couple weeks early if this continues.

1 Like

YES!..This is why I joined this group! I have been having this problem! I love all of the suggestions! Learning from the pros…that’s what it is all about! thank you!

Thanks so much everyone for your advice. I’m going to pickle that batch of solder and try it again. I like to get to the bottom of mysteries. And I like to find out why something won’t solder. There’s always a reason, and I like to tell my pupils it’s not them…

Hi, I too use green scrubbies, or folded pieces of remnant 600 grit sandpaper to clean my sheet solder before cutting chips.

usually whenever I have had solder ball up and refuse to melt, it has been due to unclean surfaces.
Julie

1 Like

I would add to my post that the solder I have the most terrible with is the material with the lowest meld temperature. That would be Hoover 301 EX Soft.

If I bead it up and try and set it with a pick the pick and the solder seen to react and soot up the site. The solder beads up and just spins in place. The soot seams to be caused by iron in the pick reacting with the chemistry of the solder.

Not surprising the solution has always been a good fit, scrupulously clean, sanded surfaces, fresh flux, and new solder.

Don Meixner

Hi, my pictures i think came out of order , but one shows black squares of solder , black with a texture . this was me trying to solder with hard . after it not working i added Medium solder and that flowed but i still have those square marks . I also heated it so much trying to melt the hard solder that i reticulated one corner of the back piece .
Do you think it was silver wire not silver hard solder ?
any test i can make ? i think they will both ball up if i heat them alone

(the decoration I’m soldering is something i made, had cast and is hollowed out behind .

thanks

Hi Fredmarm
Maybe your problem is the same as mine - the solder won’t melt because it is oxidised or dirty. Even the sweat from our fingers can affect it, apparently.
My jewellery making is a process of trial and error…

I believe that making jewelry is rather a process of craftmanship and
knowledge.

Just saying.

1 Like

My experience is that the soot that Don refers to is usually caused by the flame hitting the solder directly while the solder, pick and the piece are all at different temperatures, usually the solder and/or the pick is much hotter than the piece. It also happens most frequently with white gold (I hate white gold). The soot, even if it’s almost invisible, will definitely interfere with soldering. It causes fire scale to form inside the joint. Solder won’t flow there until the fire scale is removed, sometimes even requiring re-filing or sanding.

To avoid it, try heating the piece up closer to the flow temperature of the solder before putting the solder on the joint, and keep the flame on the other side of the joint as much as possible. In other words, don’t aim the flame at the solder, especially when starting cold,

Basic soldering 101. If solder won’t flow, it’s due to one or more of these three things -

  1. The joint or the solder isn’t clean.
  2. The joint doesn’t fit well, in other words there is a gap that the solder can’t jump, or that is causing the two parts to be at different temperatures…
  3. The joint and the solder aren’t hot enough. Both have to be at the flow point at the same time.

If the joint (not just the solder) is hot enough and it won’t flow, it’s one or both of the other two things that is causing the trouble. It really is that simple.

If the solder is balling up before flowing, it is reaching flow temp before the joint is, and you’re likely to get fire scale in the joint which will cause reason one to go into effect…

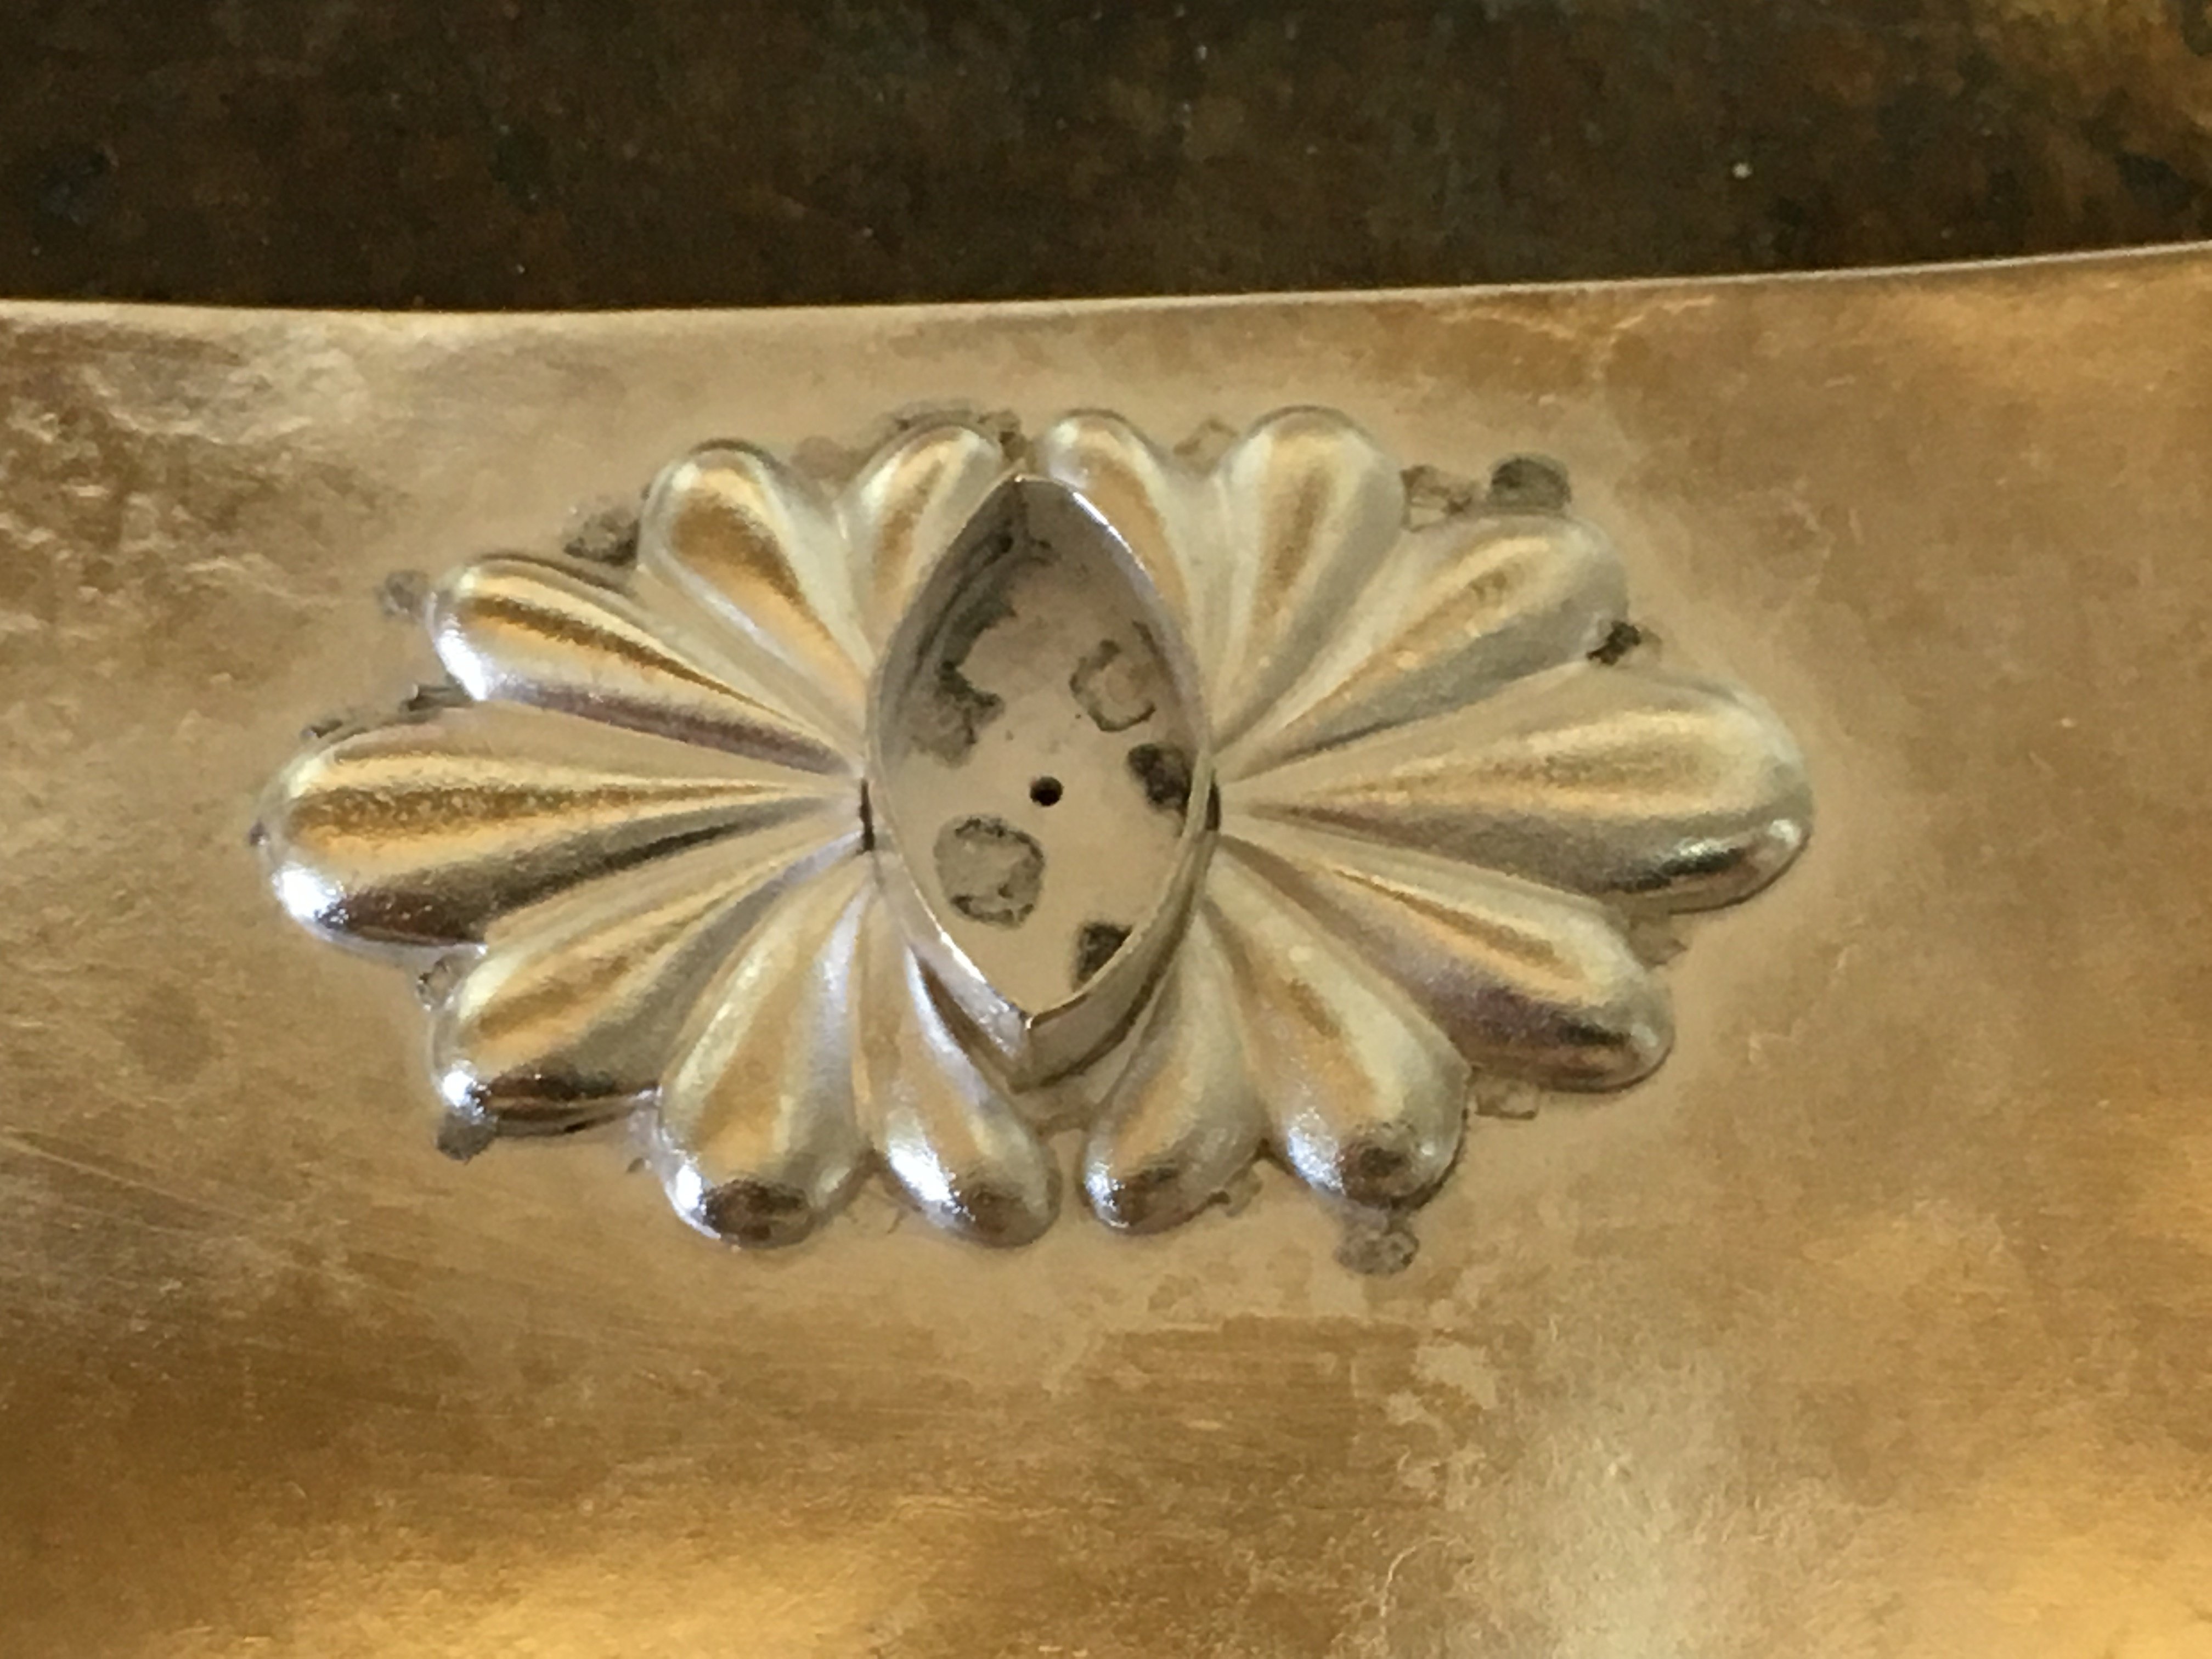
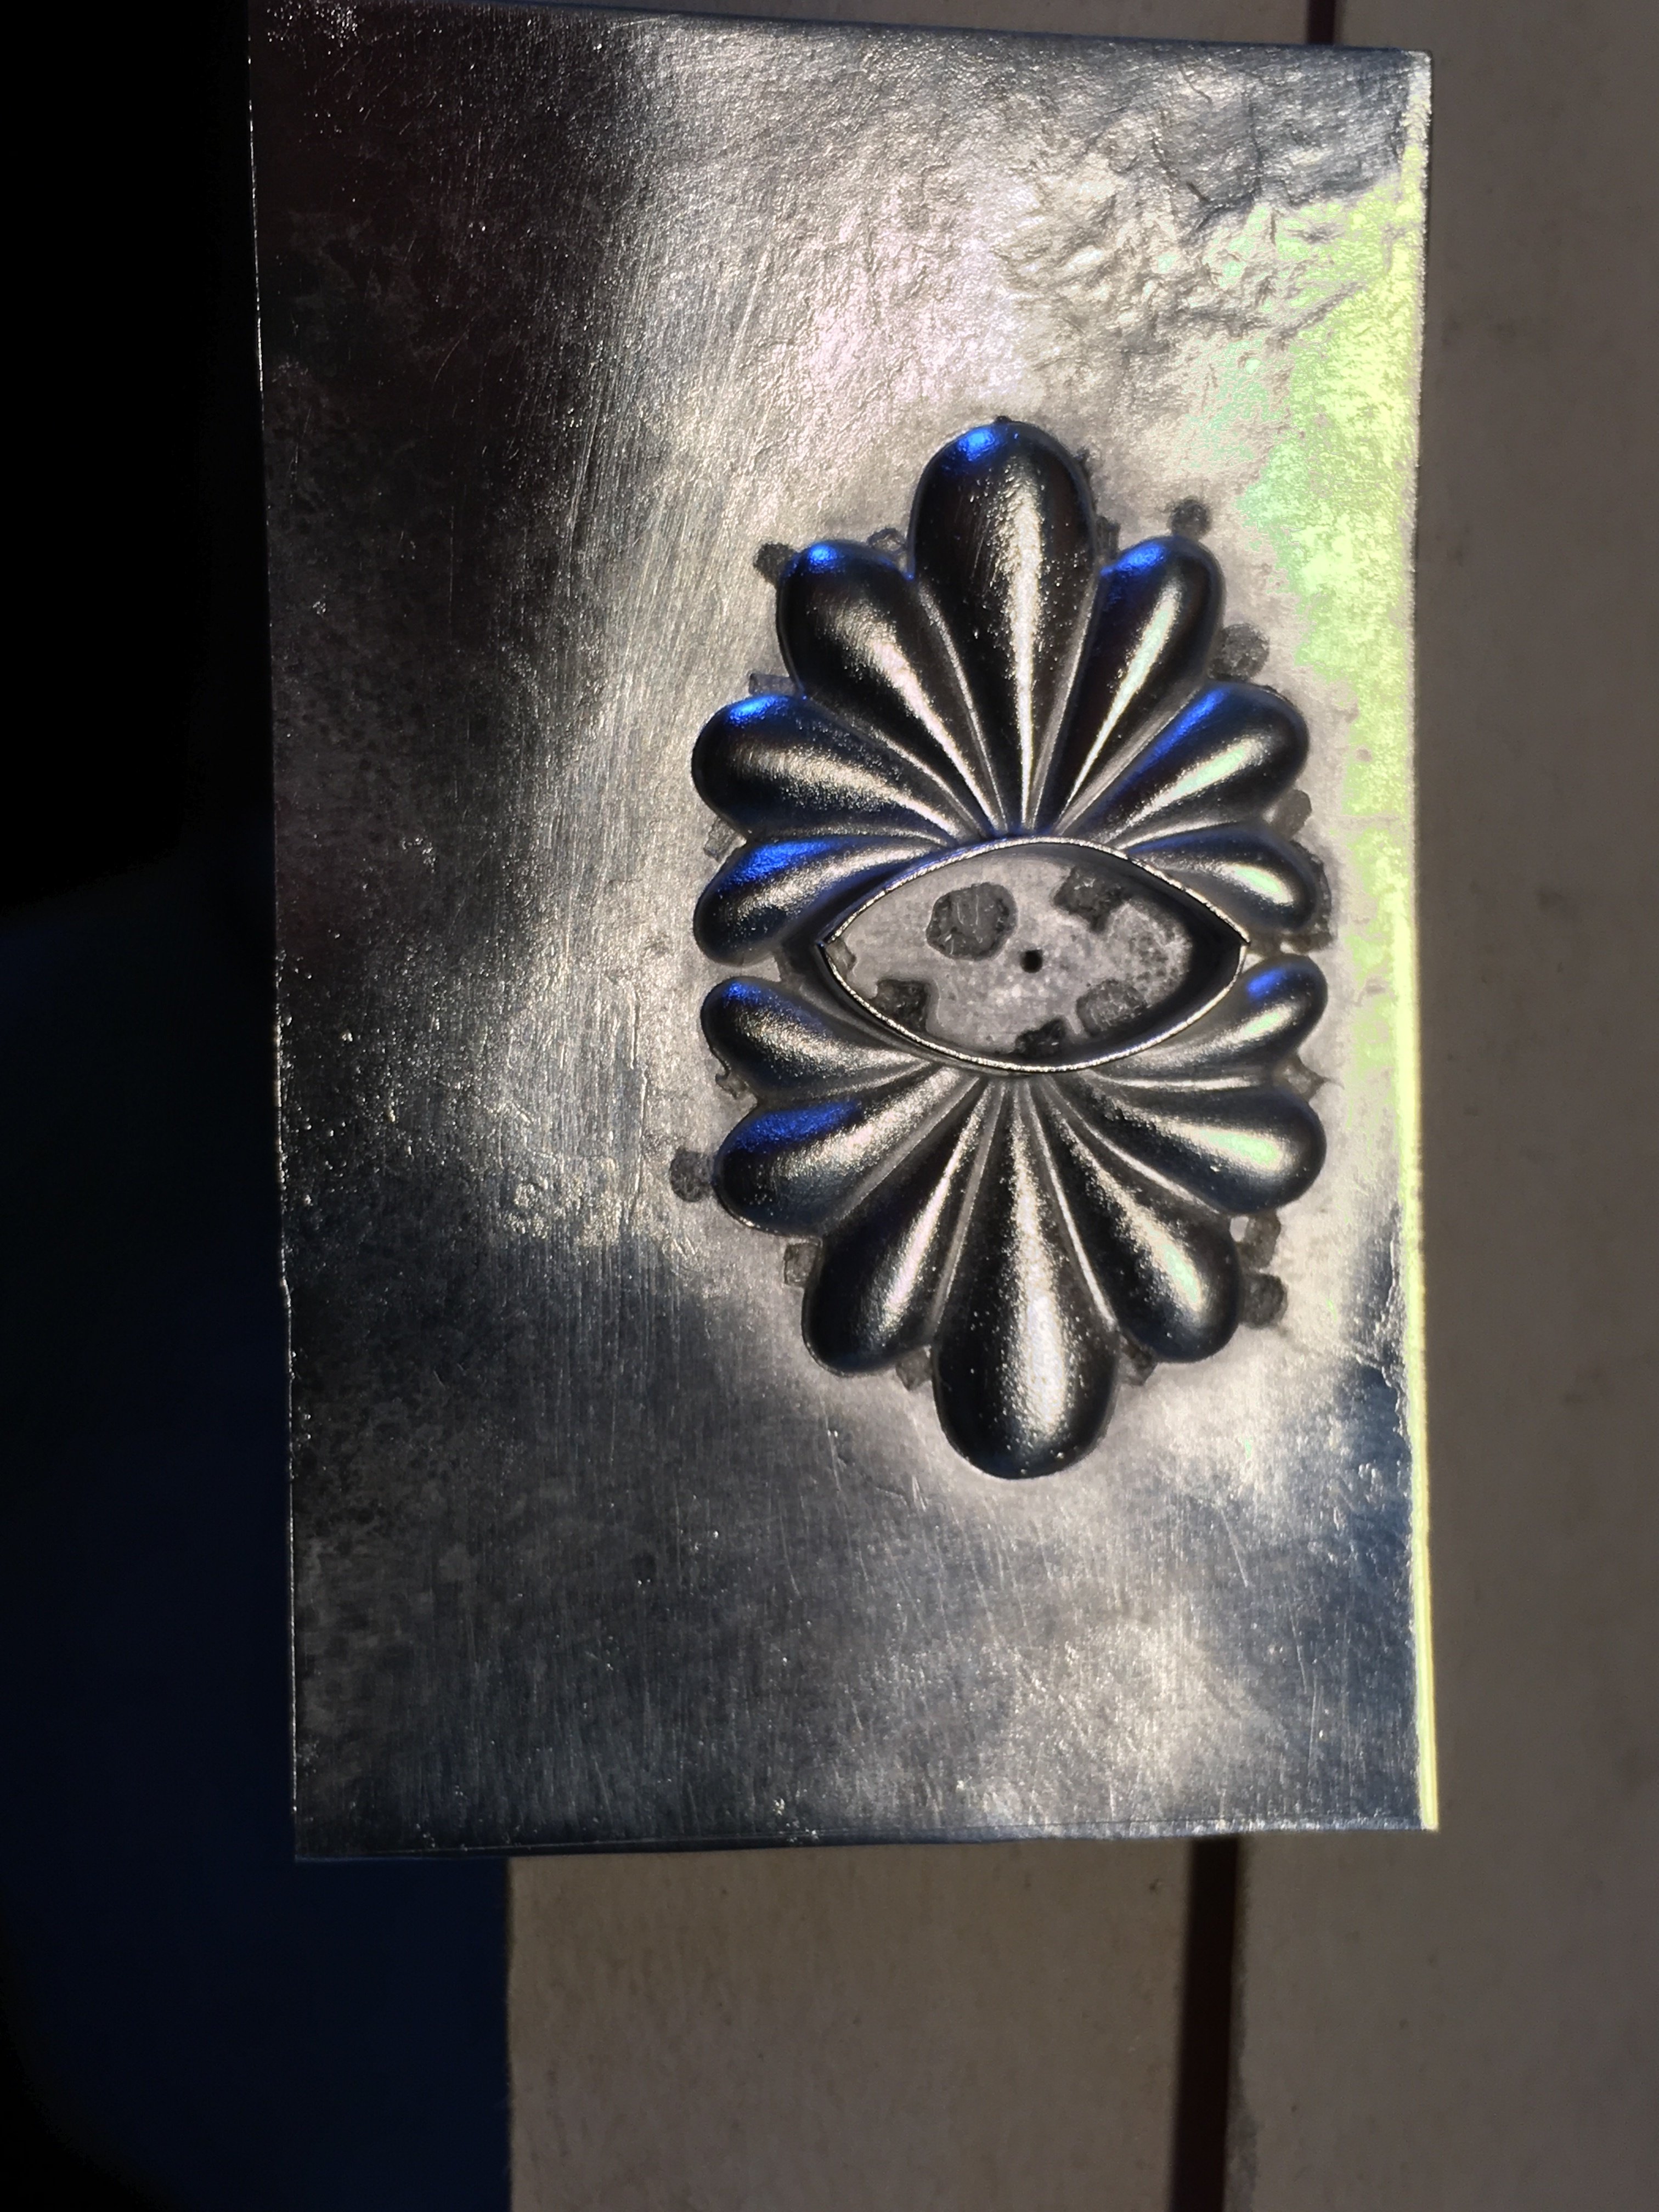
As far as the holes Fredman refers to, that’s most likely where the solder was placed, and when melted, it etched into the surface. That happens with almost all solder joints to one extent or another. The higher melt the solder is, the more likely it is to etch. The more heat applied and the longer it’s kept hot, the more it will etch. The main trick to solving that particular problem is in solder placement. It is usually best to apply many small pieces to many different places and place them as far out of sight as possible. The other thing to remember is to get in and out as fast as possible. If it’s not flowing when it should, don’t just put the coals to it and hold it, that won’t work. Stop and figure out what’s wrong.

In a case like Fredman’s decoration, I would apply the solder to the entire inside edge of the domed piece, file it flat and then place the piece on top of the sheet, making sure that is in full, tight contact with the sheet, flux it and then apply heat underneath the sheet, drawing the solder towards the sheet. Just like a blind bezel. You shouldn’t ever have to aim the flame at the top or front part of that piece, which helps to avoid fire scale too.

Dave

2 Likes

Thanks Dave . I keep on learning more about soldering. I’m pretty sure now it was the solder that was old and hadn’t been cleaned but I’m going to pickle it and try again to show my pupil. ( I thought at the time it didn’t look tarnished, but this just proves you can’t tell by appearance)
Irene in 34’ Perth. (Too hot to solder)

I became very tired of sheet solder not melting. It didn’t ball, it didn’t turn black, it just stuck fast to one spot on my jewelry, with all its hard edges intact. Most often the piece was just out of the pickle, wire brushed under running water with a small amount of soap on the brush. All solder is stored in plastic bags. I have never worn hand lotion or any cremes. Since most of my work is with argentium there was no question of flux being involved. The metal was bare.

My solution - I switched to paste solder and my joins have been much better and more reliable.

Thank you and everyone else that wrote in .

I do wonder if sometimes we get a batch of solder that hasn’t been 'mixed ’ properly,or thoroughly, and we are working with silver, not solder.

1 Like

Companies don’t make solder by the gram, they start with a batch of 500gr,
1kg or whatever.
In that case the complete batch is a failure and complains would rain in
from everywhere.
But yes, it can happen.

Sometimmes sh… just happens.

Excuse me if I repeat something but I didn’t see someone refering to the
use of heat.
The majority of people lay the solder on top of the solderjoint and heat it
up.
Some ball it up real quick and others … take more time.
The solder -being the smallest part- will melt first (balling up) before
the temperature of the workpiece is high enough to let the solder flow if
all conditions are good.
They don’t have to be excellent but the window is small.

Now, solder is made out of silver, copper and zinc.
Zinc is the big temperature dropper and causes a nice flow of the solder
Zinc will evaporate pretty fast. It melts around 420°C.
Boiling point is around 900°C
Then the solder becomes pretty much sterling silver.
Just think about what can happen.

Some solder just has it to ruin your day.
If that happens, stop the procedure because more heating will not help you
in anyway.
You’ll make it worse by creating cupricoxide or even melt the piece.
Flux will evaporate aswell, keep an eye on that aspect too.
Pickle it again, rinse it and start a new trail.

I just started following this thread and people are forgetting something very basic. Organic contaminants such as fingerprints, oil, lotions will burn up long before the soldering temperature is reached. The only reason solder won’t flow is that there isn’t enough heat getting the entire piece hot enough to melt the solder. The heat of the torch does not melt the solder, the heat of the workpiece melts the solder. Increase heat output by using a larger torch tip and evenly heat the entire piece to bring it up to temperature.

1 Like

Can also be the amount of solder. I use wire, cause it gives me more flexibility. If I need thin amounts, I can roll it.

Sometimes I get a weird alloy. Happens. Who is the manufacturer?

Karen Christians
Western Avenue Studio, #506
122 Western Avenue
Lowell, MA 08105

781-367-4992

2 posts were split to a new topic: Question about use of draw plates

I’ve had it for years - I don’t know .