Hi again. Yesterday i recovered about 3m² of copper plates, 0.3mm thick, plus a few other things. It took me quite a long time to bring it back home without a car, but i’m quite content since i was running out of thin copper plates for repoussé :).
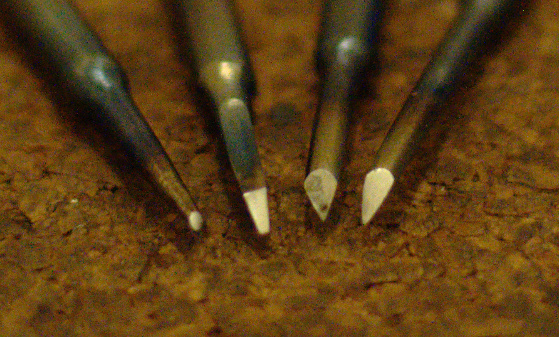
Today i made two new blades, and practiced half an hour. I tried to do the “nick and round border” pattern from this page :
But it’s yet too hard for me, i’d have to keep practicing, and above all, make that indispensable sharpening template. I’m starting to get trouble getting my angles right when i’m grinding new shapes. The round one was fairly easy to do, though, but the “flat” one is a fail. It does cut and is quite nice to use, but its shape makes it hard to judge what will happen using it.
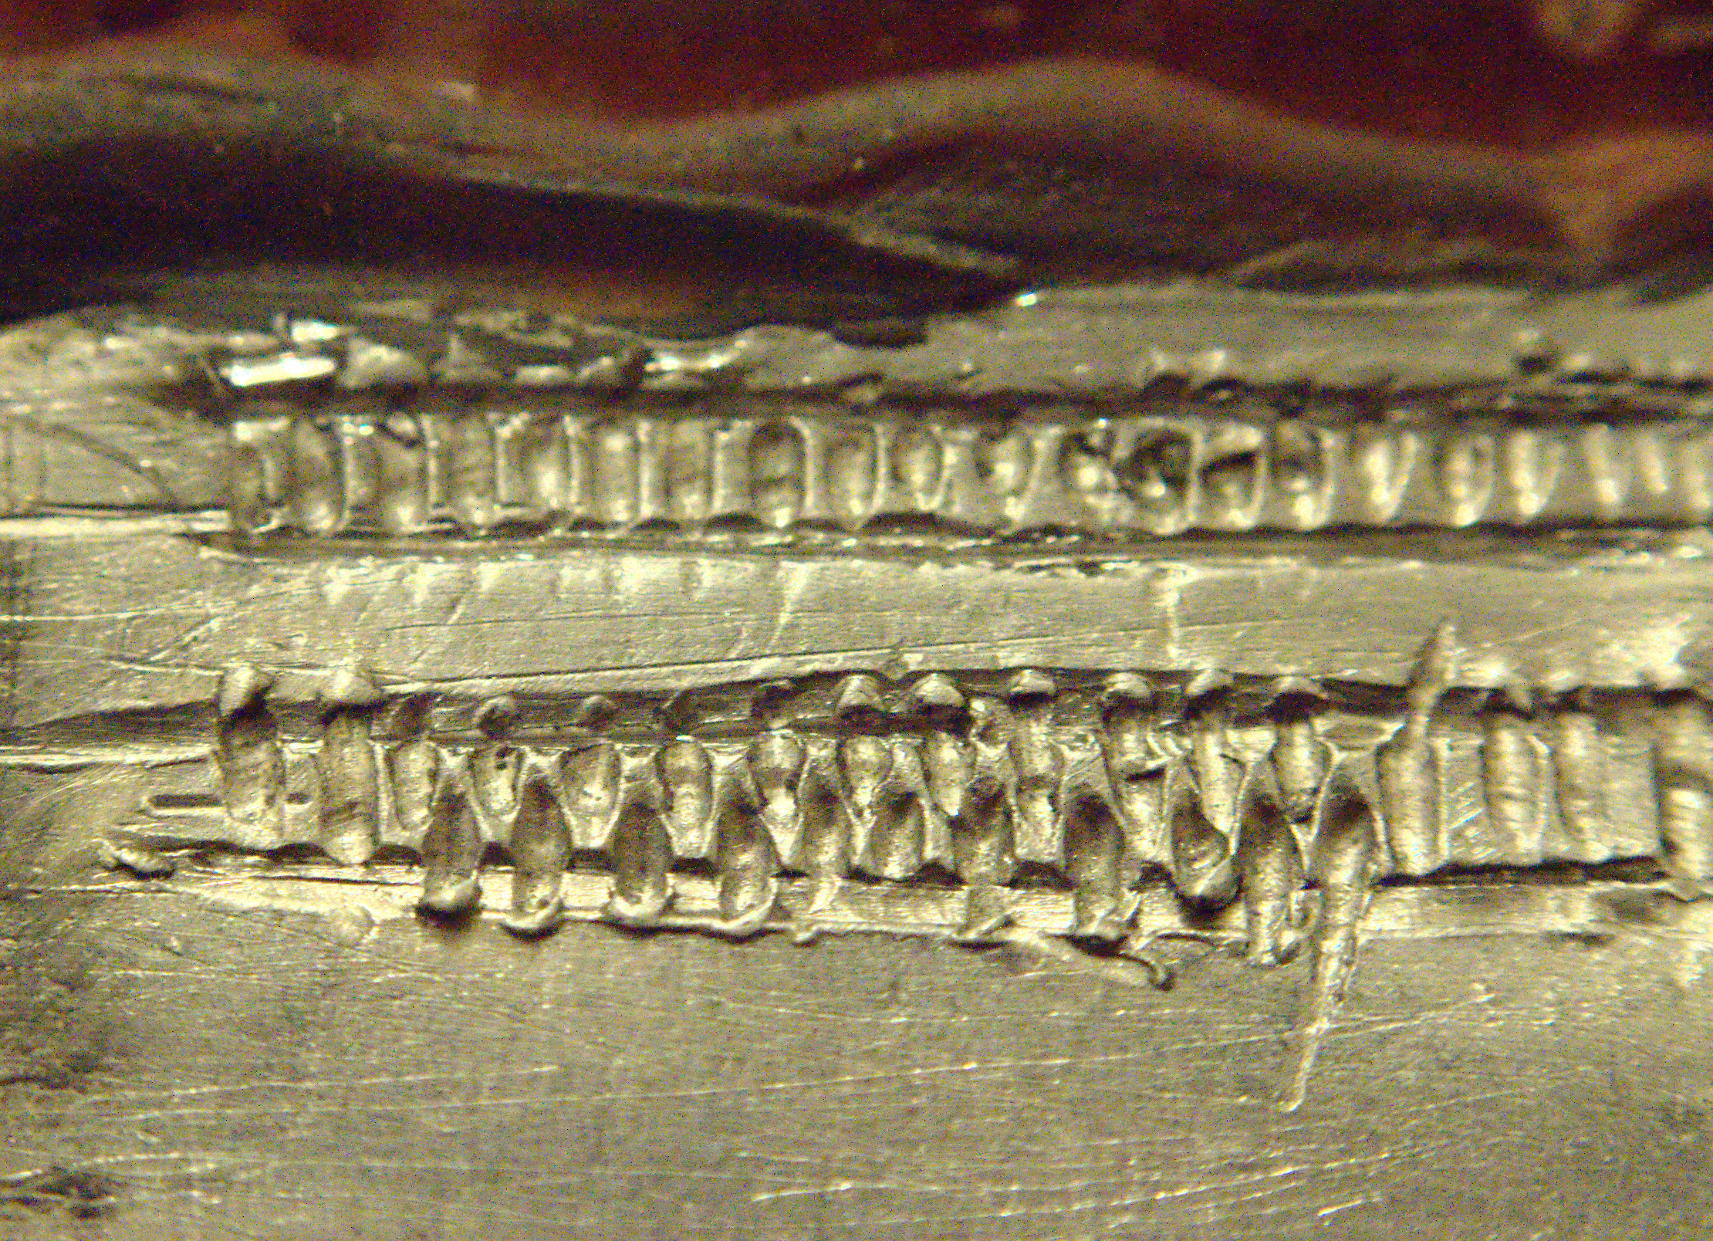
Here are some photos, i’m learning really slowly, and there are huge ugly mistakes, as you’ll see, but hopefully i’ll get better
a little comment…It looks like you might be displacing/ moving metal, instead of removing/ cutting it away…
(the edges of your cuts look like “clay pushed up”…? instead of sharp edges, and “bright cut faces”…?
perhaps your graver cutting edges are not properly sharp?
in my opinion, the graver should cut thru the metal like a spoon thru soft butter…you should not have to push really hard to move the graver thru the metal…is your graver cutting like this?
also, does your graver have a “heel”?
I think you might have already seen this article, but if not, it is good reading!
Hi and thanks
You’re perfectly right, they’re not sharp enough, it’s quite hard to judge angle by hand, and i don’t have any sharpening stone i’ll try again with the sharpening template when it’s made, and buy myself a fine stone.
One thing that might interfere is that i’m working with annealed aluminium. it’s really soft, maybe i should practice on copper or try work hardening it before.
But the major mistake is there :
I did not make any heel. I learned today what it was on the same website you posted, it’s a word i did not understand.quite well before, i’ll have to make new blades. I’m keeping those ones, as i read a graver with no heel can be used for stone setting.
Thank you for pointing out this mistake, i was actually wondering if i was forgetting something.
Pierre
[Edit : ]
Wow ! I’ve just filed a slight heel on one of my gravers, and i wish i understood this before ! It’s so much easier to work ! Now my lines look much much better, and the blade is running across the plate, instead of digging inside it. Once again, thank you.
one very important thing I learned, while learning to sharpen gravers (not shaping- shaping is different activity)…
start with an india stone (coarser), then move to a finer stone…
(from the book “Jewelry Concepts and Technology”, by Oppi Untracht…(…“If a graver is used directly after being prepared only by a rough stone, it’s point may quickly break” page 293)
(p.s. I think you would enjoy this book alot! look for a used version for less $…,.well worth every penny!)
when stone setting, and “raising a bead” for “bead and bright cut” stone setting, I found that if I did not finish with a finer stone, the tip of my graver would keep breaking off in the metal…
and use lubricant when sharpening the graver.
to get a “mirror finish” on the face off the graver, one of my instructors showed me how to get a small square of glass, and glue a piece of crocus paper onto it, and rub red rouge on it (like chalk) and then polish the face on this…if the face is mirror polish, the cut left on the metal is mirror finish!
That’s wise, polishing reduces the amount of fatigue cracks, never thought it would happen at a such small scale too, but now it seems obvious.
I’ll try buying myself a few books when i got the money, i’ll add this one to my list
Could very fine grit silicon carbide sand-paper replace crocus paper for the mirror finish ? i don’t know where to find it. I do have some rouge, though.
Thanks for the tips
Well, as jonpresson said, there’s some valuable info in the link he gave, i read it already some time ago, but forgot part of it.It lacks a bit of pictures, but is great to read after having understood how a graver works. Any type of fine abrasive paper should do the job, i guess. Or even just glass with rouge, i’ll try and see.
Hi Pierre,
As you know from using your hammers, anything on the tool is transferred to the metal you work on. The graver face, which is used to produce a bright, shiny surface, must be sharpened AND polished. If they haven’t already been referenced, there are graver sharpening how-to videos by Gerry Lewy on this forum. Gerry progresses through sanding on a 4/0 emery paper, which is equivalent to 2000 grit. For the final polish, he loads up the paper with dust by sanding the lead of a pencil over it, giving a finer grit. I would be careful using a leather to strop with, because you could round the edges of your tool. Maybe just a few strokes to complete the polish and take off burrs, or stick the graver into some wood to do that. While you might find a way to use loose grit or rouge, I think it would make more sense to just get a few sheets of sandpaper which can be used flat on a piece of glass or similar flat surface. If you cannot find such locally, I’m sure one of us can send you a few sheets if you supply an address. There is independence and work-arounds and then at some point when you need a purchased too, it is unproductive to do without it, if there isn’t a good substitute. If your sharpening and polish is good and your angles are right, your work should be bright and clean edged.
Hope this helps,
royjohn
I’ve decided to start over. At first i thought something was wrong with my graver shapes, but after having made a sharpening template, i realized the handle was too big, i could not make anything without my graver slipping across the plate.
I think i spent 3 days trying hard before admitting i had made a mistake somewhere.
So the new handle is cheaper, made out of wood with a hacksaw, a knife and some sandpaper, but it holds only one blade. I guess i’ll be doing the next ones with better tools, but for now that’s all i had here.
I also used a much smaller diameter steel bar, reducing the overall cost and time involved.
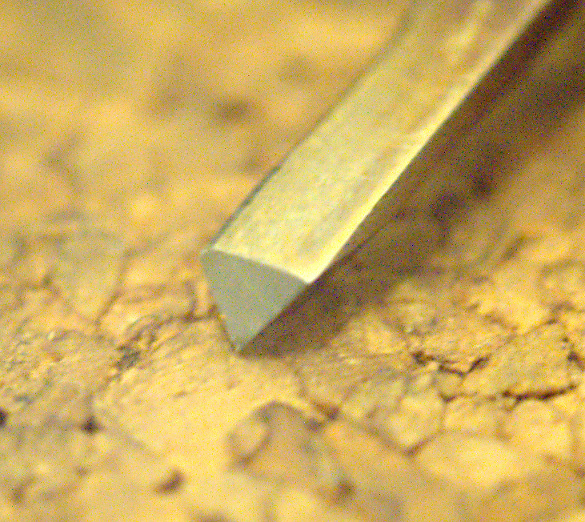
Here are some photos, with the first attempt on using this new graver. Still ugly, but now i’m not slipping anymore, so i guess it’s just a matter of time now that i have the right tool.
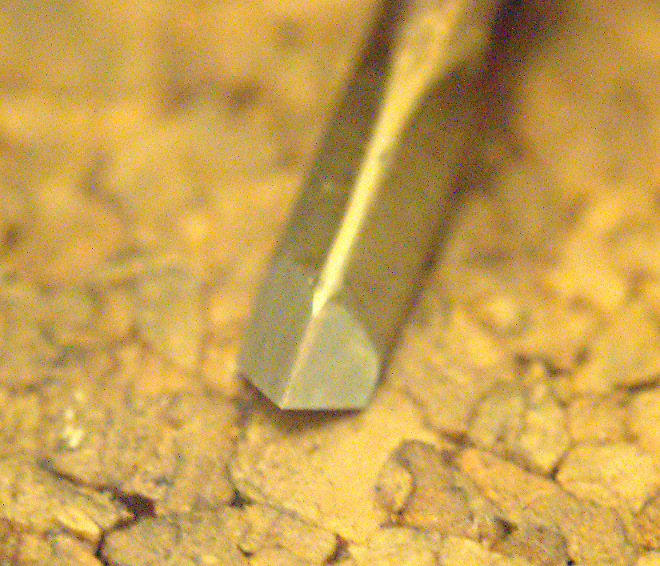
90°, ‘long heel’, polished on 1600 grit sandpaper, i’ll buy a good stone someday but for now it’s too expensive.
(Something strange with the lighting, but the angles are okay, and it’s almost mirror polished)
Thanks alot everyone ! I would not have understood graver shapes without your help.
Hi again.
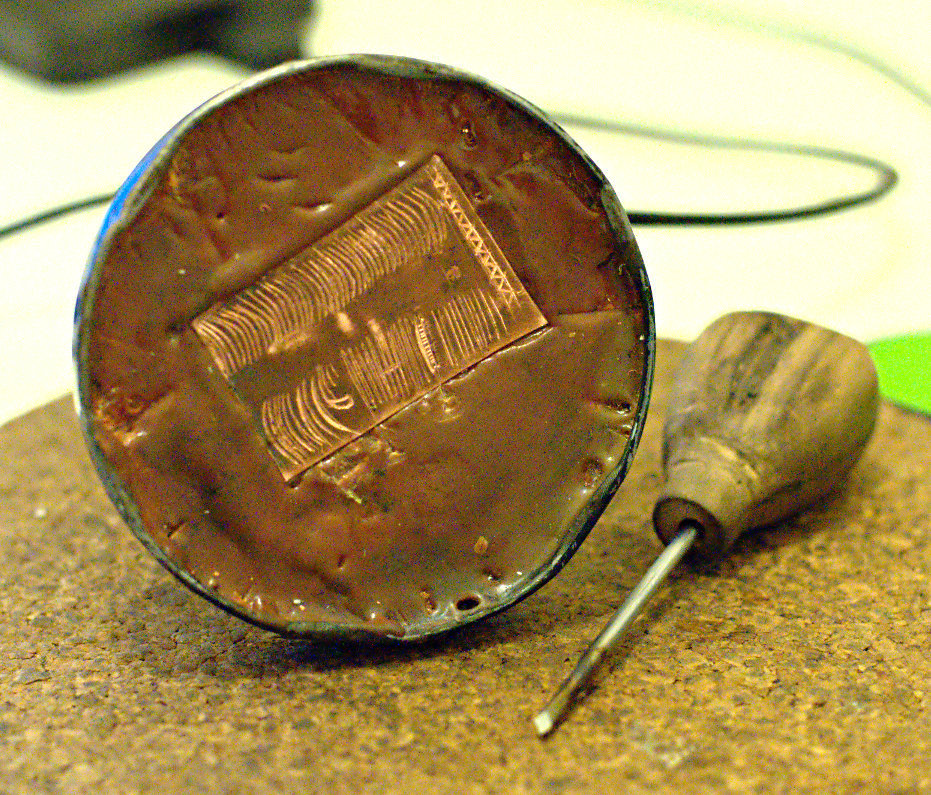
Last update with what i can achieve now, after practicing a bit. i’m quite content, even if it’s not beautiful and precise at all, i’m happy with the learning curve. The main problems that i have now are two things :
First, the way of holding the piece. This border arround the jar lid is really annoying when it comes to engraving anywhere away from the center, and i don’t have any wax left to fully fill the lid. I think i’ll cast a concrete engraving ball with a wooden circle and a ball bearing, I yet have to find something to make the mold.
Secondly, my eyes. This is too small for me. i do have a cheap x10>x25 head magnifier, but it would be impossible to work right under my eyes, so i think i’ll buy this one :
It’s really cheap, and might be awful, but i already bought some tools from this company and they work just fine, so i’ll try and see.
Here are the photos. Those are the last ones, since i don’t think a “beginner photos” thread is really worth reading (and i’ve seen many on the web already), but i must thank you all for your kind help and encouraging words, i’m really motivated now, even if there’s a long way to go before actually produce something.
you might like playing around with different patterns…you can get some “china white” (it is a small block of white stuff…an art supply…) then, wet a paintbrush and brush the china white block to pick up some “paint”, and then paint onto surface of metal, and then you can draw a simple pattern with pencil!
to get a smooth application of the china white, clean the metal surface first with a green scrubby (kitchen sponge type) or fine sand paper (to remove the oils etc, so that you get full coverage with the china white paint)
Hi.
Thanks for the chinese white tip. I tried with a liquid chalk pen, but did not get good results, I’ll try with chinese white as soon as i find some (I also read one can use white-out titanium oxide to do this, and i appear to have some already, i’ll give it a try too.)
I’m starting to understand why it is so important to draw the basic layout before engraving anything. Especially for straight lines, without any kind of guide I just can’t get them parallel.
I’m actually filling a small notebook with common patterns found on the internet. Shaun Hughes made a lot of great videos about borders and patterns, I’m glad there’s much more information about engraving than making gravers, it also helps understanding their shapes later.
He also made some videos about making a homemade engraving machine. This looks like a nice project for next year. For now i’ll keep going with my cheapograver until I can do something i’m really proud of. (Not to say i’m not proud of my ugly lines, I do, but… Erh… I must be the only one ^^)